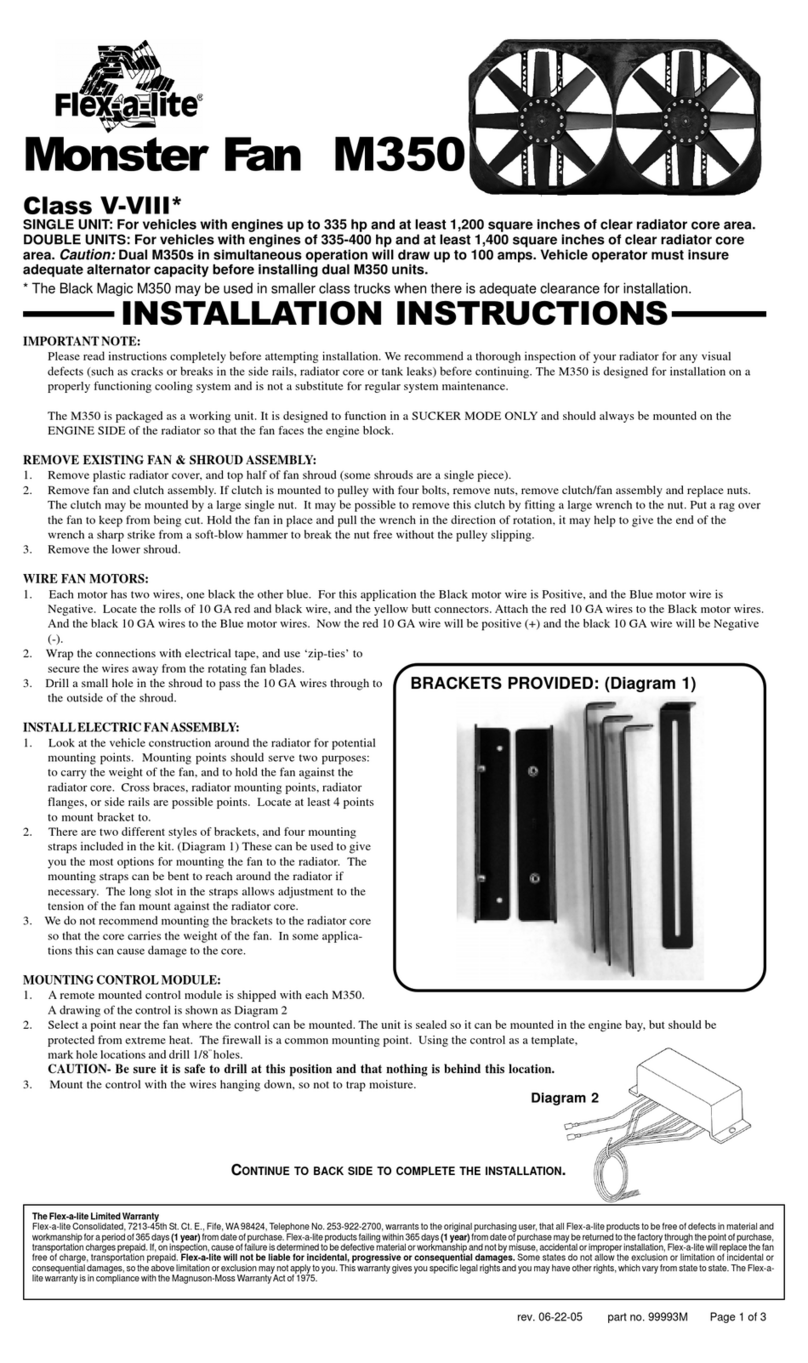
Flex-a-Lite 345 User manual
Other Flex-a-Lite Fan manuals

Flex-a-Lite
Flex-a-Lite Black Magic Extreme 185 User manual
Flex-a-Lite
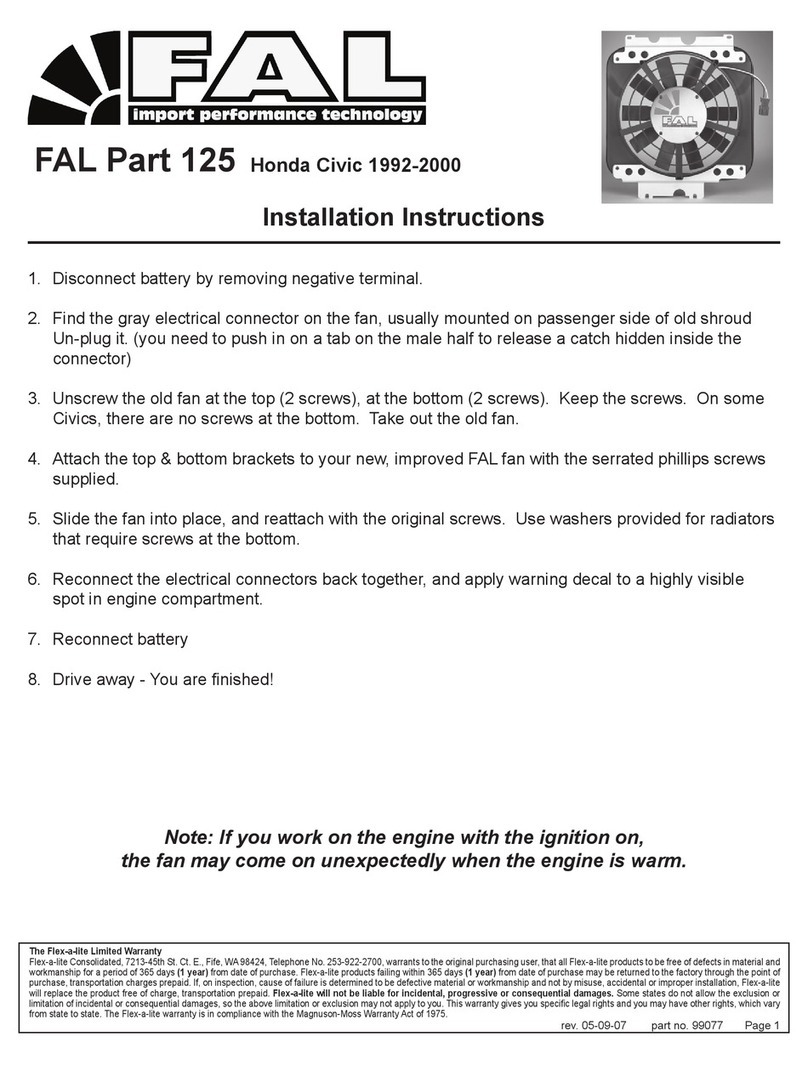
Flex-a-Lite 125 User manual

Flex-a-Lite
Flex-a-Lite 278 User manual
Flex-a-Lite
Flex-a-Lite 318 User manual
Flex-a-Lite
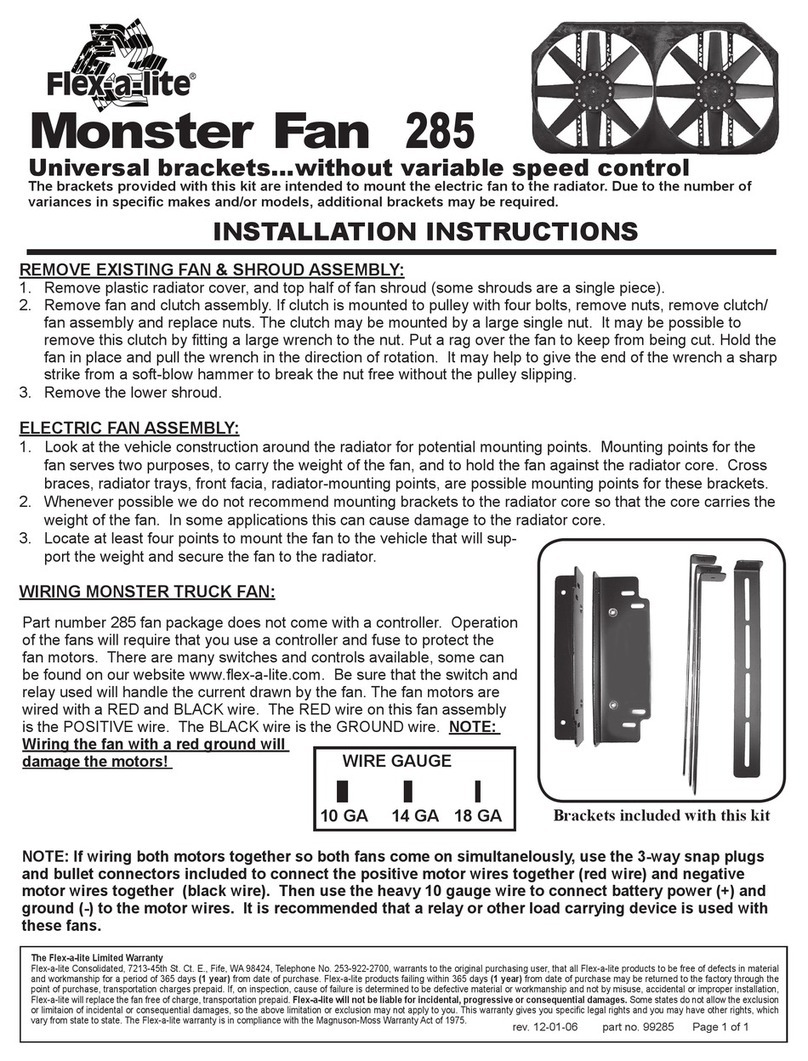
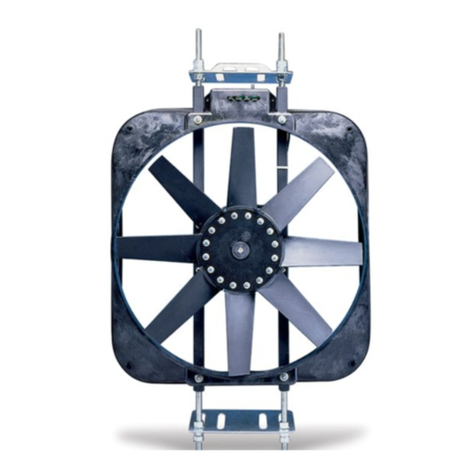
Flex-a-Lite 285 User manual
Flex-a-Lite
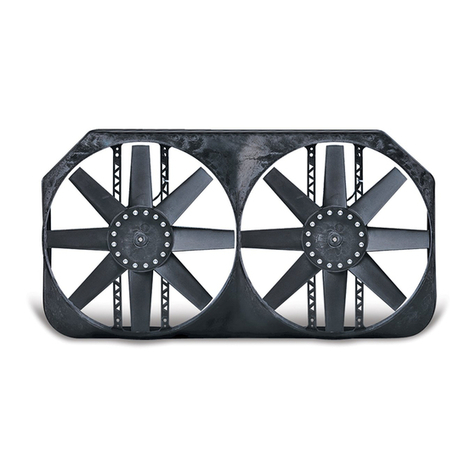
Flex-a-Lite Black Magic 165 User manual
Flex-a-Lite
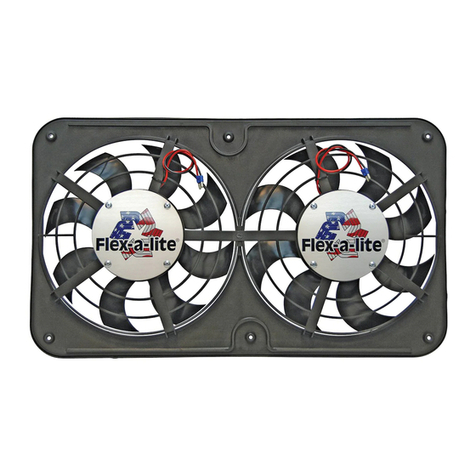
Flex-a-Lite 270 User manual
Flex-a-Lite
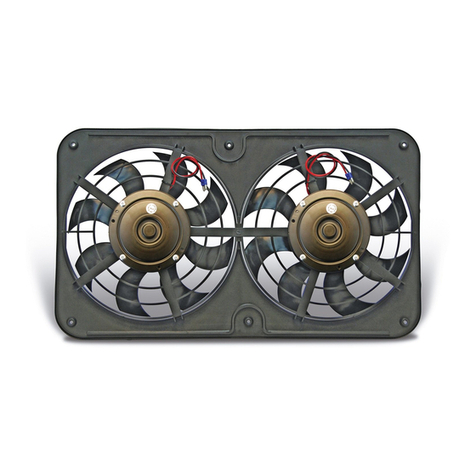
Flex-a-Lite 410 User manual
Flex-a-Lite
Flex-a-Lite 130-Pusher User manual
Flex-a-Lite
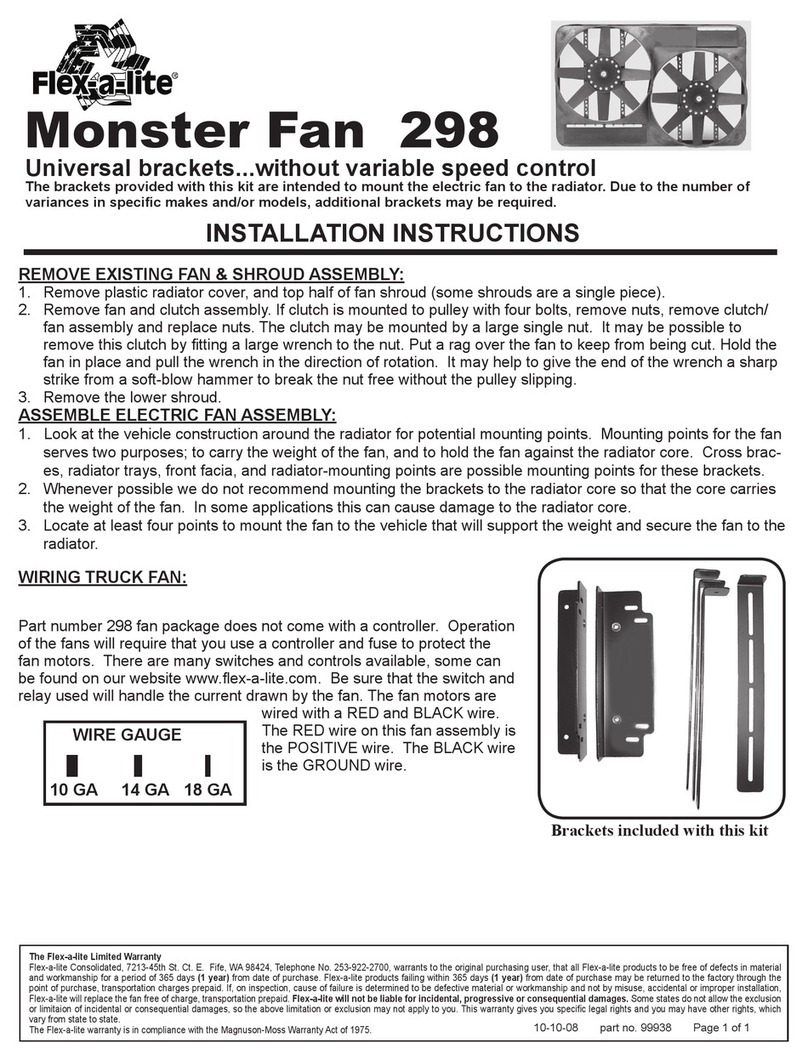
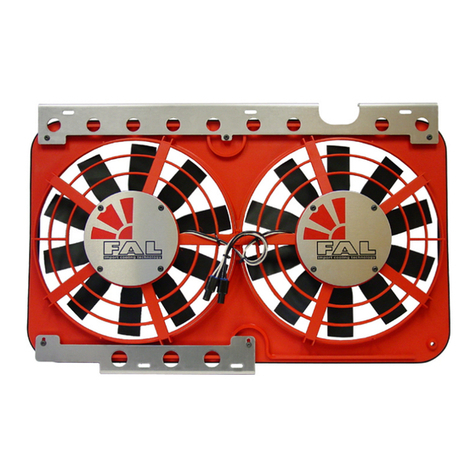
Flex-a-Lite 298 User manual
Flex-a-Lite
Flex-a-Lite 525 User manual

Flex-a-Lite
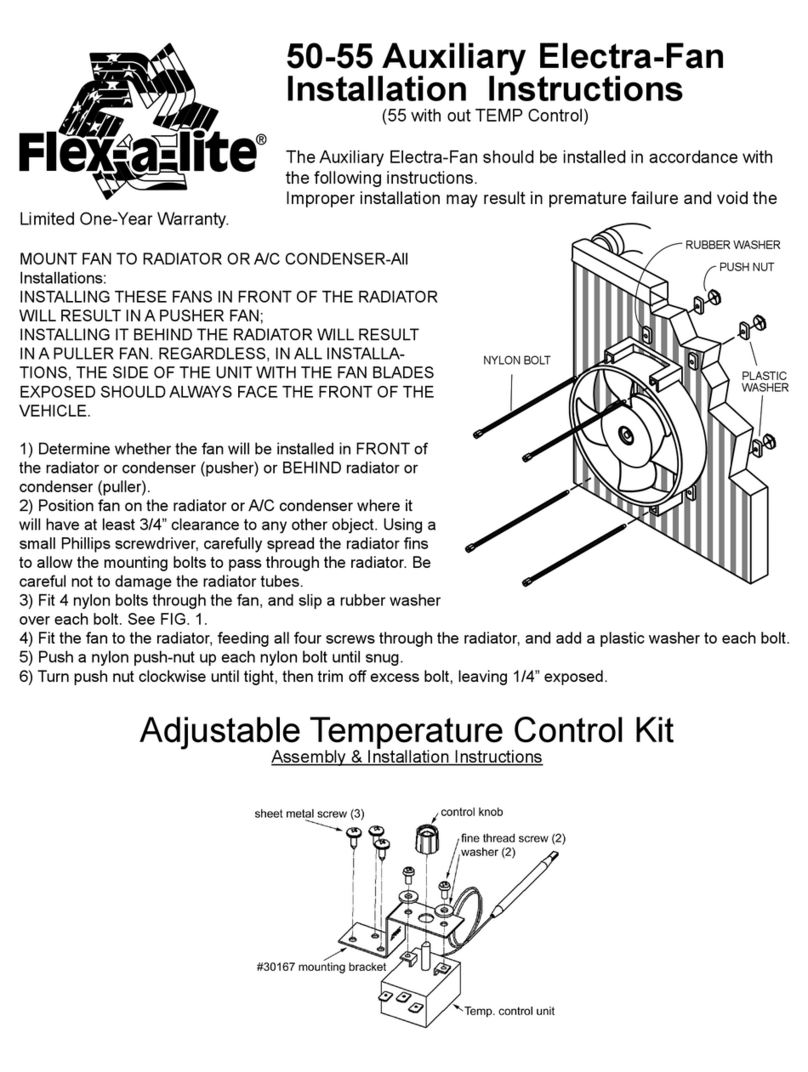
Flex-a-Lite Trimline Electric Fans User manual
Flex-a-Lite
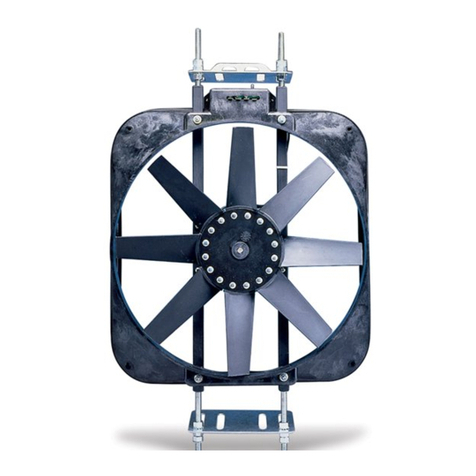
Flex-a-Lite 50 User manual
Flex-a-Lite
Flex-a-Lite Black Magic 150 User manual

Flex-a-Lite
Flex-a-Lite 190 User manual

Flex-a-Lite
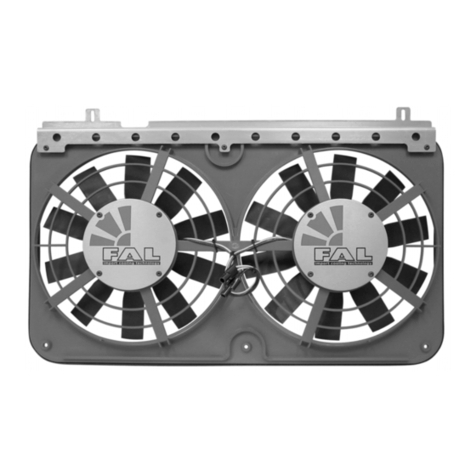
Flex-a-Lite Black Magic 150 User manual
Flex-a-Lite
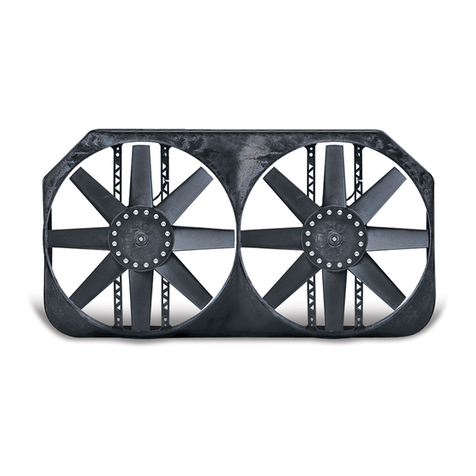
Flex-a-Lite 425 User manual
Flex-a-Lite
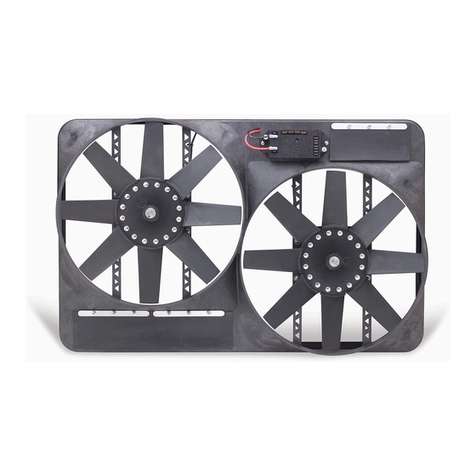
Flex-a-Lite 280 User manual
Flex-a-Lite
Flex-a-Lite 295 User manual
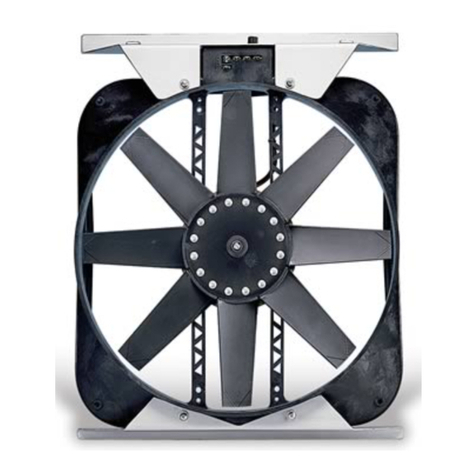
Flex-a-Lite
Flex-a-Lite 40 User manual
Popular Fan manuals by other brands

Aspira
Aspira ASPIRCOMFORT PRO dH Installation, use and maintenance manual
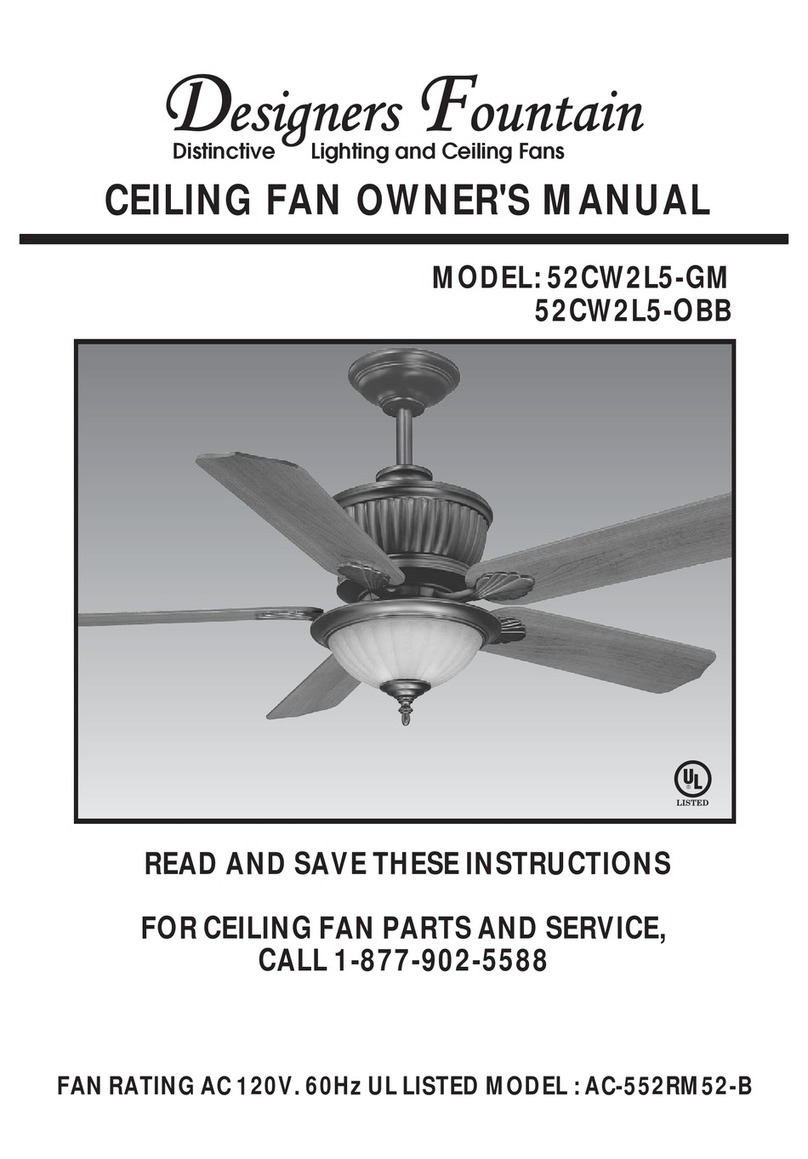
Designers Fountain
Designers Fountain 52CW2L5-GM owner's manual
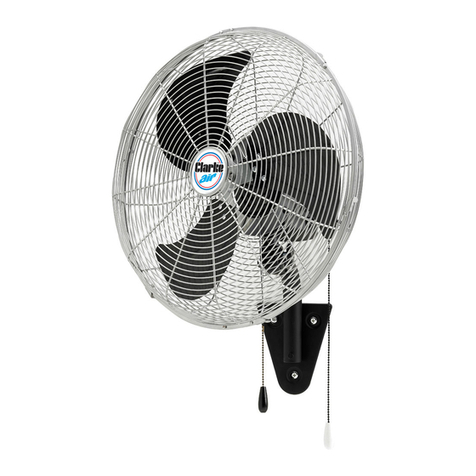
Clarke
Clarke air CHV18WF Operation & maintenance instructions

Goldair
Goldair GCDF145 operating instructions
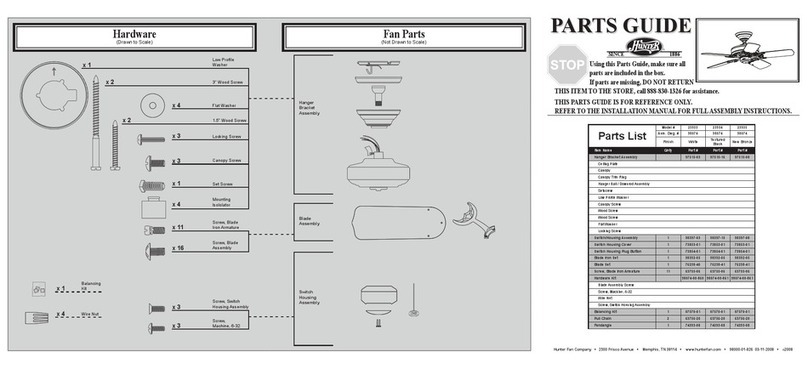
Hunter
Hunter 23933 Parts guide
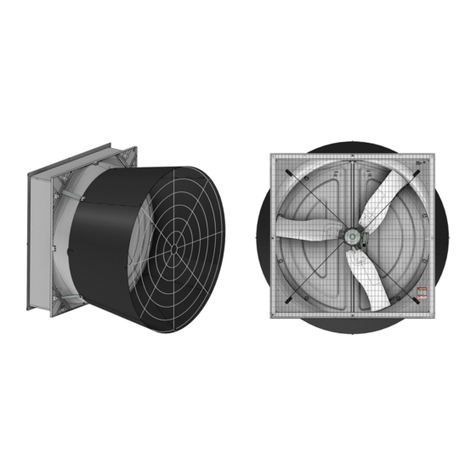
Chore-Time
Chore-Time Endura 57" Fan Installation and operator's manual
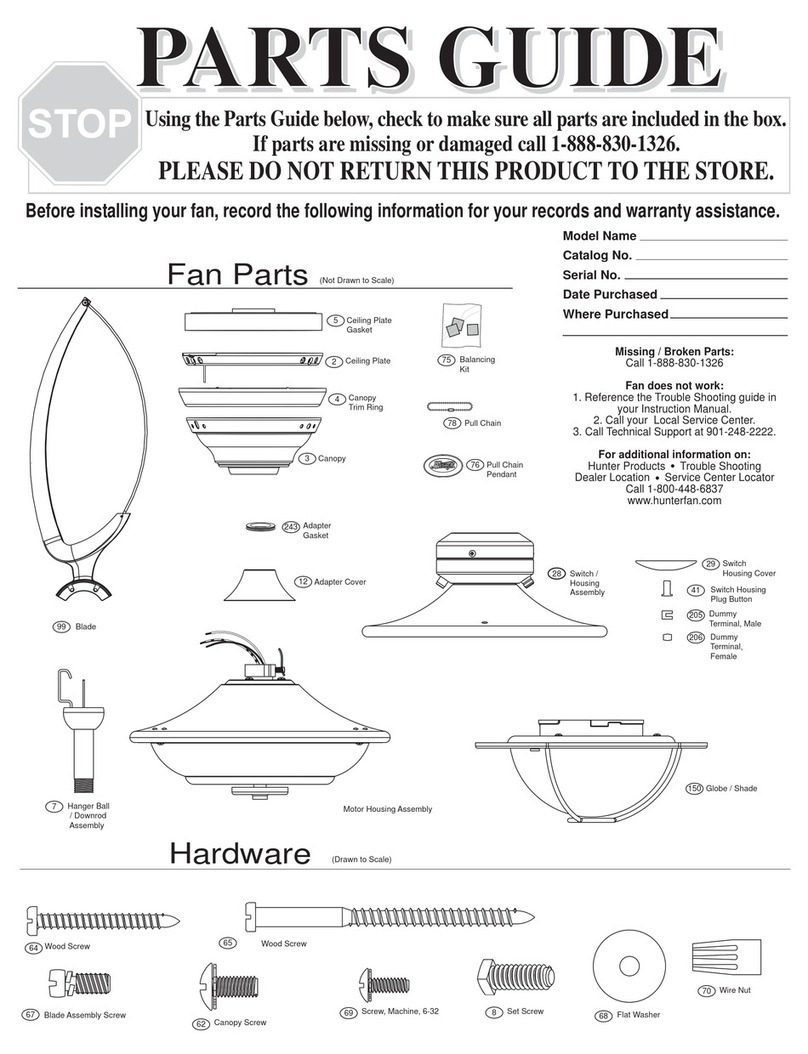
Hunter
Hunter 25522 Parts guide
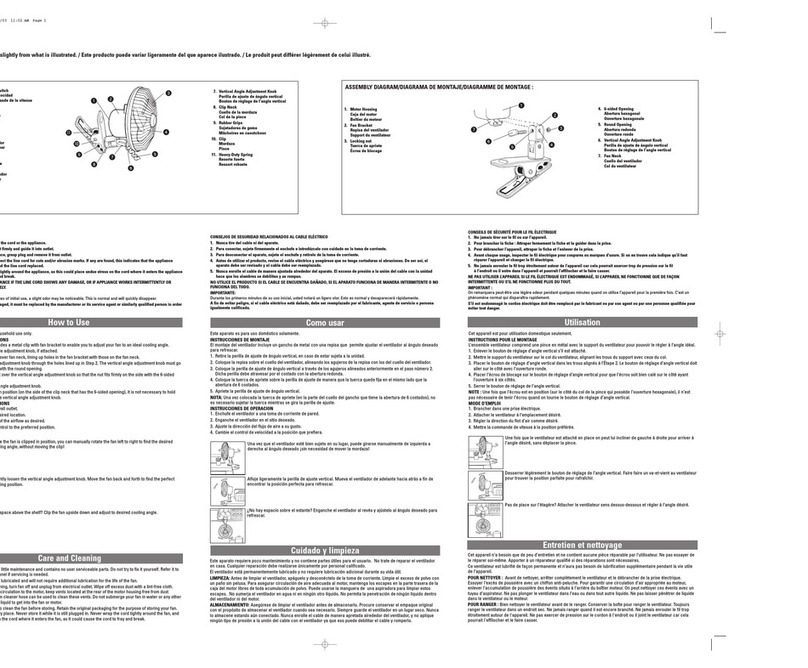
Applica
Applica WCF600 series Use and care book
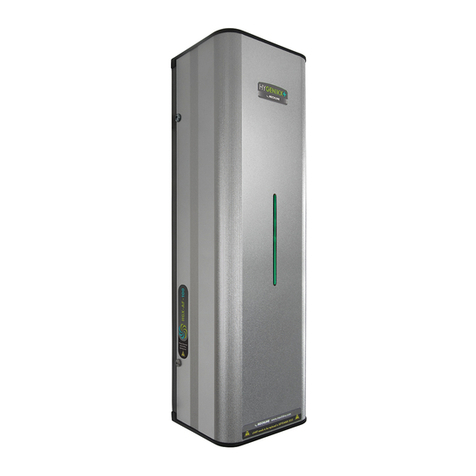
MECHLINE
MECHLINE HYGENIKX+ Installation & operating manual
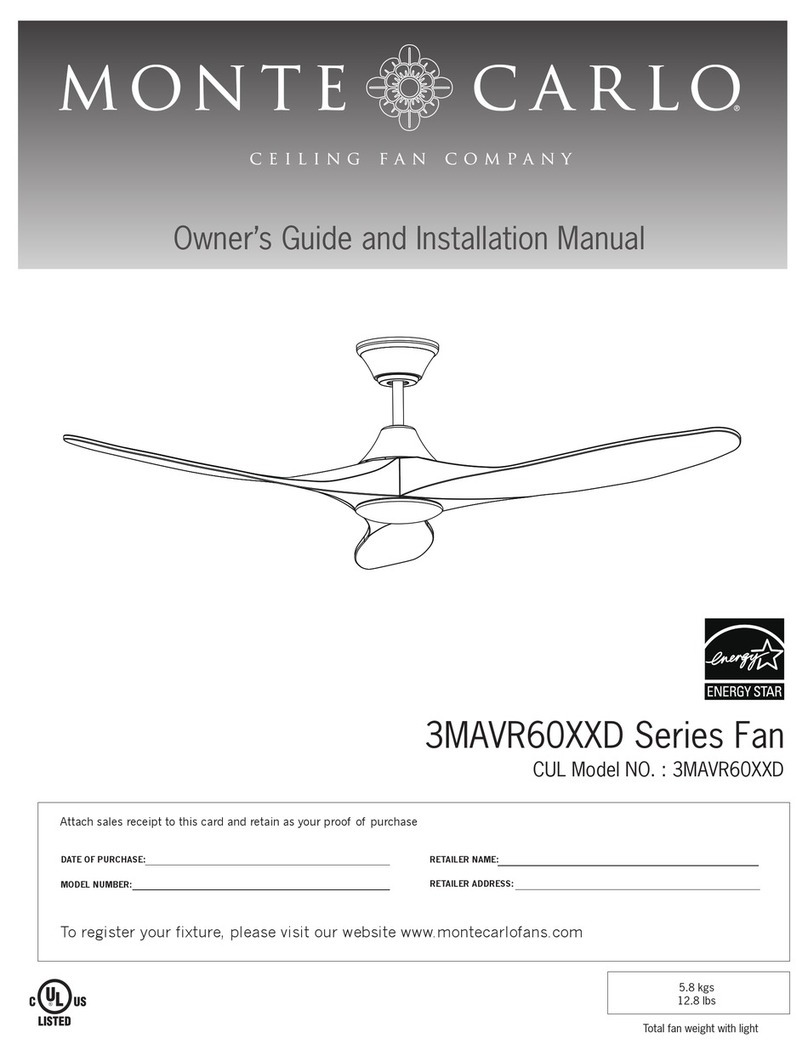
Monte Carlo Fan Company
Monte Carlo Fan Company 3MAVR60 D Series Owner's guide and installation manual

Kichler Lighting
Kichler Lighting 52" RENEW ENERGY STAR instruction manual
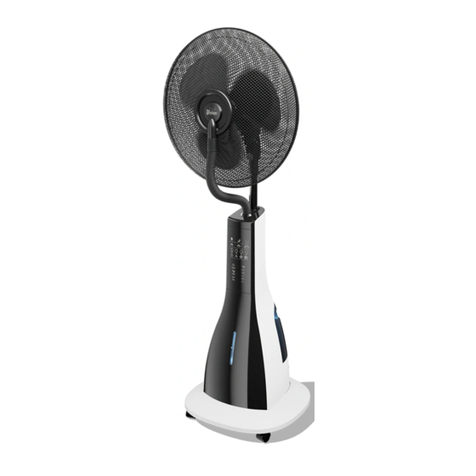
Progenion
Progenion PR40-RA manual


