Floeter AirBoy Nano3 User manual

nano3 - OPERATING INSTRUCTIONS

OPERATING INSTRUCTIONS
1
Contents
Contents 1
Safety guidelines 2
Air cushion types 3
Machine overview 4
Technical data 4
Buttons introduction 5
Accessories 5
Operating device 6
Operating setting details 9
Parameter setting guidance 10
Maintenance Notes 11
Consumables and abrasion accessories declaration 15
Failure Code 16
Options and expandability 19
Support and Service 20
Document version 27.11.2018

OPERATING INSTRUCTIONS
2
Safety guidelines
Please read the safety guidelines and operating instructions closely before using the
machine.
- Turn off the machine and disconnect power before opening the machine or performing
any repair or maintenance work on the machine.
- Switch off the machine if it will not be used for an extended period of time.
- Do not insert any objects into the machine when it is connected to power.
- To prevent the risk of electric shock, ensure that the machine does not come into contact
with liquids.
- Do not operate the machine without the covers for the machine components.
- Keep hair and loose clothing away from the film feed mechanism.
- Place the machine only on surfaces that are adequately large, stable, flat, and horizontal.
This machine is designed for safe operation in compliance with the use, instructions, and
guidelines specified in these operating instruction.
All persons who use this machine must be familiar with the content of
these operating instructions and must carefully follow the safety
guidelines.
FLOETER shall not be responsible for damage resulting from improper use of the machine
or non-observance of the safety guidelines.

OPERATING INSTRUCTIONS
3
Air cushion types
Our standard version – Polyethylene 20 µm or Bio (home-compostable)
Type 7.1 AirWave air cushion filler 100 x 210 mm
Ideal for filling small voids and for use as an intermediate layer
Type 8.3 AirWave wrapper 420mm 4 chambers
4 chambers for use as an intermediate layer, wrapping, and
envelope

OPERATING INSTRUCTIONS
4
Machine overview
1. AC power cable
2. Power switch
3. Control panel
4. Feeding roller
5. Tension column A
6. Tension column B
7. Roll film tension
8. Air nozzle
9. Protecting cover A
10. Protecting cover B
11. Puller A
12. Sealing wheel B
13. Conveyor wheels C/D
14. High temperature belt
15. Knife/Blade
Technical data
Power supply: AC100-240V 1.6A 50/60Hz
Power consumption: 60 W
Production speed: 4 m / min
Weight: 2,5 kg
Dimensions (l / w / h): 430 / 190 / 195 mm

OPERATING INSTRUCTIONS
5
Buttons introduction
1. Temperature "+" 01~30 level
2. Temperature "-" 30~01 level
3. Air Volume "+" 01~40 level
4. Air Volume "-" 01~40 level
5. Start / Enter Film (press long time)
6. Pause / Adjust time (press long time)
Accessories
Name
Quantity
nano3 Machine
1
AC power plug
1
User manual
1
Knives / Blades
2
Spare belts
2
Pins
4

OPERATING INSTRUCTIONS
6
Operating device
1. Turn on the power switch
Connect the power cable and turn on the power switch
2. Load in the air cushion film
Load the film roll into the feeding roller and pass the film through with the air
channel side down, pull film in from the right side of tension column A,
then pull out from the middle of guide tension column B and roll film tension.

OPERATING INSTRUCTIONS
7
Pull out from the middle of guide tension column B and roll film tension
3. Feeding the film onto the air nozzle
Open the air channel and put film into air nozzle to pass through the air channel
until the film is 1cm behind the wheels.

OPERATING INSTRUCTIONS
8
4. Start film
Press the “start” button to start the feeding of the film and check the air volume
and the sealing result. Adjust the temperature and air volume according to the
desired results. Once the sealing result and volumes are perfect, you can preset
working time and enter automatic working mode.
According to the actual conditions (different types of film, different environment
temperature) adjust the temperature and air volume, and then press the
“START/IN(OUT)” button to start enter film.
5. Pause
The machine will stop automatically after running for the preset time, or you can
manually press “STOP” button to stop working when the machine running.

OPERATING INSTRUCTIONS
9
The corner of the film can be cut at an angle to
make it easier to fit the film over the air nozzle.
Operating setting details
1. Temperature setting is on the left side of panel.
Pressing the “+” button increases the temperature; pressing the “-” button
decreases.
There are 1-30 levels.
Press one time means increase or decrease 1 level. Continuous pressing rapidly
increases or decreases. (Please decrease if there are holes in the sealing bags;
please increase if sealing is not very strong)
2. Air volume setting is on the right side of panel.
Pressing the “+” button increases the air volume; pressing the “-” button
decreases. There are 1-40 levels.
Press one time means increase or decrease 1 level. (Please decrease the air
volume if there is air in the film on the left side of film tension)
3. Working time presetting:
Long press the “STOP” button to enter the run time preset mode (00:01~02:00),
the temperature “+” and “-” buttons refer to hours; the air volume “+” and “-
”buttons refer to minutes.
Please press the “STOP” button to save and exit the data.
1. Before presetting run time, please estimate the rest length of film to avoid the
long-time racing and cause the machine breaking.
A whole roll film (300 meter) needs 1 hour and 20 minutes; half roll film can
preset 30 minutes running time; less half roll film can preset 10~20 minutes.
2. The working time only be set up in advance and can not be changed while the
machine in working mode. But the air volume and temperature can be
changed anytime.
3. Users can adjust the parameter according to different required; it will save the
used parameter when each power off.

OPERATING INSTRUCTIONS
10
Parameter setting guidance
Temperature Value Setting:
1. Depending on the workplace temperature
If the workplace temperature is around 30ºC and the AirWave Standard film with
a thickness of 20μm is in use, then the reference temperature is: T=14.
AirWave Standard film (20µm): T=14
AirWave Bio film (20µm): T=10
2. If the workplace temperature is colder, you may need to slightly increase the
temperature value; if the workplace temperature is hotter, need to slightly lower
the temperature value correspondingly. The reference is around 1 level/5 ºC.
3. If roll film is thicker, the temperature value should be slightly increased
correspondingly. The reference value is around 2-3 level/5μm.
4. The temperature value should be set up correspondingly according to different
materials of film. The reference temperature value as above are based on the
standard air cushion films. The temperature value need to be adjusted again if
you use other air cushion films.
5. If the air cushion machine has operated more than 2 hours, we suggest that you
slightly lower 1 level, because continuous working will accumulate heat.

OPERATING INSTRUCTIONS
11
Air volume setting
Specification of film
AirWave type 7.1 - 210x100mm
AirWave type 8.3 - 420mm
Reference data
10
40
1. The reference air volumes as above are for the air cushion films with the
thickness of 20µm.
2. Correct air value will give better seal performance.
3. If the air volume is too high, it will hardly change the fill level, but it will cause
more wrinkles in the seal and impact on the air-tightness.
Maintenance Notes
Please regularly check the working status of machine and timely remove any buildup or
residue which can be left in the conveyor wheels.
•Replace the blade
Please replace the blade if the film bunchs up on the blade or when the cut is
seriously uneven.
Using the screwdriver unscrew the screws of blade carrier
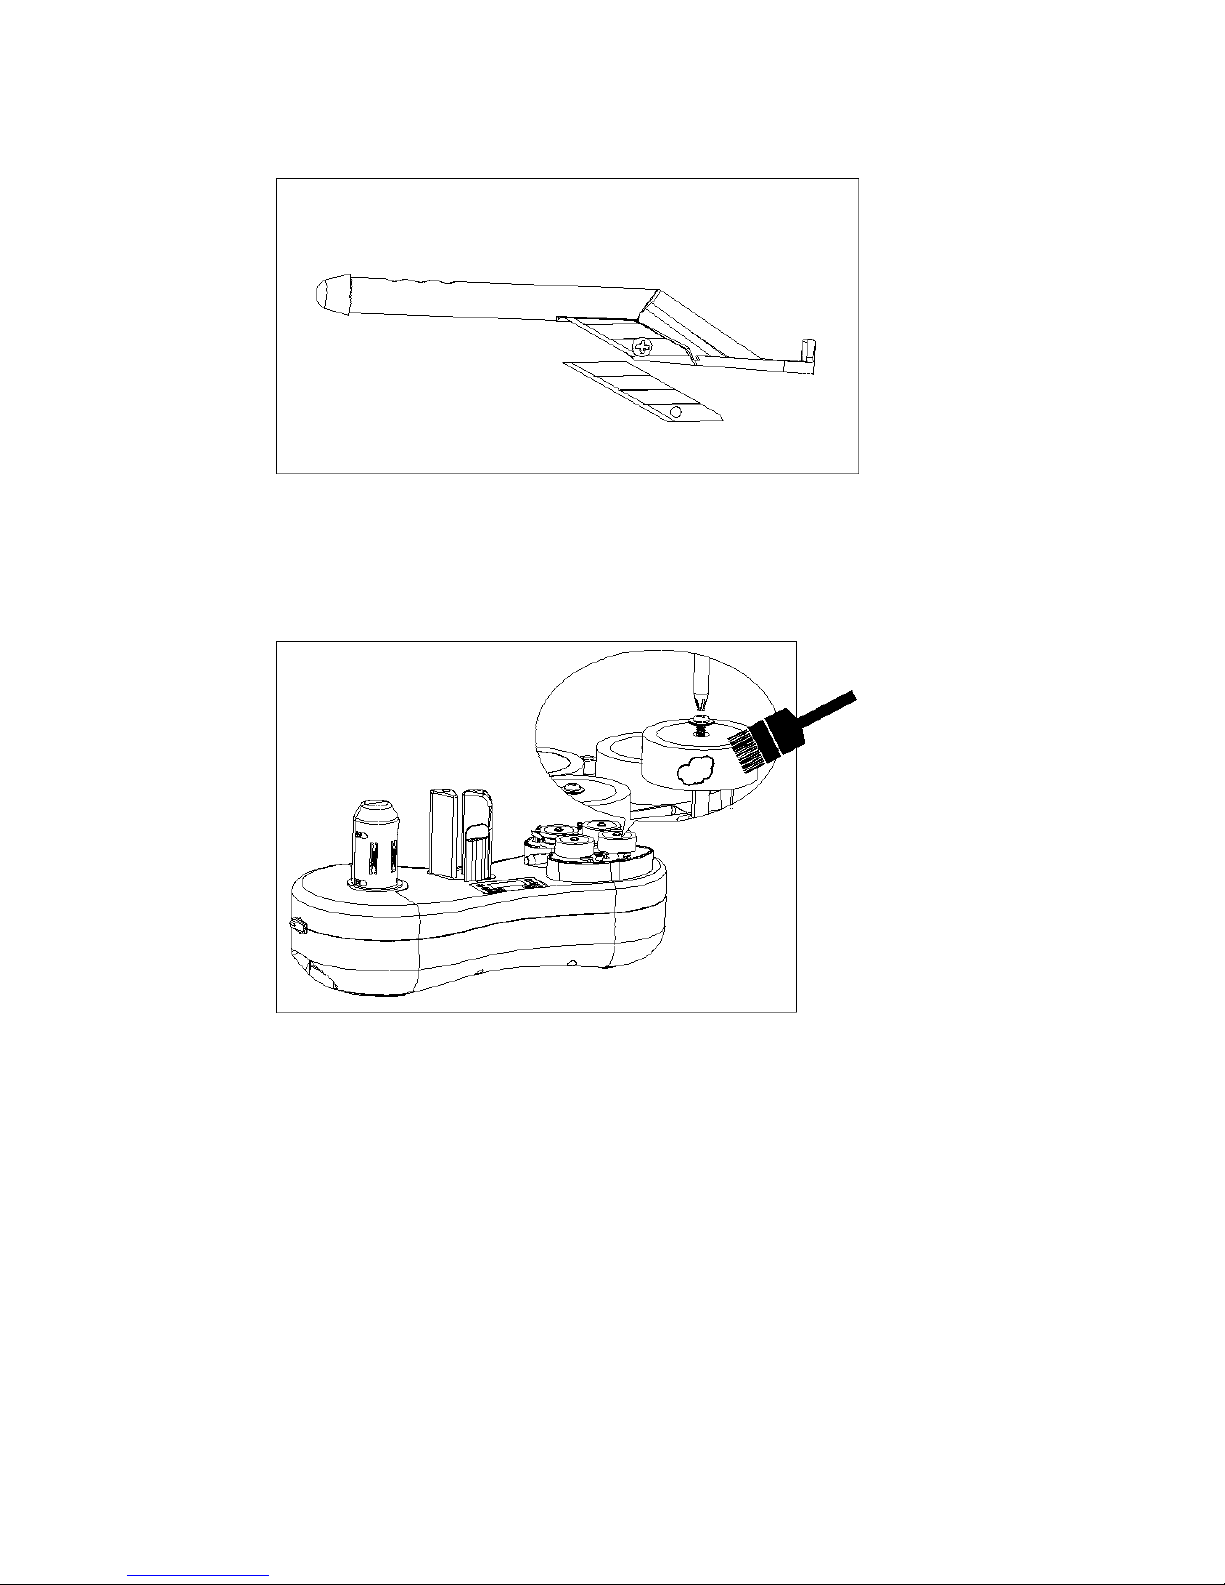
OPERATING INSTRUCTIONS
12
Using the screwdriver unscrew the screws of blade and change them.
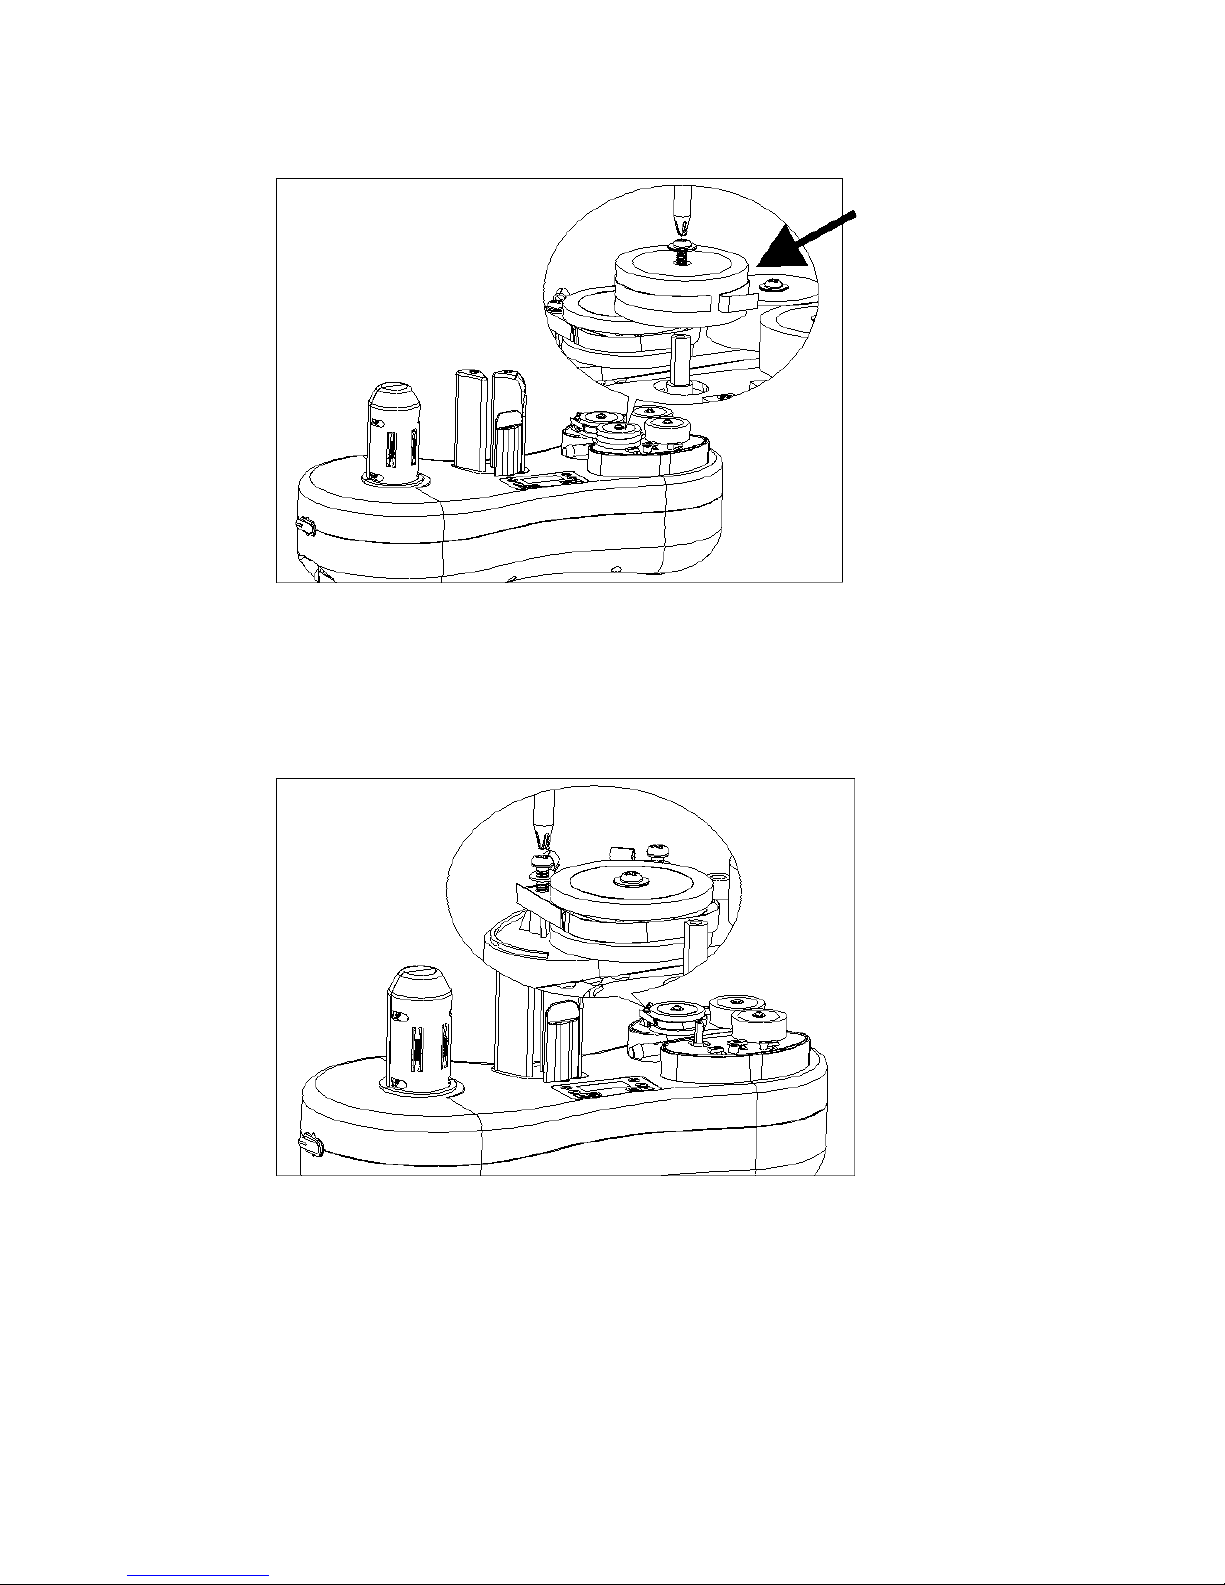
•Wheels clearance
The sealing quality will be effected if there are residue of air cushion film in the
conveyor wheels, please clean them regularly.
•Sealing wheels abrasion
The middle round of the sealing wheels is easily roughened. The sealing quality
can be effected if there are serious abrasions.
OPERATING INSTRUCTIONS
13
Tear off the sealing belt in the middle of sealing wheels and replace it.
•High temperature belt abrasion
Please replace the high temperature belt when there are abrasions, the heating
unit, the conveyor wheels and the sealing wheels will fail if the high temperature
belt is worn and not replaced.
Remove the roller and take out the “U-type” high temperature module.
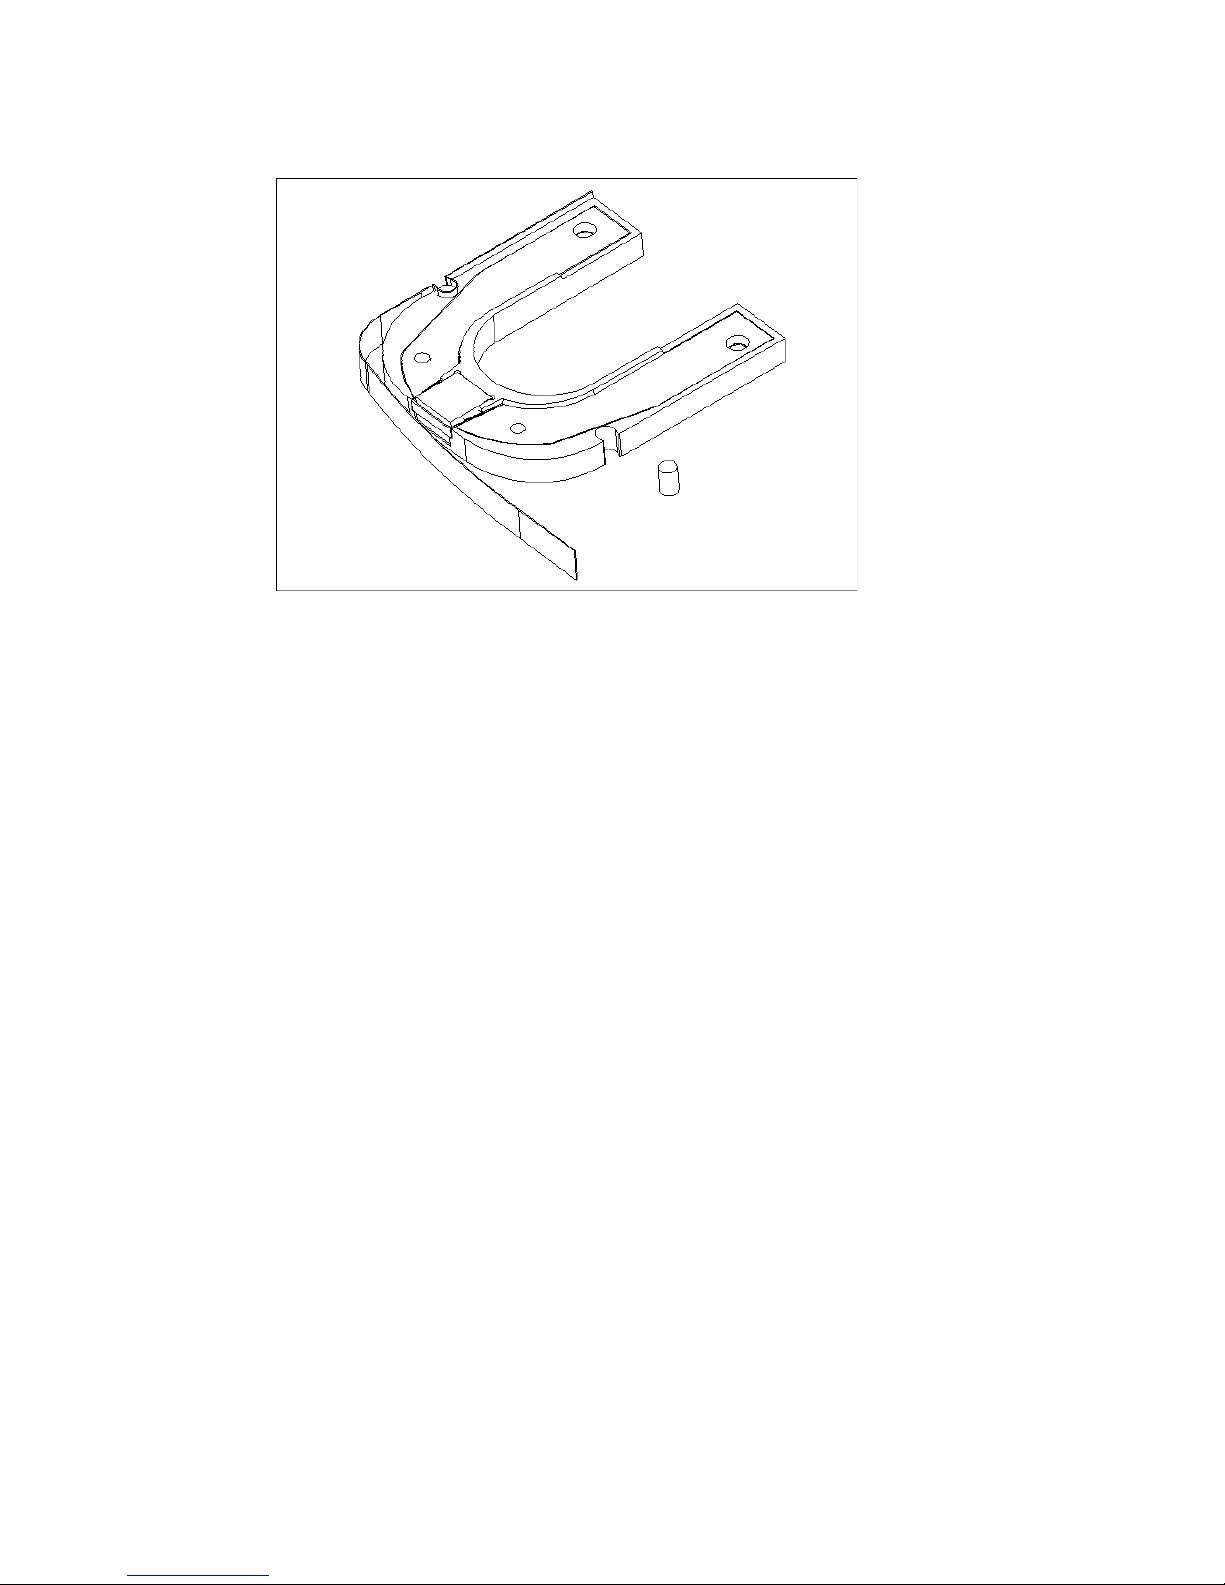
OPERATING INSTRUCTIONS
14
Take out the colloidal pins in the two side of high temperature module and
replace the high temperature belt

OPERATING INSTRUCTIONS
15
Consumables and abrasion accessories declaration
The knife and Teflon bands are abrasion accessories and need to be changed after
continuous use of the machine.
Wearing parts
Knife / Blade
High temperature belt
Pins
Conveyor Wheel A
Heating piece
Heating piece fixation module
2
2
4
1
1
1

OPERATING INSTRUCTIONS
16
Failure Code
Each time the power supply of this device is turned on, the device will do the self-testing.
At that time the motor will drive the conveyor wheel to complete the self-testing. Please
contact with our customer service center and we will solve these problem as soon as
possible.
A. Warning Hot - Heating module for sealing failure
Turn on the power switch of device, the screen is completely blank and the
device does not have any action (air blower and conveyor wheels). Please check
whether the cable has connected with power and please check the adapter
B. Warning Air - Air blowing module failure
If the air come to the left side of Roll film tension or the film is frequently being
pulled off, please check the air volume value and lower the value appropriately
OPERATING INSTRUCTIONS
17
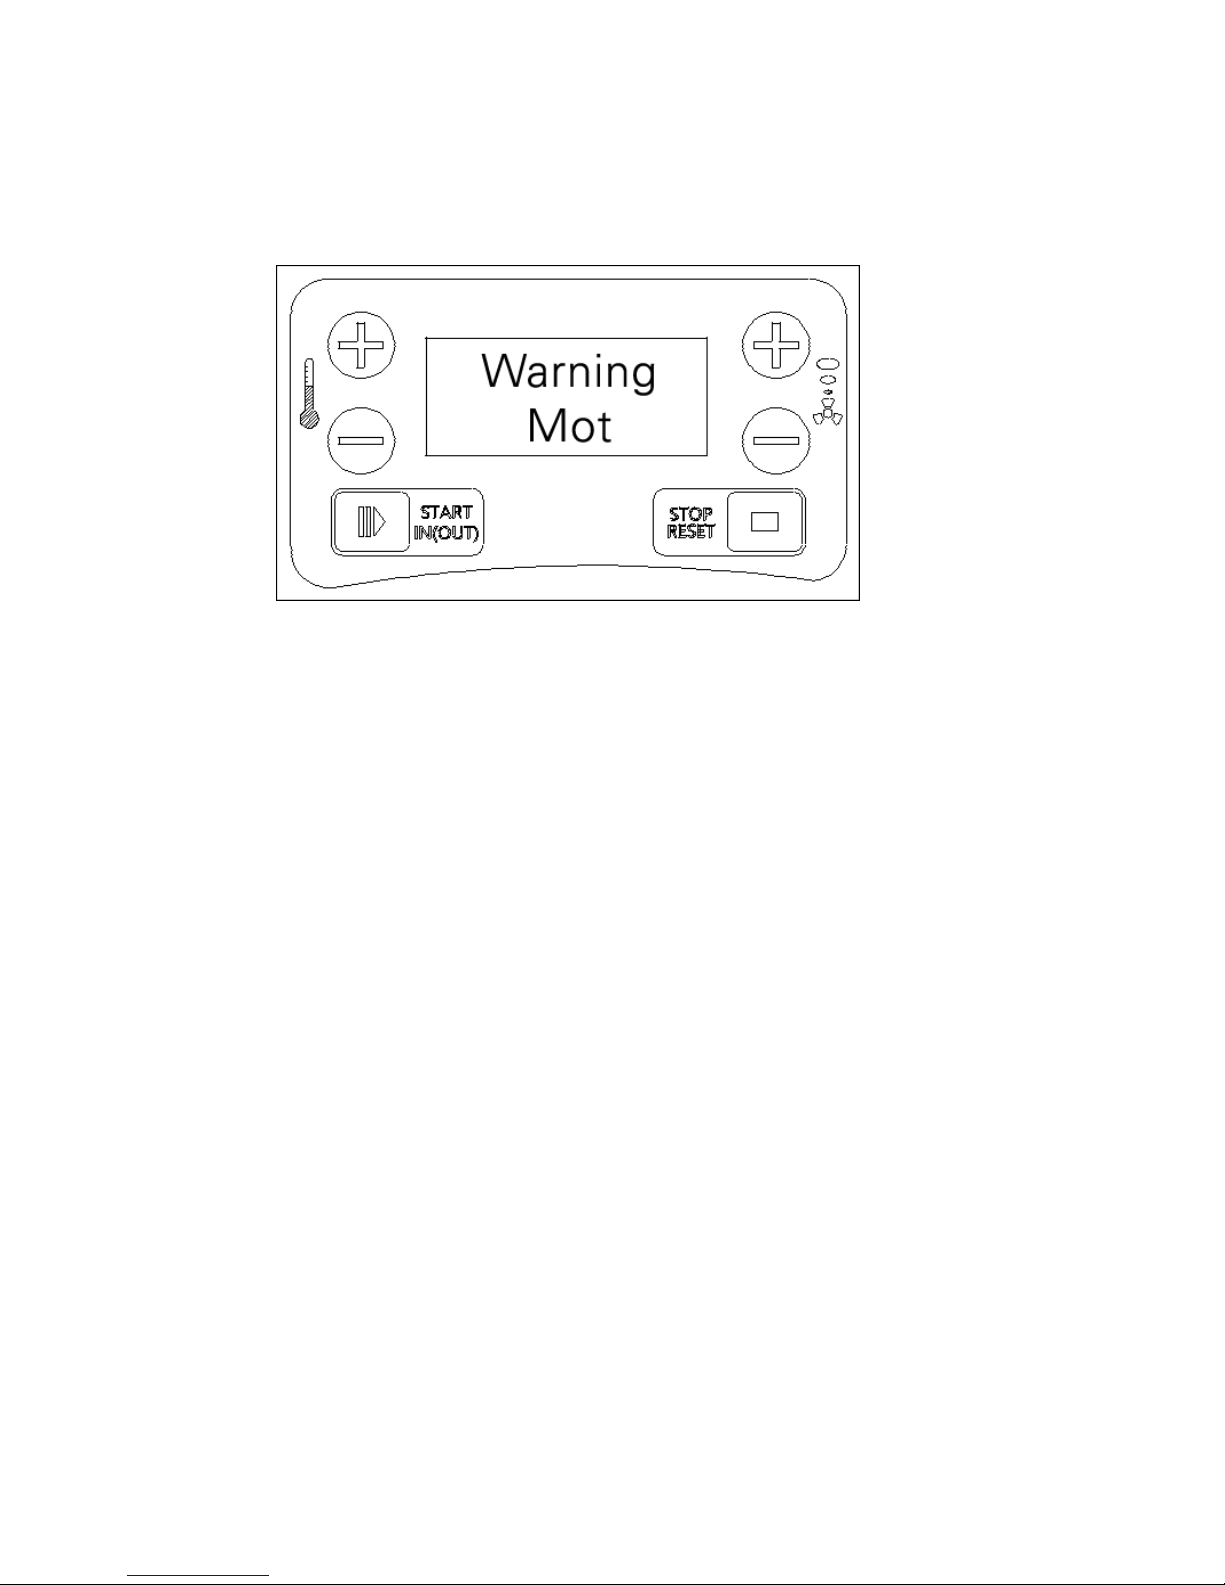
C. Warning Mot - Air blowing module failure
If the film is not being sealed very well or the film is perforated please check the
temperature value and adjust appropriately. If it is not working, please check
whether the high temperature and sealing wheel B are scuffed.
FAQ
A. Turn on the power switch of device, the screen is completely blank and the
device does not have any action (air blower and conveyor wheels). Please replug
the cable to the machine and the power outlet.
B. If the air is on left side of Roll film tension or the film is frequently being pulled
off, please check the air volume value and lower the value appropriately
C. If the film is not sealing very well or the film seal is perforated please check the
temperature value and adjust appropriately. If it is not working, please check
whether the high temperature and sealing wheel B are scuffed

OPERATING INSTRUCTIONS
18
Common failure and solutions
Item
Failure
phenomenon
Reason analysis
Solution
1
Air leakage
Temperature
value is too low
Increase
temperature
value
2
Sealing is wide
and thin
Temperature
value is too high
Lower
temperature
value
3
Under-inflation
Air volume value
is too low
Increase air
volume value
4
During operation,
the foil is
jamming the
heating area.
The device has
working more
than 30minutes,
the body
temperature of
device increased.
Turn off the
device after
pulling the film
5cm away from
the device to
remove the film.

OPERATING INSTRUCTIONS
19
Options and expandability
Please contact your sales advisor for further information.
Rolling container
always brings your air cushions to the ergonomically correct
working height. Locally flexible.
Mobile table solution
Bring your machine to the ideal working height.
(compatible with Docking station)
Docking station
For a decentralized consumption with mobile rolling
container completely independent of machine position.
Roll trough
For an easy storage of endless rolled sheets in optimum
height
Contact:
FLOETER Verpackungs-Service GmbH
Robert-Bosch-Str. 17
71701 Schwieberdingen
Germany
tel: 0800 FLOETER (free within Germany)
e-mail: [email protected]
tel: +49 (0) 71 50 / 923 96-0
Table of contents


