manuals.online logo
Brands
  1. Home
  2. •
  3. Brands
  4. •
  5. Floorpul
  6. •
  7. Vacuum Cleaner
  8. •
  9. Floorpul PL 40P WD User manual

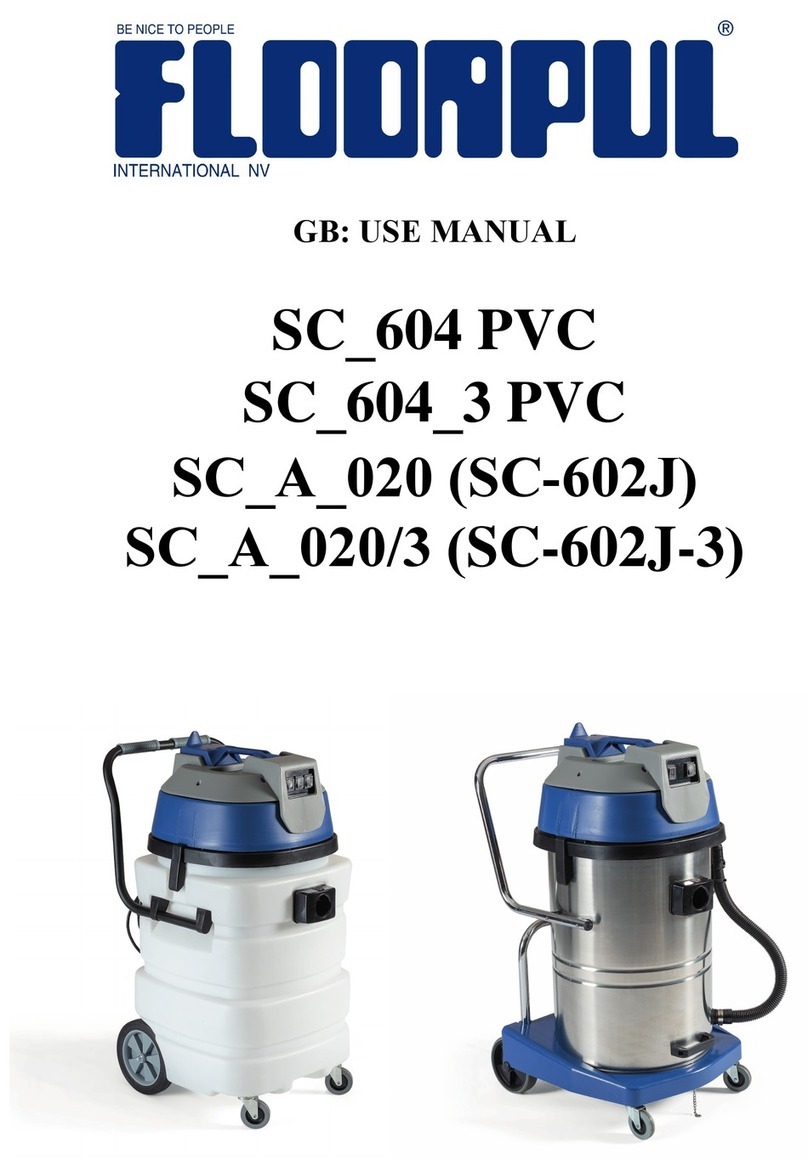
Floorpul PL 40P WD User manual

Bedienungsanleitung
Mode d’emploi
Istruzioni per l’uso
User manual
Gebruiksaanwijzing
Instrucciones de uso
PL 40P WD
Wassersauger
Aspirateur à eau
Aspiraliquidi
Wet vacuum cleaner
Waterzuiger
Aspirador de Agua
pag. 2
PL 40P WD
Technische Daten, Données techniques, Dati tecnici,
Technical specifications, Technische gegevens,
Datos técnicos
Spannung
Tension èlectrique
Voltaggio
Voltage
Spanning
Voltaje
40
.
l
Luftfördermenge
Débit d’air
Portata d’aria
Air Flow
Luchtstroom
Potencia aspiración
2500
250
25
Wassersäule
Depression
Depressione
Water lift
Waterkolom
Depresión
mm/H2O
mBar
kPa
Gewicht
Poids
Peso
Weight
Gewicht
Peso
l/sec
m3/min
59
3,54
kg 15
V.
Hz
230-240
50-60
Motorenleistung
Puissance Nom./Max.
Potenza Nom./Max.
Power Nom./Max.
Vermogen Nom./max.
Potencia Nom./Max..
Watt 1350/1450
Effektive Kapazität
Capacité utile
Capacità utile
Effective capacity
Effectieve capaciteit
Capacidad efectiva
cm 59 x 63 x 92
Abmaße
Dimensions
Dimensioni
Dimensions
Afmetingen
Dimensiones
7
m
Kabellänge
Longueur du câble
Lunghezza cavo
Cable length
Kabel lengte
Longitud cable
IG
CO
MO
Schaltplan, Diagramme eléctrique, Schema elettrico,
Wiring diagram, Schakelschema, Esquema eléctrico
MO : Motor - Moteur - Motore - Motor - Motor - Motor
CO : Kondensator - Condensateur - Condensatore - Capacitor - Condensator - Condensador
IG : Zweinpoliger Schalter - Interrupteur bipolaire - Interruttore bipolare
Two-pole switch - Twee-pool schakelaar - Interruptor bipolar
Legenda:
Produkt abhängig von WEEE Richtlinie, Produit sujet à la directive WEEE,
Prodotto soggetto alla direttiva WEEE, Product subject to WEEE directive,
Product onderworpen aan Weee- richtlijn, Producto conforme a directorio WEEE.
Gerätebeschreibung, Description, Descrizione
dell’apparecchiatura, Description,
Omschrijving, Descripción
1. Poignée
2. Commutateur marche/arrêt
3. Boitier du moteur avec
isolation
4. Flotteur
5. Câble
6. Roulette pivotante
7. Roue fixe
8. Cuve
9. Manchon d’aspiration
10. Crochet de fermeture
11. Chariot basculant
B
1. Gerätegriff
2. Ein/Aus - Schalter
3. Motorgehäuse mit
Schalldämmung
4. Schwimmer
5. Netzkabel
6. Lenkrollen
7. Rad
8. Kessel
9. Saugstutzen
10. Verschlußgriff
11. Kippwagen
D
1. Maniglia
2. Interruttore d’accensione
3. Coprimotore con isolante
acustico
4. Galleggiante
5. Cavo
6. Ruota piroettante
7. Ruota fissa
8. Serbatoio
9. Bocchetta d’aspirazione
10. Ganci di chiusura
11. Carrello
IF
1. Carrying handle
2. On/Off switch
3. Noise absorbing motor
housing
4. Floater
5. Mains cord
6. Castors
7. Wheel
8. Tank
9. Hose socket
10. Latch
11. Tilting trolley
GB
1. Handgreep
2. Aan/Uit schakelaar
3. Motorhuis met
geluidsdemping
4. Vlotter
5. Snoer
6. Zwenkwielen
7. Wiel
8. Tank
9. Slangaansluiting
10. Bevestigingsclip
11. Overhellend karretje
BNL
1. Asa de transporte
2. Interruptor de puesta en
marcha
3. Carcasa del motor con
aislamiento acústico
4. Flotador
5. Cable de alimentación
6. Ruedas
7. Ruedas fijas
8. Depósito
9. Apertura para conexión del
tubo de aspiración
10. Asa de cierre
11. Base ruedas basculante
E
1
2
3
4
11
10
9
7
6
pag. 3
PL 40P WD
5
8
pag. 4
PL 40P WD
Gerätebeschreibung, Description, Descrizione dell’apparecchiatura,
Description, Omschrijving, Descripción
B
D I
F
GB BNL E
1 3
1
Incastrare saldamente uno nell’altro
i pezzi del tubo d’aspirazione e la
ventosa aspiraliquidi.
2
Inserire il tubo flessibile di aspirazione
nella bocchetta di aspirazione.
3
Collegare il cavo di alimentazione alla
presa elettrica. Accendere
l’apparecchio agendo sull’interruttore.
Attenzione: verificare che la tensione
indicata sulla etichetta dei dati
corrisponda alla tensione di rete.
1
Assembler les éléments da la canne
d’aspiration et le suceur (les
introduire à fond).
2
Accoupler celui-ci au manchon de
l’aspirateur.
3
Brancher la prise du câble
d’alimentation à une prise de
courant. Mettre en marche
l’aspirateur au moyen du
commutateur on/off. Attention: la
tension indiquée sur la plaquette
signalétique de l’appareil doit
correspondre à celle du réseau
électrique.
1
Firmly connect the suction tube
parts and the squeegee tool.
2
Insert suction hose into the hose
socket.
3
Connect the mains cord to the
electrical outlet. Turn the vac on
with the On/Off switch.
Attention: the voltage stated on the
Technical label must match the
electrical outlet.
1
Die Saugrohrteile und die
Bodendüse ineinander stecken.
2
Schlauchmuffe in den Saugstutzen
stecken.
3.
Kabel an das Netz anschließen.
Einschalten des Saugers durch
Betätigen des Ein/Aus Schalters.
Bitte beachten Sie: Die auf dem
Typenschild des Gerätes
angegebene Spannung (Volt) muss
mit der Netzspannung
übereinstimmen.
1
Conectar firmemente la manguera de
aspiración, los tubos y la boquilla de
aspiración de líquidos.
2
Introducir la manguera de aspiración
en la apertura de conexión.
3
Enchufar a la red el cable de
alimentación eléctrico. Encender el
aspirador accionando el interruptor de
conexión. Atención: No olvide que la
tensión indicada en la placa de datos
debe coincidir con la tensión de la
red.coincidir con la tensión de la red.
1
De zuigbuisdelen worden stevig in
elkaar geschoven.
2
Plaats de zuigbuis in de
slangaansluiting.
3
Doe de stekker in het stopcontact.
Met de aan/uit schakelaar wordt de
stofzuiger in werking gezet. Let op:
het voltage aagegeven op het
typeplaatje moet overeenkommen
met de netspanning.
2
B
D I
F
GB BNL E
1
1. Assicurarsi che la spina sia
disinserita dalla presa elettrica;
2. Sganciare i ganci sul fusto e
togliere la testata;
3. Ruotare il fusto e svuotarlo in un
altro recipiente;
4. Riportare il fusto nella posizione
originaria,riposizionare la testata e
chiudere i ganci sul fusto.
1. S'assurer que la prise soit
débranchée du réseau électrique;
2. Défaire les crochets placés sur la
cuve, enlever la tête;
3. Tourner la cuve et le vider dans un
autre récipient;
4. Mettre la cuve dans sa position
initiale, remettre la tête, fermer les
crochets placés sur la cuve.
1. Disconnect the plug from the
source of electricity;
2. Unlock the tank latches, remove
the head from the tank;
3. Turn the tank and empty it in
another container;
4. Then put the tank back into its
original position, place the head in its
correct position and secure it onto the
tank with the latches.
1. Asegurarse que el enchufe está
desconectado de la red;
2. Abrir asas de cierre del depósito y
quitar el cabezal;
3. Girar el tanque y vaciarlo en otro
recipiente;
4. Volver a colocar el depósito en la
posición original, montar el cabezal,
cerrar las asas de cierre del depósito.
1. Kontrollieren Sie bitte, ob das
Gerät ausgeschaltet ist;
2. Lösen Sie die Klammern, nehmen
Sie das Motorgehäuse ab;
3. Den Kessel drehen und es in
einem anderen Gefäß leeren;
4. Nach Entleerung stellen Sie den
Kessel wieder auf den Boden und
setzen das Motorgehäuse wieder auf
den Kessel Arretieren Sie die
Klammern.
1. Haal de stekker uit de contactdoos;
2. Verwijder de kop van de ketel;
3. Draai de ketel en leeg in een grote
emmer;
4. Plaats de ketel terug in zijn
oorspronkelijke positie, en sluit de
klemmen
2 43
Reinigung und Instandhaltung des Gerätes, Nettoyage et
entretien de l’appareil, Pulizia e manutenzione
dell’apparecchiatura, Cleaning and maintenance of the
vacuum cleaner, Onderhoud van het apparaat, Limpieza y
mantenimiento del aparato.
pag. 5
PL 40P WD
Standard
Set mit Standardzubehör, Aspirateur avec
accessories standard, Set con accessori standard,
Standard accessory set, Standaard hulpstukken set,
Juego de accesorios standard
1
2
3
4
5
6 7
8 9
10
1. Tuyau flexible d’aspiration
2. Suceur à brosse
3. Suceur eau
4. Suceur tapis (optionel)
5. Brosse ronde
6. Tubes « S » en acier chromé
7. Tube en plastique
8. Suceur plat
9. Filtre anti mousse
10. Filtre en tissu
B
1. Saugschlauch
2. Bürstendüse
3. Wasserdüse
4. Teppichdüse (wahlen)
5. Pinseldüse
6. Verchromte Verlängerung “S”
7. Plastik Verlängerung
8. Fugendüse
9. Anti Schaum Filter
10. Filtertuch
D
1. Tubo flessibile
2. Spazzola
3. Ventosa
4. Spazzola per moquette
(opzionale)
5. Pennello
6. Prolunghe cromate ad “S”
7. Prolunga in plastica
8. Lancia piatta
9. Filtro anti shiuma
10. Filtro stoffa
IF
1. Suction hose
2. Floor brush
3. Squeegee
4. Carpet tool (optional)
5. Dust brush
6. Chromed extension wands “S”
7. Plastic wand
8. Crevice
9. Anti foam filter
10. Cloth filter
GB
1. Zuigsland
2. Vloerborstel
3. Aanzetstuk voor water
4. Aanzetstuk voor tapijt
(facultatief)
5. Borstel aanzetstuk
6. Verchroomd verlengstuk “S”
7. Plstiek verlengstuk
8. Aanzetstuk voor voegen
9. Antischuim filter
10. Filterdoek
BNL
1. Manguera de aspiración
2. Cepillo
3. Ventosa
4. Cepillo para alfombras
(opcional)
5. Pincel
6. Tubos cromados “S”
7. Tubo plàstico
8. Boquilla plana
9. Filtro anti espumante
10. Filtro tela
E
pag. 6
PL 40P WD
Standard
pag. 7
PL 40P WD
Options
Options
Wahlen, Options, Opzioni,
Options, Opties, Opciones
1
2
3
4
5
1. Filtre à cartouche
2. Filtre à cartouche lavable
3. Filtre à cartouche H.E.P.A.
4. Filtre nylon
5. Filtre sac papier
6. Suceur frontal fixe pour
liquides .
B
1. Filtereinsatz
2. Waschbarer Filtereinsatz
3. H.E.P.A. Filtereinsatz
4. Nylon Filtereinsatz
5. Papier – Filtertüte
6. Starre Wassersaugdüse
komplett .
D
1. Filtro cartuccia
2. Filtro cartuccia lavabile
3. Filtro cartuccia H.E.P.A.
4. Filtro nylon
5. Sacchetto in carta
6. Accessorio frontale .
IF
1. Cartridge filter
2. Washable cartridge filter
3. H.E.P.A. cartridge filter
4. Nylon filter
5. Paper bag
6. Front mount squeegee .
GB BNL
1. Filtro cartucho
2. Filtro cartucho lavable
3. Filtro cartucho H.E.P.A.
4. Filtro nylon
5. Bolsa de papel
6. Accesorio frontal .
E
6
1. Cartridge filter
2. Wasbaar cartridge filter
3. H.E.P.A. cartridge filter
4. Nylon filter
5. Papieren stofzak
6. Vaste voortrein met
waterzuigmond .
pag. 8
PL 40P WD
Fehlerursachen, Possibles causes de mauvais
fonctionnement, Possibili cause di cattivo
funzionamento, Trouble-shooting, Mogelijke storigen van
het apparaat, Posibles causas de mal funcionamento
Il motore di aspirazione è stato progettato e costruito per funzionare senza particolare assistenza, i carboncini possono
in ogni caso essere sostituiti solo dai Ns. centri di assistenza autorizzati dopo il normale consumo dovuto all'usura.
1) SINTOMO: l’apparecchio non funziona: Punti da controllare:
a) Controllare se la spina è stata inserita nella presa elettrica
b) Controllare se l'interruttore è acceso
c) Il bidone si è riempito di liquido, svuotare il fusto seguendo le apposite istruzioni indicate nel manuale.
2) SINTOMO: l’apparecchio non ha sufficiente aspirazione:Punti da controllare:
a) Pulire o sostituire i filtri seguendo le istruzioni dei manuali
b) Il tubo d’aspirazione è ostruito; spegnere l'apparecchio tramite l'apposito interruttore ed eliminare le parti che
aaaaaostruiscono il tubo
c) La bocchetta d’aspirazione è ostruita; spegnere l'apparecchio tramite l'apposito interruttore ed eliminare le parti
aaaaache ostruiscono la bocchetta..
ATTENZIONE! Togliere sempre la spina di alimentazione dalla presa elettrica prima di iniziare qualsiasi lavoro di
pulizia e manutenzione dell'apparecchio. Assicurarsi che il cavo di alimentazione non abbia tagli o sia danneggiato (in
tal caso rivolgersi al più vicino centro di assistenza autorizzato per la sostituzione).
Der Saugmotor bedarf keinerlei Wartung. Die Kohlebürsten des Antriebmotors können jedoch durch eine autorisierte
Fachwerkstatt überprüft und ggf. ausgetauscht werden.
1) FEHLER: Der Staubsauger arbeitet nicht:
a) Versichern Sie sich, dass der Stecker an das Netz angeschlossen ist.
b) Versichern Sie sich, dass der An/Aus Schalter auf „An“ steht
c) Versichern Sie sich, dass die maximale Kesselkapazität noch nicht erreicht ist,
Entleeren Sie den Tank wie im Handbuch beschrieben.
2) FEHLER: Die Maschine saugt nicht:
a) Reinigen oder Ersetzen Sie die Filter wie im Handbuch beschrieben.
b) Saugschlauch verstopft: Schalten Sie den Wassersauger aus und überprüfen Sie das Saugrohr.
c) Anschlussstutzen verstopft: Schalten Sie den Wassersauger aus und überprüfen den Anschlussstutzen.
ACHTUNG! Bei Reinigung und Wartungsarbeiten muss der Netzanschluss unterbrochen werden. Bitte versichern Sie
sich, dass das Netzkabel keine Schäden aufweist. Sollte dies der Fall sein, lassen Sie es von einer autorisierten
Fachwerkstatt austauschen.
D
Le moteur est conçu et construit de telle façon qu'il exige peu d'entretien; les charbons peuvent être remplacés
seulement par nos services après-vente autorisés après l'usure normale due à l'utilisation.
1) SYMPTÔME: L'appareil ne fonctionne pas. Points à contrôler:
a) contrôler si la prise de l’appareil est branchée dans la prise de courant
b) contrôler si l'appareil a été mis en marche
c) la cuve s'est remplie de liquide : vider la cuve suivant les instructions indiquées dans le manuel.
2) SYMPTÔME: L'appareil n'a pas une aspiration suffisante. Points à contrôler:
a) nettoyer ou remplacer les filtres suivant les instructions du manuel.
b) Le tuyau d’aspiration est obstrué; arrêter l’appareil au moyen de l’interrupteur et éliminer les parties qui obstruent
aaaaale tuyau.
c) L’entrée de la cuve est obstruée; arrêter l’appareil au moyen de l’interrupteur et éliminer les parties qui obstruent
aaaaal’entrée de la cuve.
Si aucun de ces points n’est la cause des problèmes, adressez-vous au service après-vente autorisé pour le contrôle.
ATTENTION! Débrancher toujours la prise de courant avant de faire un nettoyage ou un entretien de l'appareil. Vérifier
si le câble d'alimentation n’est pas coupé ou endommagé (dans ce cas s'adresser au service après-vente autorisé le
plus proche pour le remplacement).
B F
I
pag. 9
PL 40P WD
Fehlerursachen, Possibles causes de mauvais
fonctionnement, Possibili cause di cattivo
funzionamento, Trouble-shooting, Mogelijke storigen van
het apparaat, Posibles causas de mal funcionamento
El motor de aspiración fue proyectado y construido para funcionar sin necesidad de mantenimiento. Los cepillos, una
vez desgastados por el uso del aparato, deben de ser sustituidos únicamente por nuestros centros de asistencia
autorizados.
1) SINTOMA: El aparato no funciona: Puntos a revisar
a) Revisar si el enchufe está conectado a la red de alimentación.
b) Revisar si el interruptor está encendido.
c) Si el bidón se ha llenado de líquido, vaciar el bidón siguiendo las instrucciones del manual.
2) SINTOMA: El aparato no tiene suficiente fuerza de aspiración: Puntos a revisar
a) Limpiar o sustituir los filtros siguiendo las instrucciones del manual
b) El tubo de aspiración esta obstruido: Apagar el aparato y eliminar los elementos que lo obstruyen.
c) La boquilla de aspiración esta obstruida: Apagar el aparato y eliminar los elementos que lo obstruyen.
ATENCION! Desconectar siempre el enchufe de la red de alimentación antes de iniciar cualquier trabajo de limpieza o
mantenimiento del aparato. Asegurarse que el cable de alimentación no tenga cortes o este dañado. Si se da ese
caso dirigirse al centro de asistencia autorizado más cercano para su sustitución.
The motor is built for maintenance free operation and does not need any particular service. The carbon brushes may
need to be replaced due to normal wear and tear caused by using the vacuum cleaner over time, and they can be
replaced only by our authorized service centres.
1) PROBLEM: The machine does not work. CHECK the following points:
a) Check if the plug is connected to the source of electricity.
b) Check if the switch is in the on position.
c) The tank may be filled with liquid. lf it is, empty the tank, following the instructions given in this booklet.
2) PROBLEM: The machine does not have enough suction. CHECK the following points:
a) The filters may be dirty. lf they are, clean or replace them, following the instructions given in this booklet.
b) The suction hose may be obstructed. lf it is, turn off the vacuum cleaner, and then remove the cause of
aaaaaobstruction.
c) The tank entry may be obstructed. lf it is, turn off the vacuum cleaner, and then remove the cause of obstruction.
ATTENTION! Before performing any cleaning and maintenance on the vacuum cleaner, always disconnect the plug
from the source of electricity. Make sure that the cable is not cut or damaged (if it is, apply to the nearest authorized
service centre for replacement).
GB
De motor is aldus gebouwd dat hij weinig onderhoud vereist. Het is aan te raden de koolborstels jaarlijks door een
erkende dealer te laten nazien.
1) HET APPARAAT FUNCTIONEERT NIET
a) Controleer of de stekker is aangesloten op de contactdoos.
b) Controleer of de schakelaar is ingeschakeid.
c) De ketel is vol, leeg de ketel volgens de instructies in deze gebruiksaanwijzing.
2) PROBLEMEN BIJ HET ZUIGEN
a) Reinig of vervang de filters volgens de instructies in deze gebruiksaanwijzing.
b) De zuigslang is verstopt, schakel het apparaat uit en verwijder de verstopping uit de slang.
c) De ketelaansluiting is verstopt, schakel het apparaat uit en maak de ketelaansluiting vrij.
Ga milieubewust met het apparaat om aan het einde van de levensduur, volg de overheidsvoorschriften betreffende
afvoer. Niets uit deze uitgave
OPGELET: verwijder de stekker uit de contactdoos bij onderhoud aan het apparaat. Vermijd beschadiging van het
netsnoer. In geval van vervanging gebruik steeds een kabel van dezelfde kwaliteit gebruiken (wendt u zich tot een
bevoegde dealer).
BNL
E
pag. 10
PL 40P WD
Warnhinweise, Reccommandations importantes,
Avvertimenti, Warnings, Waarschuwingen,
Advertencias
Leggere attentamente le avvertenze contenute nel presente libretto e conservarlo con cura per ulteriori
consultazioni. Gli elementi dell'imballaggio (sacchetti di plastica, graffe etc.) essendo potenziali fonti di pericolo non
debbono rimanere alla portata di bambini, d’incapaci etc. Dopo aver estratto l'apparecchio dall'imballaggio controllarne
l'integrità e in caso di dubbio non utilizzarlo, come pure per eventuali riparazioni rivolgetevi esclusivamente ad un
centro di assistenza autorizzato dal costruttore, che garantisca l'utilizzo di ricambi originali. Il mancato rispetto di quanto
sopra può compromettere la sicurezza dell'apparecchio. Prima di collegare l'apparecchio alla presa di corrente
verificare che i dati elettrici riportati sulla targhetta corrispondano a quelli della rete di alimentazione. Questo
apparecchio deve essere destinato al solo uso per il quale è stato costruito ossia: pulizia di superfici inerti, aspirazione
di sostanze solide e liquide non infiammabili e non esplosive. Ogni altra utilizzazione è da considerarsi impropria e
pericolosa. Evitare che l'accessorio in funzione pervenga a distanza ravvicinata da organi delicati quali orecchie, bocca,
occhi etc. Non lasciare l'apparecchio incustodito in presenza di bambini o incapaci. L'apparecchio quando non è in
funzione non deve rimanere con la spina inutilmente collegata alla rete. Prima di effettuare qualsiasi operazione di
manutenzione all'apparecchio: disinserire la spina dalla rete, non immergere l'apparecchio nell'acqua, non usare
solventi e sostanze liquide o prodotti schiumogeni. Il costruttore non può essere ritenuto responsabile per eventuali
danni a persone, animali o cose, derivanti da usi impropri ed irragionevoli, comunque non conformi alle indicazioni
sopra menzionate. Il costruttore si riserva il diritto di apportare modifiche ai propri apparecchi senza nessun preavviso.
Bitte lesen Sie die Bedienungsanleitung sorgfältig durch. Behalten Sie dieses Dokument, damit Sie jederzeit auf
den Inhalt zurückgreifen können. Verpackungsmaterialien (Plastikbeutel, Klammern oder Krampen etc) bitte für
Säuglinge, Kleinkinder und behinderte Personen unzugänglich aufbewahren und sofort entsorgen. Bitte überprüfen Sie
den Kartoninhalt auf Vollständigkeit. Sollten Teile fehlen oder defekt sein, nehmen Sie bitte Kontakt zu einer
autorisierten Verkaufsstelle auf, bevor Sie die Maschine in Betrieb nehmen. Der Wassersauger darf nur mit
Wechselstrom, gemäß den Angaben des Typenschildes, verwendet werden. Die Steckdose muss der
Leistungsaufnahme des Wassersaugers entsprechen. Den Wassersauger nur bestimmungsgemäß einsetzen:
Staubsaugen von Böden und das Absaugen von Feststoffen und Flüssigkeiten, welche nicht entflammbar oder explosiv
sind. Keine schäumenden Flüssigkeiten aufsaugen. Gebrauchen Sie die Maschine nur für die Arbeiten, für die sie
konzipiert wurde. Die Saugvorrichtung nicht an sensible Bereiche des Körpers halten, wie z. B. Augen, Mund, Nase,
Ohren etc. Die Maschine nicht unbeaufsichtigt lassen. Bei Nichtgebrauch des Wassersaugers den Netzstecker
herausziehen. Bevor Reinigungs- und Wartungarbeiten durchgeführt werden, bitte den Netzstecker ziehen. Den
Wassersauger zur Reinigung oder Entleerung nicht ins Wasser tauchen. Bei unsachgemäßem Gebrauch des
Wassersaugers sowie der Verwendung von nicht Originalteilen erlischt die Garantie und der Hersteller übernimmt
keine Verantwortung. Benutzen Sie den Wassersauger nicht mit aufgerolltem Kabel !
D
Lire attentivement les conseils contenus dans cette notice et la conserver avec soin. Les éléments d'emballage
(sac plastique, agrafes, etc) étant sources de danger, ils ne doivent pas rester a la portée des enfants. Après avoir sorti
l'appareil de son emballage, contrôler l'ensemble et vérifier que le voltage de votre installation soit identique à celui
marqué sur l'appareil. En cas de doute, ne pas l'utiliser. En cas de panne, s'adresser uniquement à un SAV dûment
agrée utilisant des pièces de rechange d'origine. Cet appareil ne doit être utilisé que pour l'usage pour lequel il a été
conçu: nettoyage de surfaces inertes, aspiration de substances liquides et solides qui ne sont pas inflammables ou
explosives. Tout autre utilisation est à considérer comme inadaptée et dangereuse. Ne pas laisser l'appareil sous
tension en présence de jeunes enfants et éviter de le mettre en contact avec des parties sensibles (oreilles, bouche,
yeux). Avant toutes opérations de manutention et d'entretien, débrancher l'appareil. Ne pas l'immerger dans l'eau. Ne
pas utiliser de solvants ou de produits moussants. Le non respect de ce qui précède pourrait compromettre la sécurité
de l'appareil et la vôtre. Le constructeur ne pourra pas être tenu pour responsable des éventuels dommages aux
personnes, animaux ou objets découlant d'une utilisation inappropriée ou insensée et en tout cas non conforme aux
présents conseils. Le constructeur se réserve le droit d'apporter toutes modifications qu'il jugerait utile à l'appareil, et
cela sans préavis.
B F
I
pag. 11
PL 40P WD
Warnhinweise, Reccommandations importantes,
Avvertimenti, Warnings, Waarschuwingen,
Advertencias
Leer atentamente las instrucciones contenidas en este librillo y conservarlo para posteriores consultas. Los
elementos del embalaje (bolsas de plástico, ganchos etc.) siendo potenciales causas de peligro no tienen que quedar al
alcance de los niños, de disminuidos, etc. Después de haber extraído el aparato del embalaje comprobar que esté en
perfecto estado, y en caso de duda no utilizarlo. Para eventuales reparaciones acudir a centros de asistencia autorizados
por el fabricante, que garanticen la utilización de recambios originales. El incumplimiento de estas indicaciones puede
comprometer la seguridad del aparato. Antes de conectar el aparato al enchufe, verificar que los datos eléctricos
indicados en la ficha técnica, correspondan a los de la red de alimentación. Este aparato debe ser destinado al único uso
para el cual fue fabricado, o sea, limpieza de superficies inertes, aspiración de sustancias sólidas y líquidas, no
inflamables y no explosivas. Otro tipo de utilización puede considerarse impropia y peligrosa. Evitar que el accesorio que
esté en marcha se acerque a órganos delicados como: orejas, ojos, boca etc. No dejar el aparato al alcance de niños e
incapacitados. El aspirador cuando no está en funcionamiento, no tiene que quedar conectado a la red de alimentación.
Antes de efectuar cualquier operación de mantenimiento al aparato desconectarlo de la red de alimentación, no sumergir
el aspirador en el agua, no usar solventes o sustancias líquidas o productos espumosos. El fabricante no puede ser
considerado responsable por eventuales daños a personas, animales o cosas, derivados de un uso impropio e
incorrecto. El fabricante se reserva el derecho de poder efectuar modificaciones al aspirador sin previo aviso.
Read all the instructions and warnings in this user manual carefully and keep the booklet for future reference.
Failure to carry out all these instructions can result in potential hazards from the machine. The packaging components
(plastic bags, staples, etc..) are potentially dangerous and should be kept out of the reach of children and handicapped
persons. After having opened the packaging, examine the contents to make sure that it is intact and, in case of missing or
defective parts, contact an authorized dealer or service centre before using the machine, in order to receive the original
parts. Before connecting the machine to the source of electricity, make sure that the electrical specifications mentioned on
the technical label on the machine, are the same as the source of electricity. This machine is designed to be used only as
intended: vacuum cleaning of immobile surfaces, and the vacuuming of solids and liquids which are not inflammable or
explosive. All other uses are to be considered as improper and potentially dangerous. Avoid bringing the attachment in
use, into close proximity of sensitive organs such as eyes, ears, etc.. Do not leave the machine within reach of
unattended children or handicapped persons. Do not leave the machine connected to electricity when not in use. Before
cleaning or carrying out any maintenance work on the machine, disconnect it from the source of electricity. Never
immerse the machine in water, and never use the machine to vacuum harsh solvents and liquids and foam producing
chemicals. Do not bring harsh solvents and liquids into contact with the machine. The manufacturer cannot be held
responsible for any damage to persons, animals, or objects as a result of incorrect and/or improper use of the machine
and due to the user's failure to carry out all the above instructions and warnings.
GB
Onze research is voortdurend Gelieve de instructies in dit handboek zorgvuldig door te lezen en te bewaren. Het niet
doorlezen van deze instructies kan de veiligheid van de machine nadelig beïnvloeden. De verpakkingsmaterialen (plastic
zakken, nietjes etc.) kunnen gevaarlijk zijn en moeten buiten het bereik van kinderen en gehandicapten bewaard worden.
Na het openen van de verpakking, controleren of de machine intact en compleet is. In het geval van onregelmatigheden
of ontbrekende onderdelen, alsmede voor alle toekomstige eventuele reparaties, contact opnemen met de Technische
Dienst die u kan voorzien van de originele onderdelen. Alvorens de machine aan te sluiten, dient u zich te vergewissen
dat u de machine aansluit op de netspanning corresponderend met de elektrische aanduiding op het typeplaatje. Deze
machine mag enkel aangewend worden voor hetgeen de machine bedoelt is, namelijk: zuigen van oppervlakken,
opzuigen van vloeistoffen en vaste stoffen die niet vlambaar en niet-explosief zijn. Ieder ander gebruik van deze machine
kan als ongehoord en gevaarlijk worden beschouwd. Vermijd het contact van de zuigmond met lichaamsdelen, zoals
oren, ogen, mond etc. Laat de machine niet onbewaakt binnen het bereik van kinderen of gehandicapten. Als de machine
niet gebruikt wordt stekker uit het stopcontact halen. Reinigings- of onderhoudswerkzaamheden mogen alleen verricht
worden als de stekker uit het stopcontact is gehaald. Machine niet onderdompelen in water. Gebruik de machine nooit
voor het opzuigen van scherpe oplosmiddelen, schuimvormende chemicaliën en vloeistoffen. Gebruik deze stoffen ook
niet aan de buitenzijde. De fabrikant kan niet aansprakelijk gehouden worden voor enige schade aan mensen, dieren of
voorwerpen door onjuist gebruik van de machine of wegens het niet in acht nemen of onjuist toepassen van de instructies
in deze handleiding. De machine niet gebruiken wanneer de kabel rond de stofzuigerkop is gewikkeld.
E
BNL
pag. 12
PL 40P WD
Ersatzteilliste, Liste des pièces détachéès,
Parti di ricambio, Spare parts list,
Onderdelenlijst , Repuestos
1
2
3
4
5
6
7
8
9
10
11
11
12
13
14
15
16
17
18
19
20
pag. 13
PL 40P WD
Ersatzteilliste, Liste des pièces détachéès,
Parti di ricambio, Spare parts list,
Onderdelenlijst , Repuestos
26
27
28
29
30
31
32
33
21
22
23
24
25
27
28
29
31
32
26
30
33
34
35
pag. 14
PL 40P WD
Ersatzteilliste, Liste des pièces détachéès,
Parti di ricambio, Spare parts list,
Onderdelenlijst , Repuestos
Item
Position
Position
Part No.
Piece No.
Teile Nr.
Description Description Benennung
1 60.048GR Handle Poignée Griff
2 60.002 Screw 4,8 x 19 SP black Vis 4,8 x 19 SP noire Schraube 4,8 x 19 SP schwarz
3 10.531 On/off switch Commutateur Marche/Arrêt Wippenschalter
4 60.007GR/1 Motor house Boîtier du moteur Haube
5 60.010 Screw 2,9 x 19 TC T.C. ZNT Vis 2,9 x 19 TC T.C. ZNT Schraube 2,9 x 19 TC T.C. ZNT
6 40.506 Clamp Borne Klemme
7 60.049B Blue distance ring Anneau bleu de distance Blauer Abstand Ring
8 60.022 Ring Anneau Ring
9 95.006 Isolation ring Anneau d’isolation Schallschutzmatte
10 95.007 Gasket motor Joint de moteur Motordichtung
11 60.037 Motor gasket Joint de moteur Motordichtung
12 58.016 Motor Moteur Saugmotor
13 60.027GR Motor plate Support de moteur Motorplatte
14 60.028 Gasket motor base Joint support de moteur Dichtung Motorplatte
15 27.014 Float Flotteur Schwimmer
16 58.023 Float basket Panier flotteur Schwimmerkorb
17 60.041/7 Mains cord 7 m Câble 7 m Netzkabel 7 m
18 60.039 Ring filter holder Anneau support de filtre Ring Filterträger
19 PL.109 Cotton filter Filtre en tissu Filtertuch
20 PL.101 Cloth for filter Tissu pour le filtre Tuch für Filter
21 90.039 Rubber washer D.6 x 24 Rondelle en caoutchouc D.6 x 24 Gummischeibe D.6 x 24
22 58.005 Washer D.6,6 x 24 ZNT Rondelle D.6,6 x 24 ZNT Unterlagscheibe D.6,6 x 24 ZNT
23 10.517 Screw M6 x 16 TC T.C. ZNT Vis M6 x 16 TC T.C. ZNT Schraube M6 x 16 TC T.C. ZNT
24 60.070 Tank Cuve Behälter
25 60.017 Suction hose inlet seal Jiont manchon d'aspiration Saugschlaucheingangdichtung
26 60.043/GR Suction hose inlet Manchon d’aspiration Saugschlaucheingang
27 10.549 Lock nut M10 ZNT Encrou autobloquant M10 ZNT Stopmutter M10 ZNT
28 60.151 Rubber joint H. 41,5 x 12 Caoutchouc joint H. 41,5 x 12 Gummi Dichtung H. 41,5 x 12
29 10.552/C Pivot wheel D.75 M10 x 15 Roulette pivotante D.75 M10 x 15 Lenkrolle D.75 M10 x 15
30 95.013 Steel latch Crochet de fermeture Schnapperverschluss, metal
31 77.013 Nut M6 ZNT Encrou M6 ZNT Mutter M6 ZNT
32 58.070 Plastic joint for tipping frame Articulation en plastique pour chariot Plastikes Gelenk Kipbhalter
33 97.101 Screw M8 x 20 TE ZNT Vis M8 x 20 TE ZNT Schraube M8 x 20 TE ZNT
34 58.074 Iron trolley Chariot en fer Eisenkippwagen
35 58.035 Grey wheel D.200 Roue grise D.200 Grauer Rad D.200
36 95.018 Anti foam filter Filtre anti mousse Anti Schaum Filter
37 40.134 Crevice D.40 Embout plat D.40 Fugendüse D.40
38 40.139 Squeegee D.40 Suceur eau D.40 Wasserdüse D.40
39 40.138 Brush nozzle D. 40 Suceur à brosse D. 40 Bürstendüse D.40
40 40.142 Plastic extension wand 50 cm Tube rallonge en plastique 50 cm Plastik Verlängerung 50 cm
41 40.136 "S" chromed wands cm 50 "S" tubes rallonges en acier chromée 50 cm "S" Verchromte Verlängerung 50 cm
42 36.031 Round brush D.40 Brosse ronde D.40 Pinseldüse D.40
43 40.130 Suction hose D. 40 2.5 m Tuyau flexible d’aspiration D. 40 2.5 m Saugschlauch D. 40 2.5 m
pag. 15
Konformitätserklärung, declaration de conformité,
dichiarazione di conformità, declaration of conformity,
conformiteitsverklaring, declaracion de conformidad
Wir, Nous, La Sottoscritta,
We, Wij, Nosotros
Floorpul International NV
Stasegemsesteenweg 1/G/I/K
B-8500 Kortrijk
BELGIUM
**
Model, Model, Modello,
Model, Modele, Modelo PL 40P WD
1.001
auf das sich diese Erklärung bezieht mit der/den folgenden
Norm(en) oder normativen Dokumen(en) übereinstimmt(en):
auquel se réfère cette déclaration et conforme à la (aux)
norme(s) ou autre(s) document(s) normatif(s):
è conforme alle direttive CEE seguenti:
to which the declaration relates is in conformity with the
following standard(s) or other normative document(s):
op welke de verklaring van toepassing is overeenstemt:
Es conforme a las siguientes especificaciones o normativas:
Norm(en) oder normativen Dokumen(en) übereinstimmt(en):
Harmonisierte Normen : EN292,2,2 ; EN60335-2-69 ; EN60204-1 ;EN55014
Directives CEE : 73/23/CEE ; 89/336/CEE;
Normes Harmonisèes : EN292,2,2; EN 60335-2-69 ; EN 60204-1; EN 55014
Direttive CEE: 73/23/CEE ; 89/336/CEE
Norme armonizzate : EN 292,2,2 ; EN 60335-2-69 ; EN 60204-1 ; EN 55014
Directive CCE: 73/23/CEE ; 89/336/CEE
Harmonized norms : EN 292,2,2 ; EN 60335-2-69; EN 60204-1 ; EN 55014
CE richtlijn: 73/23/CEE ; 89/336/CEE
Geharmoniseerde normen: EN292,2,2 ; EN 60335-2-69 ; EN 60204-1;
EN 55014
Normas CEE : 73/23/CEE ; 89/336/CEE
Normas Armonizadas: EN 292,2,2; EN 60335-2-69; EN 60204-1; EN 55014
Name, Nom, Nome, Name, Naam, Nombre
Position, Position, Posizione, Posizione, Functie, Posición
Unterschrift,Signature,Firma,Signature,Handtekening,Firma
Datum, Date, Data, Date, Datum, Fecha
Effective from serial number
Franck LACLIE
General Manager
1st March 2006
PL 40P WD
ERKLÄREN IN ALLEINIGER VERANTWORTUNG, DASS DAS PRODUKT
DÉCLARONS SOUS NOTRE SEULE RESPONSABILITÉ QUE LE PRODUIT
DICHIARA SOTTO LA PROPRIA RESPONSABILITA’ CHE IL PRODOTTO
DECLARE UNDER OUR SOLE RESPONSABILITY THAT THE PRODUCT
VERKLAREN IN UITSLUITENDE VERANTWOORDELIJKHEID DAT HET PRODUCT
DECLARA BAJO LA PROPIA RESPONSABILIDAD QUE EL PRODUCTO
Stempel und Unterschrift des Verkäufer
Cachet et signature du Distributeur
Timbro e firma del rivenditore
Dealer’s signature and stamp
Handtekening en stempel distributeur
Sello y firma del Revendedor
www.floorpul.com Floorpul International NV
Stasegemsesteenweg 1/G/I/K
B-8500 Kortrijk
BELGIUM

Other Floorpul Vacuum Cleaner manuals

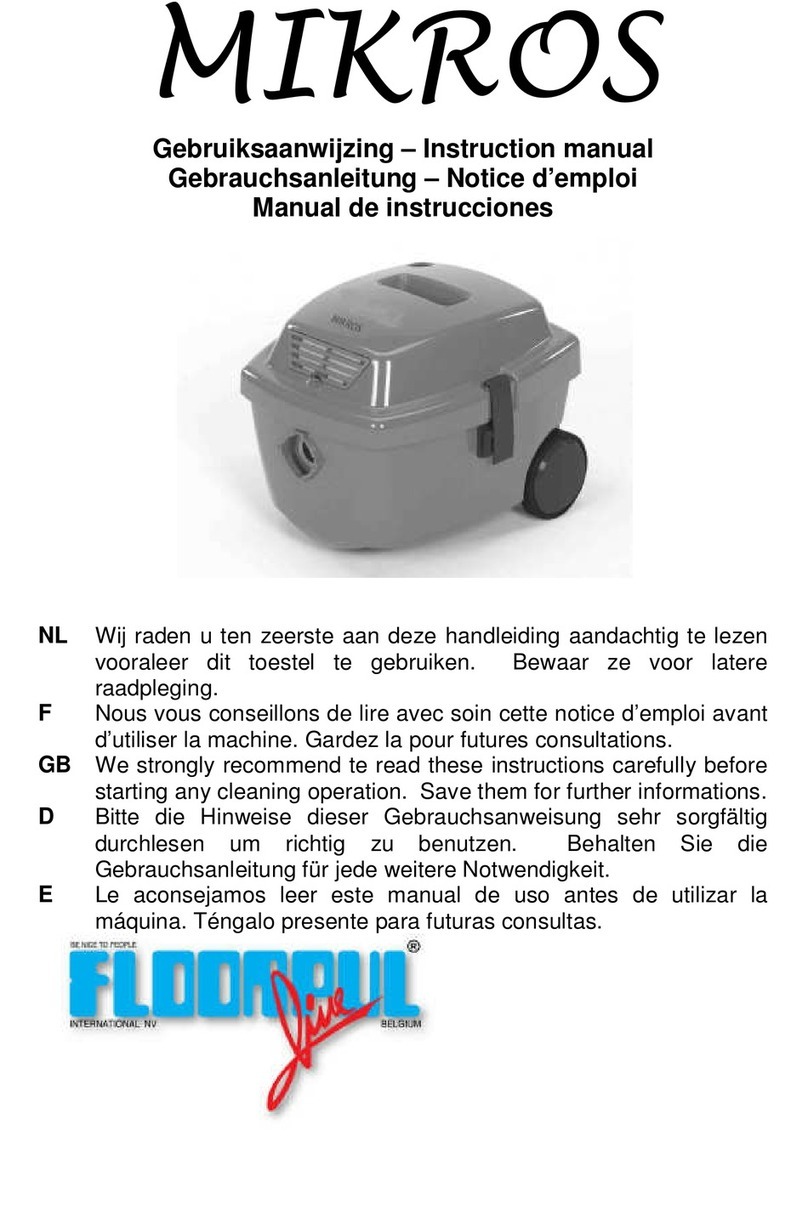
Floorpul Mikros User manual

Floorpul

Floorpul Mikros User manual

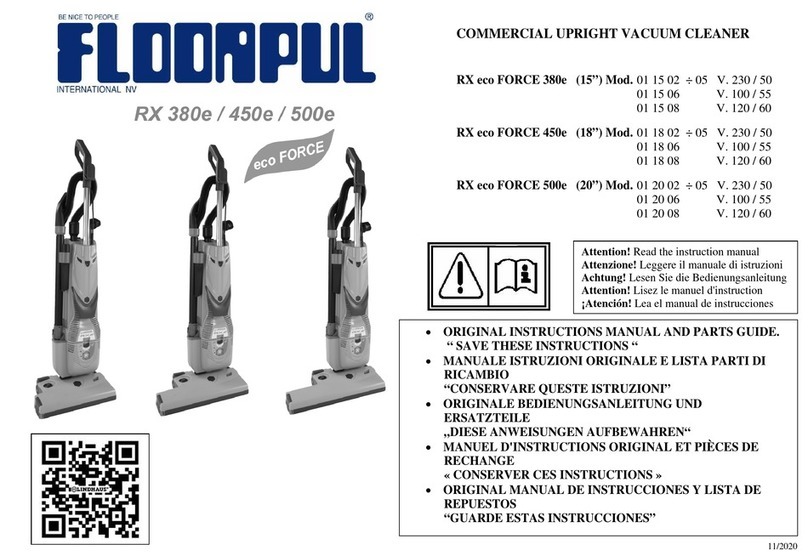
Floorpul PL603 I WD User manual

Floorpul

Floorpul PL603 I WD User manual

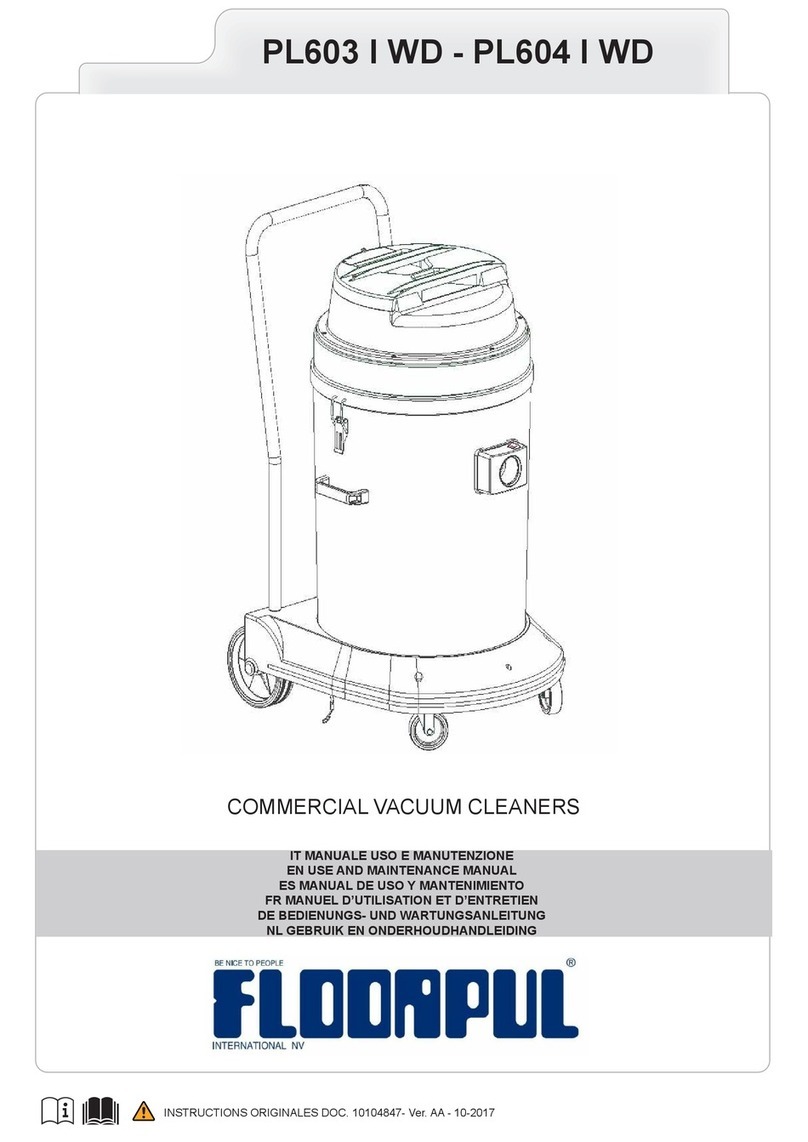
Floorpul RX eco FORCE 380e User manual

Floorpul

Floorpul RX eco FORCE 380e User manual

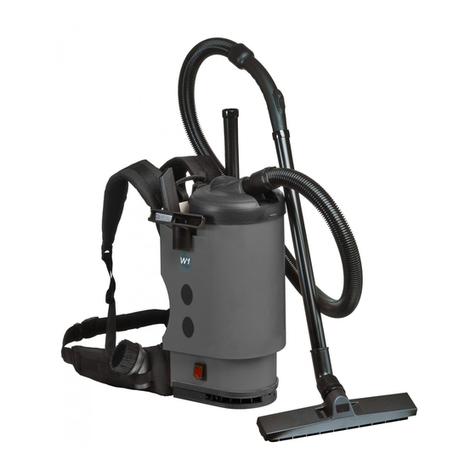
Floorpul W1 User guide

Floorpul

Floorpul W1 User guide

Floorpul SC 604 PVC User manual

Floorpul

Floorpul SC 604 PVC User manual

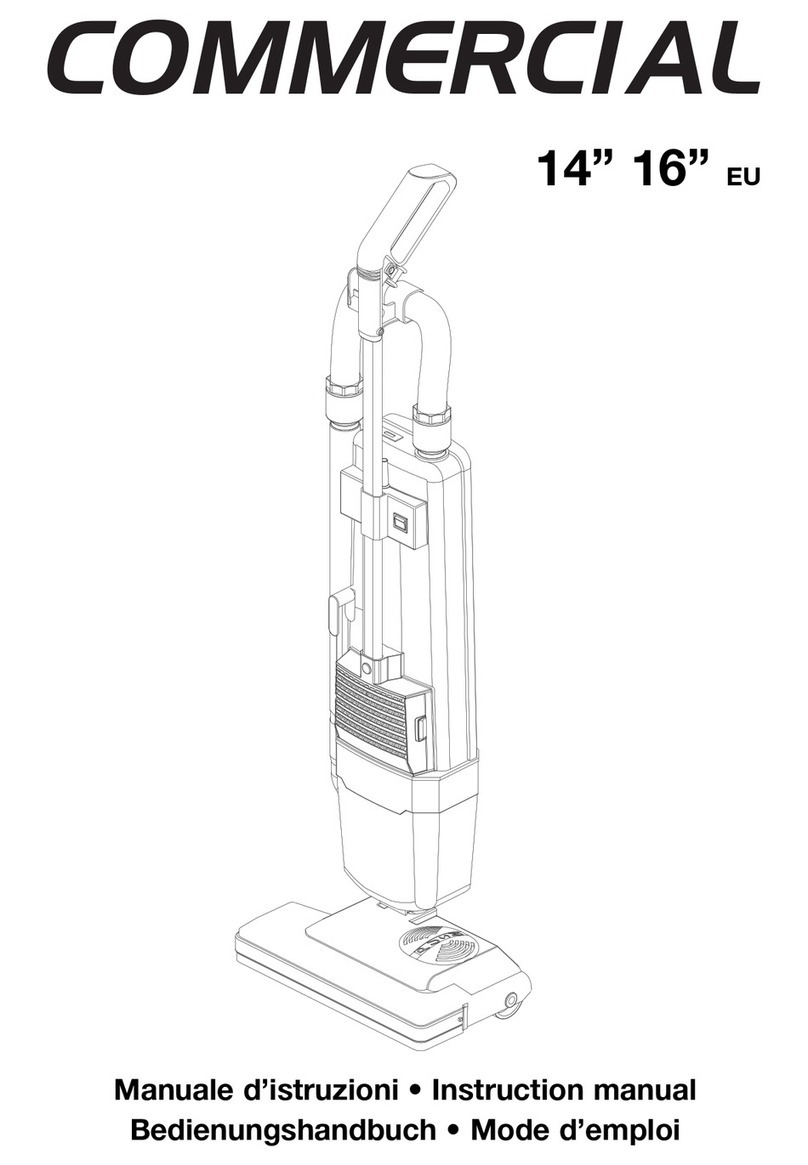
Floorpul Commercial 14 User manual

Floorpul

Floorpul Commercial 14 User manual
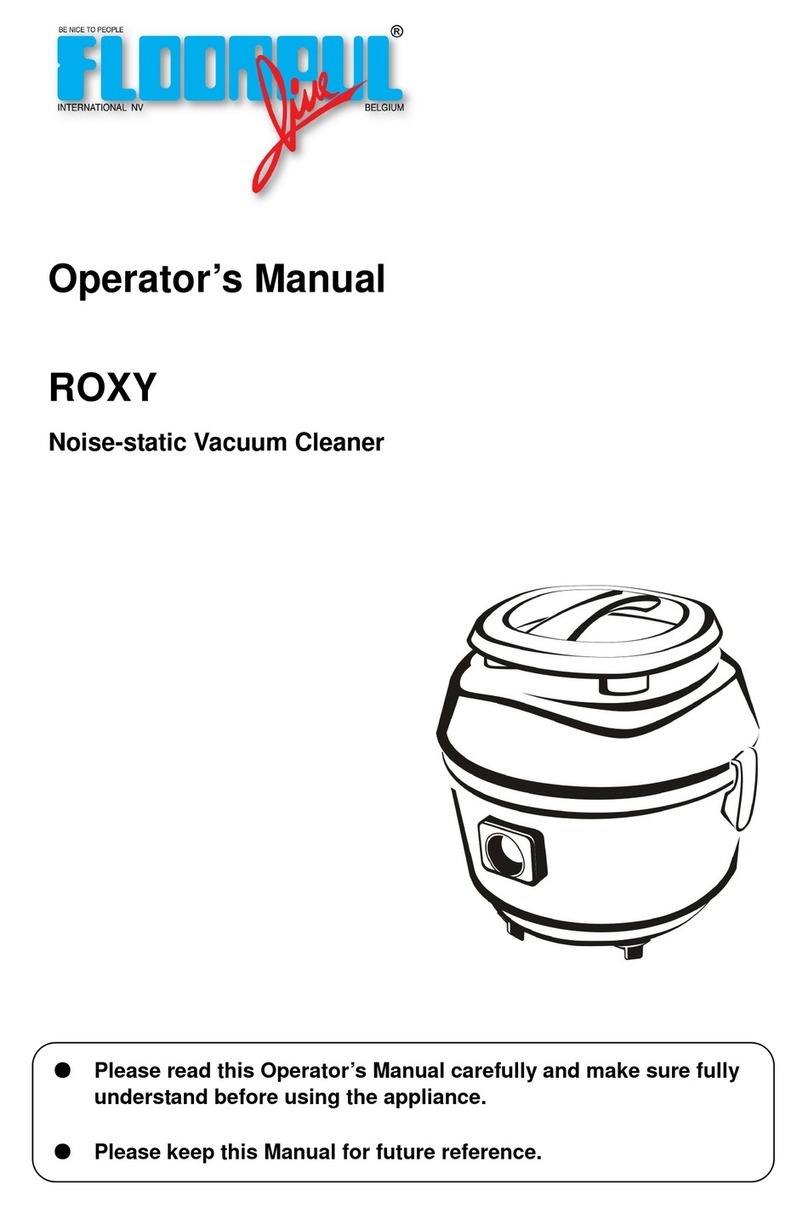
Floorpul ROXY User manual

Floorpul

Floorpul ROXY User manual

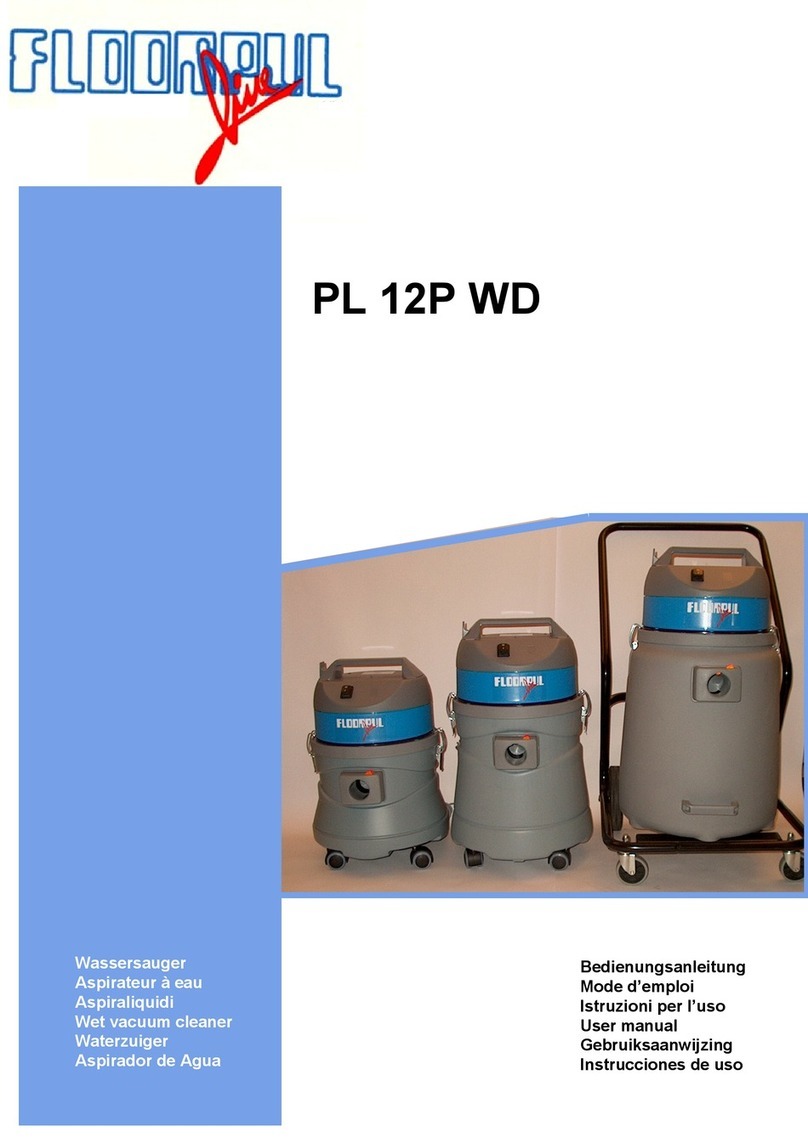
Floorpul PL 12P WD User manual

Floorpul

Floorpul PL 12P WD User manual

Floorpul PL603 I WD User manual

Floorpul

Floorpul PL603 I WD User manual
Popular Vacuum Cleaner manuals by other brands

Roborock S7+ user manual

Roborock

Roborock S7+ user manual

AEG PRO operating instructions

AEG

AEG PRO operating instructions

DeWalt DCV501H instruction manual

DeWalt

DeWalt DCV501H instruction manual

Exido 240-021 Specifications

Exido

Exido 240-021 Specifications

Samsung SR8825 user manual

Samsung

Samsung SR8825 user manual

Parkside PWD 25 A2 Translation of the original instructions

Parkside

Parkside PWD 25 A2 Translation of the original instructions

whisker Litter-Robot 3 installation guide

whisker

whisker Litter-Robot 3 installation guide

CleanMax Zoom owner's manual

CleanMax

CleanMax Zoom owner's manual

Vax V-118SP instruction manual

Vax

Vax V-118SP instruction manual

Sanyo SC-X2017 SIL instruction manual

Sanyo

Sanyo SC-X2017 SIL instruction manual

Panasonic MC-E4013 operating instructions

Panasonic

Panasonic MC-E4013 operating instructions

HOFFEN MAWDT-H121 instruction manual

HOFFEN

HOFFEN MAWDT-H121 instruction manual

ENKHO 146425.01 user manual

ENKHO

ENKHO 146425.01 user manual

Philips FC6150 quick start guide

Philips

Philips FC6150 quick start guide

Vax SWIFT V-106AA instruction manual

Vax

Vax SWIFT V-106AA instruction manual

Vitek VT-1830 instruction manual

Vitek

Vitek VT-1830 instruction manual

SEVERIN AH 7908 - Dimensions

SEVERIN

SEVERIN AH 7908 - Dimensions

DreameTech DreameBot Z10 Pro user manual

DreameTech

DreameTech DreameBot Z10 Pro user manual

manuals.online logo
manuals.online logoBrands
  • About & Mission
  • Contact us
  • Privacy Policy
  • Terms and Conditions

Copyright 2025 Manuals.Online. All Rights Reserved.