manuals.online logo
Brands
  1. Home
  2. •
  3. Brands
  4. •
  5. FLOS
  6. •
  7. Lighting Equipment
  8. •
  9. FLOS PATRICIA URQUIOLA TATOU T1 User manual

FLOS PATRICIA URQUIOLA TATOU T1 User manual

REV. 1
DATE 16/08/2021
1
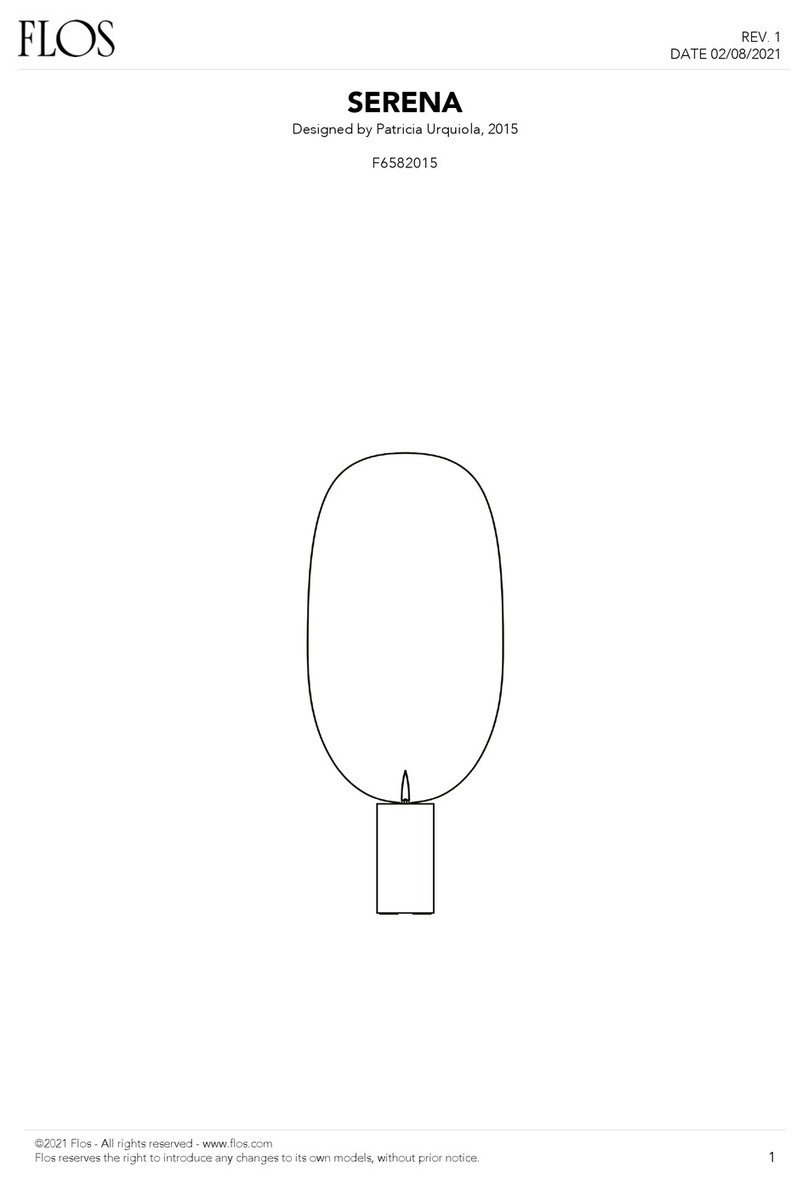
TATOU T1
Designed by Patricia Urquiola, 2012
F7761009
©2021 Flos -All rights reserved -www.flos.com
Flos reserves the right to introduce any changes to its own models, without prior notice.
EN
2
©2021 Flos -All rights reserved -www.flos.com
Flos reserves the right to introduce any changes to its own models, without prior notice.
01. F7751009
–Tatou T1-S1 white assembly
02. RF7751100
–Kit with screws for F-S2 opal reflector assembly
03. RF7751200
– F-S2 opal reflector assembly
04. RF7750200
–Electrical cable with dimmer and E27 lamp holder
05. RF6138100
–Kit of transparent pads for lamp base
REV. 1
DATE 16/08/2021
TATOU T1
F7761009
EN
3
F7751009
TATOU T1-S1 WHITE ASSEMBLY DIFFUSER
WARNING! When installing and whenever acting on the appliance, ensure that the power supply has been switched off.
For the installation of the spare-part, it is necessary to consult a qualified electrician.
©2021 Flos -All rights reserved -www.flos.com
Flos reserves the right to introduce any changes to its own models, without prior notice.
TATOU T1 F7761009
REV. 1
DATE 16/08/2021
Tatou S1
p.05
Tatou T1
p.03
4
WARNING! When installing and whenever acting on the appliance, ensure that the power supply has been switched off.
For the installation of the spare-part, it is necessary to consult a qualified electrician.
©2021 Flos -All rights reserved -www.flos.com
Flos reserves the right to introduce any changes to its own models, without prior notice.
Disassemble the reflector ring (A) from the external diffuser (B) by rotating it
slightly anticlockwise.
EN
Fig.1
A
B
REV. 1
DATE 16/08/2021
F7751009
TATOU T1-S1 WHITE ASSEMBLY DIFFUSER
TATOU T1 F7761009
5
WARNING! When installing and whenever acting on the appliance, ensure that the power supply has been switched off.
For the installation of the spare-part, it is necessary to consult a qualified electrician.
©2021 Flos -All rights reserved -www.flos.com
Flos reserves the right to introduce any changes to its own models, without prior notice.
Assemble the reflector ring (A) onto the internal diffuser (C) with the three
screws (D) provided (utilize a flat screwdriver).
EN
Fig.2
A
C
REV. 1
DATE 16/08/2021
D
F7751009
TATOU T1-S1 WHITE ASSEMBLY DIFFUSER
TATOU T1 F7761009
6
WARNING! When installing and whenever acting on the appliance, ensure that the power supply has been switched off.
For the installation of the spare-part, it is necessary to consult a qualified electrician.
©2021 Flos -All rights reserved -www.flos.com
Flos reserves the right to introduce any changes to its own models, without prior notice.
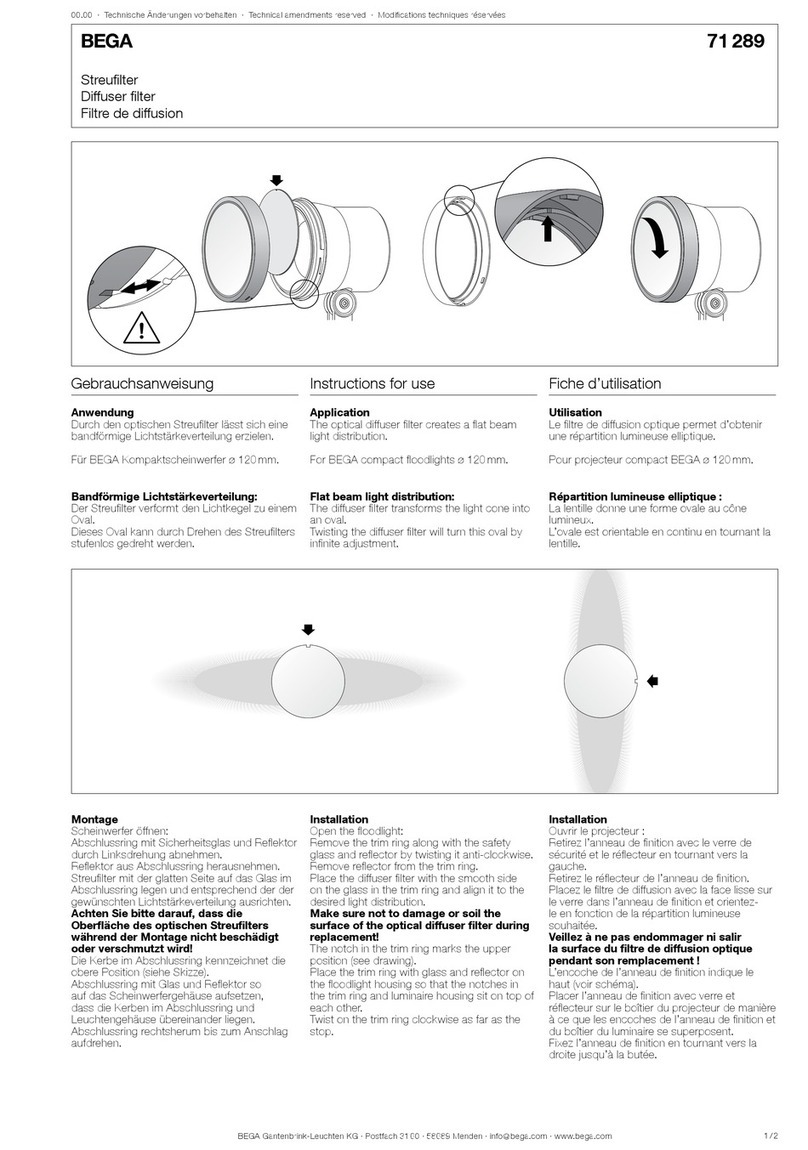
Insert the lamp bulb.
Assemble the external diffuser (B) onto the reflector ring (A) being careful to
make the three hooks (F) present on the reflector ring (A) correspond with
the relative housings (E) present on the external diffuser (B).
At this point, lock the external diffuser by rotating it slightly clockwise.
EN
Fig.3
B
A
REV. 1
DATE 16/08/2021
F
E
F7751009
TATOU T1-S1 WHITE ASSEMBLY DIFFUSER
TATOU T1 F7761009
EN
7
WARNING! When installing and whenever acting on the appliance, ensure that the power supply has been switched off.
For the installation of the spare-part, it is necessary to consult a qualified electrician.
©2021 Flos -All rights reserved -www.flos.com
Flos reserves the right to introduce any changes to its own models, without prior notice.
REV. 1
DATE 16/08/2021
RF7751100
KIT WITH SCREWS FOR T1-S1 OPAL REFLECTOR ASSEMBLY
TATOU T1 F7761009
Tatou S1
p.14
Tatou T1
p.07
A
C
D
8
WARNING! When installing and whenever acting on the appliance, ensure that the power supply has been switched off.
For the installation of the spare-part, it is necessary to consult a qualified electrician.
©2021 Flos -All rights reserved -www.flos.com
Flos reserves the right to introduce any changes to its own models, without prior notice.
Verify that the lamp-bulb has been removed from the device.
EN
Fig.1
REV. 1
DATE 16/08/2021
TATOU T1 F7761009
RF7751100
KIT WITH SCREWS FOR T1-S1 OPAL REFLECTOR ASSEMBLY
9
WARNING! When installing and whenever acting on the appliance, ensure that the power supply has been switched off.
For the installation of the spare-part, it is necessary to consult a qualified electrician.
©2021 Flos -All rights reserved -www.flos.com
Flos reserves the right to introduce any changes to its own models, without prior notice.
Insert the lamp bulb.
Assemble the external diffuser (B) onto the reflector ring (A) being careful to
make the three hooks (F) present on the reflector ring (A) correspond with
the relative housings (E) present on the external diffuser (B).
At this point, lock the external diffuser by rotating it slightly clockwise.
EN
Fig.2
B
A
F
E
REV. 1
DATE 16/08/2021
TATOU T1 F7761009
RF7751100
KIT WITH SCREWS FOR T1-S1 OPAL REFLECTOR ASSEMBLY
EN
10
WARNING! When installing and whenever acting on the appliance, ensure that the power supply has been switched off.
For the installation of the spare-part, it is necessary to consult a qualified electrician.
©2021 Flos -All rights reserved -www.flos.com
Flos reserves the right to introduce any changes to its own models, without prior notice.
RF7751200
T1-S1 OPAL REFLECTOR ASSEMBLY
REV. 1
DATE 16/08/2021
TATOU T1 F7761009
Tatou S1
p.18
Tatou T1
p.10
11
WARNING! When installing and whenever acting on the appliance, ensure that the power supply has been switched off.
For the installation of the spare-part, it is necessary to consult a qualified electrician.
©2021 Flos -All rights reserved -www.flos.com
Flos reserves the right to introduce any changes to its own models, without prior notice.
Assemble the reflector ring (A) onto the internal diffuser (C) with the three
screws (D) provided (utilize a flat screwdriver).
EN
Fig.1
A
C
REV. 1
DATE 16/08/2021
D
RF7751200
T1-S1 OPAL REFLECTOR ASSEMBLY
TATOU T1 F7761009
12
WARNING! When installing and whenever acting on the appliance, ensure that the power supply has been switched off.
For the installation of the spare-part, it is necessary to consult a qualified electrician.
©2021 Flos -All rights reserved -www.flos.com
Flos reserves the right to introduce any changes to its own models, without prior notice.
Insert the lamp bulb.
Assemble the external diffuser (B) onto the reflector ring (A) being careful to
make the three hooks (F) present on the reflector ring (A) correspond with
the relative housings (E) present on the external diffuser (B).
At this point, lock the external diffuser by rotating it slightly clockwise.
EN
Fig.2
B
A
REV. 1
DATE 16/08/2021
F
E
RF7751200
T1-S1 OPAL REFLECTOR ASSEMBLY
TATOU T1 F7761009
EN
13
WARNING! When installing and whenever acting on the appliance, ensure that the power supply has been switched off.
For the installation of the spare-part, it is necessary to consult a qualified electrician.
©2021 Flos -All rights reserved -www.flos.com
Flos reserves the right to introduce any changes to its own models, without prior notice.
RF7750200
ELECTRICAL CABLE ASSEMBLY WITH E27 LAMP HOLDER
REV. 1
DATE 16/08/2021
TATOU T1 F7761009
14
WARNING! When installing and whenever acting on the appliance, ensure that the power supply has been switched off.
For the installation of the spare-part, it is necessary to consult a qualified electrician.
©2021 Flos -All rights reserved -www.flos.com
Flos reserves the right to introduce any changes to its own models, without prior notice.
EN
REV. 1
DATE 16/08/2021
RF7750200
ELECTRICAL CABLE ASSEMBLY WITH E27 LAMP HOLDER
TATOU T1 F7761009
Unlock the external diffuser (B) from the internal diffuser (A) by rotating it
counterclockwise.
Remove the lamp-bulb.
Fig.1
B
A
15
WARNING! When installing and whenever acting on the appliance, ensure that the power supply has been switched off.
For the installation of the spare-part, it is necessary to consult a qualified electrician.
©2021 Flos -All rights reserved -www.flos.com
Flos reserves the right to introduce any changes to its own models, without prior notice.
EN
Lay the lamp body down on a clean towel.
Remove the cable clamps (C) by unfastening
there apposite screws.
Unfasten the two screws (D) present inside the
E27 lamp holder (E). Lift up the lamp holder
(E) and then cut the electrical wires that are
connected.
Fig.2
Fig.3
REV. 1
DATE 16/08/2021
RF7750200
ELECTRICAL CABLE ASSEMBLY WITH E27 LAMP HOLDER
TATOU T1 F7761009
C
E
D
16
WARNING! When installing and whenever acting on the appliance, ensure that the power supply has been switched off.
For the installation of the spare-part, it is necessary to consult a qualified electrician.
©2021 Flos -All rights reserved -www.flos.com
Flos reserves the right to introduce any changes to its own models, without prior notice.
EN
REV. 1
DATE 16/08/2021
RF7750200
ELECTRICAL CABLE ASSEMBLY WITH E27 LAMP HOLDER
TATOU T1 F7761009
Slide out the electrical cable (G) from the lamp body (K).
Assemble now the new spare-part:
Insert the new electrical cable (G) through lamp body (K).(Fig.4 page 16)
Connect the wires to the E27 lamp holder (E) respecting the polarities and
assemble it by fastening back the screws (D).(Fig.3 page 15)
Position the electrical cable between the threaded holes and fix the cable
clamps (C) by fastening the screws.(Fig.2 page 15)
Fig.4
K
G
17
WARNING! When installing and whenever acting on the appliance, ensure that the power supply has been switched off.
For the installation of the spare-part, it is necessary to consult a qualified electrician.
©2021 Flos -All rights reserved -www.flos.com
Flos reserves the right to introduce any changes to its own models, without prior notice.
Insert the lamp bulb.
Assemble the external diffuser (B) onto the reflector ring (A) being careful to
make the three hooks (F) present on the reflector ring (A) correspond with
the relative housings (E) present on the external diffuser (B).
At this point, lock the external diffuser by rotating it slightly clockwise.
EN
Fig.5
B
A
F
E
REV. 1
DATE 16/08/2021
RF7750200
ELECTRICAL CABLE ASSEMBLY WITH E27 LAMP HOLDER
TATOU T1 F7761009
EN
18
WARNING! When installing and whenever acting on the appliance, ensure that the power supply has been switched off.
For the installation of the spare-part, it is necessary to consult a qualified electrician.
©2021 Flos -All rights reserved -www.flos.com
Flos reserves the right to introduce any changes to its own models, without prior notice.
RF6138100
KIT OF TRANSPARENT PADS FOR LAMP BASE
REV. 1
DATE 16/08/2021
TATOU T1 F7761009
Romeo
Moon T1
p.42
Romeo
Soft T1
p.42
Tatou T1
p.18
19
WARNING! When installing and whenever acting on the appliance, ensure that the power supply has been switched off.
For the installation of the spare-part, it is necessary to consult a qualified electrician.
©2021 Flos -All rights reserved -www.flos.com
Flos reserves the right to introduce any changes to its own models, without prior notice.
EN
REV. 1
DATE 16/08/2021
TATOU T1 F7761009
Stick-on the feet (A) to the base.
Fig.1
A
RF6138100
KIT OF TRANSPARENT PADS FOR LAMP BASE

Other manuals for PATRICIA URQUIOLA TATOU T1

1

This manual suits for next models

1

Other FLOS Lighting Equipment manuals

FLOS F0303000 User manual

FLOS

FLOS F0303000 User manual

FLOS F1584006 User manual

FLOS

FLOS F1584006 User manual

FLOS WIRERING F9513034 User manual

FLOS

FLOS WIRERING F9513034 User manual

FLOS F1583006 User manual

FLOS

FLOS F1583006 User manual

FLOS BELLHOP User manual

FLOS

FLOS BELLHOP User manual

FLOS BELLHOP User manual

FLOS

FLOS BELLHOP User manual

FLOS F1060026 User manual

FLOS

FLOS F1060026 User manual

FLOS RF05740 User manual

FLOS

FLOS RF05740 User manual

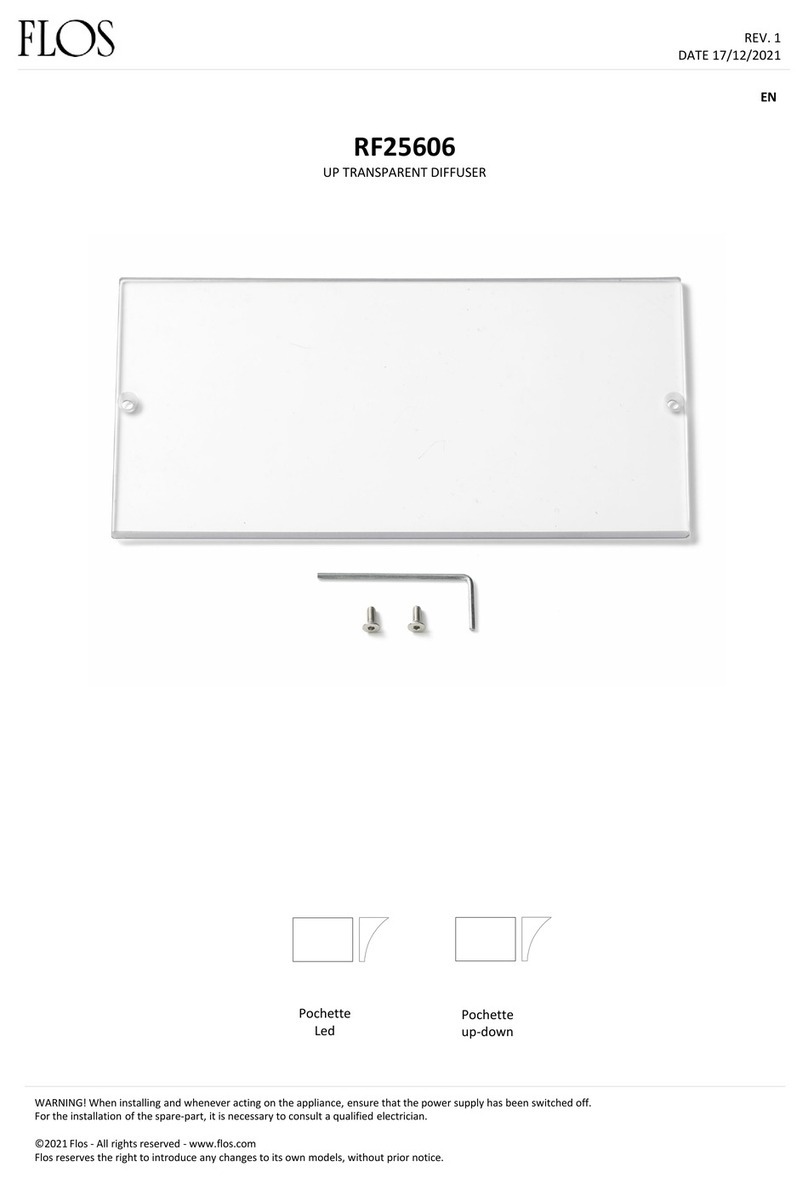
FLOS RF25606 User manual

FLOS

FLOS RF25606 User manual

FLOS SERENA F6582015 User manual

FLOS

FLOS SERENA F6582015 User manual

FLOS OK F4640009 User manual

FLOS

FLOS OK F4640009 User manual

FLOS WIRERING F9512009 User manual

FLOS

FLOS WIRERING F9512009 User manual

FLOS OK F4640019 User manual

FLOS

FLOS OK F4640019 User manual

FLOS ONTHEROCKS HL User manual

FLOS

FLOS ONTHEROCKS HL User manual
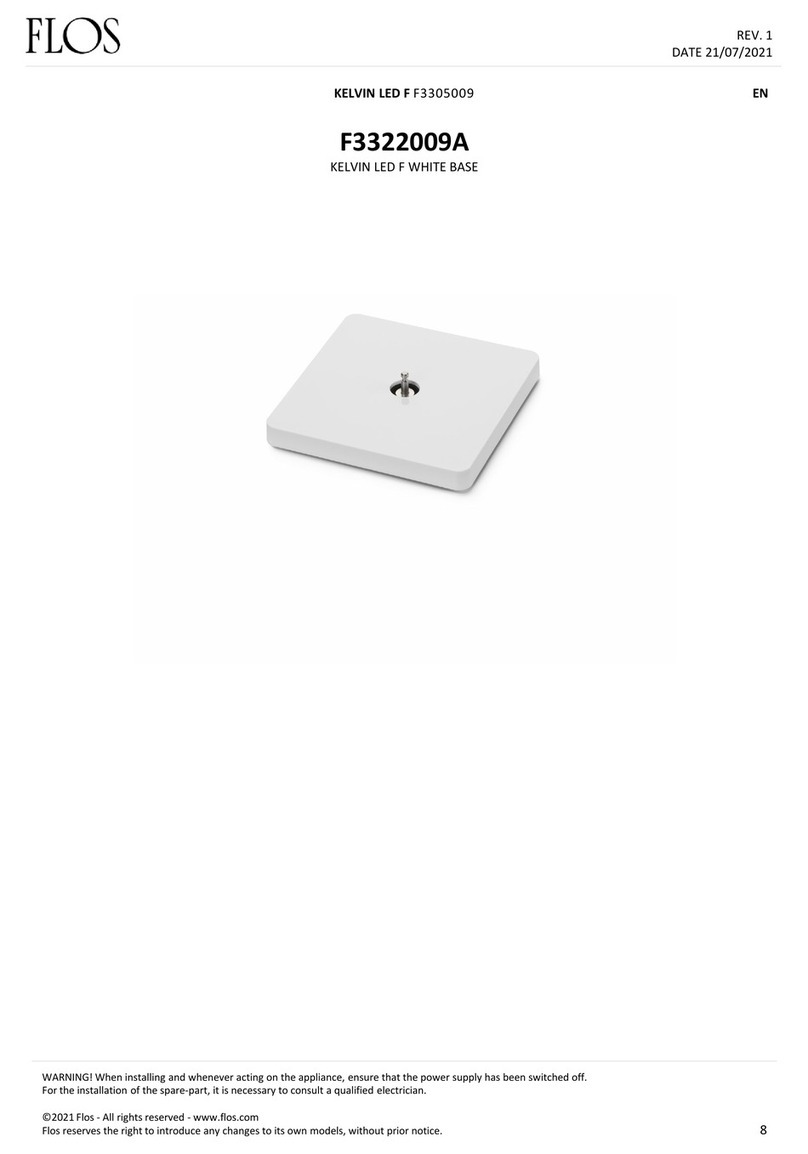
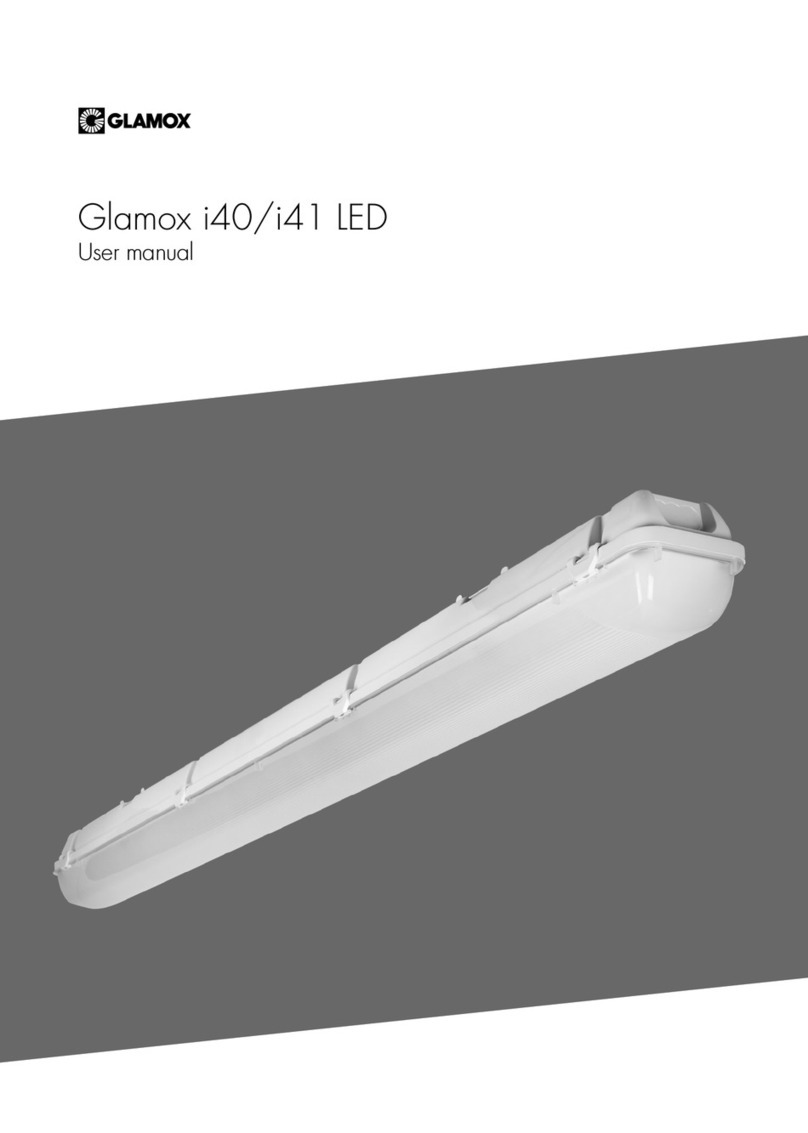
FLOS KELVIN LED F User manual

FLOS

FLOS KELVIN LED F User manual

FLOS BELLHOP User manual

FLOS

FLOS BELLHOP User manual
FLOS WIRERING F9512044 User manual

FLOS

FLOS WIRERING F9512044 User manual

FLOS IC C/W1 User manual

FLOS

FLOS IC C/W1 User manual

FLOS FU317959 User manual

FLOS

FLOS FU317959 User manual
FLOS COPYCAT F1952044 User manual

FLOS

FLOS COPYCAT F1952044 User manual

FLOS WIRERING F9513009 User manual

FLOS

FLOS WIRERING F9513009 User manual

FLOS OK F4640030 User manual

FLOS

FLOS OK F4640030 User manual

FLOS POCHETTE F9705020 User manual

FLOS

FLOS POCHETTE F9705020 User manual

FLOS ZEPPELIN 1 F9800009 User manual

FLOS

FLOS ZEPPELIN 1 F9800009 User manual
Popular Lighting Equipment manuals by other brands
Berner Flex Foldable Lux Slim T-C instruction manual

Berner

Berner Flex Foldable Lux Slim T-C instruction manual

Linde Warning Projector 85 pro manual

Linde

Linde Warning Projector 85 pro manual

Ayrton Lynx Control manual

Ayrton

Ayrton Lynx Control manual

Future Pool SKIMMER 17,5L Installation and maintenance manual

Future Pool

Future Pool SKIMMER 17,5L Installation and maintenance manual

Viessmann 5076 Operation manual

Viessmann

Viessmann 5076 Operation manual

Exo Terra PT2060 operating instructions
Exo Terra

Exo Terra PT2060 operating instructions
EuroLite D-26 E Apollo EC user manual

EuroLite

EuroLite D-26 E Apollo EC user manual

City Theatrical Follow Spot Yoke manual

City Theatrical

City Theatrical Follow Spot Yoke manual

Lonako LNK-NS-R Operation and maintenance instruction

Lonako

Lonako LNK-NS-R Operation and maintenance instruction

Pfannenberg BE BG05E-P Series instruction manual

Pfannenberg

Pfannenberg BE BG05E-P Series instruction manual

CMP 25597-200-000 INSTALLATION INSTRUCTIONS & PRODUCT MANUAL

CMP

CMP 25597-200-000 INSTALLATION INSTRUCTIONS & PRODUCT MANUAL

JUST NORMLICHT DLS COLOR VIEWING LIGHT V7 XL Assembly and instruction manual

JUST NORMLICHT

JUST NORMLICHT DLS COLOR VIEWING LIGHT V7 XL Assembly and instruction manual

Osram RGBWA+UVIR Slimpar Series user manual

Osram

Osram RGBWA+UVIR Slimpar Series user manual

U-Line H-6509 quick start guide

U-Line

U-Line H-6509 quick start guide

Laserworld GREEN-15000 user manual

Laserworld

Laserworld GREEN-15000 user manual

Illuminator 41927 product manual

Illuminator

Illuminator 41927 product manual

Velleman HQ Power Lite-Puter LPTCX401 manual

Velleman

Velleman HQ Power Lite-Puter LPTCX401 manual

lumishore Eclipse SMX93 installation manual

lumishore

lumishore Eclipse SMX93 installation manual

manuals.online logo
manuals.online logoBrands
  • About & Mission
  • Contact us
  • Privacy Policy
  • Terms and Conditions

Copyright 2025 Manuals.Online. All Rights Reserved.