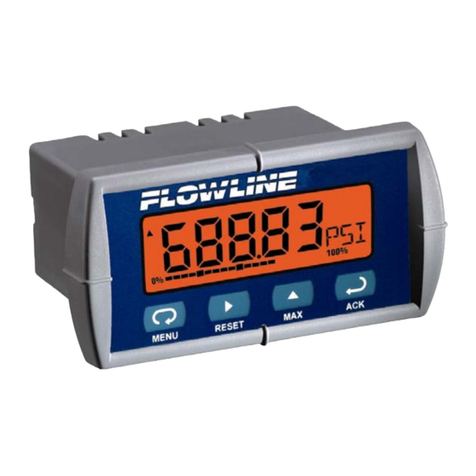
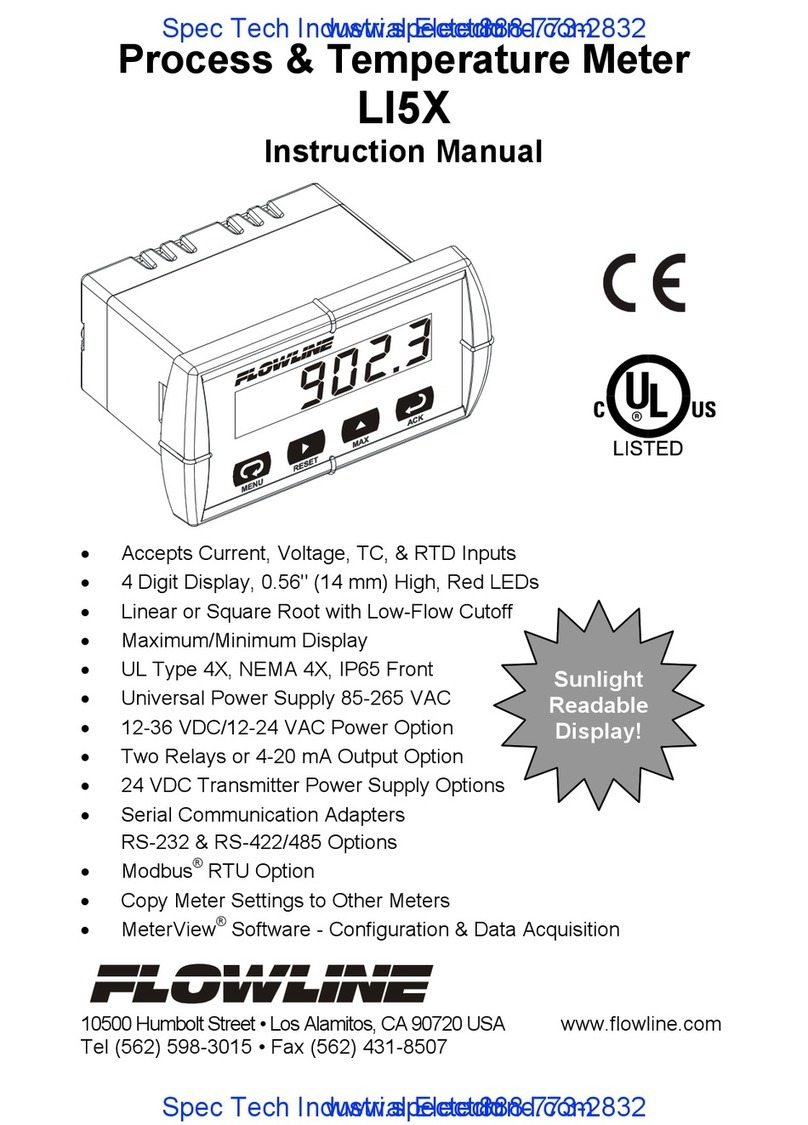
Model LI1X Universal Process Meter Instruction ManualModel LI1X Universal Process Meter Instruction Manual
INTRODUCTION ......................................................................................4
Typical Applications ..........................................................................4
Ordering Information..........................................................................4
Safety Notice........................................................................................5
Specifications ......................................................................................6
Basic Meter..........................................................................................6
Options ................................................................................................7
Display Messages and Functions....................................................9
SETUP AND PROGRAMMING ............................................................10
Power, Signal, External Functions & Options Connections..10
Overview............................................................................................11
Wiring Instructions............................................................................11
AC Powered Units (Power, Signal, External Functions)................12
DC Powered Units (Power, Signal, External Functions)................14
Relays & 4-20 mA Output ................................................................15
4-20 mA Output ............................................................................16
Programming ......................................................................................17
Overview............................................................................................17
Single Button Scaling (SBS) ............................................................17
Two-point External Calibration Flow Chart ................................18
Five Basic Digit/Display-setting Instructions ..............................19
Basic Meter Programming ..............................................................19
Overview ........................................................................................19
Select Input Signal........................................................................20
Initial Calibration with External Source (If Needed) ..................20
Select Calibration Method............................................................21
Scale or Calibrate the Meter ........................................................21
Select Decimal Point (dECPt) ....................................................21
Select Linear Input (L or S) ....................................................21
Select Number Of Calibration Points (no. PtS) ......................21
General Calibration/Scaling Instructions ................................22
Scale Using Internal Calibration (I-Cal)..................................22
Calibrate Using an External Calibrator (E-Cal) ......................23
Calibration Error (Error) ..........................................................23
Programming Confirmation......................................................23
2
Select Square Root Extraction (L or S)..................................24
Program Low-flow Cutoff (Cvtoff) ..........................................24
Round HorizontalTank CalibrationTable..................................25
Isolated 4-20 mA Output Option Programming (ovtpvt)........26
Setting 4 mA Output Value........................................................26
Setting 20 mA Output Value......................................................26
Programming Confirmation......................................................26
Alarm Programming ........................................................................27
Overview........................................................................................27
Setting Alarm Set & Reset Points (Alars) ..................................27
Programming Confirmation ........................................................28
Alarm Operation............................................................................28
Set Relays for Fail-safe Operation ..............................................28
Alarm Acknowledgment ..............................................................29
Automatic & Manual Reset Programming..................................29
Lockout Jumper ................................................................................30
SWITCHING INDUCTIVE LOADS ......................................................30
AC & DC Loads..............................................................................30
Low Voltage DC Loads ................................................................31
RC Networks ..................................................................................31
OPTION CARD INSTALLATION ..........................................................32
MOUNTING DIMENSIONS ..................................................................33
PROGRAMMED PARAMETER SETTINGS........................................34
3
