manuals.online logo
Brands
  1. Home
  2. •
  3. Brands
  4. •
  5. Flowserve
  6. •
  7. Control Unit
  8. •
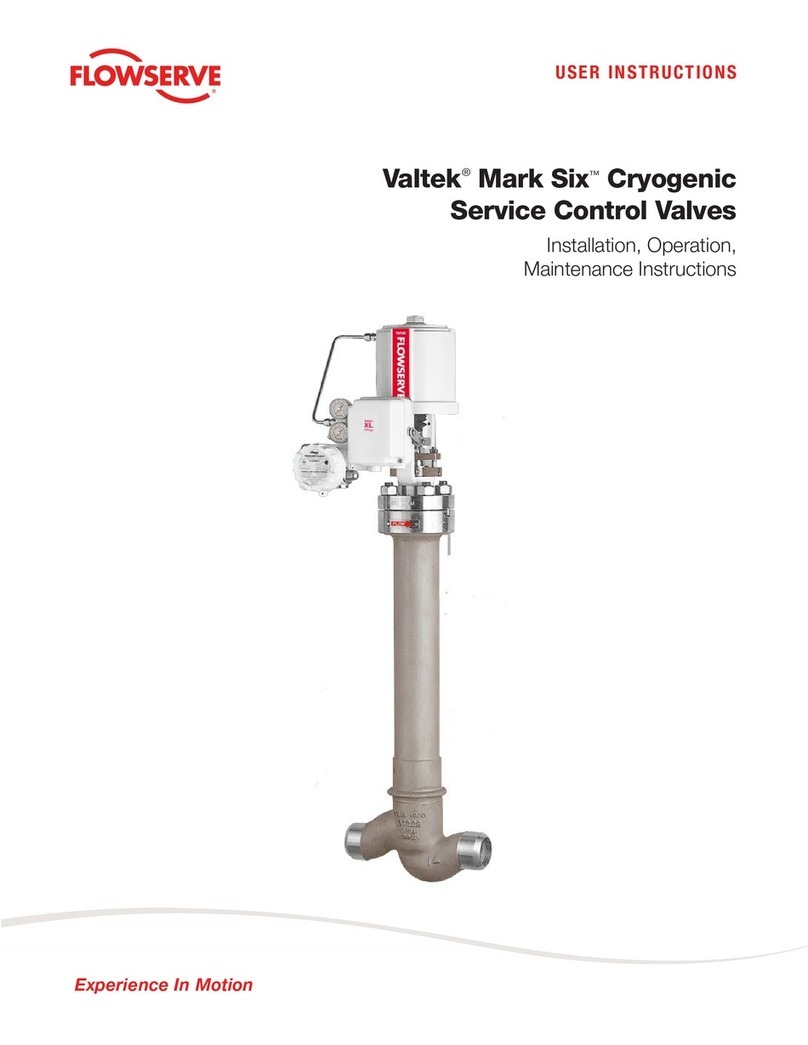
  9. Flowserve Valtek Three-way Guide

Flowserve Valtek Three-way Guide

3-1
Flowserve Corporation, Valtek Control Products, Tel. USA 801 489 8611
ValtekThree-way
ControlValves
Valtek No. 49013
GENERAL INFORMATION
The following instructions are designed to assist in
unpacking, disassembling, reassembling and trou-
bleshooting Valtek®three-way control valves. Product
users and maintenance personnel should thoroughly
review this bulletin in conjunction with Installation, Op-
eration,MaintenanceInstructions1(MarkOneandTwo
Control Valves) prior to installing, operating or perform-
ing any maintenance on the valve.
This publication does not contain information on Valtek
positioners. Refer to the appropriate Installation, Op-
eration, Maintenance Instructions for installing, main-
taining, troubleshooting, calibrating, and operating
Valtek positioners.
To avoid possible injury to personnel or dam-
age to valve parts, WARNING and CAUTION
notes must be strictly adhered to. Modifying
this product, substituting nonfactory parts, or
using maintenance procedures other than out-
lined could drastically affect performance and
be hazardous to personnel and equipment, and
may void existing warranties.
Three-way valves are used for either converging or
diverging service. For interchangeability, a standard
globe valve converts to a three-way valve with the
addition of a three-way adaptor, upper seat ring, two
upperseat gaskets,and athree-way plug. Itsoperation
is similar to a standard Mark One globe valve.
Unpacking
1. Whileunpackingthevalve,checkpackinglistagainst
the materials received. Lists describing valve and
accessories are included in each shipping container.
2. When lifting the valve from the shipping container,
position the lifting straps to avoid damage to the
tubing and mounted accessories. Valves provided
with a lifting ring (up to 6-inch) may be lifted by the
actuator lifting ring. On larger valves, lift the valve
using straps through the yoke legs or if provided,
lifting brackets bolted to bonnet stud.
3. In the event of shipping damage, contact your ship-
per immediately.
4. If any problems arise, contact your Flowserve
representative.
Troubleshooting
Ifdifficulty issuspectedwith thecontrolvalve, checkthe
following:
1. Make sure the valve has a sufficient air supply.
2. Checkforairleaks intheairsupply,instrumentsignal
system, and positioner.
3. Make sure the packing isn’t too tight by lossening the
gland flange nuts and retightening to just over finger-
tight.
CAUTION: Do not overtighten the packing. This
cancauseexcessive packing wear andhighstem
friction which may impede plug movement.
Flowserve Corporation, Valtek Control Products, Tel. USA 801 489 8611
3-2 Flowserve Corporation, Valtek Control Products, Tel. USA 801 489 8611
2. Install new seat ring gasket, lower seat ring and
retainer.
3. Insert the plug into the body.
CAUTION: Most three-way seat rings are non-
directional; however, on soft seat and special
seatrings make surethe proper seatingsurface
is facing the plug.
4. Install the upper seat ring and new gaskets.
5. Lower the three-way adapter over the plug stem
into the body. Make sure the three-way adapter is
aligned with the correct flow direction.
6. Replace the bonnet gasket.
7. Slide the bonnet over the plug stem, making sure
not to gall the plug stem.
CAUTION: Adapters more than two inches have
different gasket recess depths, and must be
installed with the correct bonnet gasket recess
in contact with the correct bonnet gasket re-
cess. Measure the depth of the upper gasket
recessinthebody. Thebonnetgasketrecessin
the adapter is the same depth.
8. Lowerbonnetflangeoverplugstemontothebonnet.
9. Insert guides and packing into the bonnet, follow-
ing the procedure outlined in Installation, Opera-
tion, Maintenance Instructions 1 (Mark One and
Two Control Valves).
10. Hand tighten the bonnet flange bolting.
11. Apply air to the cylinder so the actuator stem is at
mid-stroke.
12. Lower the actuator and gland flange into place.
Screw the plug stem into the actuator stem by
rotating the actuator in a clockwise direction.
13. Tighten the stem clamp.
14. Replace the yoke clamps.
15. Tighten the gland flange nuts slightly more than
finger tight.
CAUTION: Do not over tighten packing. This
can cause excessive packing wear and high
stem friction.
16. Stroke plug two or three times to center seat rings.
17. Seatthepluginthelowerseat ringwithair pressure
in the actuator. Tighten two opposing body bolting
nuts 1/6-turn. In this manner, tighten remaining
bolting 1/6-turn.
18. Continue to alternately seat the plug in the lower
and upper seat rings and to tighten the bolting
1/6- turn. Firmly tighten all bolting evenly and com-
pletely, using full wrench force to compress the
gaskets and to seat the assembly metal-to-metal.
Propertightnessrequiresconsiderableforce. How-
ever, the bottoming of the parts metal-to-metal can
be easily felt through the wrench.
19. When reinstalling the valve in the line, make sure
the flow is in the proper direction.
4. Check for proper, full-stroke operation as indicated
in the “Quick-check” section of Installation, Opera-
tion, Maintenance Instructions 1 (Mark One and
Two Control Valves).
5. If the valve does not function properly, check the
bonnet flange and three-way adapter for
squareness to the body. Gaps between the bonnet
flange and three-way adapter must be uniform for
proper operation. If the assembly is out of align-
ment,loosenthebodyboltingandtightenaccording
to steps 16-18 in the “Reassembly” section.
6. If problems still exist, disassemble the valve ac-
cording to the “Disassembly” section.
Disassembling Three-way Valves
To disassemble three-way valves, refer to Figure 1 and
proceed as follows:
WARNING: Depressurize line to atmospheric pres-
sure and drain all fluids before working on valve.
Failure to do so can cause serious injury.
1. Applyairtothecylindersothatplugisat mid-stroke.
2. Loosen the stem clamp and gland flange. Remove
yokeclamps(or yokebolts,if used). Disengagethe
plug stem from the actuator stem by rotating the
actuator in a counterclockwise direction.
CAUTION: Donot allowthe plug torotate. Flats
are provided on the plug stem so it can be held
with a wrench. Prevent the plug from dropping
into the seat ring when the actuator is removed.
Heavy actuators may require a hoist. If a lifting
ring is not provided, use lifting straps around
the yoke legs. Be aware that the center of
gravity may be above the lifting straps.
3. Remove the bonnet flange nuts and bonnet flange.
Carefully slide the bonnet up off the plug stem to
avoid galling.
4. Remove the three-way adapter by lifting it over the
plug stem.
CAUTION: Large adapters may require a hoist.
Lift the three-way adapter straight away from
the body to prevent damaging the plug stem.
5. Remove the upper seat ring and gaskets.
6. Remove the plug. Check the guiding and seating
surfaces for galling and scoring.
7. Remove the retainer, lower seat ring and seat
gasket. Check both seat rings for galling and
scoring.
Reassembling Three-way Valves
To reassemble three-way valves, refer to Figure 1 and
proceed as follows:
1. Clean all gasket surfaces.
NOTE: Use new gaskets whenever the valve is
disassembled.
3-3
Flowserve Corporation, Valtek Control Products, Tel. USA 801 489 8611
Figure 1:
Mark One Three-way Valve Body Subassembly
NOTE: Item numbers correspond directly to the valve's bill of material. Refer to the bill of material for specific part numbers.
Plug
(Item No. 50)
Seat Ring Gasket
(Item No. 55)
Gland Flange
Bolting
(Item No. 109/117)
Yoke Clamps
(Item No. 76)
Bonnet Flange
Bolting
(Item No. 108/114)
Three-way
Adapter
(Item No. 2)
Upper
Seat Ring
(Item No. 24)
Retainer
(Item No. 30)
Body
(Item No. 1)
Gland Flange
(Item No. 80)
Yoke Clamp
Bolting
(Item No. 107/108)
Bonnet Flange
(Item No. 70)
Bonnet Gasket
(Item No. 58)
Seat Ring
Gasket (2)
(Item No. 57)
Lower
Seat Ring
(Item No. 20)
3-4 Flowserve Corporation, Valtek Control Products, Tel. USA 801 489 8611
FCD VLAIM003-03 © 2000 Flowserve Corporation. Flowserve Corporation, Valtek Control Products, Tel. USA 801 489 8611
Flowserve Corporation has established industry leadership in the design and manufacture of its products. When properly selected, this
Flowserve product is designed to perform its intended function safely during its useful life. However, the purchaser or user of Flowserve
products should be aware that Flowserve products might be used in numerous applications under a wide variety of industrial service condi-
tions. Although Flowserve can (and often does) provide general guidelines, it cannot provide specific data and warnings for all possible
applications. The purchaser/user must therefore assume the ultimate responsibility for the proper sizing and selection, installation, operation
and maintenance of Flowserve products. The purchaser/user should read and understand the Installation Operation Maintenance (IOM)
instructions included with the product, and train its employees and contractors in the safe use of Flowserve products in connection with the
specific application.
While the information and specifications presented in this literature are believed to be accurate, they are supplied for informative purposes
only and should not be considered certified or as a guarantee of satisfactory results by reliance thereon. Nothing contained herein is to be
construed as a warranty or guarantee, express or implied, regarding any matter with respect to this product. Because Flowserve is continually
improving and upgrading its product design, the specifications, dimensions and information contained herein are subject to change without
notice. Should any question arise concerning these provisions, the purchaser/user should contact Flowserve Corporation at any of its
worldwide operations or offices.
For more information, contact: For more information about Flowserve and its products,
contact www.flowserve.com or call USA 972 443 6500
Regional Headquarters
1350 N. Mt. Springs Prkwy.
Springville, UT 84663
Phone 801 489 8611
Facsimile 801 489 3719
12 Tuas Avenue 20
Republic of Signapore 638824
Phone (65) 862 3332
Facsimile (65) 862 4940
12, av. du Québec, B.P. 645
91965, Courtaboeuf Cedex, France
Phone (33 1) 60 92 32 51
Facsimile (33 1) 60 92 32 99
Quick Response Centers
5114 Railroad Street
Deer Park, TX 77536 USA
Phone 281 479 9500
Facsimile 281 479 8511
104 Chelsea Parkway
Boothwyn, PA 19061 USA
Phone 610 497 8600
Facsimile 610 497 6680
1300 Parkway View Drive
Pittsburgh, PA 15205 USA
Phone 412 787 8803
Facsimile 412 787 1944
Flowserve and Valtek are registered trademarks of Flowserve Corporation.

Other Flowserve Control Unit manuals

Flowserve MASTER STATION IV EEP-SN4001 User manual

Flowserve

Flowserve MASTER STATION IV EEP-SN4001 User manual

Flowserve ASG 3 User manual

Flowserve

Flowserve ASG 3 User manual

Flowserve AKH2 User manual

Flowserve

Flowserve AKH2 User manual

Flowserve Valtek MaxFlo 3 Owner's manual

Flowserve

Flowserve Valtek MaxFlo 3 Owner's manual

Flowserve NAF ProCap Installation instructions

Flowserve

Flowserve NAF ProCap Installation instructions

Flowserve Valtek FlowTop V746 User manual

Flowserve

Flowserve Valtek FlowTop V746 User manual

Flowserve Serck Audco User manual

Flowserve

Flowserve Serck Audco User manual

Flowserve ARK2 User manual

Flowserve

Flowserve ARK2 User manual

Flowserve Valtek Mark 100 User manual

Flowserve

Flowserve Valtek Mark 100 User manual

Flowserve T4E-1 User manual

Flowserve

Flowserve T4E-1 User manual

Flowserve Valtek MaxFlo 4 User manual

Flowserve

Flowserve Valtek MaxFlo 4 User manual

Flowserve Valdisk 150 Manual

Flowserve

Flowserve Valdisk 150 Manual

Flowserve FlowTop V726 User manual

Flowserve

Flowserve FlowTop V726 User manual

Flowserve Valtek Tek-Check Guide

Flowserve

Flowserve Valtek Tek-Check Guide

Flowserve Valtek Mark Guide

Flowserve

Flowserve Valtek Mark Guide

Flowserve CPT 44 Manual

Flowserve

Flowserve CPT 44 Manual

Flowserve Worcester 13 Series User manual

Flowserve

Flowserve Worcester 13 Series User manual

Flowserve ColdFlow 341000 User manual

Flowserve

Flowserve ColdFlow 341000 User manual

Flowserve 818 Series Manual

Flowserve

Flowserve 818 Series Manual

Flowserve Valtek CavControl Trim Guide

Flowserve

Flowserve Valtek CavControl Trim Guide

Flowserve S25N Manual

Flowserve

Flowserve S25N Manual

Flowserve ARL User manual

Flowserve

Flowserve ARL User manual

Flowserve Kammer 132000 Series User manual

Flowserve

Flowserve Kammer 132000 Series User manual

Flowserve AKH6 User manual

Flowserve

Flowserve AKH6 User manual

Popular Control Unit manuals by other brands

ADLINK Technology cPCI-R6500 Series user manual

ADLINK Technology

ADLINK Technology cPCI-R6500 Series user manual

Symetrix Composer v7.0 manual

Symetrix

Symetrix Composer v7.0 manual

MyTana ACB18 user guide

MyTana

MyTana ACB18 user guide

Dataq DI-1000TC user manual

Dataq

Dataq DI-1000TC user manual

DeDietrich EA135 Technical instructions

DeDietrich

DeDietrich EA135 Technical instructions

REMKO Smart WP MANAGER operating manual

REMKO

REMKO Smart WP MANAGER operating manual

Mitsubishi Q Series user manual

Mitsubishi

Mitsubishi Q Series user manual

ICP DAS USA tM-TH8 user manual

ICP DAS USA

ICP DAS USA tM-TH8 user manual

Intermatic P1353ME instruction manual

Intermatic

Intermatic P1353ME instruction manual

Rockwell Automation Allen-Bradley 1770-KFC15 user manual

Rockwell Automation

Rockwell Automation Allen-Bradley 1770-KFC15 user manual

Panduit VeriSafe VS2-NET installation manual

Panduit

Panduit VeriSafe VS2-NET installation manual

Bornay WIND 13+ manual

Bornay

Bornay WIND 13+ manual

Metso NELDISC LW Series Installation maintenance and operating instructions

Metso

Metso NELDISC LW Series Installation maintenance and operating instructions

Zodiac Jandy Pro Series Installation and operation manual

Zodiac

Zodiac Jandy Pro Series Installation and operation manual

Cepex PVC-U Series Installation and maintenance manual

Cepex

Cepex PVC-U Series Installation and maintenance manual

Comelit 47CPZ003 user manual

Comelit

Comelit 47CPZ003 user manual

Lawn Genie RJ Classic 54000 Installation and operating instructions

Lawn Genie

Lawn Genie RJ Classic 54000 Installation and operating instructions

Masterclock GMR1000 user manual

Masterclock

Masterclock GMR1000 user manual

manuals.online logo
manuals.online logoBrands
  • About & Mission
  • Contact us
  • Privacy Policy
  • Terms and Conditions

Copyright 2025 Manuals.Online. All Rights Reserved.