Fluance FiTSD600 User manual

FiTSD600
Thank you for your purchase of this Fluance® product. Please read this instruction manual carefully before using product to
ensure proper use. Keep this manual in a safe place for future reference.
INSTRUCTION MANUAL
2.1 HIGH PERFORMANCE MUSIC SYSTEM
www.uance.com
iPod® not included.
®

For more product information visit www.uance.com
NEED
HELP?
DO NOT RETURN THIS
PRODUCT TO THE STORE
Please contact a FLUANCE® customer support representative rst regarding any additional
information on product features, specications or assistance with setup.
You may contact us via one of the methods below:
Telephone:
1.888.61.SOUND (1.888.617.6863)
Email:
sales@uance.com
Online live web chat:
Visit www.FLUANCE.com
®

- 3 -
TABLE OF CONTENTS
NEED HELP?................................................................................................................................ 2
TABLE OF CONTENTS ................................................................................................................... 3
WHAT’S INCLUDED...................................................................................................................... 3
FEATURES .................................................................................................................................. 3
IMPORTANT SAFETY INSTRUCTIONS............................................................................................. 4
BUTTONS AND CONNECTIONS ...................................................................................................... 6
SETUP........................................................................................................................................ 9
OPERATION .............................................................................................................................. 11
SPECIFICATIONS ....................................................................................................................... 13
FLUANCE WARRANTY................................................................................................................ 14
WHAT’S INCLUDED
High Performance 2.1 Tower Speaker Music System for iPod/iPhone®
2 Isolation Floor Spikes
FM Indoor Antenna
AM Loop Antenna
High delity sound quality resulting in clean, undistorted bass, a clear midrange, and transparent natural highs
at any volume level.
Premium components ensure serious performance and natural sound.
FEATURES

- 4 -
1.
2. Keep these instructions.
3. Heed all warnings.
4. Follow all instructions.
5.
Clean only with a dry cloth.
7.
8.
that produce heat.
9.
wider than the other. A grounding type plug has two blades and a third grounding prong. The wide blade or the third
prong are provided for your safety. If the provided plug does not t into your outlet, consult an electrician for replacement
of the obsolete outlet.
10. Protect the power cord from being walked on or pinched particularily at plugs, convenience receptacles, and the point
11. Only use attachments/accessories specied by the manufacturer.
12.
is used, use caution when moving the cart/apparatus combination to avoid injury from tip-over.
13. Unplug this apparatus during lightning storms or when unused for long periods of time.
14.
way, such as power-supply cord or plug is damaged. Liquid has been spilled or objects have fallen into the apparatus, the
15.
placed on the apparatus.
17. The MAINS plug is used as the disconnect device, which shall remain readily operable.
18. The apparatus shall be connected to a MAINS socket outlet with a protective earthing connection.
19.
This class[B] digital apparatus complies with Canadian ICES-003.
IMPORTANT SAFETY INSTRUCTIONS
CAUTION
CAUTION :
This symbol means that this unit is double insulated. An earth or ground connection is not required.

- 5 -
IMPORTANT SAFETY INSTRUCTIONS
FCC statement on regulation
two conditions:
cause undesired operation.
This equipment generates, uses, and can radiate radio frequency energy and, if not installed and sued in accordance with the
instructions, may cause harmful interference to radio communications. However, there is no guarantee
that interference will not occur in a particular installation. If this equipment does cause harmful interference to radio or
television reception, which can be determined by turning the equipment o and on,the user is encouraged to try to correct the
interference by one or more of the following measures:
Increase the separation between the equipment and receiver.
Connect the equipment into an outlet on a circuit dierent from that to which the receiver is connected.
This marking indicates that this product should not be disposed with other household wastes throughout North
America. To prevent possible harm to the environment or human health from uncontrolled waste disposal,
recycle it responsibly to promote the sustainable reuse of material resources.To return your used device, please
use the return and collection systems or contact the retailer where the product was purchased. They can take
this product for environmental safe recycling.
iPod® and iPhone® are trademarks of Apple Computer, Inc., registered in the U.S. and other countries.

BUTTONS AND CONNECTIONS
TOUCH SCREEN − FRONT
LCD SCREEN − FRONT
1.
2. AUX
3.
4.
5. SET
7.
8.
9.
10. INPUT
11.
1. INPUT ICON
2. MUTE
3.
4.
5.
7.
8.
9.
10.
11.
12. SLEEP
13.
12
4
5
8
3
6
7
9
10
11
2
1
4
5
3
6
8791011
12
13

- 7 -
MUSIC SYSTEM − BACK
1. AM 300Ω ANTENNA INPUT
2. FM 75Ω ANTENNA INPUT
3.
4.
5. AUX INPUT
AC INPUT
7.
REMOTE CONTROL − BACK
1.
1
BUTTONS AND CONNECTIONS
2
1
4
5
3
7
6

- 8 -
REMOTE CONTROL − FRONT
BUTTONS AND CONNECTIONS
2
1
4
5
3
6
8
7
10
9
11
12
16
14
18
19
13
15
17
20
21
1.
2.
3. iPod/iPhone INPUT SELECTION
4.
5. iPod/iPhone MENU
iPod MENU UP
7.
8.
9.
10. iPod PLAY/ PAUSE
11.
12.
13. SLEEP
14.
15.
17.
18. iPod
19.
20.
21.

- 9 -
SETUP
Setting up the remote control:
Battery installation:
1.
2. Pull out the battery holder.
3.
the battery holder.
4.
Please note:
•
A reversed battery may cause damage to the remote control.
damage caused by a leaking battery.
Optimal range for the remote control:
1.
Music System.
2. The distance between the Music System and
unobstructed view.

- 10 -
The remote control may be less eective if:
1.
2.
3. Other remote controls are being used in the area at the same time.
4. The remote control has a low battery.
Installing the Speaker Feet
Screw in one Isolation Floor Spike into each of the
two front holes on the bottom of the Music System
as shown in the diagram on the right.
SETUP

- 11 -
NOTE: To prevent any damages to the base connector, do not shake or bump the
iPod/iPhone during playback.
Connecting your iPod/iPhone to your Music System:
1. Ensure that the iPod/iPhone and the Music System are turned o before docking your iPod/iPhone.
2.
the original universal bracket that came with your iPod/iPhone.
3. Insert the correct docking bracket into the iPod/iPhone connection area located on the top of the
Music System.
4. Ensure that the iPod/iPhone is securely connected to the Music System.
SETUP

- 12 -
SETUP
Connecting your Music System to a TV or CD/DVD PLAYER:
AM LOOP ANTENNA
FM ANTENNA
broadcasting
station – 75Ω/

- 13 -
OPERATION
Turning on the Music System:
Ensure that the AC power cord is plugged in and the ON/OFF switch at the back of the Music System is in the ON
STANDBY MODE:
1.
2. Press the SET IN
3.
4. Press the THE – buttons on the touchscreen simultaneously to
INPUT MODE:
1.
selection. The front panel will also light up the corresponding indicator depending on which mode is
selected.
2.
3. Press the iPod button on the remote control to switch the input signal to iPod/iPhone. IPod will appear
4.
VOLUME:
1.
2.
3.
NOTE: The maximum volume is 40dB and the minimum volume is 0dB. The Music
System is set to 20dB by default when turning on the system.

- 14 -
TREBLE:
1.
2.
3.
4.
BASS:
1.
2.
3.
4.
iPod/iPhone CONTROL:
system. For more information, please refer to the iPod or iPhone instruction manual.
NOTE: The TREBLE adjustment range is ± 14dB and increases/decreases in increments of 2.
NOTE: The BASS adjustment range is ± 14dB and increases/decreases in increments of 2.
OPERATION

- 15 -
OPERATION
LISTENING TO THE RADIO:
Selecting AM or FM radio
or FM.
Tuning
/ buttons on the remote control to select your preferred broadcasting station.
few seconds or press and hold the / buttons on the remote control for a few seconds to scan
/ buttons are tapped once, the FM stations move forward
buttons are pressed.
unit will store all the Stations which have been searched by sequence automatically.
Press or
to conrm.
:
Sleep
SLEEP button on the remote control. The system is preset to: OFF.
< < /
< <
buttons on the remote
control to adjust the SLEEP time.
conrm the SLEEP setting.

OPERATION
TIME SETUP:
control until the time on the display ashes.
enter the .
< < /
< <
buttons on the
remote control to adjust the .Touch the SET button on the touch screen of the unit or press
setting, the unit will then move to the
MINUTE setting.
< < /
< <
buttons on the
remote control to adjust the MINUTES.Touch the SET button on the touch screen of the unit or press the
ALARM FUNCTION:
control until the
< < /
< <
buttons on the remote
< < /
< <
buttons on the
remote control to adjust the of the . Touch the SET button on the touch screen of the
setting, the unit will then
move to the MINUTE setting.

- 17 -
OPERATION
< < /
< <
buttons on the
remote control to adjust the MINUTES of the . Touch the SET button on the touch
the unit will then enter into the setting.
NOTE: You have 8 seconds to make your changes or unit returns to default setting.
You have three options for the :
BUZ RAD (FM/AM) iPod
< < /
< <
buttons on the
remote control to make your selection. Touch the SET button on the touch screen of the unit or press
setting. The unit
will then enter into the .
< < /
< <
buttons on the
remote control to adjust the .Touch the SET button on the touch screen of the unit
conrm the volume setting. The alarm settings
are complete and the unit will now be in .
There are two ways to stop the alarm when it is ringing:
Press the button on the remote control.
Touch any button twice on the touch screen or the remote control.
SNOOZE:
Touch any button on the touch screen or press any button the standby button on the remote
will stop ringing for 9 minutes, then the alarm will resume.
DISPLAY MODE:
Press the
shown below:
ON 30 (seconds) OFF

- 18 -
SPECIFICATIONS
System Type
Tweeter
Midrange
Woofer
Input
Output
Volume
Frequency Response
Crossover Frequency
Amplier Power (RMS)
Enclosure
Cabinet
Dimensions
Weight
Specications are subject to change without notice. Measurements and weights may vary slightly.

- 19 -
FLUANCE® WARRANTY
Thank you for choosing FLUANCE® Speaker Products!
WARRANTY PERIOD:
HOME AUDIO PASSIVE SPEAKERS: LIFETIME WARRANTY
ACTIVE/POWERED SPEAKERS: 2 YEAR WARRANTY
WARRANTY EXCLUSIONS:
TO OBTAIN WARRANTY SERVICE
• Contact FLUANCE® Support by Email: sales@uance.com
Mail your inquiry to:
FLUANCE®
Call toll free 1.888.61.SOUND (1.888.617.6863)
FLUANCE®
05.2012
FLUANCE® WARRANTY

Serious Performance.
Table of contents
Languages:
Other Fluance Docking Station manuals
Popular Docking Station manuals by other brands
HighPoint
HighPoint RocketStor 5315 Quick installation guide
iHome
iHome iP27 instruction manual
Crestron
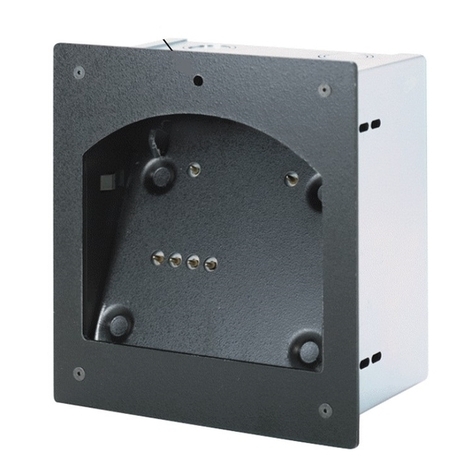
Crestron DA-1700CW Operation and installation guide
Mini Gadgets
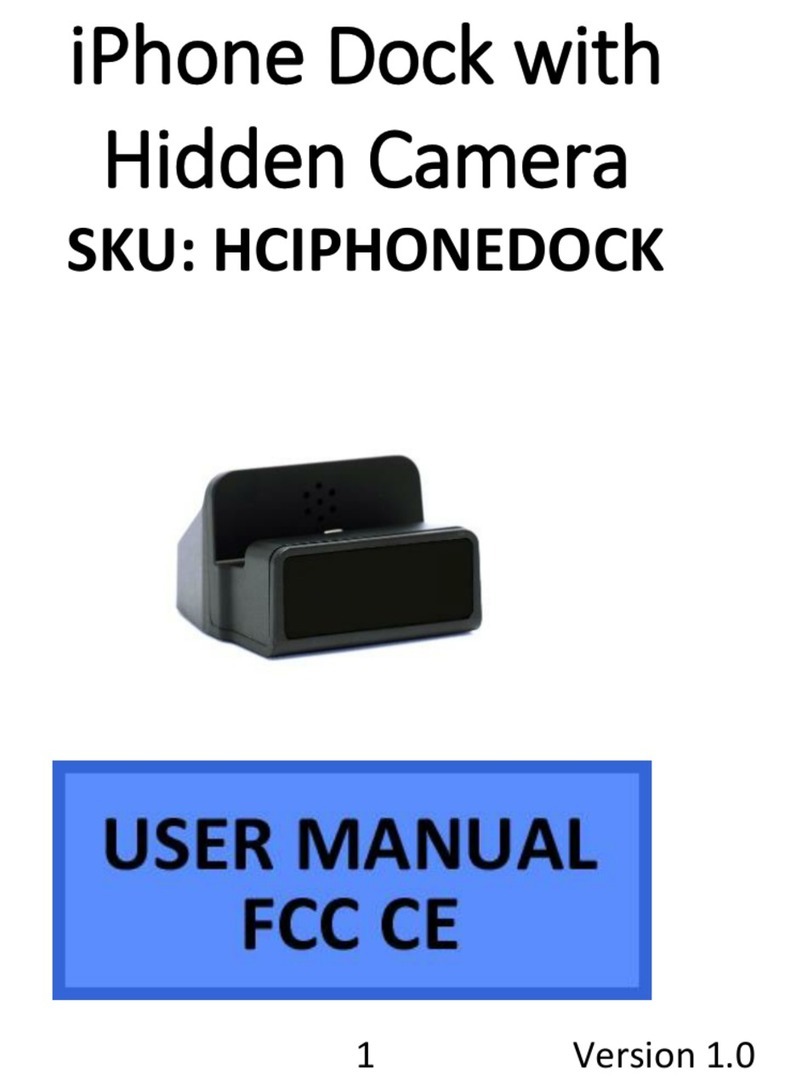
Mini Gadgets HCIPHONEDOCK user manual

SONIQ
SONIQ Qmedia QMS300B instruction manual
Panasonic
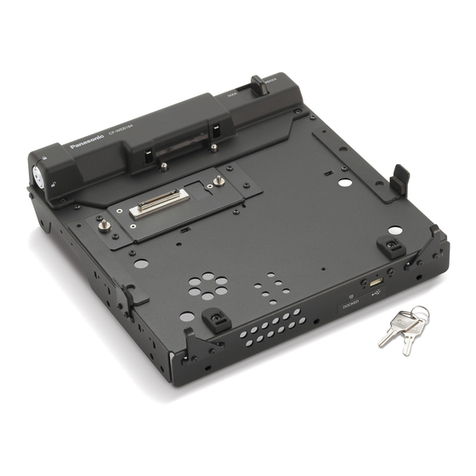
Panasonic CF-WEB Series operating instructions

