Fly Sky FGr4D User manual

FGr4D 接收机 Receiver
http://www.flysky-cn.com
Copyright ©2023 Flysky Technology Co., Ltd.
• 产品型号:FGr4D
• 适配发射机:所有支持 AFHDS3 的发射机
• 适配模型:车、船等
• PWM 通道:4
• 无线频率:2.4GHzISM
• 无线协议:AFHDS3
• 发射功率:小于20dBm
• 天线类型:内置双天线
• 输入电源:3.5 ~ 9V/DC
• 工作电流:≤50mA/5V
• 数据输出:PWM/PPM/i-BUS2/S.BUS/i-BUS
• 温度范围:-10℃ ~+60℃
• 湿度范围:20%~95%
• 防水等级:PPX6
• 在线更新:是
• 外形尺寸:30.3X25.8X20mm
• 机身重量:7.2g
• 认证 :CE,FCCID:2A2UNFGR4D
FGr4D 是一款采用 AFHDS3(第三代自动跳频数字系统)
协议的四通道双向接收机。本款接收机内置双天线、PPX6
纳米防水、设计小巧轻便、支持 4 个 Newport 功能接口
(Newport 接口可自定义输入或输出的信号类型:i-BUS2/
S.BUS/i-BUS/PPM 等)、可作为 PWM 转换器使用、可适
配模型车或模型船使用。
TheFGr4Disafour-channeltwo-wayreceiverbasedonAFHDS3(Third-
GenerationAutomaticFrequencyHoppingDigitalSystem)protocol.
Thisreceiverfeaturesdualantennas,PPX6nanowaterproof,compact
andlightweightdesign.Itsupports4Newportfunctioninterfaces
(Newportcanbecustomizedwithinputoroutputsignaltypes:i-BUS2/
S.BUS/i-BUS/PPM).TheFGr4DcanbeusedasaPWMconverter,
adaptabletoamodelcarormodelboat.
产品介绍 Introduction
接收机概览 Receiver Overview
安装说明Installation
产品规格 Product Specications
[1]CH1(NPD)
[2]CH2(NPC)
[3]CH3(NPB)
[4]CH4(NPA)
[5]BVD/VCC(电池电压检测 / 供电接口)
[6]对码按键
[7]LED 灯
[8] 信号脚
[9]+(电源正极)
[10]-(电源负极)
[11]BVD 功能配件
[12]接电池正极
[13] 接电池负极
[11] [12]
[13]
[1]CH1(NPD)
[2]CH2(NPC)
[3]CH3(NPB)
[4]CH4(NPA)
[5]BVD/VCC(BatteryVoltageDetection/
PowerSupplyInterface)
[6]BINDButton
[7]LED
[8]S(SignalPin)
[9]+(PowerAnode)
[10]-(PowerCathode)
[11]BVDHarness
[12]ConnecttoBatteryAnode
[13]ConnecttoBatteryCathode
• ProductModel:FGr4D
• Adaptivetransmitters:AllTransmitterswithAFHDS3Protocol
• AdaptiveModels:CarsorBoats,ect.
• PWMChannels:4
• RF:2.4GHzISM
• 2.4GProtocol:AFHDS3
• MaximumPower:<20dBm(e.i.r.p.)(EU)
• Antenna:TwoBulit-inAntennas
• InputPower:3.5~9V/DC
• WorkingCurrent:≤ 50mA/5V
• DataOutput:PWM/PPM/i-BUS2/S.BUS/i-BUS
• TemperatureRange:-10℃ ~+60℃
• HumidityRange:20%~95%
• WaterProof:PPX6
• OnlineUpdate:Yes
• Dimensions:30.3X25.8X20mm
• Weight:7.2g
• Certication:CE,FCCID:2A2UNFGR4D
BVD 电压检测范围: 0~70V/BVD voltage detection range: 0~70V
本款接收机为内置天线,为保证信号强度,以免影响遥控距离,安装接收机
时,需注意以下事项:
• 接收机天线须与模型机身保持垂直(如图所示)!
• 建议接收机安装在模型机身的较高位置,如模型二楼板上或方向舵机上。
内置天线 /
Two Bulit-in Antennas
FGr4D 接收机 /
FGr4D Receiver
Thereceiverhastwobuilt-inantennas.Inordertoensurethe
signalqualityandavoidtheremotecontroldistanceaected,
thereceiverantennashouldbeperpendiculartothemodel
body(asshowninthegure)wheninstallingthereceiver!
[1] [2][3][4] [5]
[6]
[9]
[8]
[10]
[7]

FGr4D 接收机 Receiver
http://www.flysky-cn.com
Copyright ©2023 Flysky Technology Co., Ltd.
对码 Binding
固件更新 Firmware Update
本款接收机支持双向对码和单向对码 ( 发射机端设置),双向对码完成后发射机将显示接收机回传的信息。
双向对码步骤:
1. 发射机选择双向通信,然后进入对码状态;
2. 本接收机支持两种方式进入对码状态:按键对码和通电后按键对码
• 按键对码:按住接收机对码按键同时上电,接收机 LED 灯快闪表示进入对码状态,松开对码键。
• 通电后按键对码:接收机上电后未与发射机通信过,长按对码键 3 秒,接收机指示灯快闪表示进入对码状态,松开对码键。
3. 接收机 LED 灯常亮,即对码成功。发射机对码成功后自动退出对码状态,对码完成;
4. 检查发射机、接收机是否正常工作。如需重新对码,请重复以上步骤。
单向对码步骤:
1. 发射机选择单向通信,然后进入对码状态;
2. 接收机进入对码状态(进入对码状态的方式请参考双向对码时描述);
3. 接收机 LED 灯变为慢闪后将发射机退出对码状态,此时接收机 LED 灯常亮,表示对码成功;
4. 检查发射机、接收机是否正常工作。如需重新对码,请重复以上步骤。
注:本款接收机可作为 PWM 转换器使用,需在发射机端完成配置。当接收机作为 PWM 转换器使用时,若 LED 灯状态为 1 闪 1 长亮 1
长灭,则表示未收到 i-BUS2 信号;若收到 i-BUS2 信号,则 LED 灯状态为 1 闪 1 长亮。
本接收机固件更新需通过富斯遥控管家(FlySkyAssistant)完成(仅 3.0 及以上版本支持,富斯遥控管家固件可从官网 www.
yskytech.com 获取)。
本接收机可以通过以下两种方式进入更新:
1. 先将发射机与接收机对码后(接收机 LED 灯常亮),再将发射机与电脑连接,然后在电脑端打开富斯遥控管家,通过富斯遥控管家
进行固件更新;
2. 将发射机与电脑连接,参考如下方式使接收机进入强制更新状态(接收机 LED 灯状态三闪一灭),然后在电脑端打开富斯遥控管家,
通过富斯遥控管家进行固件更新。
进入强制更新状态的操作方式有如下两种方式:
• 按下对码按键,上电十秒钟后接收机 LED 灯状态三闪一灭,松开对码按键 。
• 先给接收机上电,长按对码键十秒后接收机 LED 灯状态三闪一灭,松开对码按键。
Thereceiversupportstwo-waybindingandone-waybinding,andcanbesetatthetransmitterside.Thetransmitterwilldisplay
theinformationreturnedfromthereceiverafterthetwo-waybindingiscompleted.
Followthestepsbelowtobindintwo-waybinding:
1. Select TwoWAY for RF standard of the transmitter, then put the transmitter in bind mode.
2. The receiver supports two ways to enter bind mode: BIND button binding and BIND button binding after power-on.
• BIND button binding: Press and hold the BIND button of the receiver while powering on the receiver, tthe LED of the receiver
should be ashing, indicating that the receiver is in bind mode. Then release the BIND button.
• BIND button binding after power-on: The receiver has not been connected to the transmitter when it is powered on. Press
and hold the BIND button for 3 seconds, the LED of the receiver should be ashing, indicating that the receiver is in bind
mode. Then release the BIND button.
3. When the LED of the receiver is solid on, the binding process should be nished. The transmitter exits the bind mode
automaticlly.
4. Check to make sure the transmitter and receiver functions are working correctly, repeat steps 1 to 3 (binding process) if any
problems arise.
Followthestepsbelowtobindinone-waybinding:
1. Select OneWAY for RF standard of the transmitter, then put the transmitter in bind mode.
2. Put the receiver in bind mode ( Refer to the description above for entering bind mode).
3. After the receiver LED becomes slow ashing, then put the transmitter to exit the binding state. At this time, the receiver LED is
solid on indicating the binding is successful.
4. Check to make sure the transmitter and receiver functions are working correctly, repeat steps 1 to 3 (binding process) if any
problems arise.
Note:WhenthisreceiverisusedasaPWMconverter,itisnecessarytonishcongurationsatthetransmitterside.Inthiscase,
iftheLEDworksinFlash-once,ON-once,andOFF-oncestate,itindicatesthatnoi-BUS2signalisreceived;ifi-BUS2signalis
received,theLEDworksinFlash-onceandON-oncestate.

FGr4D 接收机 Receiver
http://www.flysky-cn.com
Copyright ©2023 Flysky Technology Co., Ltd.
固件更新 Firmware Update
注意事项:
• 使用前必须确保本产品与模型安装正确,否则可能导致模型发生严重损坏。
• 关闭时,请务必先关闭接收机电源,然后关闭发射机。如果关闭发射机电源时接收机仍然在工作,将会导致遥控设备失控。失控保
护设置不合理可能引起事故。
• 确保接收机安装在远离电机,电子调速器或电子噪声过多的区域。
• 接收机天线需远离导电材料,例如金属棒和碳物质。为了避免影响正常工作,请确保接收机天线和导电材料之间至少有 1 厘米以上
的距离。
• 准备过程中,请勿连接接收机电源,避免造成不必要的损失。
失控保护 Failsafe
失控保护功能用于在接收机失去信号不受控制后,接收机按设置好的失控保护值进行通道输出以保护模型及人员安全。
本款接收机支持各通道单独设置失控保护,共支持三种失控保护模式:[ 无输出]、[ 保持 ]、[ 固定值]。
[ 无输出 ]PWM 通道接口为无输出状态 ;
[ 保持 ] 输出失控前最后的通道值;
[ 固定值 ] 输出设置的通道值。
注:1. 对于 PPM/i-BUS/S.BUS/i-BUS2 等总线信号类型不允许单个或其中几个通道为 [ 无输出 ] 模式,通道设置为 [ 无输出 ] 模式时,实际信
号是保持最后输出值;
2. 因 S.BUS/i-BUS2 信号信息包含失控标志位,各通道失控保护设置被失控标志位传达给后续设备,若连接的设备支持失控标志位解析,则
失控后,输出各通道设置的失控保护值;
3. 对于无失控标志位的信号 PPM/i-BUS,支持设置失控时信号 [ 无输出 ] 模式。设置为 [ 无输出 ] 模式后,不管各通道失控保护如何设置,
失控后各通道均为 [ 无输出 ] 模式。
Thefailsafefunctionisusedtooutputthechannelvalueaccordingtotheout-of-controlprotectionvaluesetbytheuserafterthe
receiverlosesitssignalandisoutofcontroltoprotectthemodelandpersonnel.
Itcanalsobesetfailsafeforeachchannelrespectively.Thisreceiversupportsthreefailsafemodes:No output,Hold,andFixed value.
No outputItisnooutputfortheinterfaceofPWM.
HoldKeepsthelastoutputvalue.
Fixed value Outputsthefailsafevaluessetforeachchannel.
Notes:
1.ForbussignaltypessuchasPPM/i-BUS/S.BUS/i-BUS2,asingleorseveralofthesechannelsarenotallowedtobein[Nooutput]mode.The
actualsignalisheldatthelastoutputvaluewhenthechannelissetto[Nooutput]mode.
2.BecausetheS.BUS/i-BUS2signalinformationcontainsfailsafeagbits,thefailsafesettingsofeachchannelarecommunicatedto
subsequentdevicesbythefailsafeagbits.Iftheconnecteddevicessupportthefailsafeagbitanalysis,thefailsafevaluessetforeach
channelareoutputafteroutofcontrol.
3.ForthesignalPPM/i-BUSwithoutfailsafeagbits,itsupportsthesettingofthesignalto[Nooutput]modeincaseofoutof
control.Aftersettingto[Nooutput]mode,regardlessofthesettingofthefailsafeofeachchannel,eachchannelwillbein[No
output]modeafteroutofcontrol.
ThermwareofthisreceivercanbeupdatedviatheFlyskyAssistant(Onlyversion3.0orlaterissupported.Thermwareof
FlyskyAssistantisavailableontheFlyskyocialwebsite:www.ysky-cn.com).
Thisreceivercanbeupdatedthroughthefollowingtwoways:
1. After the binding between the transmitter and the receiver (the LED of the receiver is solid on), connect the transmitter to the
computer, then open the FlyskyAssistant on the computer to update the rmware.
2. Connect the transmitter to the computer. Then put the receiver to enter the forced update mode by referring to the following
two ways (The LED of the receiver works in three-ash-one-o mode repeatedly). Afterwards, open the FlyskyAssistant on the
computer to update the rmware.
• Power on the receiver while pressing and holding the BIND button for more than ten seconds, until the LED of the receiver
works in three-ash-one-o mode repeatedly, then release the BIND button.
• Power on the receiver rst, then press and hold the BIND button for more than ten seconds, when the LED of the receiver
works in three-ash-one-o mode repeatedly, then release the BIND button.
Attention:
• Make sure the product is installed and calibrated correctly, failure to do so may result in serious injury.
• Make sure the receiver's battery is disconnected before turning o the transmitter, failure to do so lead to lose control.

FGr4D 接收机 Receiver
http://www.flysky-cn.com
Copyright ©2023 Flysky Technology Co., Ltd.
认证相关 Certications
FCC Compliance Statement
ThisdevicecomplieswithPart15oftheFCCRules.Operationissubjecttothefollowingtwoconditions:(1)thisdevicemaynotcause
harmfulinterference,and(2)thisdevicemustacceptanyinterferencereceived,includinginterferencethatmaycauseundesiredoperation.
Warning:changesormodicationsnotexpresslyapprovedbythepartyresponsibleforcompliancecouldvoidtheuser'sauthorityto
operatetheequipment.
ThisequipmenthasbeentestedandfoundtocomplywiththelimitsforaClassBdigitaldevice,pursuanttoPart15oftheFCCRules.These
limitsaredesignedtoprovidereasonableprotectionagainstharmfulinterferenceinaresidentialinstallation.Thisequipmentgenerates,
usesandcanradiateradiofrequencyenergyand,ifnotinstalledandusedinaccordancewiththeinstructions,maycauseharmful
interferencetoradiocommunications.However,thereisnoguaranteethatinterferencewillnotoccurinaparticularinstallation.
Ifthisequipmentdoescauseharmfulinterferencetoradioortelevisionreception,whichcanbedeterminedbyturningtheequipmento
andon,theuserisencouragedtotrytocorrecttheinterferencebyoneormoreofthefollowingmeasures:
--Reorientorrelocatethereceivingantenna.
--Increasetheseparationbetweentheequipmentandreceiver.
--Connecttheequipmentintoanoutletonacircuitdierentfromthattowhichthereceiverisconnected.
--Consultthedealeroranexperiencedradio/TVtechnicianforhelp.
EU DoC Declaration
Hereby,[FlyskyTechnologyCo.,Ltd.]declaresthattheRadioEquipment[FGr4D]isincompliancewithRED2014/53/EU.
ThefulltextoftheEUDoCisavailableatthefollowinginternetaddress:www.yskytech.com/info_detail/10.html
RF Exposure Compliance
ThisequipmentcomplieswithFCCradiationexposurelimitssetforthforanuncontrolledenvironment.Thisequipmentshouldbeinstalled
andoperatedwithminimumdistance20cmbetweentheradiatorandyourbody.Thistransmittermustnotbeco-locatedoroperatingin
conjunctionwithanyotherantennaortransmitter.
Environmentally friendly disposal
Oldelectricalappliancesmustnotbedisposedoftogetherwiththeresidualwaste,buthavetobedisposedofseparately.Thedisposalat
thecommunalcollectingpointviaprivatepersonsisforfree.Theownerofoldappliancesisresponsibletobringtheappliancestothese
collectingpointsortosimilarcollectionpoints.Withthislittlepersonaleort,youcontributetorecyclevaluablerawmaterialsandthe
treatmentoftoxicsubstances.
FCCID:2A2UNFGR4D
Manufacturer: ShenZhen FLYSKY Technology Co., Ltd.
Address: 16F, Huafeng Building, No. 6006 Shennan Road, Futian District, Shenzhen, Guangdong, China
本说明书中的图片和插图仅供参考,可能与实际产品外观有所不同。产品设计和规格可能会有所更改,恕不另行通知。
Figuresandillustrationsinthismanualareprovidedforreferenceonlyandmaydierfromactualproductappearance.Productdesignandspecicatiionsmaybechangedwithoutnotice.
Unreasonable setting of the Failsafe may cause accidents.
• Make sure the receiver is mounted away from motors, electronic speed controllers or any device that emits excessive electrical noise.
• Keep the receiver's antenna at least 1cm away from conductive materials such as carbon or metal.
• Do not power on the receiver during the setup process to prevent loss of control.
Table of contents
Other Fly Sky Receiver manuals
Fly Sky
Fly Sky FS-iA8X User manual
Fly Sky
Fly Sky FGr4B User manual
Fly Sky
Fly Sky GMr User manual

Fly Sky
Fly Sky FS-SRM User manual
Fly Sky
Fly Sky FS-R4M User manual

Fly Sky
Fly Sky FTr10 User manual
Fly Sky
Fly Sky FBr12 User manual
Fly Sky
Fly Sky FGr12B User manual
Fly Sky
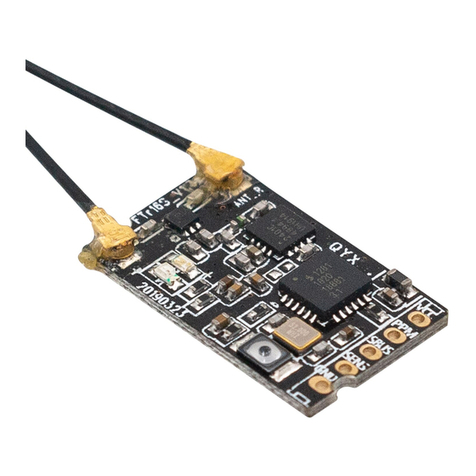
Fly Sky FTr16S User manual
Fly Sky
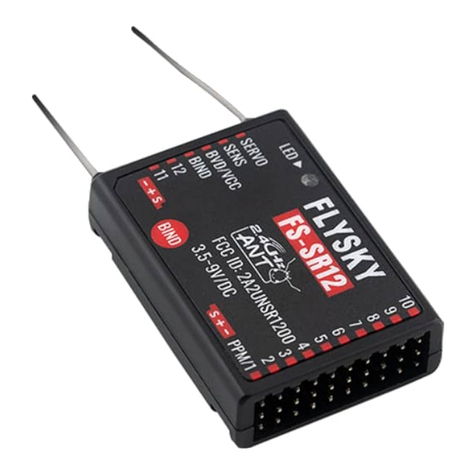
Fly Sky FS-SR12 User manual
Fly Sky
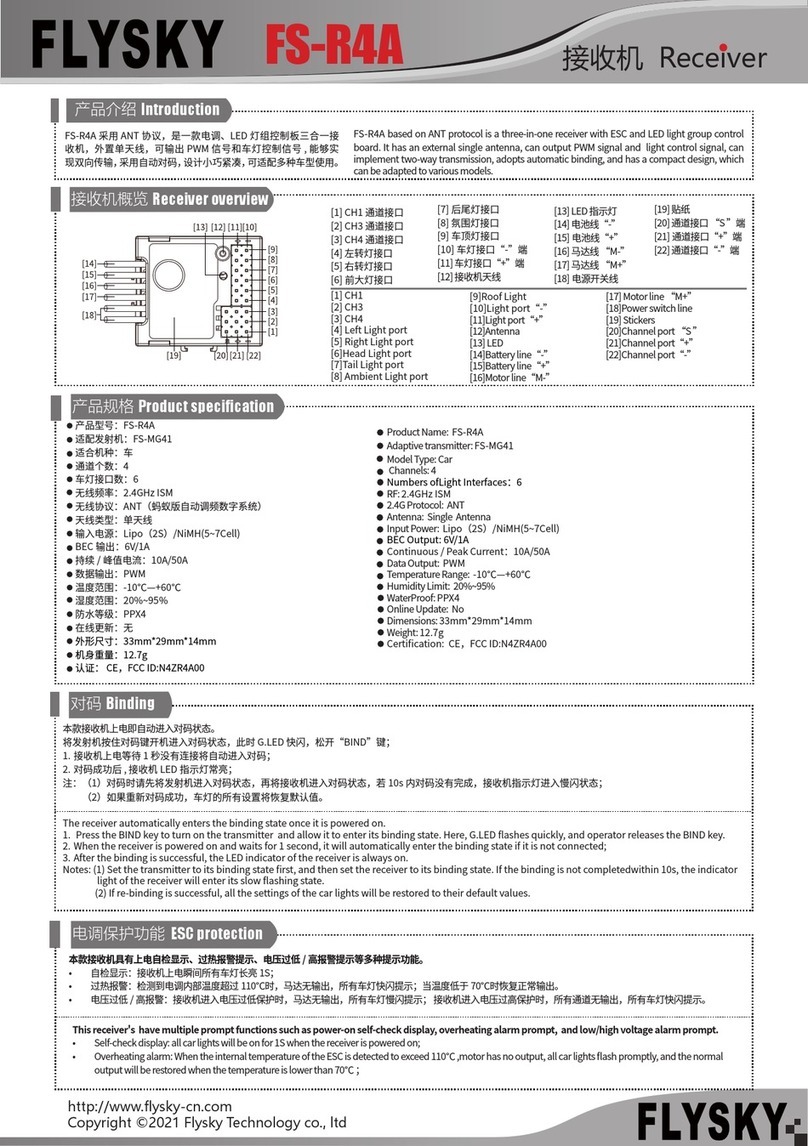
Fly Sky FS-R4A User manual

Fly Sky
Fly Sky FTr12B User manual
Fly Sky
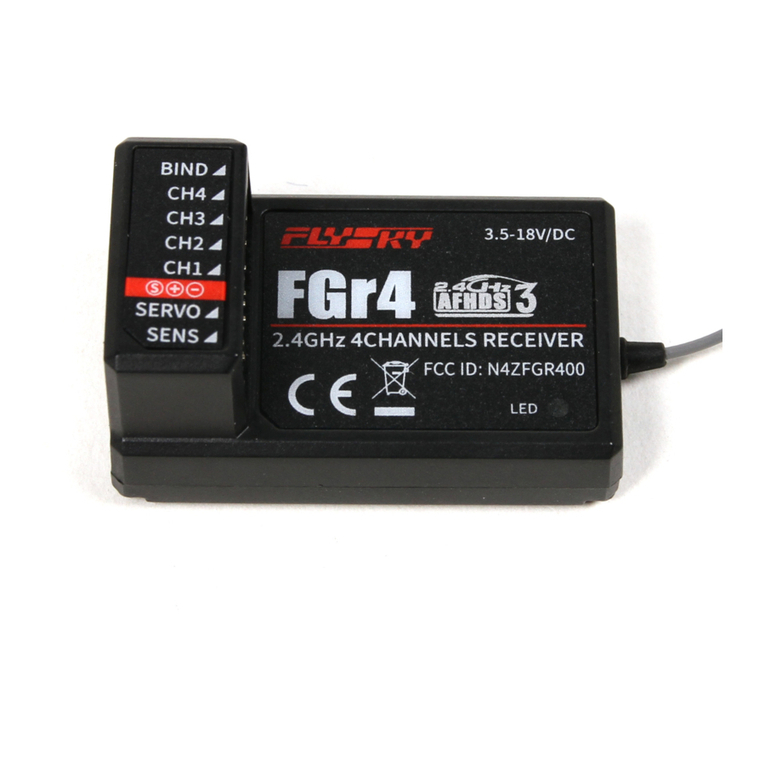
Fly Sky FGr4 User manual
Fly Sky
Fly Sky FS-R4D-ESC User manual
Fly Sky
Fly Sky FS-X6B User manual
Fly Sky
Fly Sky FS-R4D User manual
Fly Sky
Fly Sky FS-R7P User manual
Fly Sky
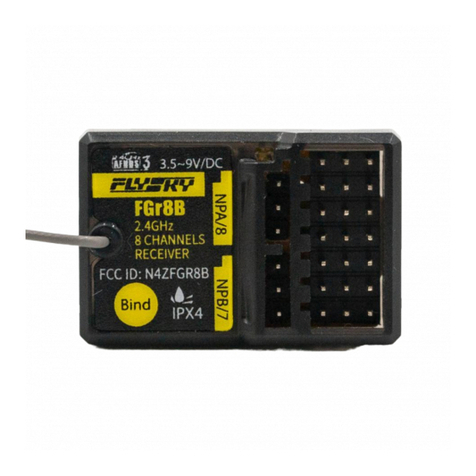
Fly Sky FGr8B User manual
Fly Sky
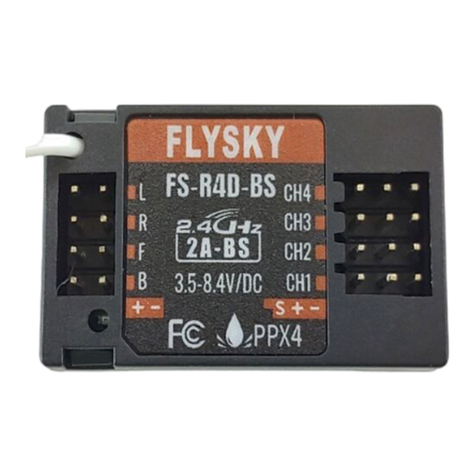
Fly Sky FS-R4D-BS User manual
Fly Sky
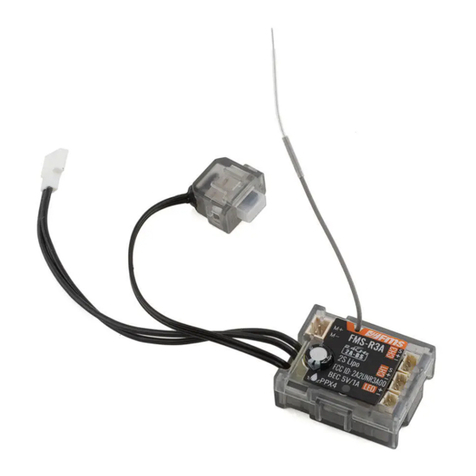
Fly Sky FMS-R3A User manual

