Fly Sky Tr8B User manual

Tr8B 接收机 Receiver
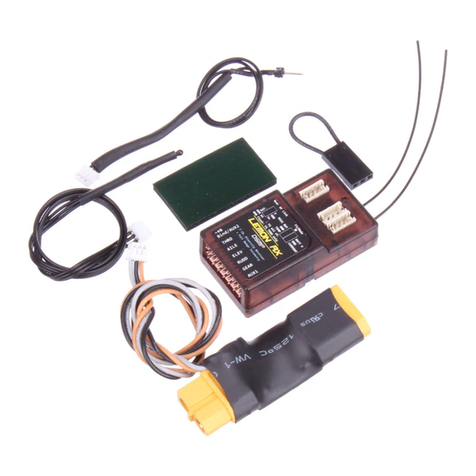
http://www.ysky-cn.comCopyright ©2022 Flysky Technology co., ltdTr8B是一款采用 AFHDS 3(第三代自动跳频数字系统)协议支持8个PWM通道信号输出的微型接收机。它具有扣式双天线,支持双向传输,可实现回传功能,支持2个Newport接口(Newport接口可自定义输入或输出的信号类型:i-BUS2/S.BUS/i-BUS/PPM等)。设计上也独辟蹊径,在满足轻小常规应用的基础上提供了DIY配件,以满足不同的需求。The Tr8B receiver based on AFHDS 3 protocol( third-generation automatic frequency hopping digital system)is micro receiver with 8 PWM channels. It features two button antennas, bidirectional data transmission and data returning. It supports 2 Newport function interfaces( Newport interface can be customized with the input or output signal type: i-BUS2/S.BUS/i-BUS/PPM, etc.). The receiver adapts all transmitters and RF modules with AFHDS 3 protocol. The design is also unique. We provide DIY accessories to meet special demands, in addition to meeting conventional applications.产品介绍 Introduction
接收机概览 Receiver overview [6] LED[7] CH8 (NPA) [8] CH6 [9] BVD cable welding point产品规格 Product specication
产品型号:Tr8B适配发射机:PL18或NB4系列,AFHDS 3代高频协议发射机适合机种:室内机、滑翔机、车、船、固定翼或机器人PWM通道:8无线频率:2.4GHZ ISM无线协议:AFHDS 3天线类型:双天线(ipex4)发射功率:小于20dBm输入电源:3.5~9V/DC工作电流: < 30mA/5V数据输出:PWM/PPM/i-BUS2/i-BUS/S.BUS温度范围:-10℃ ~ +85℃湿度范围:20% ~ 95%在线更新:支持遥控距离:>1000m(空旷无干扰空中距离)外形尺寸:19.5*14.6*3mm(不含插针和天线)机身重量:0.9g (不含插针和天线) 2g (含4*3 Pin插针和双天线)安规认证:CE,FCC ID: 2A2UNTR8B00Product Designation: Tr8BCompatible Transmitters: Transmitters with AFHDS 3 protocol, such as PL18 or Nb4 seriesCompatible Models : Indoor aircraft, gliders, cars, boats, xed-wing aircraft or robots.PWM Channels: 8RF: 2.4GHz ISM2.4G Protocol: AFHDS 3Antenna: Two antennas (ipex4)Maximum Power: < 20dBm (e.i.r.p.) (EU)Input Power: 3.5-9V/DCWorking Current: < 30mA/5VData Output: PWM/PPM/i-BUS2/i-BUS/S.BUSTemperature Range: -10℃ ~ +85℃Humidity Range: 20% ~ 95%Online Update: YesDistance: >1000m (Air distance without interference)Dimensions: 19.5*14.6*3mm (Excluding pins and antennas)Weight: 0.9g (Excluding pins and antennas) 2g (Including 4*3 pins and two antennas)Certications: CE, FCC ID: 2A2UNTR8B00[6] LED 指示灯[7] CH6 通道接口[8] CH8 (NPA)通道接口[9] BVD 线焊点[10] CH4 通道接口[1] CH1 通道接口[2] CH3 通道接口[3] 天线[4] CH7(NPB) 通道接口[5] CH5 通道接口[1] CH1 [2] CH3 [3] Antennas[4] CH7(NPB) [5] CH5[11] CH2 通道接口[12] S(信号脚)[13] +(电源正极)[14] -(电源地)[15] 焊接头[15][16] [17]DIY配件介绍:BVD检测线:当需要使用 BVD 功能检测电压时,先将 BVD 线的焊接头端(左图 [15] 位置 ) 焊接到接收机的 BVD 焊点处(左图 [9]位置) , 即可使用 BVD 功能检测电压。注:1. 使用 BVD功能时,需要将检测的电池负极与接收机电源地(左图 [14]位置)相连;2. BVD 电压检测范围: 0~70V 。两组通道接口插针(对应通道5、6、7和8):当需要使用4个以上通道或Newport时,将相应的插针焊接到接收机预留的通道位置处即可。请注意焊接完毕后,用新的热缩套管套住电路板,以防止使用过程中接触金属而造成短路![10] CH2 [11] CH4 [12] S(Signal Pin)[13] +(Power anode)[14] -(Power cathode)对码 Binding
本款接收机上电即自动进入对码状态,即每次上电后,接收机等待 1 秒,若与发射机没有建立连接,即进入对码状态,若接收机进入对码状态 10S内未与发射机对码成功,则退出对码状态。如之前与发射机成功对码(建立连接),则退出对码状态后,继续等待与已对码的发射机建立连接。• 当本接收机与发射机完成对码使用时,请先打开发射机再打开接收机,若先打开接收机,此时若有同类发射机处于对码状态,则可能会被错误对码,请小心避开!接收机支持双向对码和单向对码(双向对码完成后发射机将显示接收机回传的信息),因此对码前需先在发射机端设置单向或双向对码。如需对码接收机与发射机,对码步骤如下所述。DIY accessories:BVD cable: When you need to use the BVD function to detect voltage, rst weld the BVD cable welding joint end (in the left gure [15] ) to the receiver's BVD welding point (in the left gure [9] ). Then you can use the BVD function to detect voltage.Notes:1. When using the BVD function, connect the negative terminal of the detected battery to the receiver's power cathode (in the left gure [14]) .2. BVD voltage detection range: 0 – 70 V.Two sets of channel interface pins (corresponding to channels 5, 6, 7 and 8): When more than 4 channels or Newports need to be used, just weld the corresponding pins to the channel position reserved in the receiver.It should be noted that you use a new heat-shrinkable sleeve to cover the circuit board to prevent from contacting with metal, so as to avoid a short circuit ![16] BVD 线[17] 接电池正极[3] [6] [2] [1] [4] [5] [9]
[10] [11]
[8] [7]
[12] [13] [14]
[15] Welding joint[16] BVD cable[17] Connect to battery anode

Tr8B 接收机 Receiver
http://www.ysky-cn.comCopyright ©2022 Flysky Technology co., ltd对码 Binding
双向对码步骤:1. 发射机选择双向通信,然后进入对码状态;2. 接收机上电进入对码状态,接收机 LED灯快闪;3. 接收机 LED灯常亮,即对码成功,发射机对码成功后自动退出对码状态,对码完成;4. 检查发射机、接收机是否正常工作。如需重新对码,请重复以上步骤。单向对码步骤:1. 发射机选择单向通信,然后进入对码状态;2. 接收机进入对码状态,此时接收机 LED灯快闪;3. 接收机 LED灯慢闪,即对码成功。发射机则需手动将其退出对码状态,接收机 LED灯常亮,对码完成;4. 检查发射机、接收机是否正常工作。如需重新对码,请重复以上步骤。 固件更新 Firmware update
本接收机固件更新需通过富斯遥控管家(FlySkyAssistant)完成(仅3.0及以上版本支持,富斯遥控管家固件可从官网www.ysky-cn.com获取)。本接收机可以通过以下两种方式进入更新:1. 先将发射机与接收机对码后(接收机 LED灯常亮),再将发射机与电脑连接,然后在电脑端打开富斯遥控管家,通过富斯遥控管家进行固件更新;2. 将发射机与电脑连接,参考如下方式使接收机进入强制更新状态(接收机 LED灯状态三闪一灭),然后在电脑端打开富斯遥控管家,通过富斯遥控管家进行固件更新。进入强制更新状态的操作方式如下:• 先将接收机 CH3和 CH4通道的信号端相连接,然后给接收机通电。The rmware of this receiver is updated through the FlyskyAssistant (Only version 3.0 or above is supported. The rmware of FlyskyAssistant is available on the Flysky ocial website).This receiver can be updated via the following two ways:1. After the binding between the transmitter and the receiver (the LED of the receiver is solid on), connect the transmitter to the computer, then open the FlyskyAssistant on the computer to update the rmware.2. Connect the transmitter to the computer. Then put the receiver to enter the forced update mode by referring to the following way (The LED of the receiver operates in three-ash-one-o manner repeatedly). Afterwards, open the FlyskyAssistant on the computer to update the rmware.• Connect the signal pin of the CH3 to the signal pin of the CH4 rst, then power on the receiver.The receiver automatically enters the bind state upon power-on. That is, the receiver waits for 1 second after power-on, it enters the binding state if no connection is established with the transmitter. If the receiver enters the binding state and fails to bind with the transmitter within 10 seconds, it exits the bind state. If the receiver has succeeded in binding with the transmitter earlier (established a connection), it will continue to wait for a connection with the transmitter after the exit of the bind state.• When this receiver and the transmitter complete the binding, please turn on the transmitter and then the receiver. If you turn on the receiver rst, there may be a wrong binding at this time when there is a similar transmitter in the bind state. Please bear this in mind.The receiver supports two -way binding and one-way binding. The transmitter will display the information returned from the receiver after the two-way binding is completed. The receiver automatically enters the binding state once it is powered on, set to Two way or not at the transmitter side rst before starting binding.Follow the steps below to bind in two-way binding:1. At the transmitter side, set Two way in Bind setting menu, then put the transmitter into bind mode.2. After the receiver is powered on, it will automatically enter the binding mode if it is not connected to the transmitter in 1 second.3. When the LED of the receiver is solid on, the binding process should be completed. The transmitter exits the bind mode automatically.4. Check to make sure the transmitter and receiver functions are working correctly, repeat steps 1 to 3 (binding process) if any problems arise.Follow the steps below to bind in one-way binding:1. At the transmitter side, set One way in Bind setting menu, then put the transmitter into bind mode.2. Put the receiver into bind mode (Refer to the description for Two way binding above ).3. When the LED of the receiver is in slow ashing state, the binding process should be completed. You need to manually put the transmitter to exit the bind mode. Then the LED of the receiver is solid on, indicating that the binding is completed.4. Check to make sure the transmitter and receiver functions are working correctly, repeat steps 1 to 3 (binding process) if any problems arise.Note: Put the transmitter into bind mode rst, then put the receiver into bind mode. If the binding is not completed within ten seconds, the LED of the receiver will enter its slow ashing state.注:对码时请先将发射机进入对码状态,再将接收机进入对码状态;若10S内对码没有完成,接收机退出对码状态,LED灯进入慢闪状态。

Tr8B 接收机 Receiver
http://www.ysky-cn.comCopyright ©2022 Flysky Technology co., ltd失控保护Failsafe
失控保护功能用于在接收机与发射机失去信号不受控制后,接收机按设置好的失控保护值进行通道输出以保护模型及人员安全。本款接收机共支持三种失控保护模式 : [ 无输出 ]、[保持 ]和 [固定值 ] [ 无输出 ] PWM通道接口为无输出状态 ; [ 保持] 输出失控前最后的通道值;[ 有输出 ] 输出设置的固定值。注:1. 对于 PPM/i-BUS/S.BUS/i-BUS2等总线信号类型不允许单个或其中几个通道为 [无输出 ] 模式,通道设置为[ 无输出 ]模式时,实际信号是保持最后输出值;2. 因 S.BUS/i-BUS2 信号信息包含失控标志位,各通道失控保护设置被失控标志位传达给后续设备,若连接的设备支持失控标志位解析,则失控后,输出各通道设置的失控保护值;3. 对于无失控标志位的信号 PPM/i-BUS,支持设置失控时信号 [无输出 ] 模式。设置为[ 无输出 ]模式后,不管各通道失控保护如何设置,失控后各通道均为 [无输出 ] 模式。注意事项:• 使用前必须确保本产品与模型安装正确,否则可能导致模型发生严重损坏。• 关闭时,请务必先关闭接收机电源,然后关闭发射机。如果关闭发射机电源时接收机仍然在工作,将会导致遥控设备失控。失控保护设置不合理可能引起事故。• 确保接收机安装在远离电机,电子调速器或电子噪声过多的区域。• 接收机天线需远离导电材料,例如金属棒和碳物质。为了避免影响正常工作,请确保接收机天线和导电材料之间至少有1厘米以上的距离。• 准备过程中,请勿连接接收机电源,避免造成不必要的损失。The failsafe function is used to output the channel value according to the out-of-control protection value set by the user after the receiver loses its signal and is out of control to protect the model and personnel.It can also be set failsafe for each channel respectively. This receiver supports three failsafe modes: No output, Hold, and Fixed value. No output It is in suspended state for the interface of PWM; Hold Keep the last output value; Fixed value Output the failsafe values set for each channel. Notes: 1. For bus signal types such as PPM/i-BUS/S.BUS/i-BUS2, a single or several of these channels are not allowed to be in No output mode. The actual signal is held at the last output value when the channel is set to No output mode.2. Because the S.BUS/i-BUS2 signal information contains failsafe ag bits, the failsafe settings of each channel are communicated to subsequent devices by the failsafe ag bits. If the connected devices support the failsafe ag bit analysis, the failsafe values set for each channel are output after out of control.3. For the signal PPM/i-BUS without failsafe ag bits, it supports the setting of the signal to No output mode in case of out of control. After setting to No output mode, regardless of the setting of the failsafe of each channel, each channel will be in No output mode after out of control. Attentions:• Make sure the product is installed and calibrated correctly, failure to do so may result in serious injury.• Make sure the receiver's battery is disconnected before turning o the transmitter, failure to do so can result out of control. Unreasonable setting of the Failsafe may cause accidents.• Make sure the receiver is mounted away from motors, electronic speed controllers or any device that emits excessive electrical noise.• Keep the receiver's antenna at least 1cm away from conductive materials such as carbon or metal.• Do not power on the receiver during the setup process to prevent loss of control.

Tr8B 接收机 Receiver
http://www.ysky-cn.comCopyright ©2022 Flysky Technology co., ltd认证相关 Certication
FCC Compliance StatementThis device complies with Part 15 of the FCC Rules. Operation is subject to the following two conditions: (1) this device may not cause harmful interference, and (2) this device must accept any interference received, including interference that may cause undesired operation. Warning: changes or modications not expressly approved by the party responsible for compliance could void the user’s authority to operate the equipment. This equipment has been tested and found to comply with the limits for a Class B digital device, pursuant to Part 15 of the FCC Rules. These limits are designed to provide reasonable protection against harmful interference in a residential installation. This equipment generates, uses and can radiate radio frequency energy and, if not installed and used in accordance with the instructions, may cause harmful interference to radio communications. However, there is no guarantee that interference will not occur in a particular installation.If this equipment does cause harmful interference to radio or television reception, which can be determined by turning the equipment o and on, the user is encouraged to try to correct the interference by one or more of the following measures: Reorient or relocate the receiving antenna. Increase the separation between the equipment and receiver. Connect the equipment into an outlet on a circuit dierent from that to which the receiver is connected. Consult the dealer or an experienced radio/TV technician for help.EU DoC DeclarationHereby, [Flysky Technology co., ltd] declares that the Radio Equipment [Tr8B] is in compliance with RED 2014/53/EU.The full text of the EU DoC is available at the following internet address: www.ysky-cn.com.RF Exposure ComplianceThis equipment complies with FCC radiation exposure limits set forth for an uncontrolled environment. This equipment should be installed and operated with minimum distance 20cm between the radiator and your body. This transmitter must not be co-located oroperating in conjunction with any other antenna or transmitter.Environmentally friendly disposalOld electrical appliances must not be disposed of together with the residual waste, but have to be disposed of separately. The disposal at the communal collecting point via private persons is for free. The owner of old appliances is responsible to bring the appliances to these collecting points or to similar collection points. With this little personal eort, you contribute to recycle valuable raw materials and the treatment of toxic substances.FCC ID: 2A2UNTR8B00
本说明书中的图片和插图仅供参考,可能与实际产品外观有所不同。 产品设计和规格可能会有所更改,恕不另行通知。Figures and illustrations in this manual are provided for reference only and may dier from actual product appearance. Product design and specicatiions may be changed without notice.
Manufacturer:ShenZhen FLYSKY Technology Co.,LtdAddress: 16F, Huafeng Building, No. 6006 Shennan Road, Futian District, Shenzhen, Guangdong, China
Table of contents
Other Fly Sky Receiver manuals
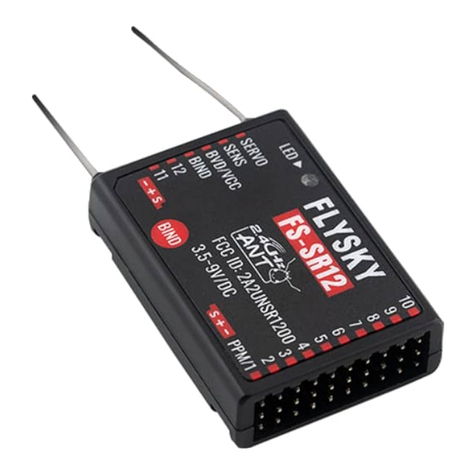
Fly Sky
Fly Sky FS-SR12 User manual

Fly Sky
Fly Sky FS-R7V User manual
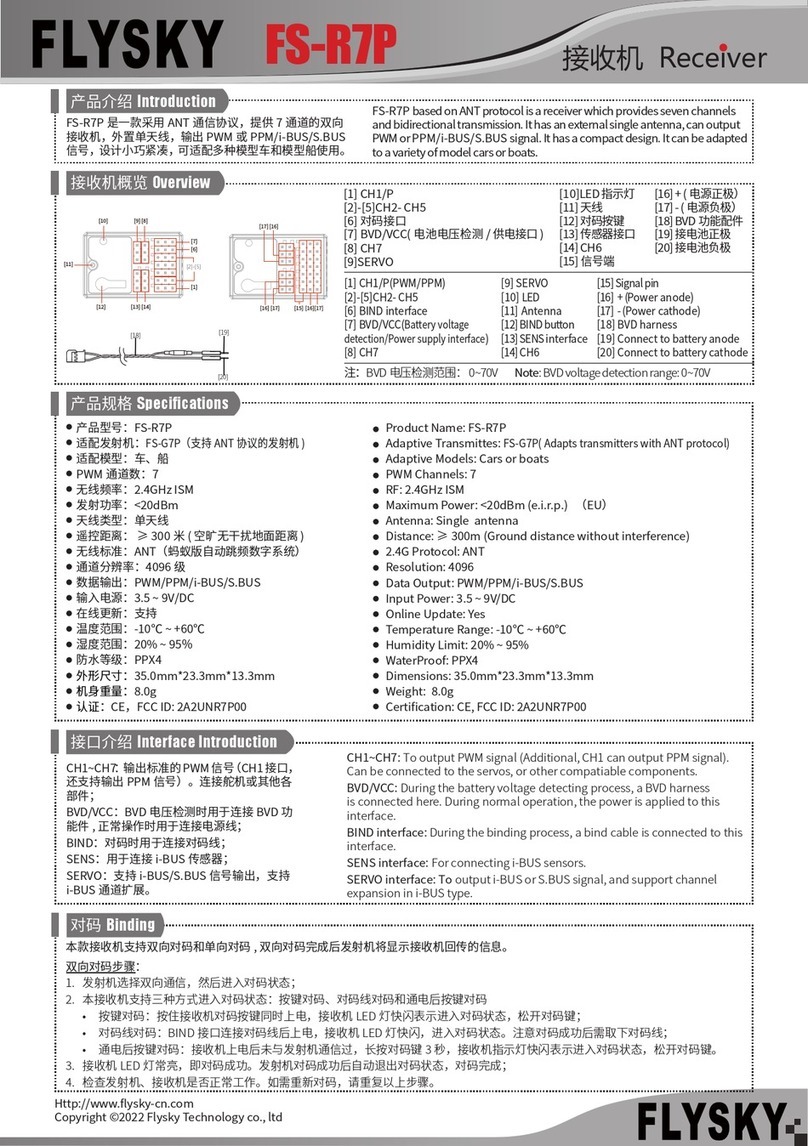
Fly Sky
Fly Sky FS-R7P User manual

Fly Sky
Fly Sky FTr4 User manual
Fly Sky
Fly Sky FS-iA8X User manual
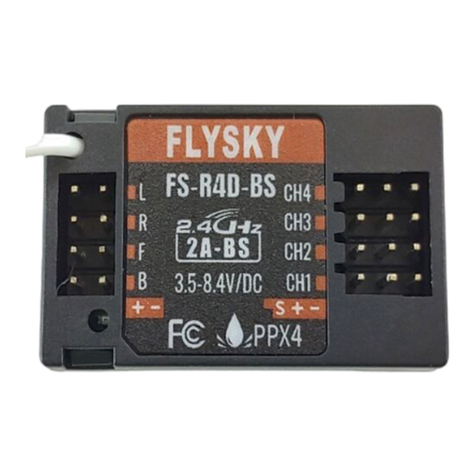
Fly Sky
Fly Sky FS-R4D-BS User manual
Fly Sky
Fly Sky FGr12B User manual

Fly Sky
Fly Sky FGr4S User manual
Fly Sky
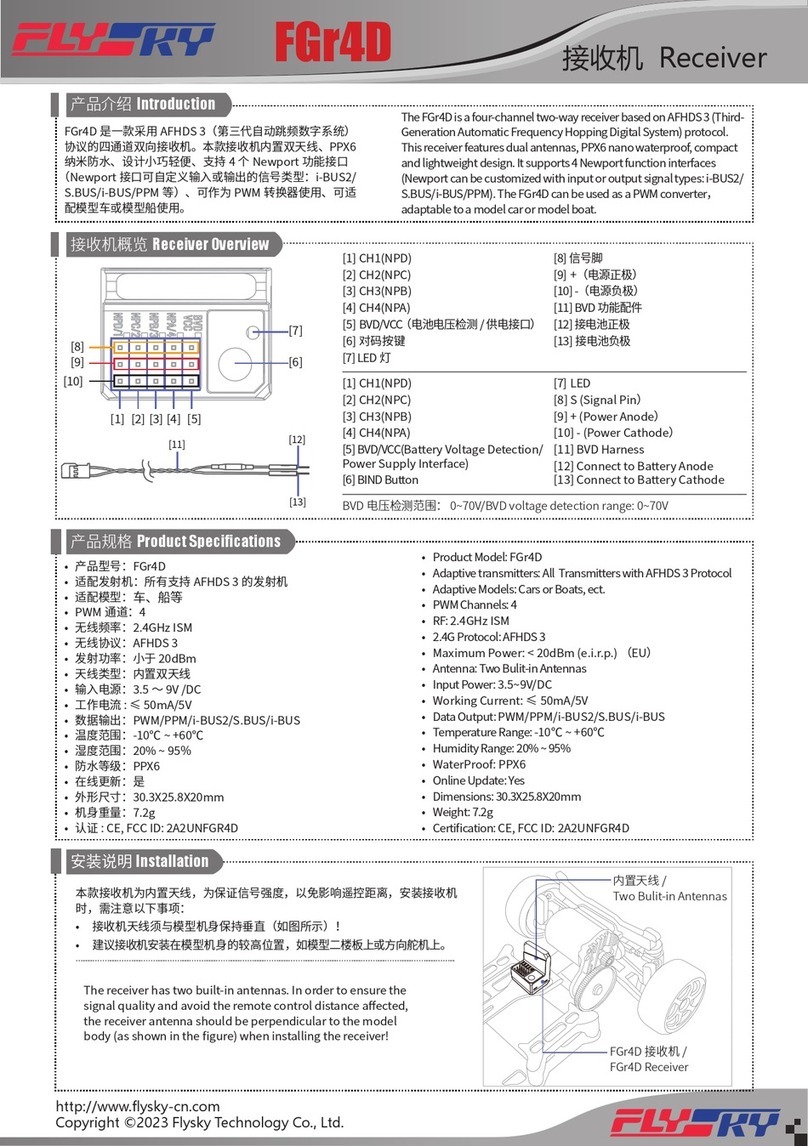
Fly Sky FGr4D User manual
Fly Sky
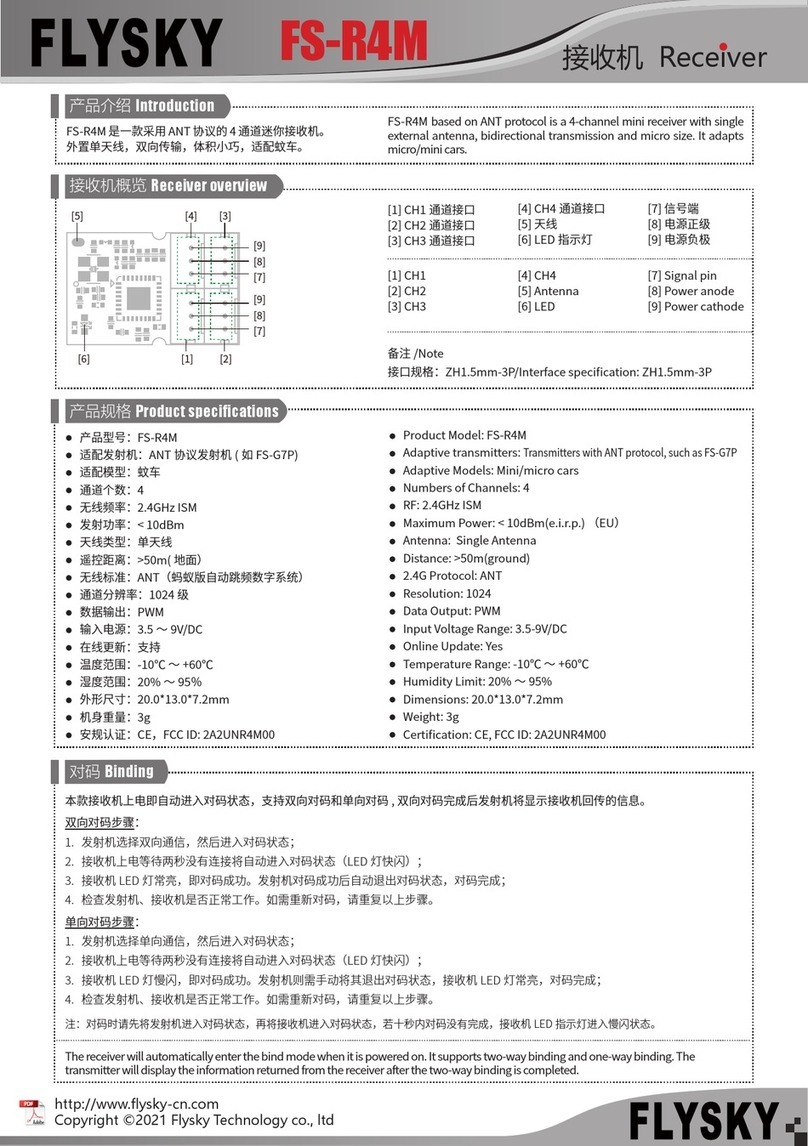
Fly Sky FS-R4M User manual
Fly Sky
Fly Sky FS-SR8C User manual

Fly Sky
Fly Sky FTr10 User manual
Fly Sky
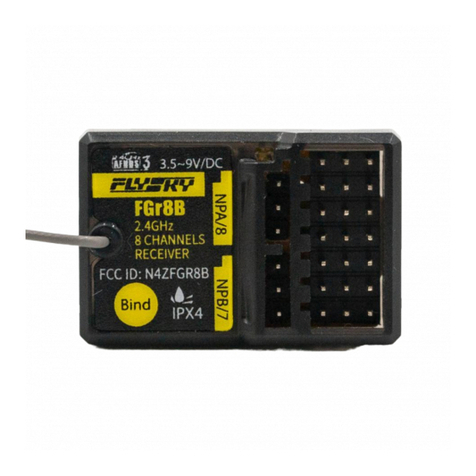
Fly Sky FGr8B User manual

Fly Sky
Fly Sky FS-SRM User manual
Fly Sky
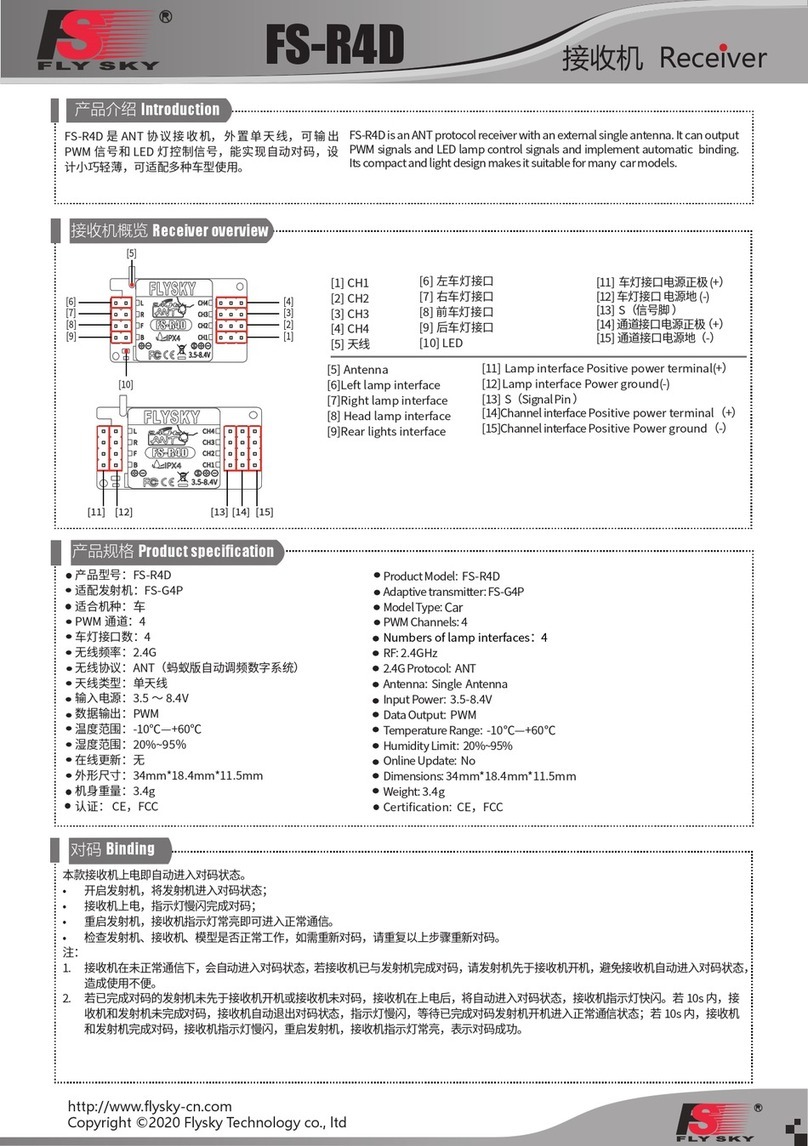
Fly Sky FS-R4D User manual

Fly Sky
Fly Sky FTr8B User manual
Fly Sky
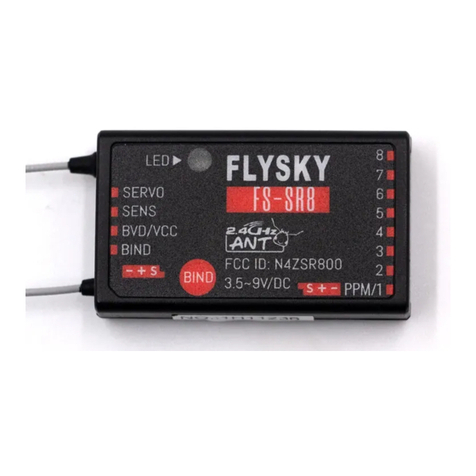
Fly Sky FS-SR8 User manual
Fly Sky
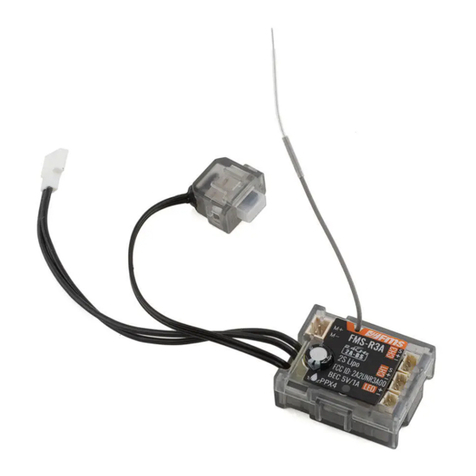
Fly Sky FMS-R3A User manual
Fly Sky
Fly Sky FS-R4A User manual

Fly Sky
Fly Sky INr4-GYB User manual
