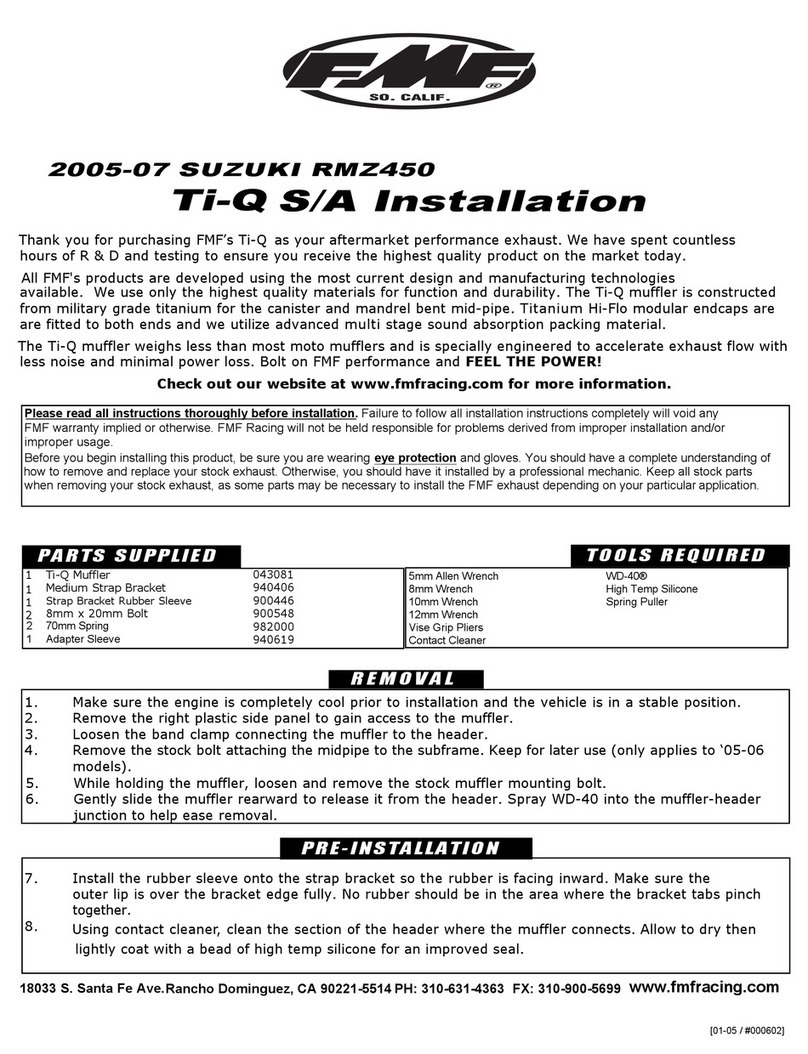
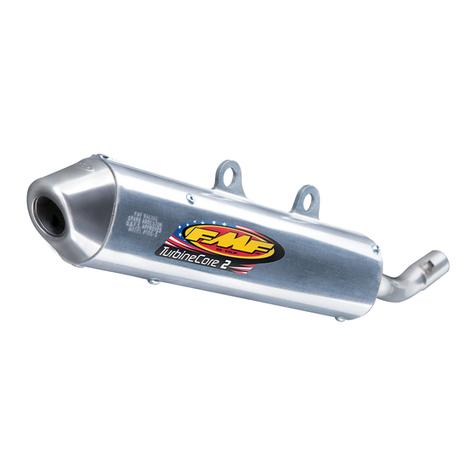
FMF Factory 4.1C User manual

Factory 4.1C Installation
Thank you for purchasing the FMF Factory4.1C as your aftermarket performance exhaust. We have spent
countless hours of R & D and testing to insure you receive the highest quality product on the market today.
All FMF's products are developed using the most current technology available for design and manufacturing.
We use only the highest quality materials for function and durability. The Factory 4.1C muffler is constructed of
a carbon fiber canister with a titanium mandrel bent midpipe. Tru-Flo modular titanium endcaps are fitted to both
ends and we utilize advanced multistage sound absorption packing material.
The Factory4.1C muffler is the lightest slip on muffler available and specifically engineered to broaden
your existing powerband to give you an all-around power increase. Bolt on FMF performance and FEEL THE
POWER!
18033 S. Santa Fe Ave.
Rancho Dominguez, CA 90221-5514 PH: 310-631-4363 FX: 310-900-5699 www.fmfracing.com
[05-05 / #000629]
2005-07 Suzuki RMZ450
1. Make sure the engine is completely cool prior to installation and the vehicle is in a stable position.
2. Remove the right plastic side panel to gain access to the muffler.
3. Loosen the band clamp connecting the muffler to the header.
4. Remove the stock bolt attaching the midpipe to the subframe. Keep for later use (for ‘05-06 only).
5. While holding the muffler, loosen and remove the stock muffler mounting bolt.Keep for later use.
6. Gently slide the muffler rearward to release it from the header. Spray WD-40 into the muffler-header
junction to help ease removal.
PARTS SUPPLIED
(1) Factory4.1 Carbon Muffler
(1) 8mm x 20mm bolt 900548
(1) Adapter sleeve
TOOLS REQUIRED
8mm Wrench
10mm Wrench
12mm Wrench
Contact Cleaner
High Temp Silicone
WD-40®
Spring Puller Tool
REMOVAL
Carbon mufflers are less durable than titanium or aluminum and are more easily damaged from a crash
as well as normal riding. Damage to the muffler will result from improper maintenance. Replace
packing if there is indication of packing blow out as evidenced by discoloration of muffler canister (gray
carbon weave turning brown), increased exhaust sound level or change in performance. Always
replace packing material if water gets into the muffler. Warranty is limited on this product.
ATTENTION
940619
043094/96
Check out our website at www.fmfracing.com for more information.
Please read all instructions thoroughly before installation. Failure to follow all installation instructions completely will void any
FMF warranty implied or otherwise. FMF Racing will not be held responsible for problems derived from improper installation and/or improper
usage.
Before you begin installing this product, be sure you are wearing eye protection and gloves. You should have a complete
understanding of how to remove and replace your stock exhaust. Otherwise you should have it installed by a professional mechanic. Keep all
stock parts when removing stock exhaust as some parts may be necessary to install the FMF exhaust depending on your application.

7. Using contact cleaner, clean the section of the header where the midpipe connects then lightly coat
with a bead of high temp silicone for an improved seal.
PRE-INSTALLATION
INSTALLATION
POST-INSTALLATION
15. We recommend using high temp silicone for an improved seal. Please follow instructions for the
silicone and allow sufficient time to dry before starting the engine.
16. Before operating your vehicle, we recommend either stock jetting or installing our Power-Up Jet Kit
for optimum performance. Our jetting recommendations are to be used as a guide only and were
developed based on operation at sea-level at 70 degree ambient air temperature. There are too many
variables outside of FMF’s control to give you a precise recommendation. If you’re not capable of tuning
the carburetor yourself please find a mechanic in your area who is capable to take on this role. Refer to
our website for more jetting information.
17. Start the engine and bring it up to operating temperature. Check for exhaust leaks.
18. Let engine cool completely and re-torque all mounting hardware to the manufacturers specifications.
FMF Racing inspects all products prior to packaging and strives toward improving its products. Our guarantee is limited to the replacement of defective
products. This limited guarantee is in lieu of all other guarantees or warranties implied or expressed. Buyer assumes all risk for any and all damage caused to
himself, a third party and/or property by virtue of failure of this product. We make no warranty as to products distributed by FMF Racing, expressed or implied
from our suppliers or 3rd party vendors. This includes, without limitation, any warranties or merchantability and fitness for a particular purpose.All products are
offered and designed for use with standard machines. FMF Racing makes no claims as to the products effectiveness on modified machines. FMFRacing is the
sole determiner of abuse, misuse, installation errors and modifications. We assume no liability for any errors in listings, specifications, part numbers, prices or
model applications. We reserve the right to change specifications, product descriptions, product quality, pricing and application at any time without notice and
without further obligation. By installing and/or using an FMF product, you hereby accept and understand these stated terms and conditions and have followed all
instructional steps.
8. Slide the FMF midpipe over the header. Wipe off any excess silicone.
9. Install the stock bolt and washer removed in step 4 through the subframe into the muffler. Do not fully
tighten at this time.
For ‘07 models, you must use the supplied bolt and adapter sleeve. Insert the sleeve
into the subframe then thread the bolt through the sleeve into the muffler mount. Do not fully tighten
at this time.
10. Lightly coat the slip fit section of the midpipe where the muffler connects with a bead of high temp silicone
for an improved seal.
11. Slide the FMF muffler onto the midpipe. Wipe away any excess silicone.
12.
13.
Install the stock bolt to the rear upper mount. Do not fully tighten at this time.
Make sure the header and muffler are in neutral positions and not binding. Slowly tighten all
mounting fasteners and clamps to manufacturer’s specifications, starting at the midpipe and working
your way to the back.
14. Inspect the complete exhaust to make sure there is no contact with the frame, shock spring, engine, body
panels or any cables, hoses or wiring. The exhaust system should only be in contact with the exhaust port
and mounting points. Confirm all controls operate in accordance with the manufacturer’s specifications.
To clean your FMF muffler, allow to cool. Do not spray water onto a hot exhaust. Dry completely to prevent streaking. Mild soap and water is
recommended on the muffler canister to reduce streaking and uneven discoloration.
As stated, carbon mufflers require more frequent repacking and must be repacked immediately if there is indication of the packing material failing.
Symptoms of packing material beginning to fail are: discoloration of the carbon canister (gray carbon weave turning brown), increased sound
level or a change in performance. Riding in the higher RPM range as opposed to the low to mid RPM range causes excessive heat which
degrades packing material at an accelerated rate. Under these circumstances, the packing will need to be replaced sooner and more frequently
or the carbon canister will be damaged. Observe the yellow Repack Indicator Sticker after every ride. When sticker indicates the temperature of
the canister has reached 370F, you must replace the packing material. Failure to do so will void the limited warranty. Water will ruin the packing.
Cover the exhaust outlet when washing your machine. Repack your muffler if water gets inside and saturates the packing material. Use only
FMF Racing’s Carbon Muffler Repacking Kit, part number 012331, and follow the installation instructions provided. Warranty is void if other
packing material is used. If equipped with a spark arrestor screen, we recommend cleaning it gently using a wire brush after every 30 hours of
use. Warranty is limited on this product.
MAINTENANCE
Disclaimer
Table of contents
Other FMF Motorcycle Accessories manuals


