FONESTAR PPEL-43100-BA User manual

PPEL-43100-BA, PPEL-43120-BA,
PPEL-16106-BA, PPEL-16120-BA
ELECTRIC PROJECTOR SCREEN
INSTRUCTION MANUAL
160928_PPEL-BA_SERIES_MANUAL_(EN)_Maqueta ión 1 28/9/16 9:51 Página 1

We take this opportunity to thank you for buying this product.
We recommend you read the instruction manual before switching on the machine and follow the instructions
that are given. eep the manual for future reference.
SECURITY AND THE ENVIRONMENT
ELECTRICAL SECURITY
Check that the current in the mains connection where the machine is to be installed corresponds to the
power supply of the machine.
To avoid damaging the equipment, electrical shocks, fire or physical injury when you connect or disconnect
the equipment from the power supply, pull the plug firmly out of the mains socket holding the plug, never the
cable.
Always do this with dry hands.
eep the power supply cable far from sources of heat. Do not put heavy objects on top of it or change it.
Clean dust and dirt off the power supply cable regularly.
Do not open the machine; you could get an electric shock.
CAUTION
While installing the machine, make sure it is switched off and unplugged.
Do not open the machine. Touching the internal parts is dangerous and you could receive an electric shock.
The machine must not be splashed or dripped on. Never place recipients with liquid inside on the machine.
Do not place anything inside the machine.
LOCATION
Place the equipment on a horizontal surface with enough space around it to allow ventilation.
Avoid direct sunlight, heat sources and excessive dust.
Do not place the machine near magnetic fields or static electricity.
Do not use surfaces which vibrate or receive impact.
Do not pile machines on top of one another.
VENTILATION
Never block or cover the ventilation slits on the machine.
Do not expose it to direct sunlight or place it near sources of heat.
PERIODS OF INACTIVITY
When the machine is not going to be used for a long period of time, disconnect it from the mains.
If you are using an adapter, take into account that it will continue using electricity even if the machine is
switched off. If it is not going to be used for a long period of time, disconnect it from the mains.
THE ENVIRONMENT
To save energy, switch the machine off when you are not going to use it for a long time. The machine could
contain substances that are harmful to the environment or human health. To minimize the effect of these
substances the machine must be correctly managed and recycled when you decide to dispose of it.
When you dispose of it remember: it cannot be thrown into a conventional rubbish bin.
If it contains or uses batteries, these must be disposed of separately.
The machine (without batteries) must be disposed of correctly. Put it in a container specially intended for the
collection of electronic and electrical appliances, at the dump or hand it over to the dealer when you purchase
similar equipment, so that the dealer can dispose of it correctly (at no added cost).
- 2-
EN
160928_PPEL-BA_SERIES_MANUAL_(EN)_Maqueta ión 1 28/9/16 9:51 Página 2

SIGNIFICANCE OF THE SYMBOLS ON THE MACHINE*
The symbol formed by the expression “Class 1 laser product” written in a rectangle
indicates that visible or invisible laser radiation could be produced. Avoid direct expose to
the laser.
The symbol formed by a ray of lightening inside a triangle shows that the machine has
connection terminals or a circuit with areas with a current which could cause an electric
shock, even in normal working conditions.
The symbol formed by an exclamation mark in a triangle shows that the instruction manual
must be referred to for information on how the machine works and its use.
The symbol formed by one square inside another square shows that the machine has
double electrical insulation.
The European Community symbol shows that the machine complies with the current
European Union legislation, as well as its transposition to local legislation.
The symbol of a rubbish bin crossed out and over a horizontal line shows that when the
product is disposed of it must be done properly, placing it in a special selective electronic
and electrical equipment container or through a dealer when purchasing a similar product,
at no additional cost. It also shows that the machine was put on the market after 13th
August 2005 (European Community Directive 2002/96/CE of Electrical and Electronic
recycling, and its Spanish equivalent R.D.208/2005).
In accordance with what is set out in the aforementioned decree, FONESTAR is registered
in the RAEE (Registro de Aparatos Eléctricos y Electrónicos) in a special section REI
(Registro de establecimientos Industriales), with the entry number 001851.
*It is possible that some of these symbols do not appear on the machine.
E EMPTION OF LIABILITY
The characteristics of the equipment and the content of the manual can change without forewarning.
FONESTAR, S.A. does not assume responsibilities regarding the inappropriate use of the equipment or the
information supplied in this instruction manual, and specifically disclaims any implied liability for marketability
or fitness for any other use.
All rights reserved by FONESTAR, S.A.
- 3-
EN
160928_PPEL-BA_SERIES_MANUAL_(EN)_Maqueta ión 1 28/9/16 9:51 Página 3

DESCRIPTION
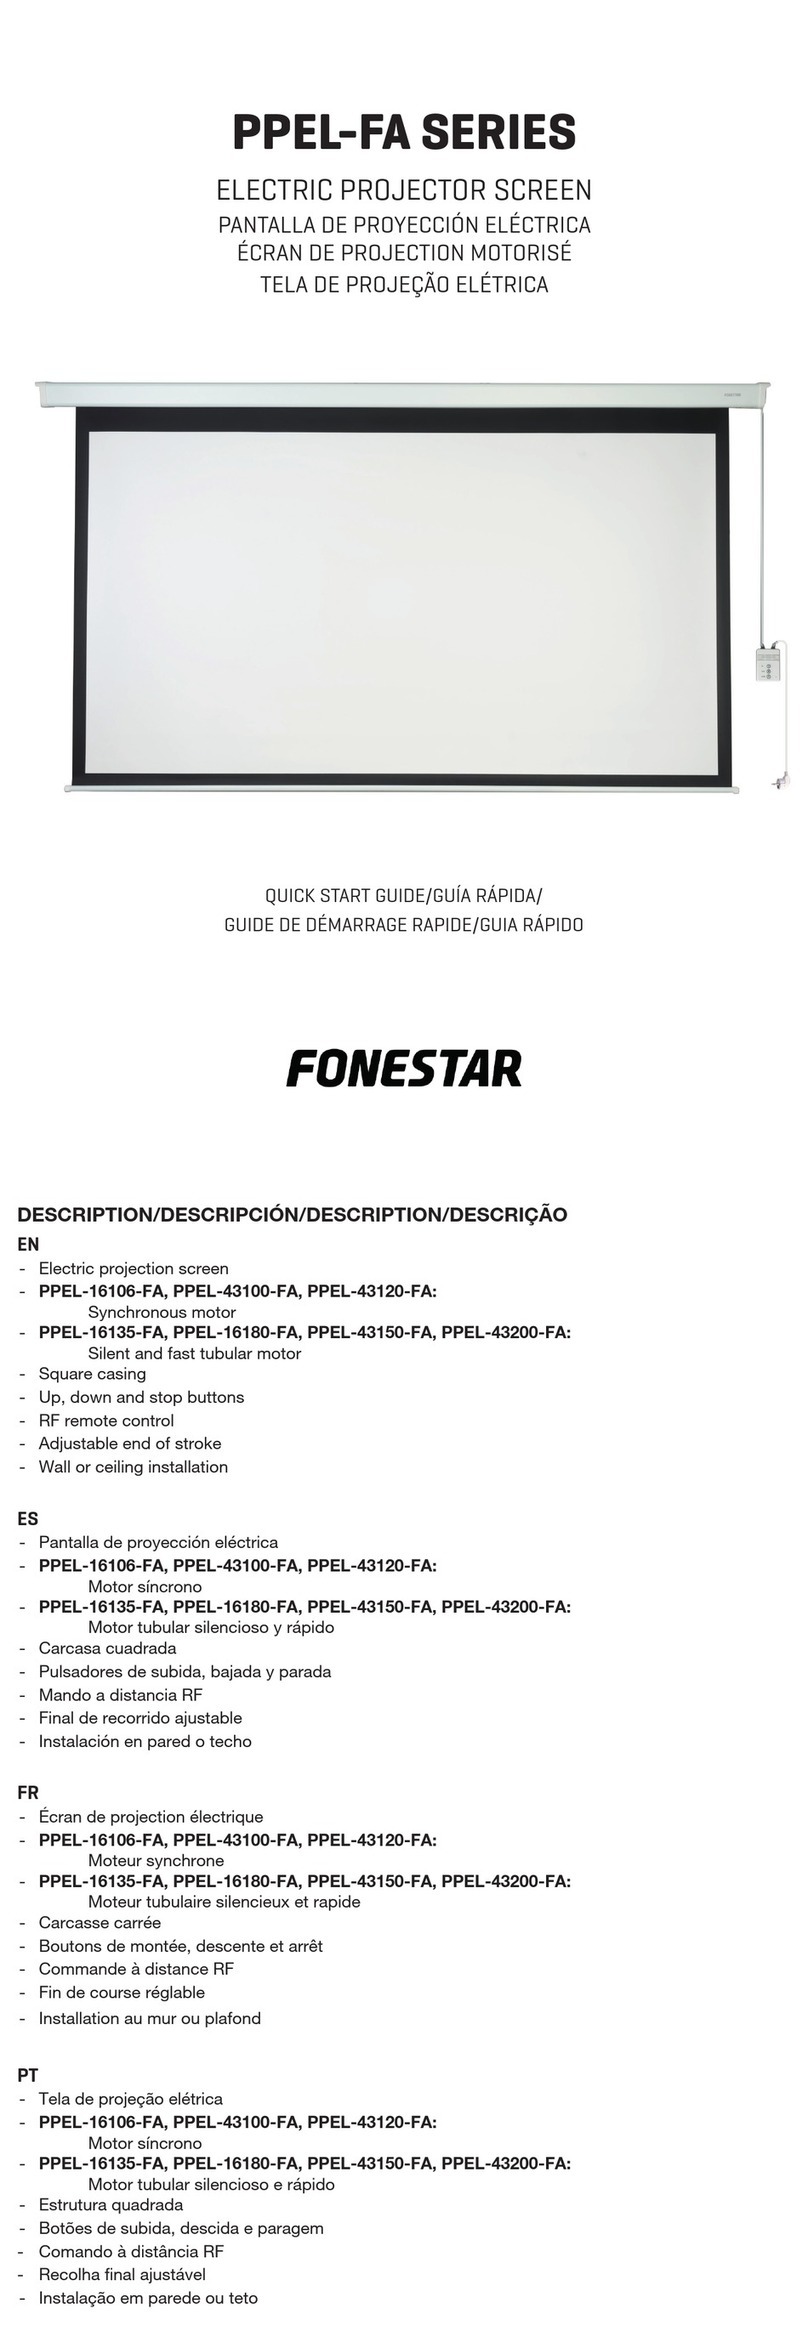
-Electric projector screen with silent and fast synchronous motor.
- Operates with control buttons or a RF remote control.
- Adjustable limit for different sized screens.
-Ideal for classrooms, conference rooms, etc.
- Screen dimensions: PPEL-43100-BA: 100” (2 x 1.5 m).
PPEL-43120-BA: 120” (2.4 x 1.8 m).
PPEL-16106-BA: 106” (2.3 x 1.3 m).
PPEL-16120-BA: 120” (2.6 x 1.5 m).
ASSEMBLY INSTRUCTIONS
CAUTION: make sure that the surface on which the screen is to be mounted is strong enough and completely
flat.
1.-
2.1.- Wall installation 2.2.- Ceiling installation
- 4-
EN
160928_PPEL-BA_SERIES_MANUAL_(EN)_Maqueta ión 1 28/9/16 9:51 Página 4

3.- Connect the wall receiver to the mains supply.
4.- 5.-
- 5-
EN
160928_PPEL-BA_SERIES_MANUAL_(EN)_Maqueta ión 1 28/9/16 9:51 Página 5

EN
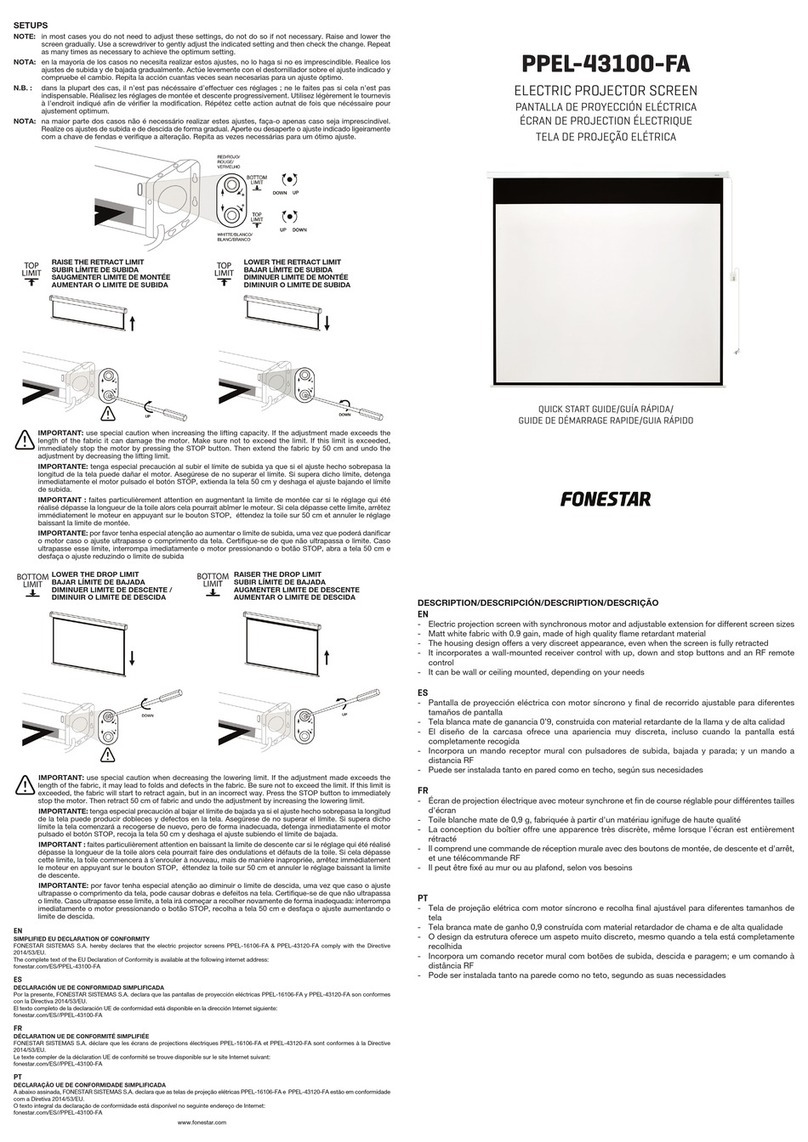
ADJUSTMENT OF MOTORIZED DROP AND RETRACT LIMITS
The screens are supplied with the drop and retract limits adjusted to the screen size. In most cases it is not
neccessary to adjust them. Use the following instructions to adjust them:
RETRACT LIMIT
Regulate the retract limit using an allen key in keyhole 1.
- To raise the retract limit of the screen, turn the allen key in an anti-clockwise direction with the screen
completely retracted (this will raise to the new position while the adjustment is being made).
- To lower the retract limit of the screen, turn the allen key in a clockwise direction with the screen unrolled
approximately halfway (this will not lower until the next time it is lowered and raised).
DROP LIMIT
- Regulate the drop limit using an allen key in keyhole 2.
To lower the drop limit of the screen, turn the allen key in an anti-clockwise direction with the screen
completely unrolled (this will lower to the new position while the adjustment is being made).
- 6-
160928_PPEL-BA_SERIES_MANUAL_(EN)_Maqueta ión 1 28/9/16 9:51 Página 6

EN
-7-
- To raise the drop limit of the screen, turn the allen key in a clockwise direction with the screen unrolled
approximately halfway (this will raise to the new position the next time it is lowered and raised).
SYNCHRONIZATION BETWEEN REMOTE CONTROL AND WALL RECEIVER
Follow the instructions below to synchronize the code between the remote control and the wall receiver:
- Press the reset button on the receiver plate, located to the rear. This button is only accessible using a sharp
pin or similar object.
At that moment, the LED receiver indicator will flash slowly.
- Press the UP button on the remote control. The LED indicator will flash quickly for a short time.
The remote control and the wall receiver will remain synchronized. Now both the remote control and the wall
receiver can be used to raise and lower the screen.
TECHNICAL SPECIFICATIONS
PPEL-43100-BA PPEL-43120-BA PPEL-16106-BA PPEL-16120-BA
CHARACTERISTICS Electric projector screen.
Synchronous motor.
Octagonal case.
Up, down and stop buttons.
RF remote control.
Adjustable run.
Installation on walls and ceilings.
MATERIAL Fibre reinforced PVC
Gain 1.1. Matt white
Black reverse
Flame resistant material
0.4 mm thick
FORMAT 4:3
3 cm black borders
30 cm extra black top border
16:9
3 cm black borders
30 cm extra black top border
POWER SUPPLY 230 V AC, 30 W
2 m cable for wall receiver
1.5 m power cable
DIMENSIONS Screen:
100" (2 x 1.5 m)
Screen:
120" (2.4 x 1.8 m)
Screen:
106" (2.3 x 1.3 m)
Screen:
120" (2.6 x 1.5 m)
160928_PPEL-BA_SERIES_MANUAL_(EN)_Maqueta ión 1 28/9/16 9:51 Página 7

DECLARATION OF CONFORMITY
FONESTAR SISTEMAS S.A.
Polígono de Trascueto s/n
39600 Revilla de Camargo, Cantabria (Spain)
Declares, under its responsibility, that the following equipment:
Description: Electric projector screens
Brand: FONESTAR
Models: PPEL-43100-BA, PPEL-43120-BA, PPEL-16106-BA, PPEL-16120-BA
complies with the European Community directives 2004/108/EC on Electromagnetic Compatibility,
2006/95/EC on Low Voltage and 2011/65/EU on the restriction on the use of certain dangerous
substances in electrical and electronic appliances (RoHS).
Santander, 20th June 2016
Juan Vallejo
Technical Engineer, Sales Department
WARRANTY
This product has been tested and has passed the corresponding quality control prior to being put on the market.
FONESTAR guarantees the suitability of the product for its specified use during a period of 2 years from the
delivery date and commits itself to repair or substitute the goods as expressed in the Spanish law ‘La Ley General
para la Defensa de los Consumidores y Usuarios, Real Decreto Legislativo 1/2007 16 Noviembre.
The lack of conformity in the first six months after purchase, due to a manufacturing defect, will be rectified with
no more than showing the proof of purchase. After six months FONESTAR reserves the right to demand proof of
the product being sold with that problem.
This warranty does not include damage produced by: inappropriate use or negligence, accidents, worn out parts
due to use, breakages, burns, spilt liquids or other substances, excessive humidity, battery deterioration and
internal manipulation of the device, the software or its components by unauthorized persons, and in general any
use that is unrelated to the nature and purpose of the product.
If any service is needed during the warranty period because of lack of conformity, please contact the business or
distributor where the product was purchased in no more than 2 months after being conscious of the problem. It
is only necessary to contact FONESTAR if it is impossible or imposes an undue burden for them to solve it.
To benefit from this warranty it is necessary to show the proof of purchase with the date clearly visible, with no
corrections or crossing out.
This document adds information, and never decreases the consumers’ rights, which in all cases are protected by
the Spanish law ‘La Ley General para la Defensa de los Consumidores y Usuarios, Real Decreto Legislativo 1/2007
16 Noviembre’.
FONESTAR is a member of ECOEMBALAJES ESPAÑA, S.A. “ECOEMBES”, with number 03497 and all our
products carry the symbol, backed by our membership and subscription to the above mentioned organization with
the recycling and subsequent management of our packaging.
FONESTAR, S.A. - NIF: A28780443 - Poligono Trascueto - 39600 - Revilla de Camargo, Cantabria (SPAIN)
www.fonestar.com
160928_PPEL-BA_SERIES_MANUAL_(EN)_Maqueta ión 1 28/9/16 9:51 Página 8
This manual suits for next models
3
Table of contents
Other FONESTAR Projection Screen manuals
Popular Projection Screen manuals by other brands

Stewart Audio
Stewart Audio Balón Series quick start guide

ICP Electronics
ICP Electronics LCD-Kit02 manual

Epson
Epson ELPSC35 installation guide

Draper
Draper Targa Installation & operating instructions

MW-CINESCREEN
MW-CINESCREEN Cinelux Electric Advanced Mounting instruction

Da-Lite
Da-Lite UTB Contour Instruction book

ligra
ligra Domoroll user manual

Screen Int
Screen Int Cine Pro installation manual

Screen Int
Screen Int CANALETTO Series installation manual

Stewart Filmscreen
Stewart Filmscreen Balon Series owner's manual

Conde
Conde Connect Mounting instructions

EliteProAV
EliteProAV EDGE FREE Pro Frame Thin UST Series user guide