manuals.online logo
Brands
  1. Home
  2. •
  3. Brands
  4. •
  5. Forest-Master
  6. •
  7. Log Splitter
  8. •
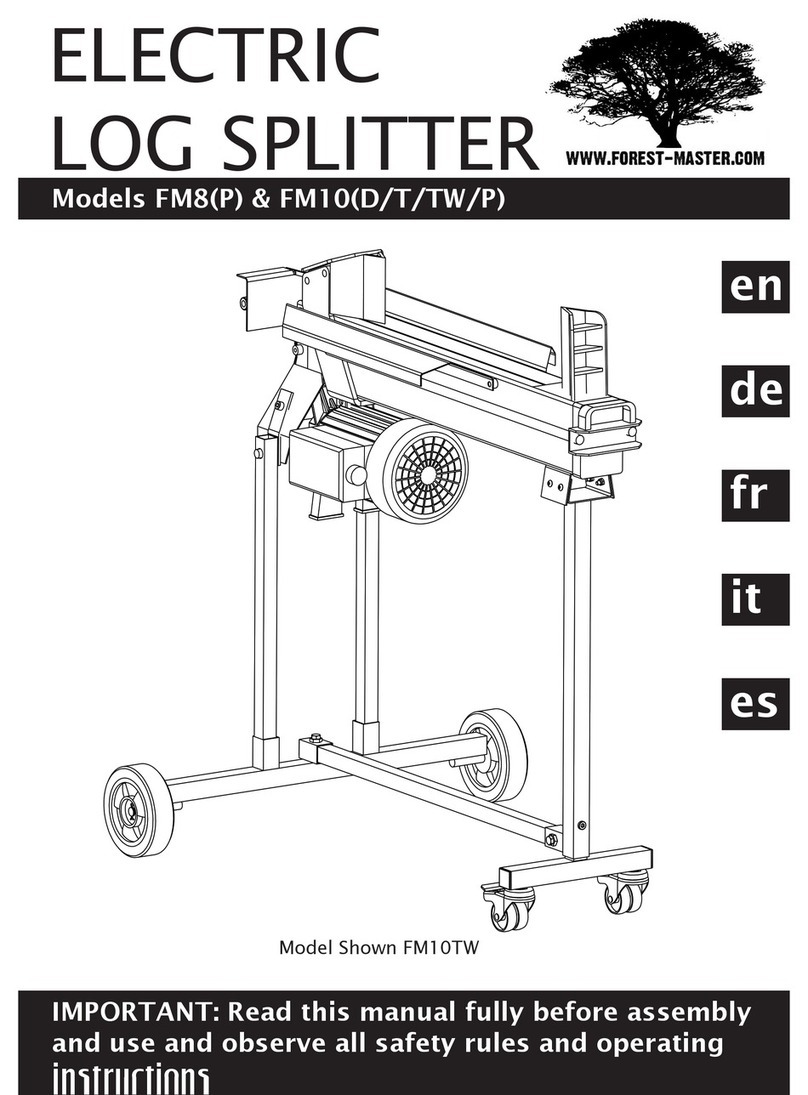
  9. Forest-Master FM5 User manual

Forest-Master FM5 User manual

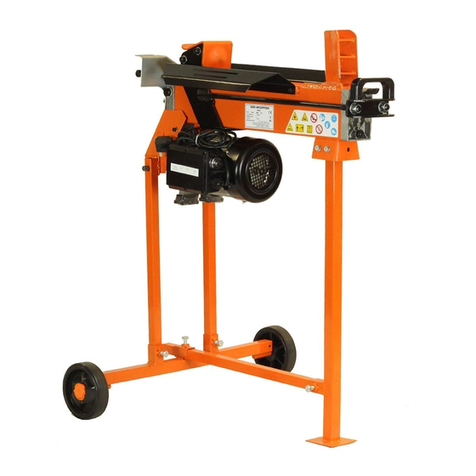
1FM5, FM8 & FM10 Log Splitter Trolley
FM5, FM8 & FM10 LOG SPLITTER
TROLLEY ASSEMBLY
Contents
The stand package contains
2 x Rear Legs (1)
1 x Front Leg (2)
1 x Rear Axle Bar (3)
1 x Longitudinal Support Bar (4)
4 x M8 x 15 Bolts (5)
2 x M8 x 20 Allen Head Bolts (6)
2 x M8 Nuts (7)
2 x Split Pins (8)
1 x Castor Foot (9)
1
1
2
3 4
5
5
5
5
6
6
77
8
8
9
2FM5, FM8 & FM10 Log Splitter Trolley
FM5, FM8 & FM10 LOG SPLITTER
TROLLEY ASSEMBLY
1. Before starting assembly, ensure the log
splitter is disconnected from the power supply.
Ensure the bleed screw on the log splitter is
closed.
If you have someone to assist you in turning the
log splitter over then it may be easier to attach
the stand to the log splitter with the splitter
upside down.
Alternatively you can prop the log splitter
vertically against a wall, with the motor end at
the bottom. Then when assembled it can be
lowered to the ground with the wheels acting as
a pivot.
HUB CAP
2. Remove the rear wheels from the log splitter.
Prise the hubcaps off with a flat bladed screwdriver.
They are push on not screw on.
Remove the retaining circlip from the groove using either
a pair of circlip pliers or a small flat bladed electricians
screwdriver. If using a screwdriver, insert it into a gap
between the circlip and axle, lever one end off then the
other. Retain the circlips for attaching the wheels to the
stand.
Remove the wheels.
CIRCLIP
3FM5, FM8 & FM10 Log Splitter Trolley
FM5, FM8 & FM10 LOG SPLITTER
TROLLEY ASSEMBLY
3. Remove the 4 bolts and nuts holding the front leg
to the body and remove the front foot assembly from
the log splitter. Keep the nuts and bolts as they will be
used to attach the stand front leg.
Also remove the M8 x 35 bolt and M8 nut that joins
the two leg sections. Keep this nut and bolt as they
are used to attach the castor foot to the front leg.
Keep the front leg in case at any time you wish to
remove the splitter from the stand and use it at ground
level.
NOTE: The FM5 and FM8 have a different front leg to
that shown. In this case the M8 x 35 bolt and M8 nut
will be in with the stand nuts and bolts.
4. Attach the rear wheels you have removed from
the splitter, to the rear axle bar(3). To secure the
wheels, you can either reuse the circlips or use
the additional split pins supplied.
Refit the hubcaps, these just push on.
Reuse circlips or use split
pins to attach
Remove nut &
bolt and keep
4FM5, FM8 & FM10 Log Splitter Trolley
FM5, FM8 & FM10 LOG SPLITTER
TROLLEY ASSEMBLY
5. Attach the rear legs(1) to the wheel carriage
of the log splitter. The axles of the carriage go
through the large holes in the legs. Secure them
to the sides of the wheel frame using the 2 M8x20
cap head bolts(6) and two M8 nuts(7). Insert the
bolts through the hole in the leg flange and the
hole in the side of the wheel carriage. The nuts go
inside the wheel carriage.
6. Attach the rear axle bar and wheel assembly
to the rear legs using 2 of the M8 x 15 bolts(5).
Note that there are no holes in the rear legs
for the bolts. The bolts tighten up against the
legs.
5FM5, FM8 & FM10 Log Splitter Trolley
FM5, FM8 & FM10 LOG SPLITTER
TROLLEY ASSEMBLY
7. Attach the stand front leg(2) to the log splitter
using the 4 bolts and 4 nuts that where removed
from the short front leg in step 3.
Attach the castor foot assembly(9) to the front leg
using the M8 x 35 bolt and M8 nut from step 3.
Note the bolt goes through the upper hole in the
castor assembly.
8. Attach the longitudinal beam(4) to the front leg and
the assembled wheel cross beam, using the remaining
2 of the M8x15 bolts(5). Note that the bolts tighten
against the longitudinal beam, there are no holes in it.
Note that the stand is designed to fit the FM5, FM8
& FM10 log splitters, therefore the longitudinal beam
will protrude out the rear of the wheel cross beam. For
the FM5 & FM8, the longitudinal beam can be cut in
length to shorten it if desired. For the FM8 it can be
cut to 600mm and for the FM5 530mm. A standard
hacksaw should be used if cutting the beam.
The log splitter can now be rotated to the upright
position from the position in which the stand has been
assembled. Depending on which splitter you have ,
this may require two persons.

Other manuals for FM5

2

This manual suits for next models

2

Other Forest-Master Log Splitter manuals

Forest-Master FM5 User manual

Forest-Master

Forest-Master FM5 User manual

Forest-Master FMX4 Series User manual

Forest-Master

Forest-Master FMX4 Series User manual

Forest-Master FM8 User manual

Forest-Master

Forest-Master FM8 User manual

Forest-Master FM16D User manual

Forest-Master

Forest-Master FM16D User manual

Forest-Master DUOCUT User manual

Forest-Master

Forest-Master DUOCUT User manual

Forest-Master Fast Fire FM6FFE User manual

Forest-Master

Forest-Master Fast Fire FM6FFE User manual

Forest-Master FM10 User manual

Forest-Master

Forest-Master FM10 User manual

Forest-Master QUICK FIRE User manual

Forest-Master

Forest-Master QUICK FIRE User manual

Forest-Master FM5 User manual

Forest-Master

Forest-Master FM5 User manual

Forest-Master FM22P User manual

Forest-Master

Forest-Master FM22P User manual

Popular Log Splitter manuals by other brands

MADER LS24T-B3-610MM manual

MADER

MADER LS24T-B3-610MM manual

Z.I.P.P.ER MASCHINEN ZI-HS16E user manual

Z.I.P.P.ER MASCHINEN

Z.I.P.P.ER MASCHINEN ZI-HS16E user manual

Green Power GNLS05T-1020H owner's manual

Green Power

Green Power GNLS05T-1020H owner's manual

sunjoe LJ10M user manual

sunjoe

sunjoe LJ10M user manual

Lumberjack LJH28T Operation manual

Lumberjack

Lumberjack LJH28T Operation manual

sunjoe LJ601ERM Operator's manual

sunjoe

sunjoe LJ601ERM Operator's manual

sunjoe LJSS100 manual

sunjoe

sunjoe LJSS100 manual

Scheppach HL1200 Translation from the original instruction manual

Scheppach

Scheppach HL1200 Translation from the original instruction manual

Sealey LS450H quick start guide

Sealey

Sealey LS450H quick start guide

Wallenstein WP240 Setup instructions

Wallenstein

Wallenstein WP240 Setup instructions

power King PK0303 user manual

power King

power King PK0303 user manual

Palax Active TR/TR instruction manual

Palax

Palax Active TR/TR instruction manual

Central Machinery 61373 owner's manual

Central Machinery

Central Machinery 61373 owner's manual

Grizzly T27710 owner's manual

Grizzly

Grizzly T27710 owner's manual

Ryobi RLS2200T5 Original instructions

Ryobi

Ryobi RLS2200T5 Original instructions

FXA 502018667 instruction manual

FXA

FXA 502018667 instruction manual

North Star M1108L owner's manual

North Star

North Star M1108L owner's manual

Kellfri 13-VM360E instructions

Kellfri

Kellfri 13-VM360E instructions

manuals.online logo
manuals.online logoBrands
  • About & Mission
  • Contact us
  • Privacy Policy
  • Terms and Conditions

Copyright 2025 Manuals.Online. All Rights Reserved.