manuals.online logo
Brands
  1. Home
  2. •
  3. Brands
  4. •
  5. Forest
  6. •
  7. Outdoor Furnishing
  8. •
  9. Forest PERGOLA CANOPY User manual

Forest PERGOLA CANOPY User manual

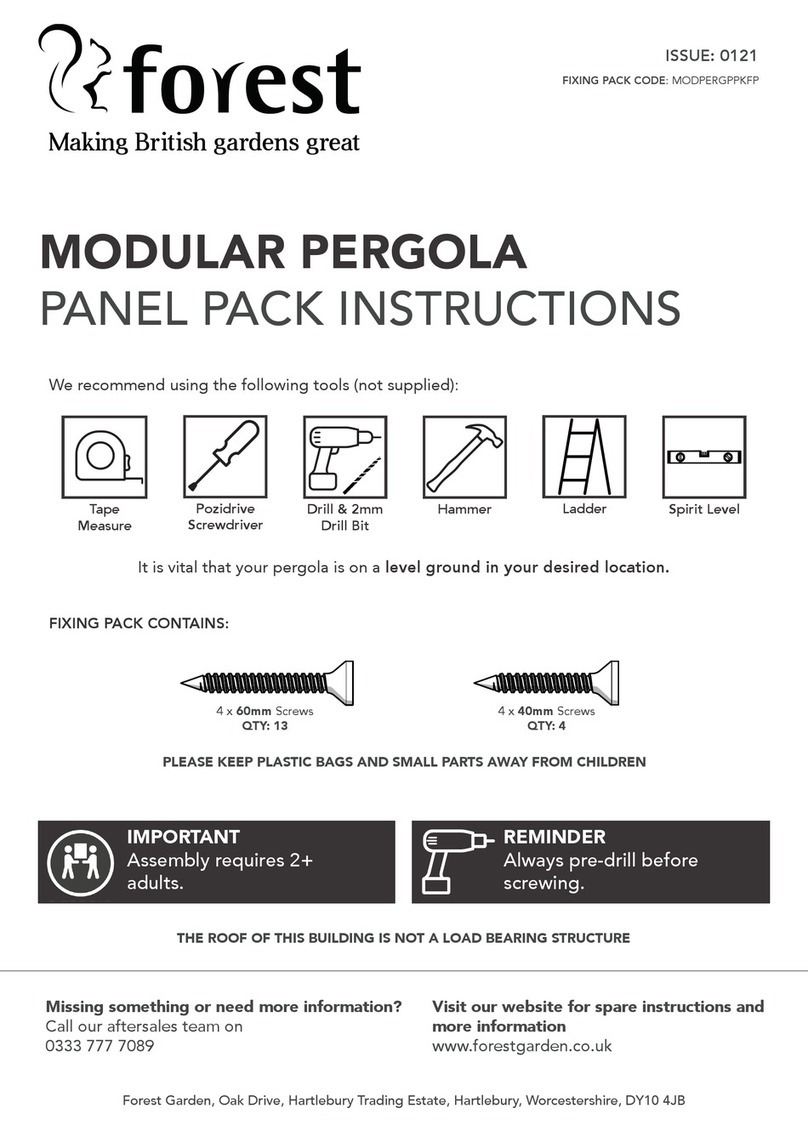
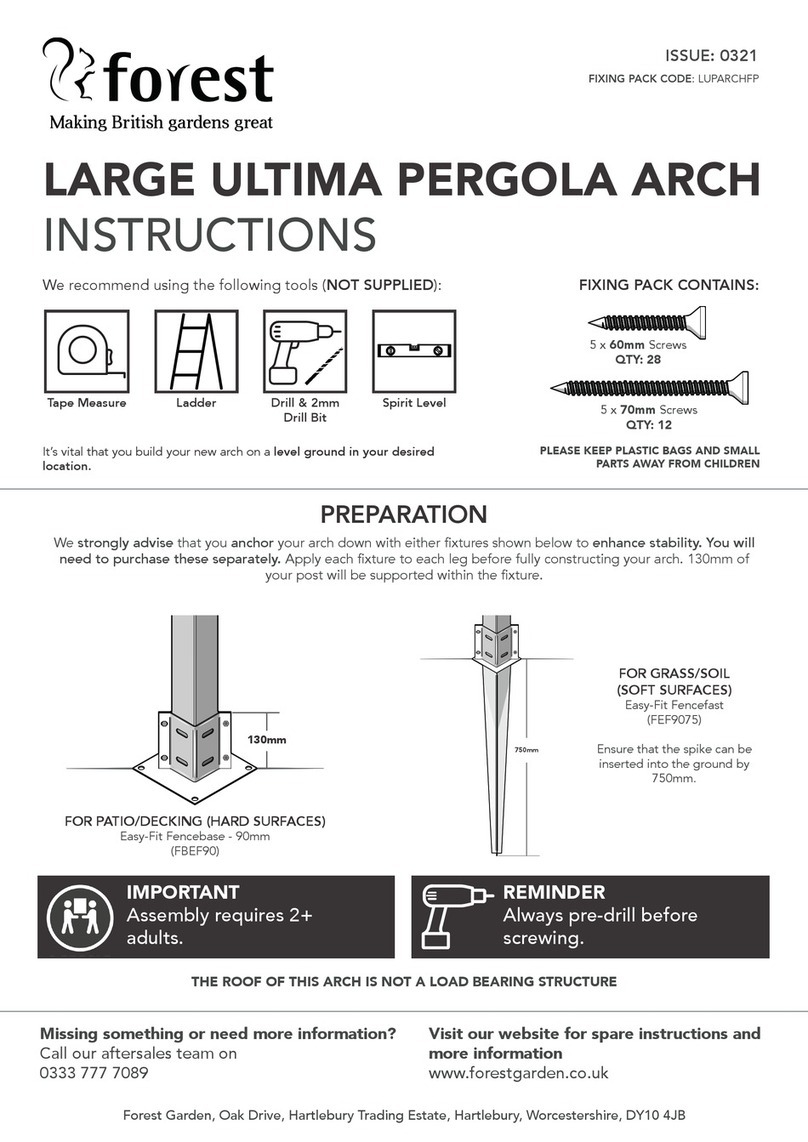
REMINDER
Always pre-drill before
screwing.
IMPORTANT
Assembly requires 2+
adults.
ISSUE: 0122
Forest Garden, Oak Drive, Hartlebury Trading Estate, Hartlebury, Worcestershire, DY10 4JB
EU Authorised Representative: Authorised Representative Service, 77 Camden Street Lower Dublin, D02 XE80, Ireland
Missing something or need more information?
Call our aftersales team on
0333 321 3142
Visit our website for spare instructions and
more information
www.forestgarden.co.uk
PERGOLA CANOPY
INSTRUCTIONS (3.6mx3.6m)
Making British gardens great
Drill & 2-3mm
Drill Bits
Tape Measure Spanner Ladder
Pole Sections
Qty 1 Each
Canvas
Qty 1
Large Roller
Qty 2
Small Roller
Qty 4
Plastic Cleat
Qty 2
Large Rope
Qty 2
Small Rope
Qty 2
35mm Screws
Qty 30
40mm Screws
Qty 24
Hook Receiver
Qty 6
Wires With Bottle
Screws
Qty 3
TOOLS NEEDED
KIT CONTAINS (UPK02CKP)
HEALTH & SAFETY
THE ROOF OF THIS PERGOLA & CANOPY IS NOT A LOAD BEARING STRUCTURE
We strongly recommend that PPE (Personal Protective Equipment) is used throughout your build to ensure you are
protected from any potential health and safety risks. Do not exempt yourself from wearing PPE.
HEALTH & SAFETY
We recommend using the following tools (not supplied):
PLEASE KEEP PLASTIC BAGS, SMALL PARTS, COMPONENTS AND ROPE AWAY FROM CHILDREN
CHECK AND TIGHTEN ALL THE FIXINGS APPLIED TO THIS PRODUCT ON A REGULAR BASIS.
CHECK YOU HAVE ALL OF THE KIT PRIOR TO ASSEMBLY.
Assembly of damaged parts may be deemed to be acceptance and this may affect the remedies you are entitled to. If the product is not constructed
in accordance with the instructions, or is altered in anyway (e.g. additional sewing), the manufacturer cannot be held liable for any resulting damage.
Please lift with caution and with a minimum of 2 people.
Position and secure 1 x Hook Receiver to each corner
of the slotted rafters, approximately 20mm away
from the upright posts. Ensure the Hook Receiver is
near to the bottom of the rafter, as shown above.
1122
Once positioned, secure each Hook Receiver using
4 x 40mm screws.
Tighten the Wires using the middle section of each
Bottle Screw. If necessary, use a spanner to ensure
the Wires are properly taught, as shown above.
7788
Position and secure 1 x Large Roller on the side
of the pergola, above the Hook Receiver. Use 2 x
40mm screws for each. Repeat the process on the
other post, where the other end of the Wire nishes.
Position 1 x Hook Receiver in the centre of the front
slotted rafter. Ensure it is central and positioned
towards the rafter above. Repeat the process on the
back slotted rafter.
3344
Once positioned, secure them using 4 x 40mm
screws.
Unscrew all of the Bottle Screws of which are at the
ends of each Wire supplied, as shown above.
5566
Using the Bottle Screws, hook the Wires to the
Hook Receivers. Ensure you hook the Wires to the
adjacent Hook Receivers, and not to the Receivers
on the same rafter.
KIT CONTAINS (UPK02CKP)
Position 1 x Small Roller centrally under the rst
rafter inwards from each upright post. Secure using
2 x 35mm screws each.
991010
Once secured, take 1 x Long Rope and thread one
end through the Small Roller furthest away from
Large Roller. If necessary use a nger to feed the
rope through the Roller.
Thread the Small Rope through the top of the Large
Roller and pull it through the bottom. Ensure the
other end of the rope does not leave the Small
Roller.
1515 1616
Using the two ends of the ropes that have been
threaded through the Large Roller, tie them in a knot
as shown above.
Ensure the Long Rope goes over the top of the
middle Wire, as shown above.
1111 1212
Thread the Long Rope through the top of the Large
Roller and pull it through the bottom. Ensure the
other end of the rope does not leave the Small
Roller.
Repeat the process for the front and back of the
Pergola. Ensure it looks like the above.
1313 1414
Using the 1 x Small Rope, thread one end through
the Small Roller closest to the Large Roller on the
front of the pergola. Repeat this on the back.
The front of the Canvas has 2 x rounded cutouts and
the back has eyelets for screwing into the rafter. For
reference, see the above.
1818
The Canvas has plastic clips along its edges and in
the centre. Ensure the clips in the middle are on the
top side of the Canvas.
All of the plastic clips will be hooked onto the
middle Wire as shown above.
2222
2323
Repeat the process for all of the remaining plastic
clips on both edges of the Canvas, as show above.
Take the plastic clips from the middle of the Canvas
and start from the back. Place the clip around the
middle Wire and twist it to hook it on.
1919 2020
The plastic clip when secured will look like the
above.
Fold out the Canvas and hook the remaining clips
along the middle Wire.
2121
1717
The Pole Sections for this canopy comes in 2 parts.
They will need to be connected together when
inside the Canvas.
2424
Front Back
2626
Once inserted, slide the Pole Section back to the
sealed edge of the Canvas.
Using the Long Rope on the front of the pergola, tie
it to the Pole that is in front of it. Repeat this process
for the Small Rope to the Pole cutout futher along.
3131 3232
The Large and Small Ropes tied to the Pole will look
like the above. Once both ropes are tied to the pole,
push the whole Canvas towards the back of the
Pergola.
Your rst Pole Section will look like the above.
2727 2828
Using the other Pole Section, insert it into the small
hole on the opposite edge of the Canvas, as shown
above.
Slide the Pole Section all the way through the
Canvas until it meets the metal end on the other
Pole Section.
2929
Connect the Pole Sections as shown above. This will
to be done inside the Canvas. Please be aware of
pinch points when connecting the Pole Sections.
2525
Using the Pole Section with the metal end, slide it
through one of the cutouts. Ensure the metal end is
facing towards the middle of the Canvas.
3030
Ensure the Long & Small Ropes on the back of the
pergola, are pulled over the top of the Canvas as
shown above.
3333 3434
Tie the Long and Small Ropes from the back of the
pergola to the pole on the front of the Canvas, as
shown above.
To close the Canvas, you will need to pull the
tied rope at the back of the pergola. Ensure the
Canvas is closed or removed in adverse weather
conditions.
3939
Position the back of the Canvas onto the back rafter.
Ensure the Canvas is taught along the edge.
3535 3636
Screw through the eyelets into the back rafter, using
35mm screws to secure the back of the Canvas to
the pergola.
Postion and secure 1 x Plastic Cleats to the posts
under the Large Rollers. Ensure they are at a
confortable height for the ropes to be tied up for
when the Canvas is both opened and closed.
3737 3838
To open the Canvas, you will need to pull the tied
rope at the front of the pergola.
When opening or closing the pergola, make sure to
tie up both tied Ropes to the Plastic Cleats, as this
will ensure the Canvas is always taught. Ensure any
trailing rope is secured to the xings provided.
4040
FINAL OUTCOME

Other Forest Outdoor Furnishing manuals

Forest LARGE ULTIMA PERGOLA ARCH User manual

Forest

Forest LARGE ULTIMA PERGOLA ARCH User manual

Forest MODPERGPPK Instruction manual

Forest

Forest MODPERGPPK Instruction manual

Popular Outdoor Furnishing manuals by other brands

DURA 15030 General Instruction

DURA

DURA 15030 General Instruction

Sunnydaze Decor MERANTI FRN-893 manual

Sunnydaze Decor

Sunnydaze Decor MERANTI FRN-893 manual

Palmako EMILIA installation manual

Palmako

Palmako EMILIA installation manual

Zest 4 Leisure Ashton BBQ Shelter Assembly instructions

Zest 4 Leisure

Zest 4 Leisure Ashton BBQ Shelter Assembly instructions

Yard Craft Cedar Daybed Assembly manual

Yard Craft

Yard Craft Cedar Daybed Assembly manual

Dura Trel Cambridge Trellis 11172 Assembly instructions

Dura Trel

Dura Trel Cambridge Trellis 11172 Assembly instructions

Nuu Garden CT002 instruction manual

Nuu Garden

Nuu Garden CT002 instruction manual

Arrow Storage Products FKPS01 Owner's manual & assembly guide

Arrow Storage Products

Arrow Storage Products FKPS01 Owner's manual & assembly guide

Case EOS quick start guide

Case

Case EOS quick start guide

Outsider PLATEAU 205 Mounting guide

Outsider

Outsider PLATEAU 205 Mounting guide

Hanover Traditions TRADDN3PCSWG-R manual

Hanover

Hanover Traditions TRADDN3PCSWG-R manual

domi LNCF0539A Assembly manual

domi

domi LNCF0539A Assembly manual

Uberhaus 72255137 Operator's manual

Uberhaus

Uberhaus 72255137 Operator's manual

CAZEBOO KLEO 400L300 Assembly instructions

CAZEBOO

CAZEBOO KLEO 400L300 Assembly instructions

Blumfeldt 10031458 manual

Blumfeldt

Blumfeldt 10031458 manual

Costway GT4027GR manual

Costway

Costway GT4027GR manual

Big Lots SW-RK967 Assembly instruction

Big Lots

Big Lots SW-RK967 Assembly instruction

Oypla GARDEN 4174 user manual

Oypla GARDEN

Oypla GARDEN 4174 user manual

manuals.online logo
manuals.online logoBrands
  • About & Mission
  • Contact us
  • Privacy Policy
  • Terms and Conditions

Copyright 2025 Manuals.Online. All Rights Reserved.