manuals.online logo
Brands
  1. Home
  2. •
  3. Brands
  4. •
  5. Forever Redwood
  6. •
  7. Swing Set
  8. •
  9. Forever Redwood RORY'S User manual

Forever Redwood RORY'S User manual

ASSEMBLY INSTRUCTIONS FOR THE
RORY´S GIANT PLAYGROUND SWING SETS
866.332.2403 (TOLL FREE); 7am –7pm Pacific Time, Monday-Saturday
P| 1
Rory’s Giant Playground Swing Sets
www.ForeverRedwood.com
CONTENT OF BOXES
No.
1
2
3
4
5
6
Drawing
Description
Frame Legs
Lower Main Support
Main Structural Timber
Connector Timbers
Knee Braces
Wooden Seats
Qty.
2
2
1
4
2
3
Note: Part numbers in the Content of Boxes Table are for reference only. These do not match to the numbers marked on the parts sent.
P| 2
Rory’s Giant Playground Swing Sets
www.ForeverRedwood.com
HARDWARE LIST
No.
A
B
C
D
E
F
G
Drawing
Description
3/8´´ x 11´´ Bolts
(To attach the frame legs / To attach the
frame legs to the main structural timber).
3/8´´ x 6 ½´´ Bolts
(To attach the frame legs).
3/8´´ X 12 ´´ Bolts
(To attach the main structural timber to the
frame legs).
3/8´´ X 7´´ Bolts
(To attach the connectors timbers and the
knee braces to the frame legs).
3/8´´ x 10´´ Bolts
(To attach the knee braces to the main
structural timber).
Chains
(To wooden seats and hangers)
Quick Links
(To hangers, wooden seats and chains)
Note: Dimensions of your hardware will vary depending on size.
P| 3
Rory’s Giant Playground Swing Sets
www.ForeverRedwood.com
No
1
2
3
4
5
6
DESCRIPTION
Frame Legs
Lower Main Support
Main Structural Timber
Connector Timbers
Knee Braces
Wooden Seats
Note: Part numbers in the Drawing are for reference only. These do not match to the numbers marked on the parts sent.
P| 4
Rory’s Giant Playground Swing Sets
www.ForeverRedwood.com
Note: The structure must be assembled on its side, as shown.
Step 1: Open the frame legs (1) as shown.
1
1
P| 5
Rory’s Giant Playground Swing Sets
www.ForeverRedwood.com
Step 2: Pull out the cross support and line up to match the predrilled hole. After that, use 3/8´´ X 11´´ Bolts (A) with washer and
nut to secure in place.
Step 3: Use 3/8´´ X 11´´ Bolts (A) with washer and nut to attach the lower main support (2) to the frame legs. Each part has a
series of numbers that indicate where to attach the part with the corresponding number.
3/8´´ X 11´´ Bolts
2
3/8´´ X 11´´ Bolts
P| 6
Rory’s Giant Playground Swing Sets
www.ForeverRedwood.com
Step 4: Put the 3/8´´ x 6 ½´´ bolts (B) with washer and nut as shown.
Step 5: Place the frame legs in their site.
3/8´´ X 6 ½´´ Bolts
P| 7
Rory’s Giant Playground Swing Sets
www.ForeverRedwood.com
Step 6: Put the Quick Links (G) in the hangers. After that, put the chains (F). Take a few minutes to adjust the chain height to
your preference.
Step 7: Attach the main structural timber (3) to the frames legs with 3/8´´ X 12´´ bolts (C) with washer and nut. Each part has a
series of numbers that indicate where to attach the part with the corresponding number.
3
Quick Link
3/8´´ X 12´´ Bolts
P| 8
Rory’s Giant Playground Swing Sets
www.ForeverRedwood.com
Step 8: Pull out the first cross supports and line up to match the predrilled hole. After that, use 3/8´´ X 11´´ Bolts (A) with washer
and nut to attach.
Step 9: Pull out the second cross supports and line up to match the predrilled hole. After that, use 3/8´´ X 11´´ Bolts (A) with
washer and nut to attach.
3/8´´ X 11´´ Bolts
3/8´´ X 11´´ Bolts
P| 9
Rory’s Giant Playground Swing Sets
www.ForeverRedwood.com
Step 10: Attach the connector timbers (4) to reinforce the connection between the frame legs and the main structural timber. Use
3/8´´ x 7´´ bolts (D) with washer and nut to attach. Each part has a series of numbers that indicate where to attach the part with
the corresponding number.
Step 11: Attach the knee braces (5) to the main structural timber with 3/8´´ x 10´´ bolts (E) and to the frame legs with 3/8´´ x 7´´
bolts (D). Don’t forget washers and nuts. Each part has a series of numbers that indicate where to attach the part with the
corresponding number.
3/8´´ X 7´´ Bolts
4
3/8´´ X 10´´ Bolts
3/8´´ X 7´´ Bolts
5
P| 10
Rory’s Giant Playground Swing Sets
www.ForeverRedwood.com
Step 12: Use quick links (G) to join the wooden seats to the chains (F).
6
6
Quick Link
6
P| 11
Rory’s Giant Playground Swing Sets
www.ForeverRedwood.com
Step 13: Finally, with a couple of people helping, turn the swing right side up.
This completes the Playground Swing Set assembly. Hope you enjoy your set for many decades. If you ever have a problem or a
question, don't hesitate to call us (866 332 2403) or email us. We are here to support you.

Other Forever Redwood Swing Set manuals

Forever Redwood THE SUMMERBREEZE SWING SETS User manual

Forever Redwood

Forever Redwood THE SUMMERBREEZE SWING SETS User manual

Forever Redwood XL BENCH User manual

Forever Redwood

Forever Redwood XL BENCH User manual

Forever Redwood RORY'S BIG PLAYGROUND SWING SETS User manual

Forever Redwood

Forever Redwood RORY'S BIG PLAYGROUND SWING SETS User manual

Forever Redwood CHAIR SWING User manual
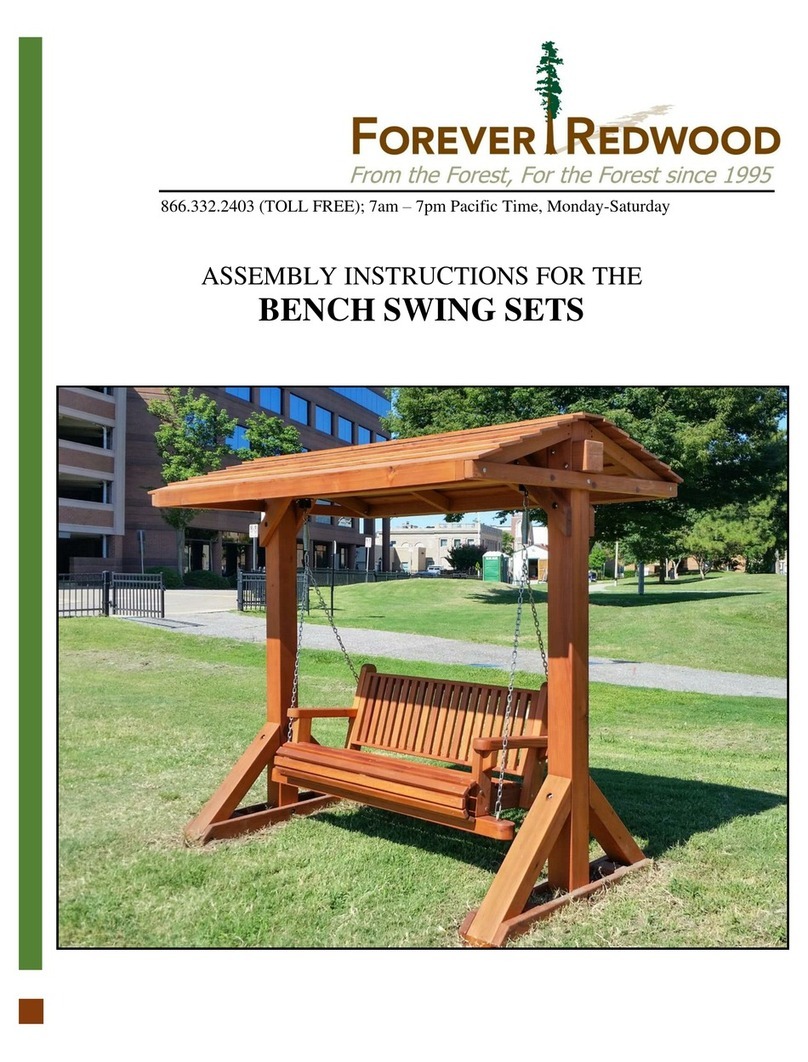
Forever Redwood

Forever Redwood CHAIR SWING User manual

Forever Redwood BENCH SWING SETS User manual

Forever Redwood

Forever Redwood BENCH SWING SETS User manual

Popular Swing Set manuals by other brands
Little Tikes ENDLESS ADVENTURES LOOKOUT 621109M manual

Little Tikes

Little Tikes ENDLESS ADVENTURES LOOKOUT 621109M manual

OOGarden FOSSA manual

OOGarden

OOGarden FOSSA manual
KidKraft BROOKRIDGE CLIMBING FRAME Installation and operating instructions
KidKraft

KidKraft BROOKRIDGE CLIMBING FRAME Installation and operating instructions

MARIMEX Swing Marimex 112 instructions

MARIMEX

MARIMEX Swing Marimex 112 instructions

habitat et jardin EDEN Assembly instructions
habitat et jardin

habitat et jardin EDEN Assembly instructions

Action Sports S002025 instruction manual

Action Sports

Action Sports S002025 instruction manual

Gorilla 1500CTC manual

Gorilla

Gorilla 1500CTC manual
gartenpirat Premium Plus 1.1 quick start guide
gartenpirat

gartenpirat Premium Plus 1.1 quick start guide

Component Playgrounds MT40-10 installation instructions

Component Playgrounds

Component Playgrounds MT40-10 installation instructions

Trigano TE505 Assembling instructions

Trigano

Trigano TE505 Assembling instructions
Palmako MV70-3121-2 Assembly, installation and maintenance instructions

Palmako

Palmako MV70-3121-2 Assembly, installation and maintenance instructions

Trigano NATURA NA1 Assembling instructions
Trigano

Trigano NATURA NA1 Assembling instructions

Backyard Discovery HILLCREST manual

Backyard Discovery

Backyard Discovery HILLCREST manual

Trigano J-14142 Assembly instructions

Trigano

Trigano J-14142 Assembly instructions

Creative Playthings Playtime PS18EAS Assembly manual

Creative Playthings

Creative Playthings Playtime PS18EAS Assembly manual

VEVOR QQZJ-95 Series manual

VEVOR

VEVOR QQZJ-95 Series manual
NI Climbing Frames Everglades instruction manual
NI Climbing Frames

NI Climbing Frames Everglades instruction manual

Component Playgrounds AF30-12 installation instructions

Component Playgrounds

Component Playgrounds AF30-12 installation instructions

manuals.online logo
manuals.online logoBrands
  • About & Mission
  • Contact us
  • Privacy Policy
  • Terms and Conditions

Copyright 2025 Manuals.Online. All Rights Reserved.