1
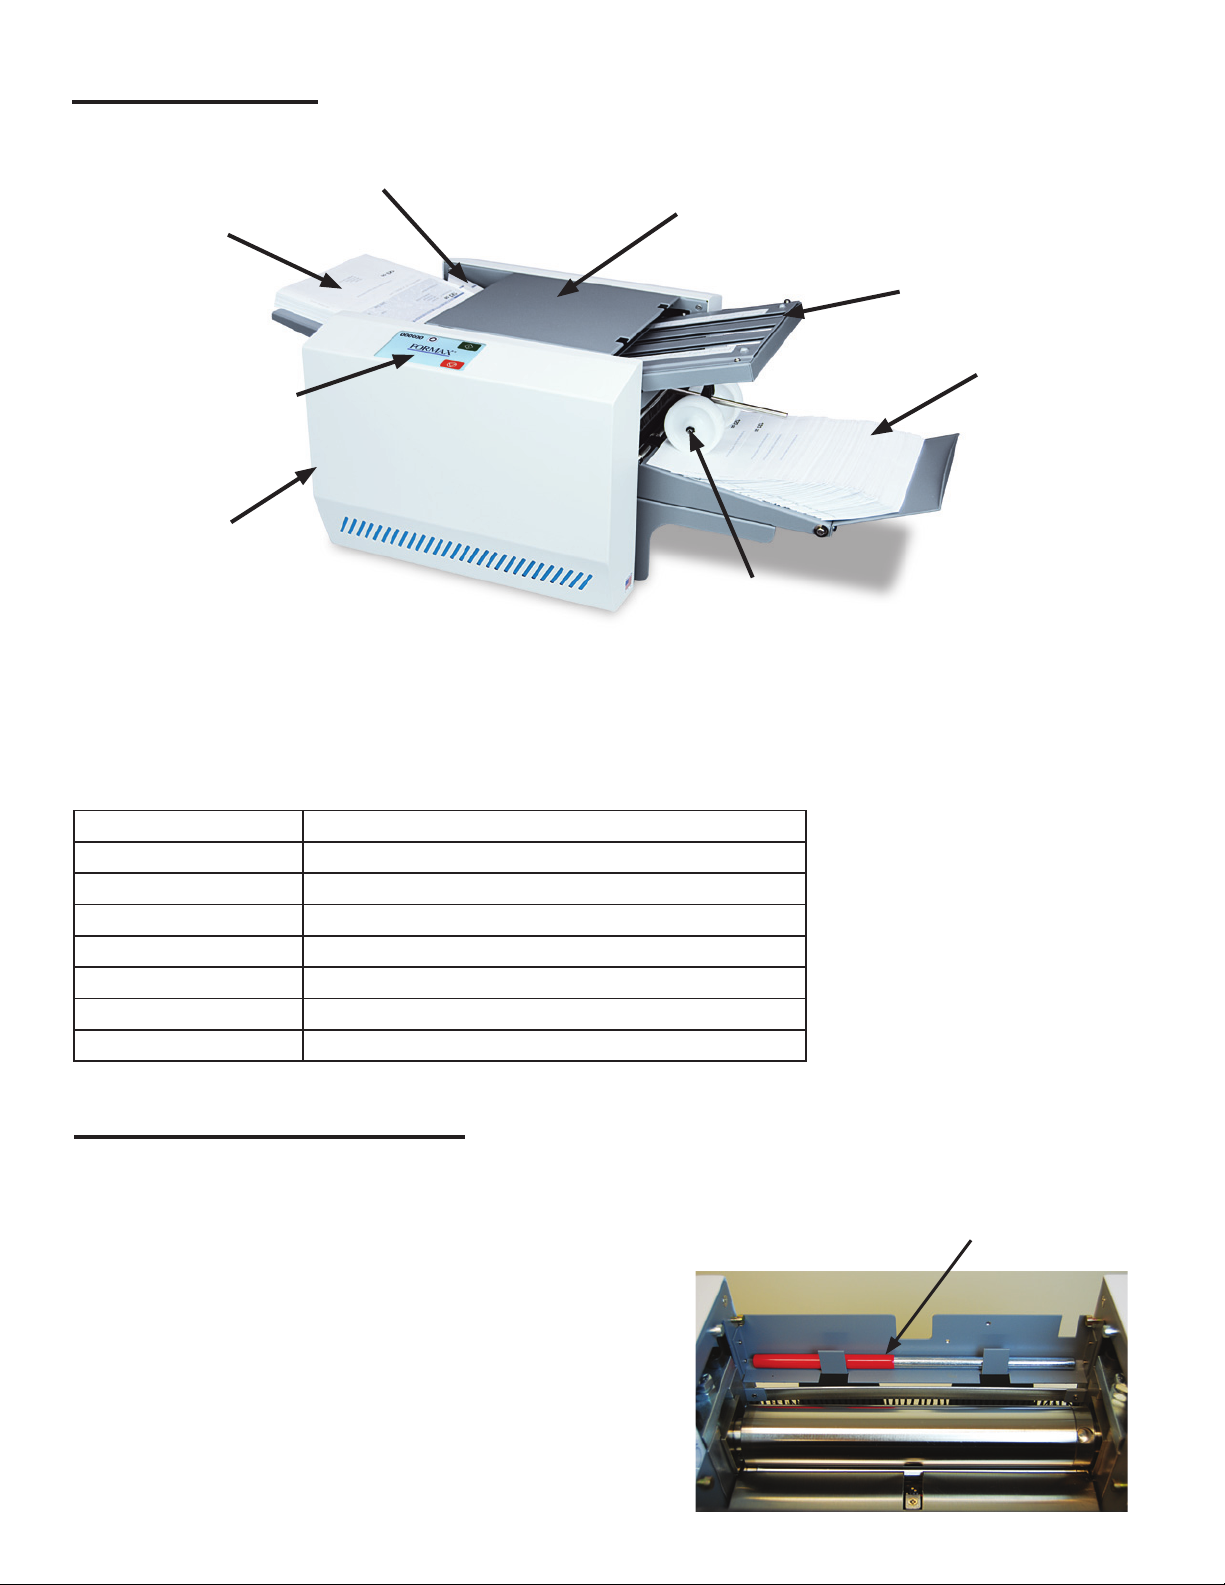
DESCRIPTION
Lower Fold Plate
Touchscreen
Control Panel
Top Cover
Upper Fold Plate
In-feed Table
Paper Side Guides
Stacking Rollers
Integrated Conveyor
1. Check package for shipping damage. If there is shipping damage, do not discard the box.
2. CAUTION: Two people are required to lift the machine out of the box.
3. Place the jam clearing handle into the the holder
which is mounted to the machine. This is the jam
clearing tool’s proper location (see picture, right).
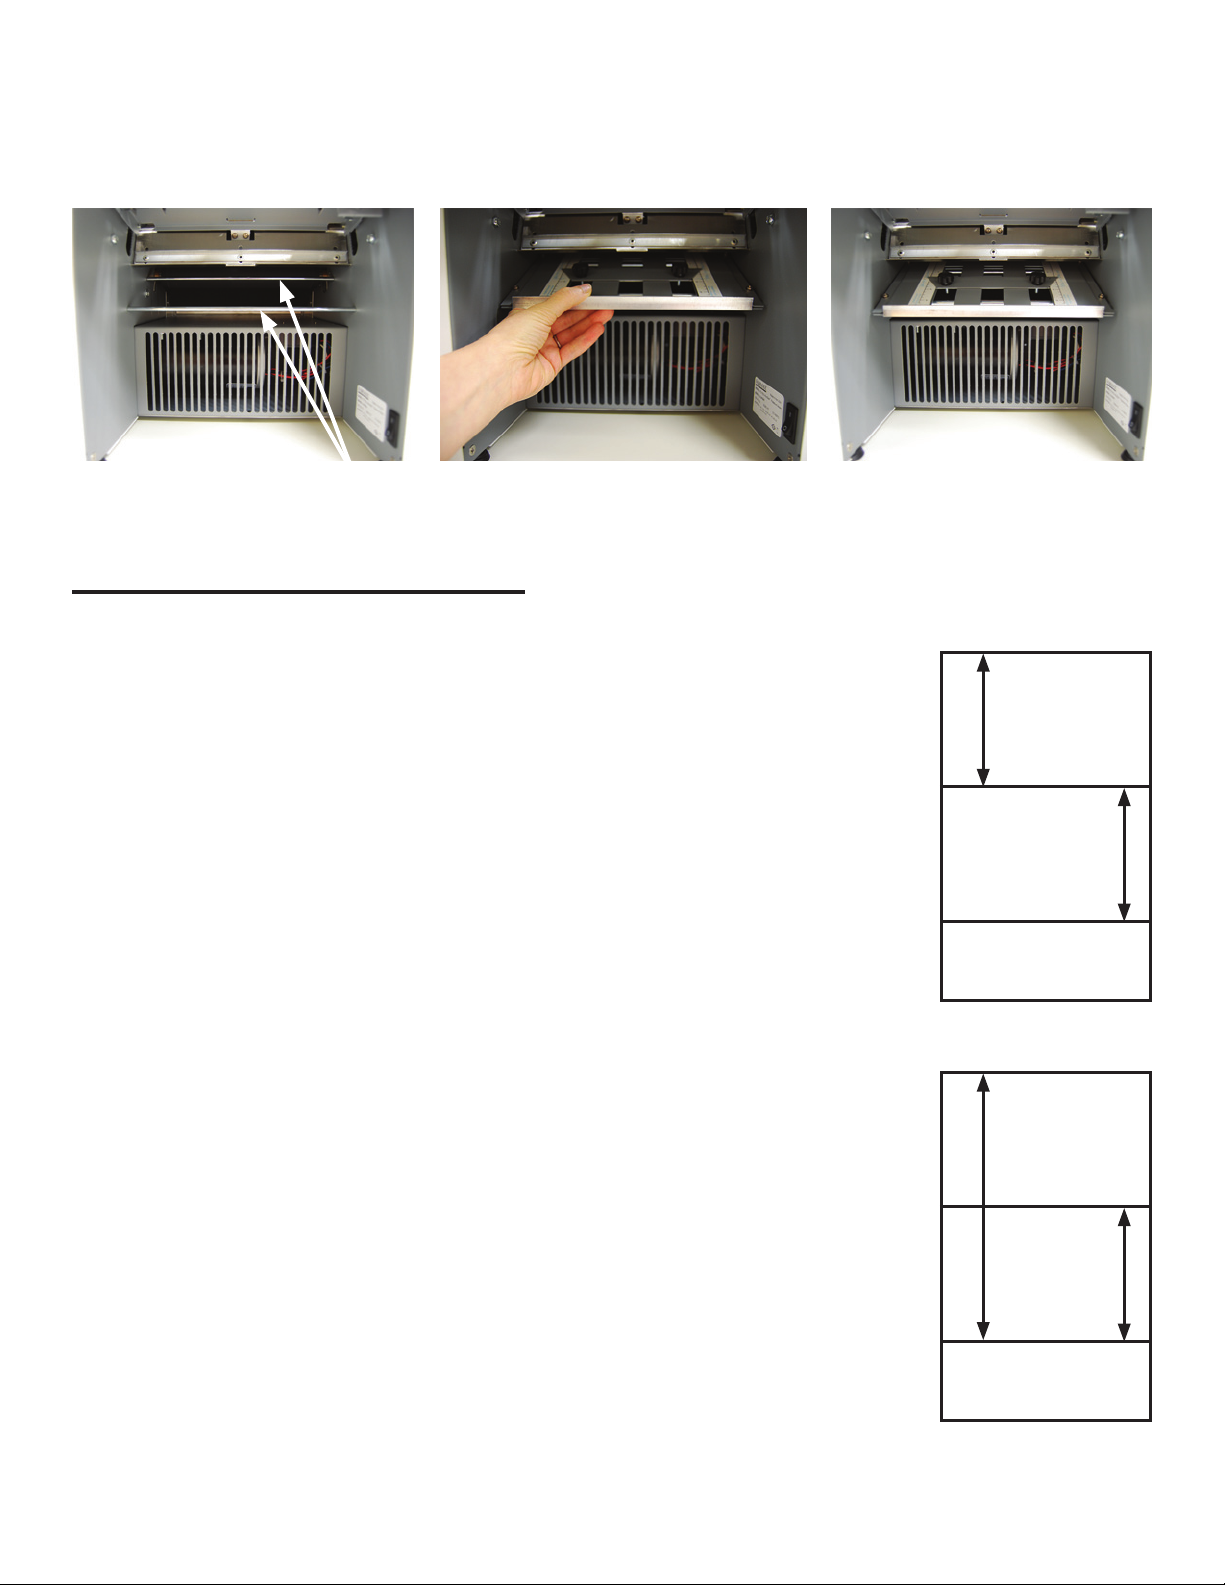
4. Install upper fold plate (refer to pages 4 and 5
for proper installation).
UNPACKING & SET-UP
Jam clearing tool
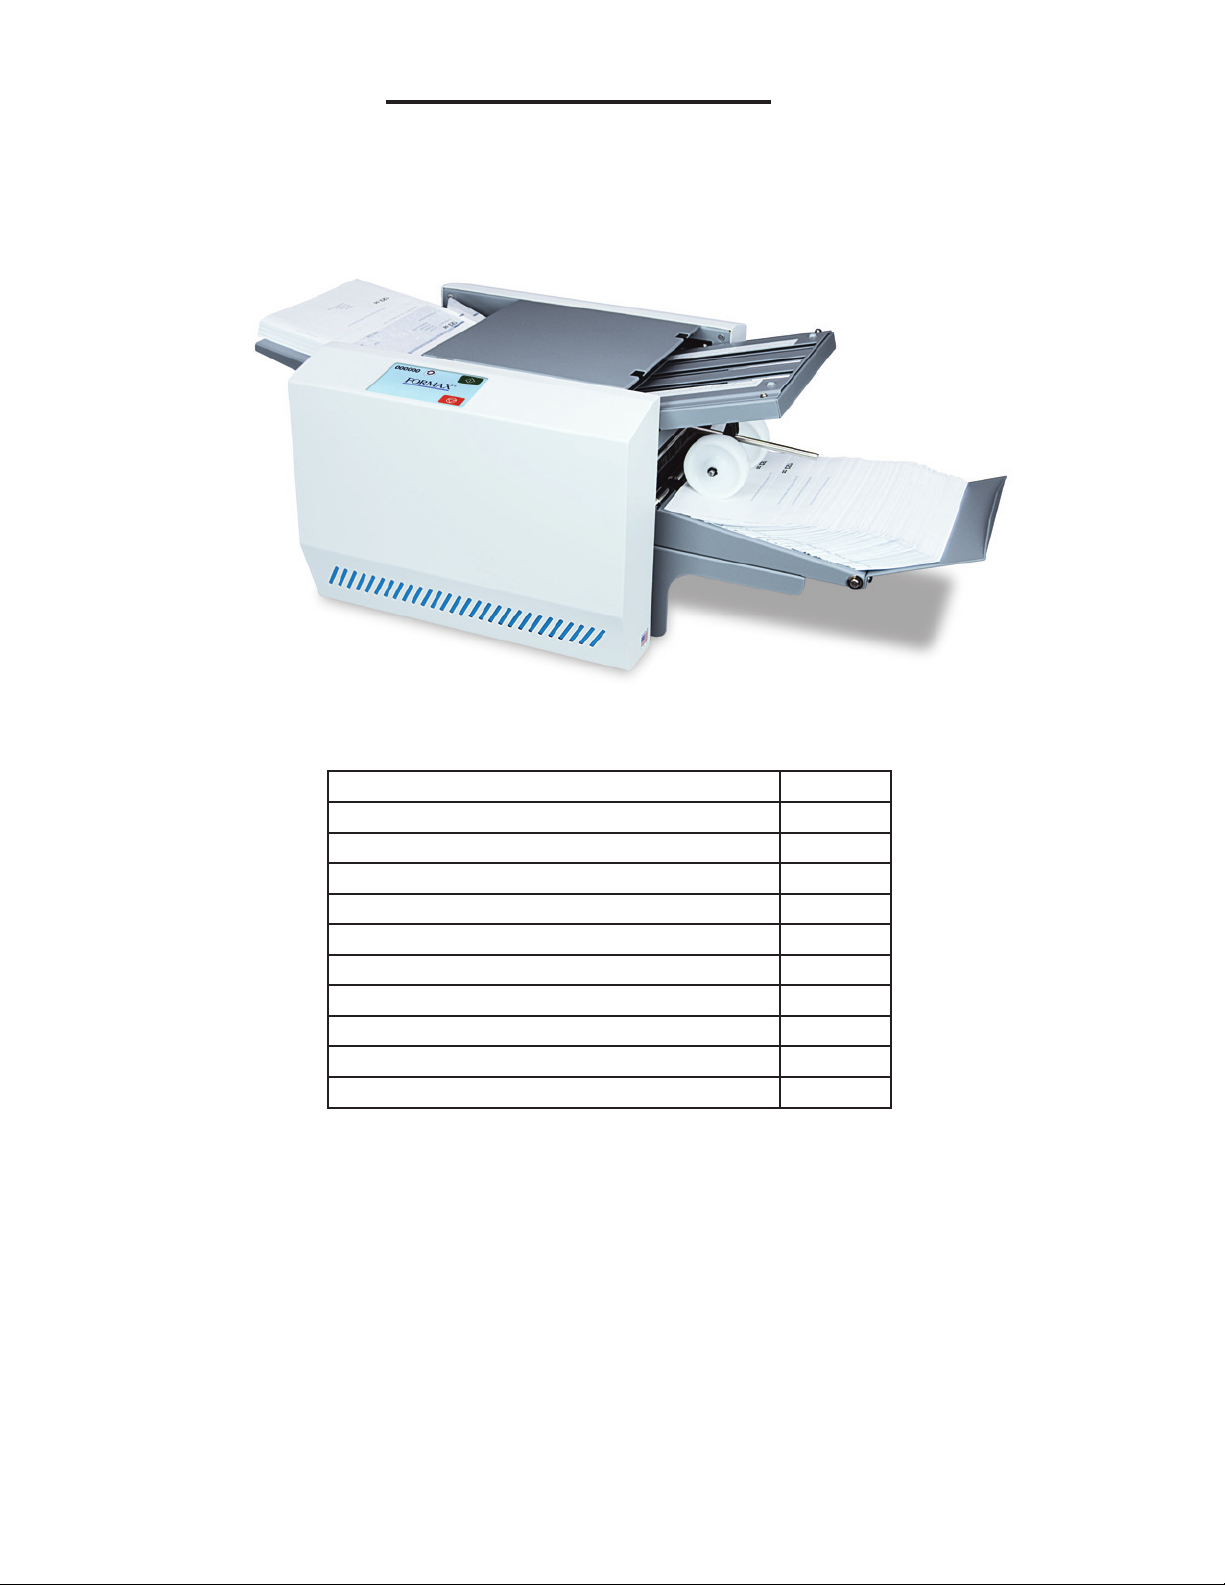
FUNCTION:
The 1506Plus Pressure Sealer folds and seals many different congurations, including “C”, “Z”, “V” and
custom folds. It also accommodates several different sizes of forms. For congurations and/or paper
sizes specications below.
Paper size: Up to 8.5” W x 14” L
Fold styles: C, Z, V uneven Z, uneven C, custom folds
Fixed speed: Up to 6,250 sheets per hour
Hopper capacity: Up to 200 sheets 20#
Weight: 90 lbs.
Dimensions: 37” L x 17” W x 13” H
Power supply: 120V, 50/60 Hz
Certications: UL Approved