manuals.online logo
Brands
  1. Home
  2. •
  3. Brands
  4. •
  5. FormFit
  6. •
  7. Automobile Accessories
  8. •
  9. FormFit Tough Guard TG 8G17 User manual

FormFit Tough Guard TG 8G17 User manual

TG 8G17 Rev0.Sept 29, 2017 Page 1of 5
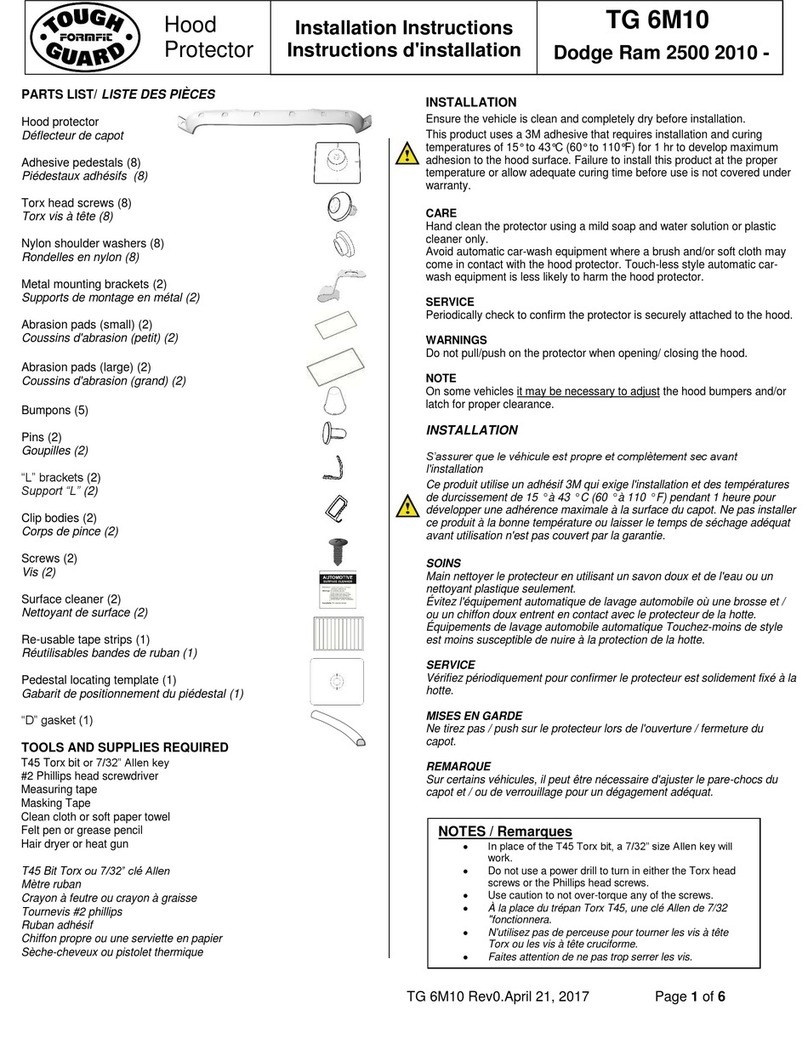
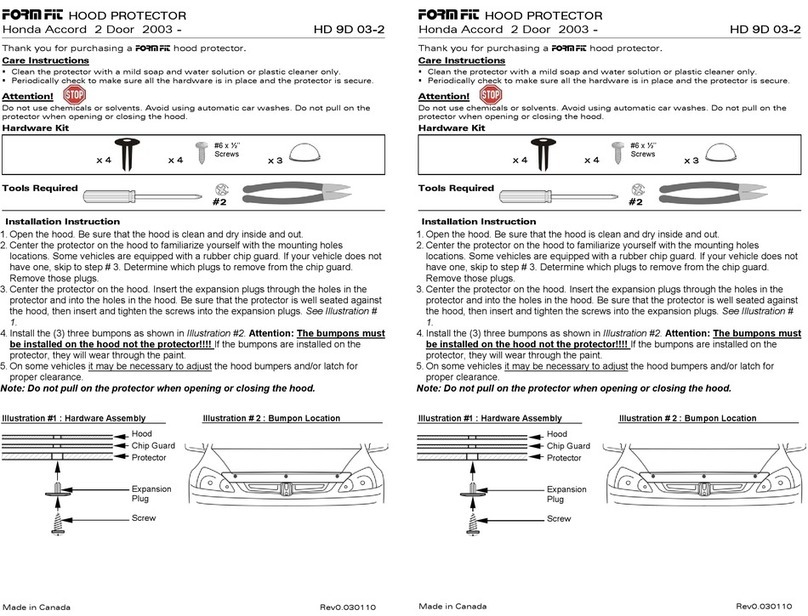
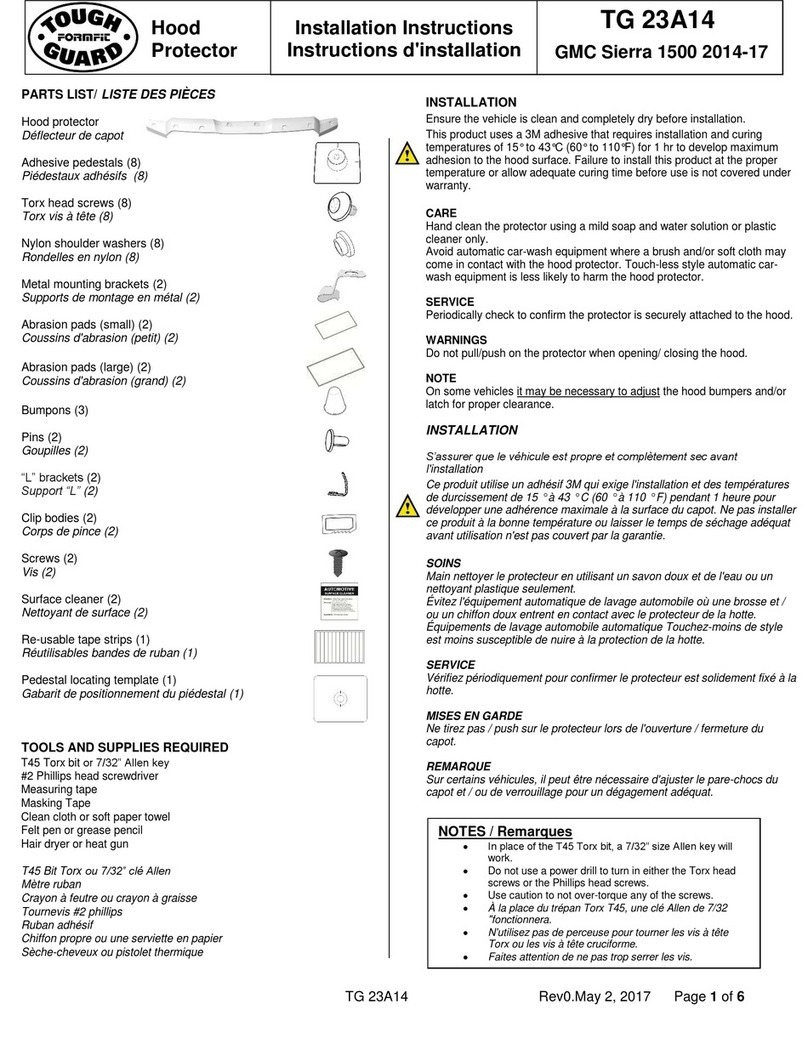
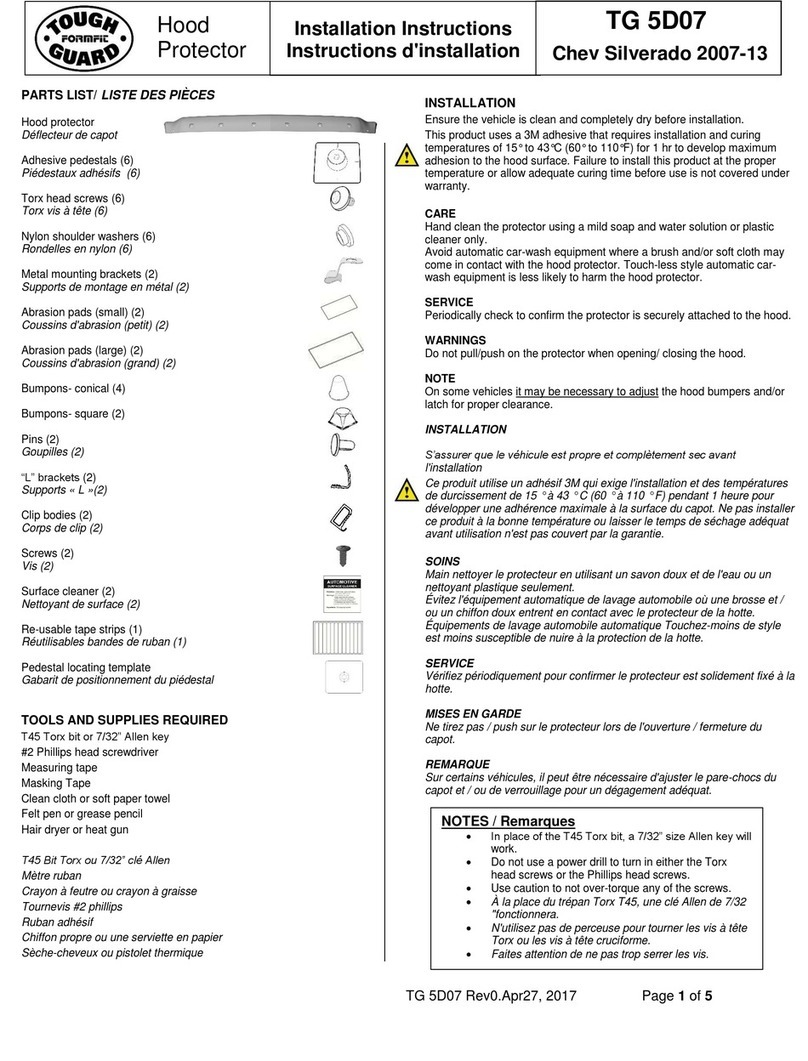
PARTS LIST/ LISTE DES PIÈCES
Hood protector
Déflecteur de capot
Adhesive pedestals (8)
Piédestaux adhésifs (8)
Torx head screws (8)
Torx vis à tête (8)
Nylon shoulder washers (8)
Rondelles en nylon (8)
Pins (3)
Goupilles (3)
Screws (3)
vis (3)
Clip bodies (3)
Corps de clip (3)
“L” brackets (3)
Supports « L »(3)
Abrasion pads (3)
Coussins d'abrasion (3)
Bumpons (5)
Surface cleaner (2)
Nettoyant de surface (2)
Re-usable tape strips (1)
Réutilisables bandes de ruban (1)
Pedestal locating template
Gabarit de positionnement du piédestal
TOOLS AND SUPPLIES REQUIRED
T45 Torx bit or 7/32” Allen key
#2 Phillips head screwdriver
Measuring tape
Masking Tape
Clean cloth or soft paper towel
Felt pen or grease pencil
Hair dryer or heat gun
T45 Bit Torx ou 7/32” clé Allen
Mètre ruban
Crayon à feutre ou crayon à graisse
Tournevis #2 phillips
Ruban adhésif
Chiffon propre ou une serviette en papier
Sèche-cheveux ou pistolet thermique
INSTALLATION
Ensure the vehicle is clean and completely dry before installation.
This product uses a 3M adhesive that requires installation and curing
temperatures of 15° to 43°C (60° to 110°F) for 1 hr to develop maximum
adhesion to the hood surface. Failure to install this product at the proper
temperature or allow adequate curing time before use is not covered under
warranty.
CARE
Hand clean the protector using a mild soap and water solution or plastic
cleaner only.
Avoid automatic car-wash equipment where a brush and/or soft cloth may
come in contact with the hood protector. Touch-less style automatic car-
wash equipment is less likely to harm the hood protector.
SERVICE
Periodically check to confirm the protector is securely attached to the hood.
WARNINGS
Do not pull/push on the protector when opening/ closing the hood.
NOTE
On some vehicles it may be necessary to adjust the hood bumpers and/or
latch for proper clearance.
INSTALLATION
S’assurer que le véhicule est propre et complètement sec avant
l'installation
Ce produit utilise un adhésif 3M qui exige l'installation et des températures
de durcissement de 15 ° à 43 ° C (60 ° à 110 ° F) pendant 1 heure pour
développer une adhérence maximale à la surface du capot. Ne pas installer
ce produit à la bonne température ou laisser le temps de séchage adéquat
avant utilisation n'est pas couvert par la garantie.
SOINS
Main nettoyer le protecteur en utilisant un savon doux et de l'eau ou un
nettoyant plastique seulement.
Évitez l'équipement automatique de lavage automobile où une brosse et /
ou un chiffon doux entrent en contact avec le protecteur de la hotte.
Équipements de lavage automobile automatique Touchez-moins de style
est moins susceptible de nuire à la protection de la hotte.
SERVICE
Vérifiez périodiquement pour confirmer le protecteur est solidement fixé à la
hotte.
MISES EN GARDE
Ne tirez pas / push sur le protecteur lors de l'ouverture / fermeture du
capot.
REMARQUE
Sur certains véhicules, il peut être nécessaire d'ajuster le pare-chocs du
capot et / ou de verrouillage pour un dégagement adéquat.
Installation Instructions
Instructions d'installation
TG 8G17
Ford Superduty 2017-up
Hood
Protector
NOTES / Remarques
In place of the T45 Torx bit, a 7/32” size Allen key will
work.
Do not use a power drill to turn in either the Torx
head screws or the Phillips head screws.
Use caution to not over-torque any of the screws.
À la place du trépan Torx T45, une clé Allen de 7/32
"fonctionnera.
N'utilisez pas de perceuse pour tourner les vis à tête
Torx ou les vis à tête cruciforme.
Faites attention de ne pas trop serrer les vis.
TG 8G17 Rev0.Sept 29, 2017 Page 2of 5
1. Use one of the surface wipes provided and wipe down the
area (approximately 15cm from the hood edge) where the
hood protector will be installed. Wipe dry with a soft cloth or
paper towel. This will remove any wax or grease and will
ensure a cleaner surface for the adhesive to bond to.
Utilisez une des lingettes de surface fournies et essuyez la
zone (à environ 15 cm du bord du capot) où le protecteur de
capot sera installé. Essuyez avec un chiffon doux ou une
serviette en papier. Cela éliminera toute cire ou graisse et
garantira une surface plus propre pour l'adhésif à adhérer.
2. Mark the center of the hood. Approximate the center of the
hood and place a small piece of masking tape at the leading
edge. Measure to opposite corners as shown. When the
measurements are equal, make a mark on the tape with a felt
pen.
Marquez le centre du capot. Approchez le centre du capot et
placez un petit morceau de ruban adhésif au bord d'attaque.
Mesurez les coins opposés comme indiqué. Lorsque les
mesures sont égales, faites une marque sur la bande avec un
stylo feutre.
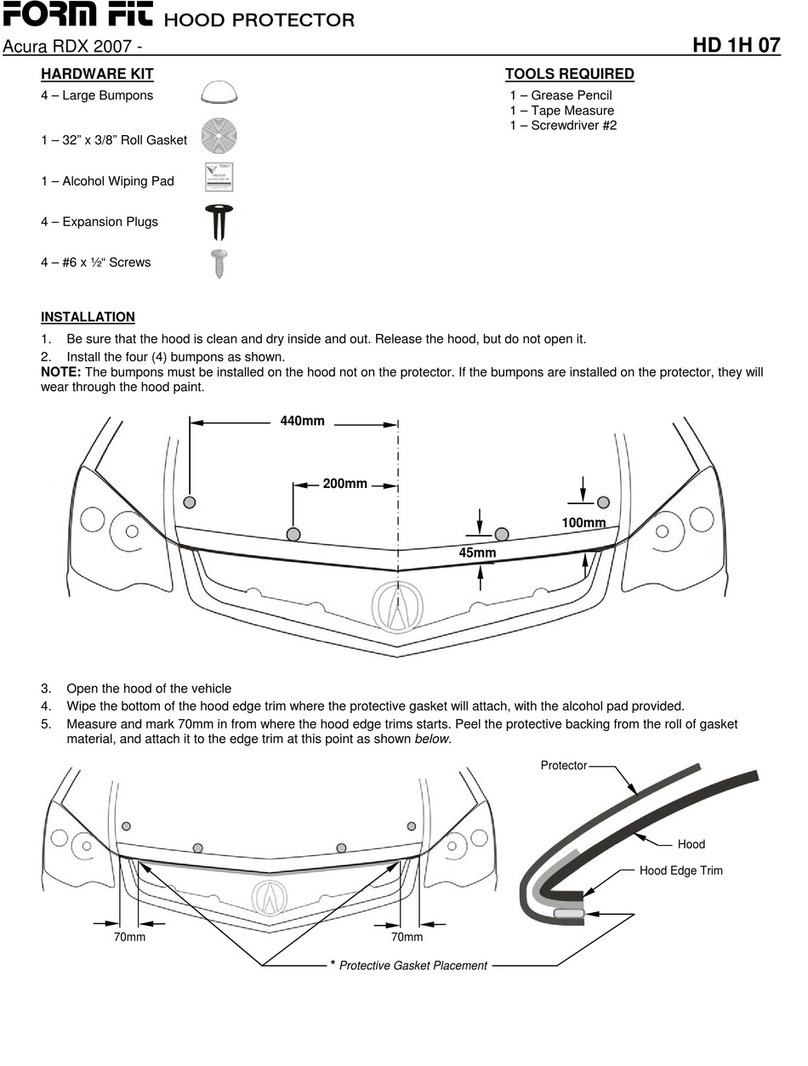
3. Place bumpons in locations shown in the illustration. Note that
bumpons must be placed on the hood, not the hood protector.
If they are placed on the hood protector, they will wear through
the paint on your hood!
Placez les coussins dans les emplacements indiqués sur
l'illustration. Notez que les bumpons doivent être placés sur le
capot, pas le protecteur de capot. S'ils sont placés sur le
protecteur de capot, ils porteront à travers la peinture sur votre
capot!
4. Place the hood protector on the bumpons and center the
protector on the hood.
Placez le protecteur de capot sur les coussins et centrez le
protecteur sur le capot.
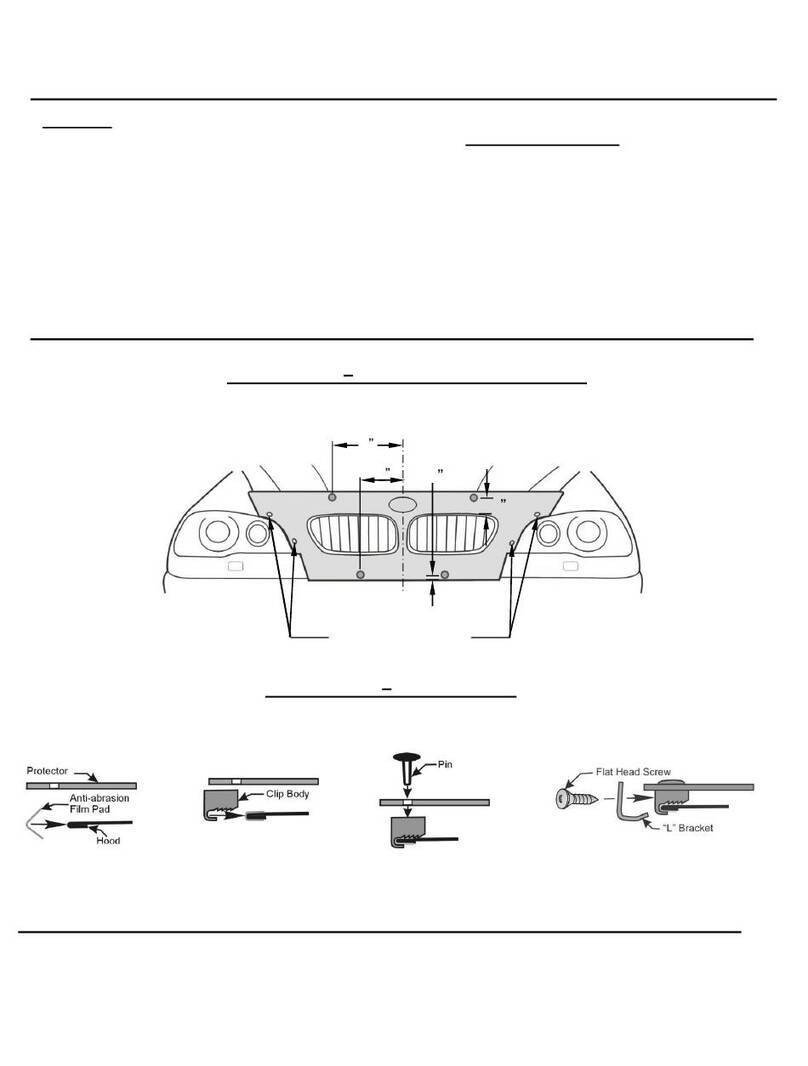
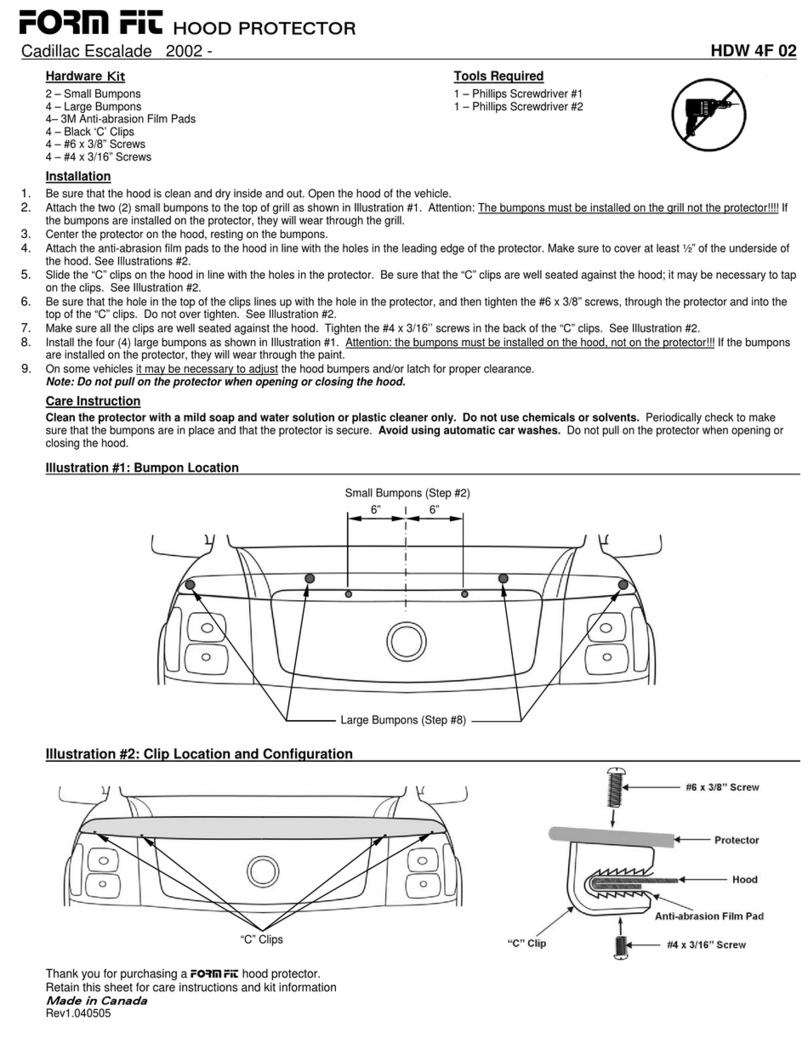
5. Locate the three small holes on the front edge of the protector
and wrap an abrasion pad around the hood edge at these
locations. On some applications it may be easier to stick the
abrasion pad to the underside of the hood at the appropriate
locations and then pick up the hood protector to wrap the
abrasion pad around to the top surface of the hood.
Localisez les trois petits trous sur le bord avant du protecteur
et enveloppez un tampon d'abrasion autour du bord du capot
à ces emplacements. Sur certaines applications, il peut être
plus facile de coller le coussin d'abrasion sur la face inférieure
de la hotte aux emplacements appropriés, puis ramasser le
capot protecteur pour envelopper le coussin d'abrasion autour
de la surface supérieure du capot.
Metric conversion:
115mm = 4 ½” 80mm = 3 ¼”
100mm = 4” 368mm = 14 ½”
TG 8G17 Rev0.Sept 29, 2017 Page 3of 5
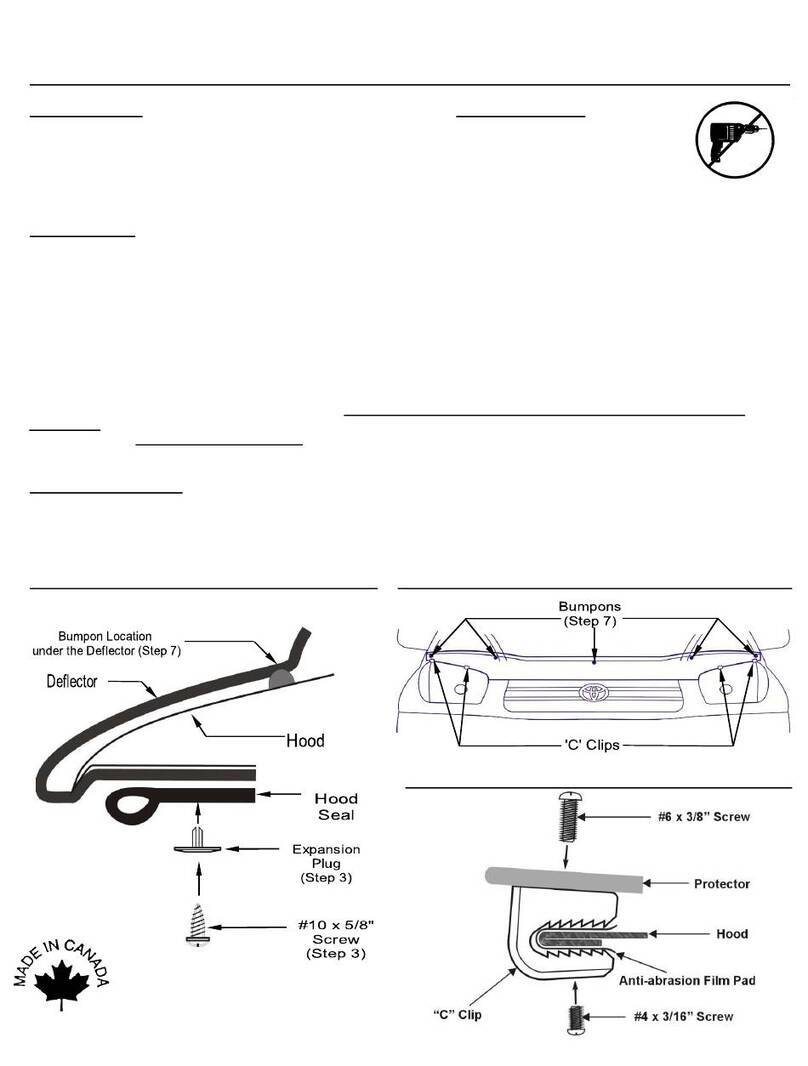
6. With the hood protector in place, assemble the four pieces of
the hood edge clip (see illustrations) and loosely attach it to the
edge of the hood. Ensure the hood protector is centered and
tighten the screws into the clips.
Avec le protecteur de capot en place, assemblez les quatre
morceaux du corps du clip (voir illustrations) et attachez-le
lâchement au bord du capot. Assurez-vous que le capot est
centré et serrez les vis dans les clips.
7. Take a felt marker (a fine point Sharpie works best) and insert
it into the hole in each of the “pockets” of the hood protector.
Keeping the marker perpendicular to the hood surface, mark
the hood surface with a dot. ***NOTE- IF YOUR HOOD HAS
PAINT PROTECTION FILM, A PERMANENT MARKER MAY
STAIN THE FILM. USE A DRY-ERASE MARKER OR A
GREASE PENCIL.***
Prenez un marqueur de feutre (un point fin Sharpie fonctionne
mieux) et insérez-le dans le trou dans chacune des "poches"
dans le protecteur de capot. Garder le repère perpendiculaire
à la surface de la poche, marquer la surface du capot avec un
point. ***REMARQUE - SI VOTRE CAPUCHON A UN FILM
DE PROTECTION DE PEINTURE, UN MARQUEUR
PERMANENT PEUT MANQUER LE FILM. UTILISEZ UN
MARQUEUR D'EFFACEMENT SEC OU UN LENTILLE A
GRAISSE.***
8. Loosen the screws holding the hood edge clips and remove
the hood protector. Do not remove the hood edge clips from
the hood protector.
Desserrez les vis qui retiennent les clips et retirez le
protecteur de capot. Ne retirez pas les attaches latérales du
capot du protecteur de capot.
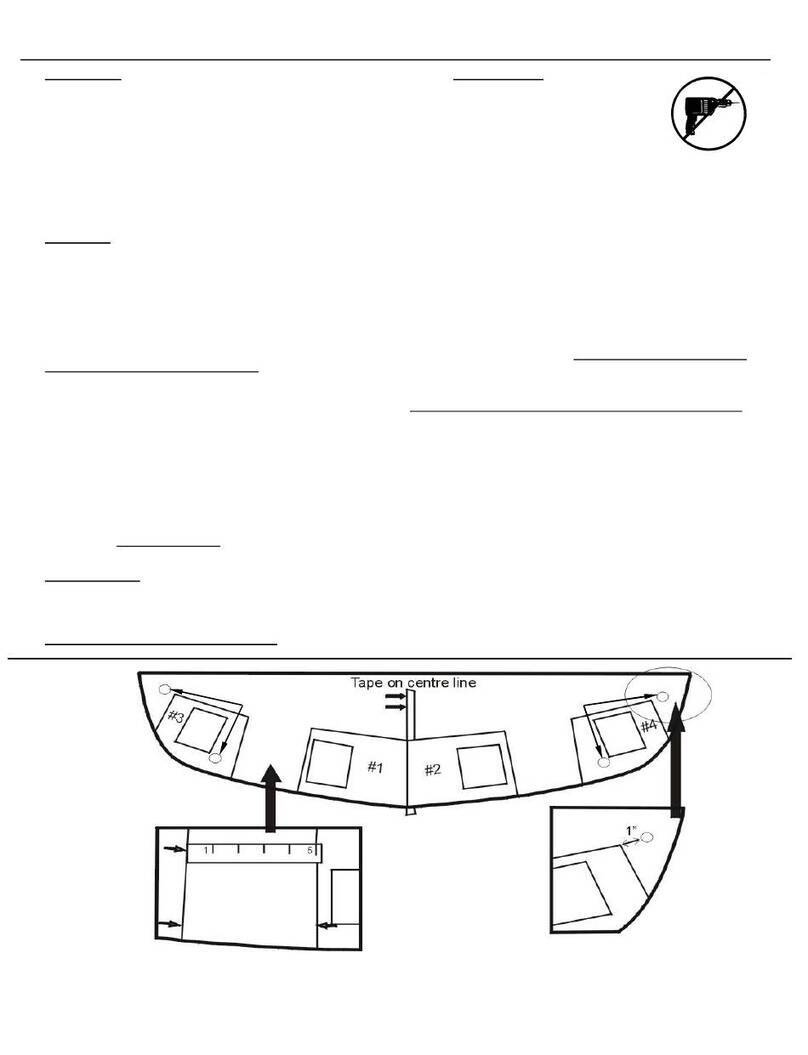
9. Locate the pedestal positioning template and place the
template over a dot on the hood. Ensure the template is
square to the hood edge. Using two of the repositionable tape
strips, outline the template on two adjacent sides. Repeat for
all dots. Depending on the application, it may be necessary to
cut the tape strips in half to ensure there are enough to outline
all locations.
Localisez le gabarit de positionnement du piédestal et placez
le gabarit sur un point du capot. Assurez-vous que le gabarit
est carré au bord du capot. En utilisant deux des bandes de
ruban repositionnables, décrire le gabarit sur deux côtés
adjacents. Répéter pour tous les points. Selon l'application, il
peut être nécessaire de couper les bandes de ruban adhésif
en deux pour s'assurer qu'elles sont suffisantes pour décrire
tous les emplacements.
TG 8G17 Rev0.Sept 29, 2017 Page 4of 5
10. Using the automotive surface cleaner provided, clean an area
approximately the size of the mounting pedestal at each
location. Wipe dry with a clean cloth or paper towel. Take care
to not contaminate the hood surface after it has been cleaned.
Any surface contaminants will reduce the effectiveness of the
adhesive.
À l'aide du nettoyeur de surface fourni avec l'automobile,
nettoyez une zone approximativement de la taille du piédestal
de montage à chaque emplacement. Essuyez avec un chiffon
propre ou une serviette en papier. Veillez à ne pas contaminer
la surface du capot après avoir été nettoyé. Tout contaminant
de surface réduira l'efficacité de l'adhésif.
11. Peel the red protective backing off one of the adhesive
pedestals. Carefully place it on the hood surface exactly where
the tape outline is. Use care with this step as once the
pedestal has been placed on the hood, it will be very
difficult to remove. Repeat for all locations.
Épluchez le support protecteur rouge de l'un des socles
adhésifs. Placez-le soigneusement sur la surface de la hotte
exactement où le contour de la bande est. Faites attention
avec cette étape, une fois que le socle a été placé sur le
capot, il sera très difficile à enlever. Répétez l'opération pour
tous les emplacements.
12. To ensure the adhesive is thoroughly bonded to the hood, “wet
out” pedestal base by applying pressure with your thumb
around the base of the pedestal.
**NOTE** While the bond between pedestal and hood is
very good, using a heat gun to warm the pedestal bases
to 40° (105°) and wetting them out a second time will
ensure the best bond possible.
Use caution not to overheat the pedestal or damage the
paint!!
Pour assurer que l'adhésif est bien collé à la hotte, «mouiller»
la base du piédestal en appliquant une pression avec le
pouce autour de la base du piédestal.
** REMARQUE ** Bien que la liaison entre le piédestal et
le capot soit très bonne, utiliser un pistolet chauffant
pour chauffer les bases du socle à 40 ° (105 °) et les
mouiller une deuxième fois garantira la meilleure
adhérence possible.
Faites attention de ne pas surchauffer le piédestal ou
d'endommager la peinture !!
TG 8G17 Rev0.Sept 29, 2017 Page 5of 5
13. Place the hood protector on the bumpons and
pedestals.
Placez le protecteur de capot sur les coussins et les
piédestaux.
14. Re-hook the mounting clips on the front edge of the
hood. Ensure the hood protector is centered on the
hood and turn each screw until the “L” bracket is in
place but not tight.
Repositionnez les agrafes de fixation sur le bord avant
de la hotte. Assurez-vous que le protecteur de capot
est centré sur le capot et tournez chaque vis jusqu'à ce
que le support en "L" soit en place mais pas serré.
15. Place a Torx head screw through a shoulder washer
and into a hole in hood protector. Ensure the shoulder
portion of the washer slides into the hole in the hood
protector. Loosely thread the screw into the mounting
pedestal. See illustration for orientation of the shoulder
washer. Repeat for all locations.
Placez une vis de tête Torx à travers une rondelle d'épaule et
dans un trou dans le protecteur de capot. Assurez-vous que la
partie d'épaule de la laveuse glisse dans le trou du protecteur
de capot. Vissez légèrement la vis dans le socle de montage.
Voir l'illustration pour l'orientation de la rondelle d'épaulement.
Répétez l'opération pour tous les emplacements.
16. Ensure the hood protector is centered on the hood and using a
T45 Torx key, tighten the screws into the pedestals. Start in the
center position and work outwards. Ensure the shoulder
washers are seated properly. Do not overtighten.
Encore une fois, assurez-vous que le protecteur de capot est
centré sur le capot et en utilisant une clé Torx T45, serrez les
boulons dans les piédestaux. Commencer dans la position
centrale et travailler vers l'extérieur. Assurez-vous que les
rondelles d'épaulement sont correctement installées. Ne pas
trop serrer.
17. Tighten the screws into the mounting clips on the hood edge.
Use caution- do not overtighten.
Serrer les vis dans les clips de fixation sur le bord du capot.
Encore une fois, faites attention - ne pas trop serrer.
Thank you for purchasing a Tough FormFit Guard hood
protector!
Nous vous remercions d'avoir acheté un protecteur de
capot Tough FormFit Guard!
We welcome your photos and feedback!
Please email us at [email protected].
Nous vous invitons à vos photos et à vos
commentaires! Veuillez nous envoyer un
courriel à customer@focusauto.com.

Other FormFit Automobile Accessories manuals

FormFit HD 8C 05 User manual

FormFit

FormFit HD 8C 05 User manual

FormFit HD 1C 06 User manual

FormFit

FormFit HD 1C 06 User manual

FormFit 8H 02 User manual

FormFit

FormFit 8H 02 User manual

FormFit HD 20J14 User manual

FormFit

FormFit HD 20J14 User manual

FormFit 2103 User manual

FormFit

FormFit 2103 User manual

FormFit HD 5H 08 User manual

FormFit

FormFit HD 5H 08 User manual

FormFit HD 8C 08 User manual

FormFit

FormFit HD 8C 08 User manual

FormFit HD 13R12 User manual

FormFit

FormFit HD 13R12 User manual

FormFit HD 8D 11 User manual

FormFit

FormFit HD 8D 11 User manual

FormFit HDW 6G 04 User manual

FormFit

FormFit HDW 6G 04 User manual

FormFit HD 20Q 11 User manual

FormFit

FormFit HD 20Q 11 User manual

FormFit HD-3F07 User manual

FormFit

FormFit HD-3F07 User manual

FormFit Tough Guard TG 6M10 User manual

FormFit

FormFit Tough Guard TG 6M10 User manual

FormFit HD 9D 03-2 User manual

FormFit

FormFit HD 9D 03-2 User manual

FormFit Tough Guard TG 23A14 User manual

FormFit

FormFit Tough Guard TG 23A14 User manual

FormFit Tough Guard TG 5D07 User manual

FormFit

FormFit Tough Guard TG 5D07 User manual

FormFit 20K 01 User manual

FormFit

FormFit 20K 01 User manual

FormFit HD 1H 07 User manual

FormFit

FormFit HD 1H 07 User manual

FormFit HD 21D 06 User manual

FormFit

FormFit HD 21D 06 User manual

FormFit HDW 4F 02 User manual

FormFit

FormFit HDW 4F 02 User manual

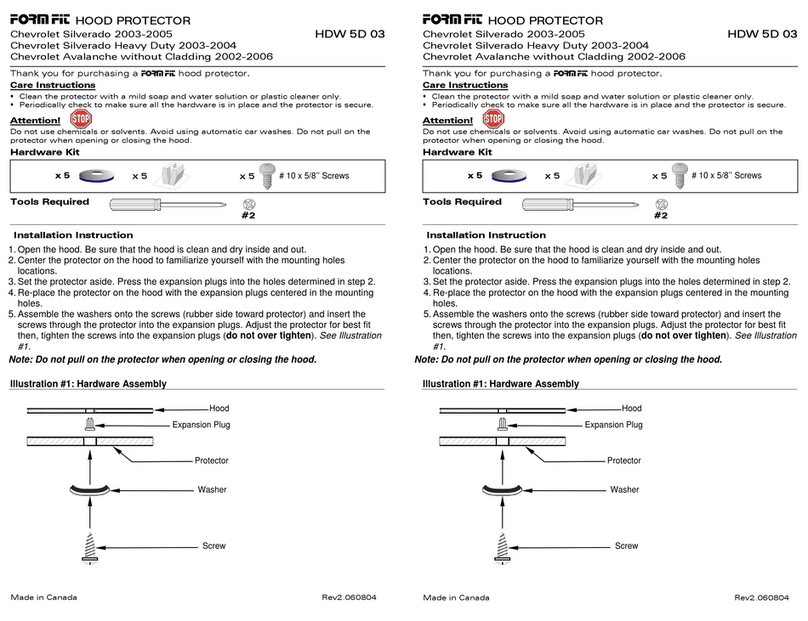
FormFit HDW 5D 03 User manual

FormFit

FormFit HDW 5D 03 User manual

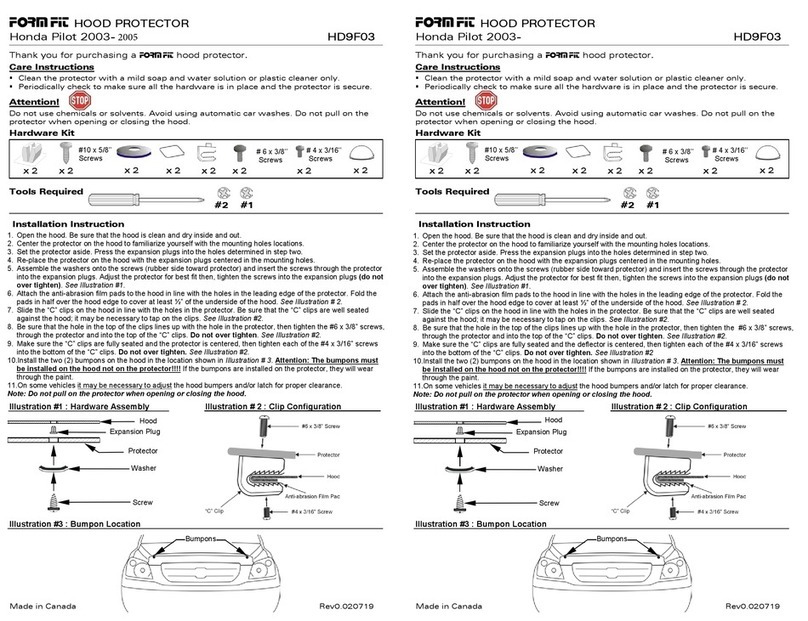
FormFit HD9F03 User manual

FormFit

FormFit HD9F03 User manual

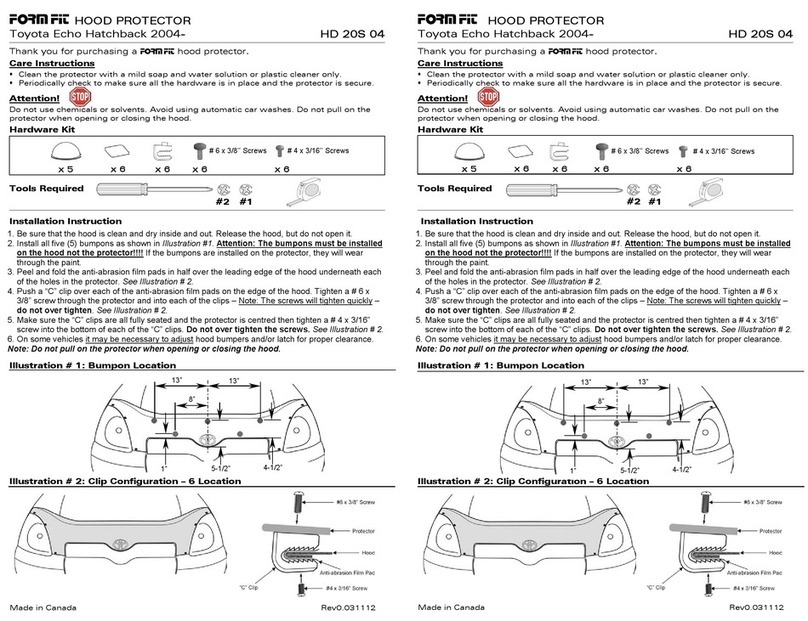
FormFit HD 20S 04 User manual

FormFit

FormFit HD 20S 04 User manual

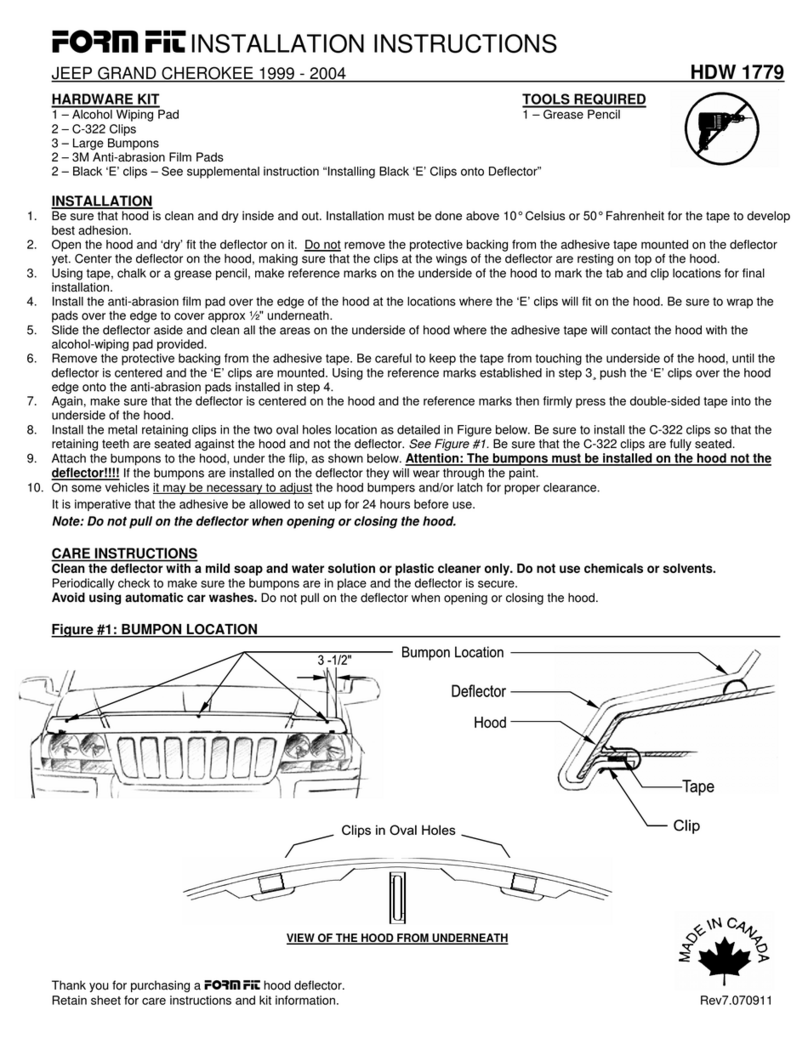
FormFit HDW 1779 User manual

FormFit

FormFit HDW 1779 User manual

Popular Automobile Accessories manuals by other brands

Magneti Marelli AC161 Installation instruction

Magneti Marelli

Magneti Marelli AC161 Installation instruction

FDI uEZ GUI Start here

FDI

FDI uEZ GUI Start here

JCROffroad JT Install instructions

JCROffroad

JCROffroad JT Install instructions

Rostra VOXXElectronics 250-1930 owner's guide

Rostra

Rostra VOXXElectronics 250-1930 owner's guide

TOP VEHICLE TECH GR3FORD5 installation manual

TOP VEHICLE TECH

TOP VEHICLE TECH GR3FORD5 installation manual

Safe Fleet PRIME DESIGN AR-2000-BLK manual

Safe Fleet

Safe Fleet PRIME DESIGN AR-2000-BLK manual

Skoda Fabia Combi 5J Fitting instructions

Skoda

Skoda Fabia Combi 5J Fitting instructions

Camcar 40077 Al Mounting instructions

Camcar

Camcar 40077 Al Mounting instructions

Camcar 40089 AL Mounting instructions

Camcar

Camcar 40089 AL Mounting instructions

Impac Tradesman 2000 installation manual

Impac

Impac Tradesman 2000 installation manual

DVB OFFROAD BRSB-01 installation manual

DVB

DVB OFFROAD BRSB-01 installation manual

Safari Snorkel SS385HF installation guide

Safari Snorkel

Safari Snorkel SS385HF installation guide

ULTIMATE SPEED 279746 Assembly and Safety Advice

ULTIMATE SPEED

ULTIMATE SPEED 279746 Assembly and Safety Advice

SSV Works DF-F65 manual

SSV Works

SSV Works DF-F65 manual

ULTIMATE SPEED CARBON Assembly and Safety Advice

ULTIMATE SPEED

ULTIMATE SPEED CARBON Assembly and Safety Advice

Witter F174 Fitting instructions

Witter

Witter F174 Fitting instructions

WeatherTech No-Drill installation instructions

WeatherTech

WeatherTech No-Drill installation instructions

TAUBENREUTHER 1-336050 Installation instruction

TAUBENREUTHER

TAUBENREUTHER 1-336050 Installation instruction

manuals.online logo
manuals.online logoBrands
  • About & Mission
  • Contact us
  • Privacy Policy
  • Terms and Conditions

Copyright 2025 Manuals.Online. All Rights Reserved.