3
Installing SFP transceivers
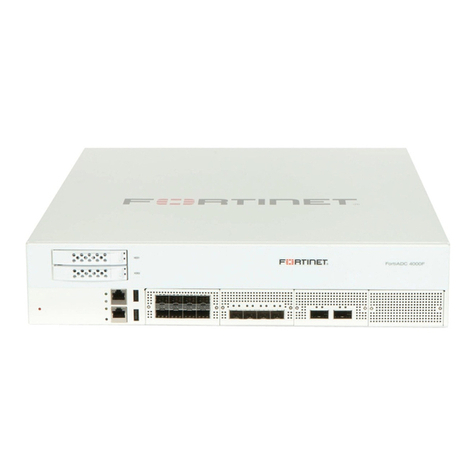
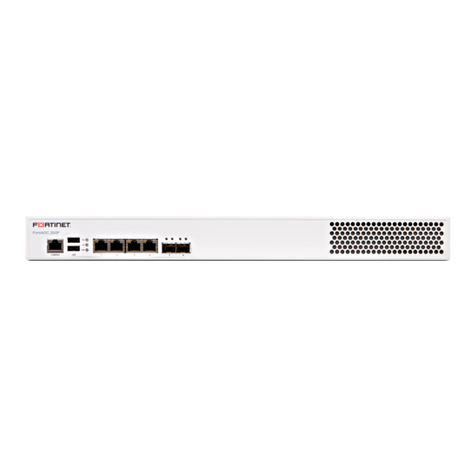
If not already installed, install the SFP/SFP+ transceivers that will be used
to connect your appliance to the network.
Caution: Do not install or remove SFP transceivers while ber-optic cables
are still attached. This can cause damage to the cables, cable connectors,
and optical interfaces. It may also prevent the transceiver from latching
correctly into the socket.
Note: Installing and removing SFP transceivers can shorten their life. Do
not install or remove transceivers more than is necessary.
To install the SFP transceivers
1. On the appliance’s front panel, remove the caps from SFP cage sockets.
2. Position the SFP transceiver in front of the cage socket so that the
extraction lever is level with the socket latch.
Note: SFP cage socket orientation may vary. Ensure that the SFP
transceiver module is correctly oriented.
3. Holding the sides of the SFP transceiver, gently slide it into the cage
socket.
Caution: Do not force SFP transceivers into cage sockets. Force can
cause damage. If the transceiver does not easily slide in and click into
place, it may not be aligned correctly or may be upside down. If this
happens, remove the SFP transceiver, realign or rotate it, and try again.


