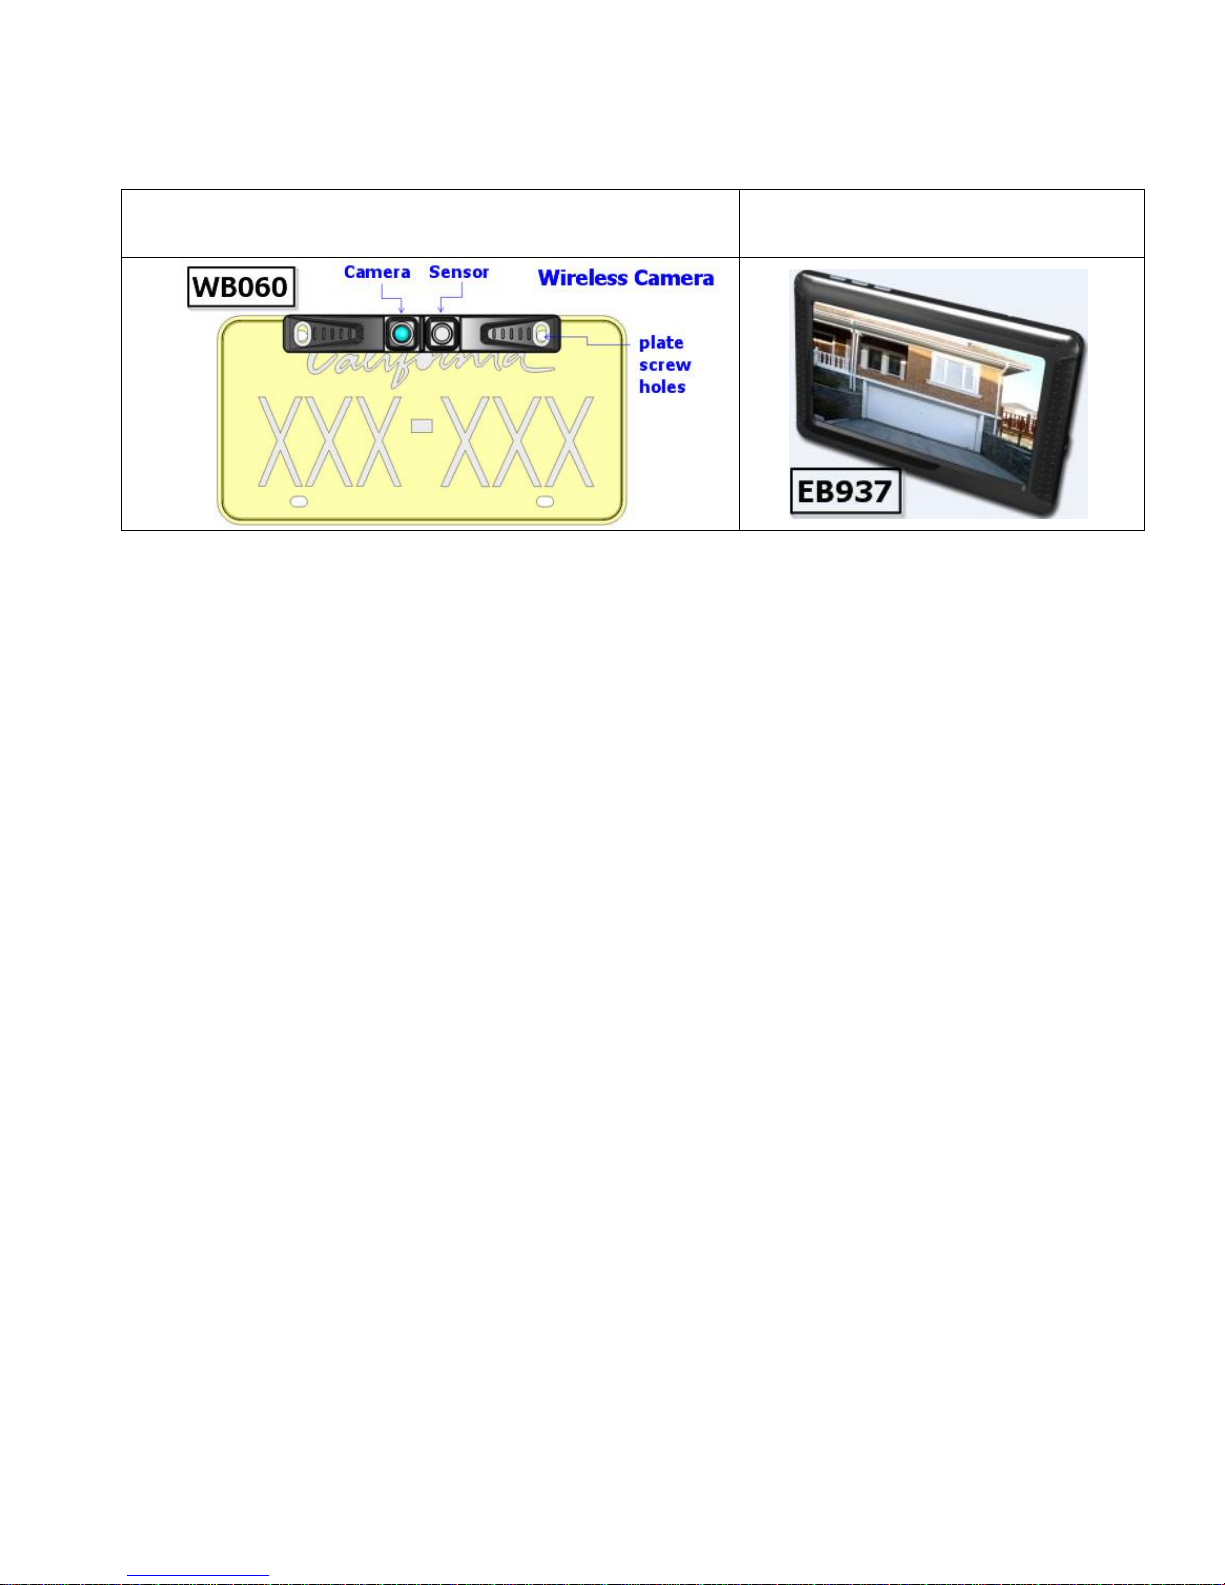
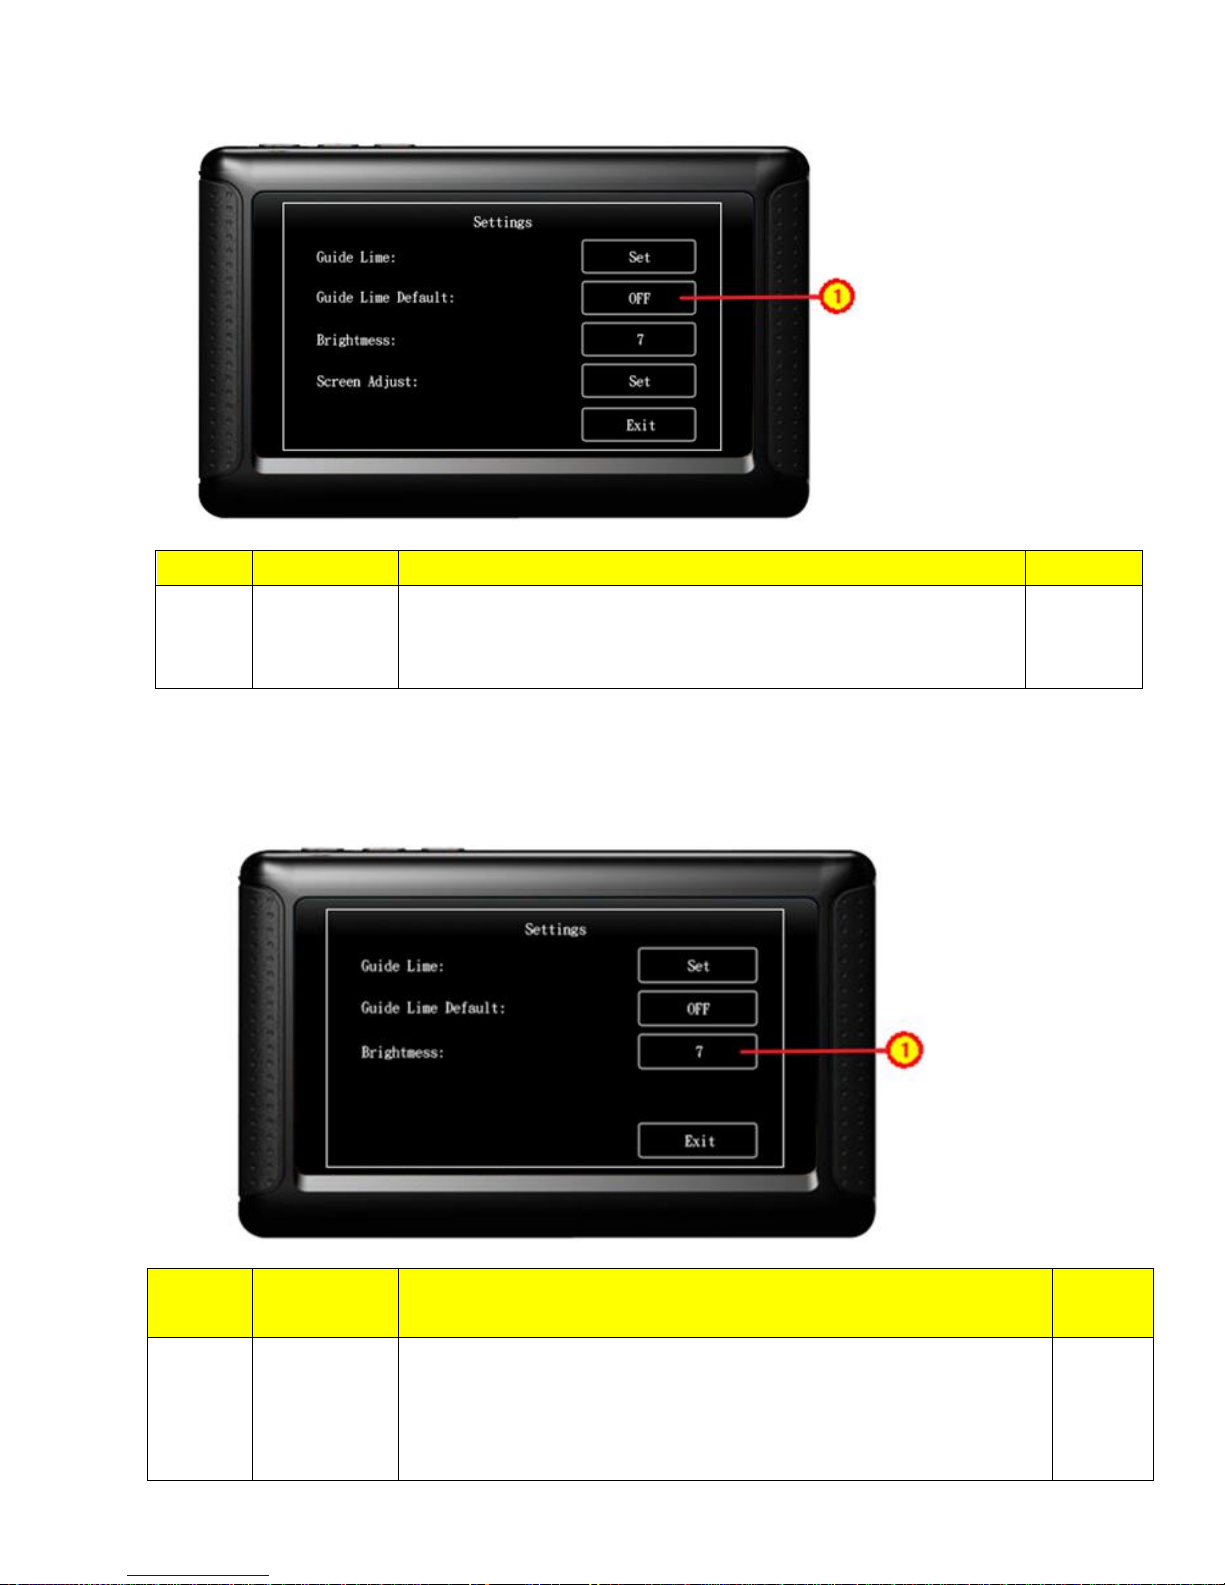
Fortress Auto WB060 User manual


This manual suits for next models
1
Popular Automobile Electronic manuals by other brands

Toyota
Toyota Bluetooth SWC owner's manual

Radio Shack
Radio Shack 63-1007 - Ultrasonic Parking Alert System owner's manual

Blaupunkt
Blaupunkt VW / AUDI 7 607 545 550 user manual

VDO
VDO DIGITAL TACHOGRAPHS - Guidelines

BrandMotion
BrandMotion ADAS-1000 install guide

GU Electronic
GU Electronic HW-REV10 manual

DICE
DICE Silverline DUO Installation guide & user manual

Strongman Tools
Strongman Tools Telford Installation manual & operation instructions

Dakota Digital
Dakota Digital LED Tail Lights LAT-NR350 installation instructions

Webasto
Webasto Telestart T91 installation instructions

Griffin Technology
Griffin Technology iTrip Auto Universal Plus 7020-TRPUNP quick start guide

Directed
Directed Directechs DB3 installation guide

Murphy
Murphy PowerView PV1000 Hardware installation manual

Sirius Satellite Radio
Sirius Satellite Radio RETROFIT KIT installation instructions

Subaru
Subaru H001SAJ200 installation instructions

Hectronic
Hectronic Citea Technical Product Manual

PERFECTPASS
PERFECTPASS StarGazer quick start guide

Nav TV
Nav TV UCT-13 user manual