26
In the "Display -> Switch-on" menu item, you se-
lect how the display will be switched on again.
If a call should be received after manual or auto-
matic switch-off, the display switches on auto-
matically again (provided that the radio is still
switched on).
Displays and controls
The OLED display shows different information de-
pending on the current status of your BT-USB in-
terface. Which control options are available via
the green (left) and red right) phone button as
well as the central rotary pushbutton is listed in
the following sections.
Pressing the red and green phone button at the
same time calls up the Settings menu. Here you
can adjust many properties to your personal pref-
erences, such as the language (English, French,
German) or ID3 tags from MP3 files to be dis-
played.
After initial switch-on
After switch-on, the OLED display greets you with
a Blaupunkt lettering which gives way for a smaller
lettering after a few seconds.
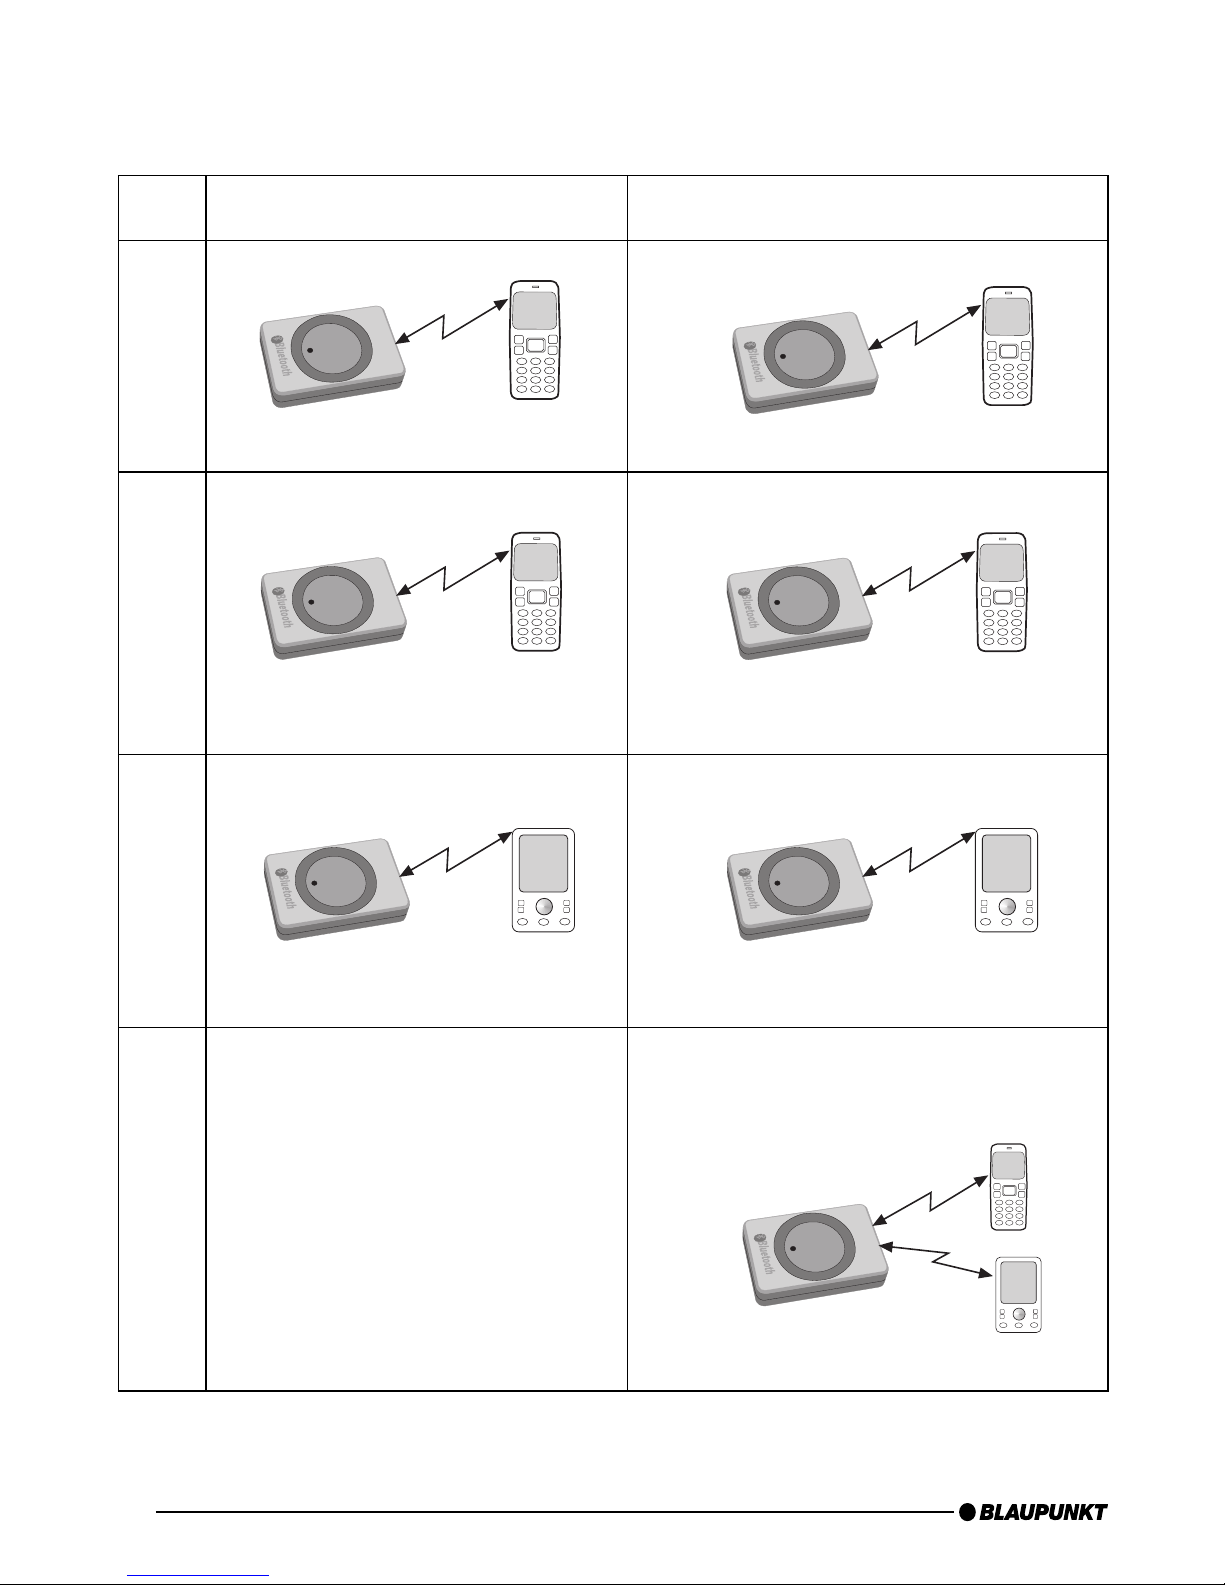
Registering (pairing) your cell phone
with the interface
Use your cell phone to search for Bluetooth de-
vices (see the instructions of the cell phone ->
Pairing). The telephone finds "Blaupunkt IF" and
asks for a PIN. Enter PIN 1234 on your cell phone.
An existing BT handsfree connection is shown on
your OLED display by a non-flashing BT symbol in
the top left corner.
If you telephone does not request a PIN, please
check by means of the compatibility list for cell
phones (www.blaupunkt.com) whether a differ-
ent configuration should be set for operation with
your type of telephone.
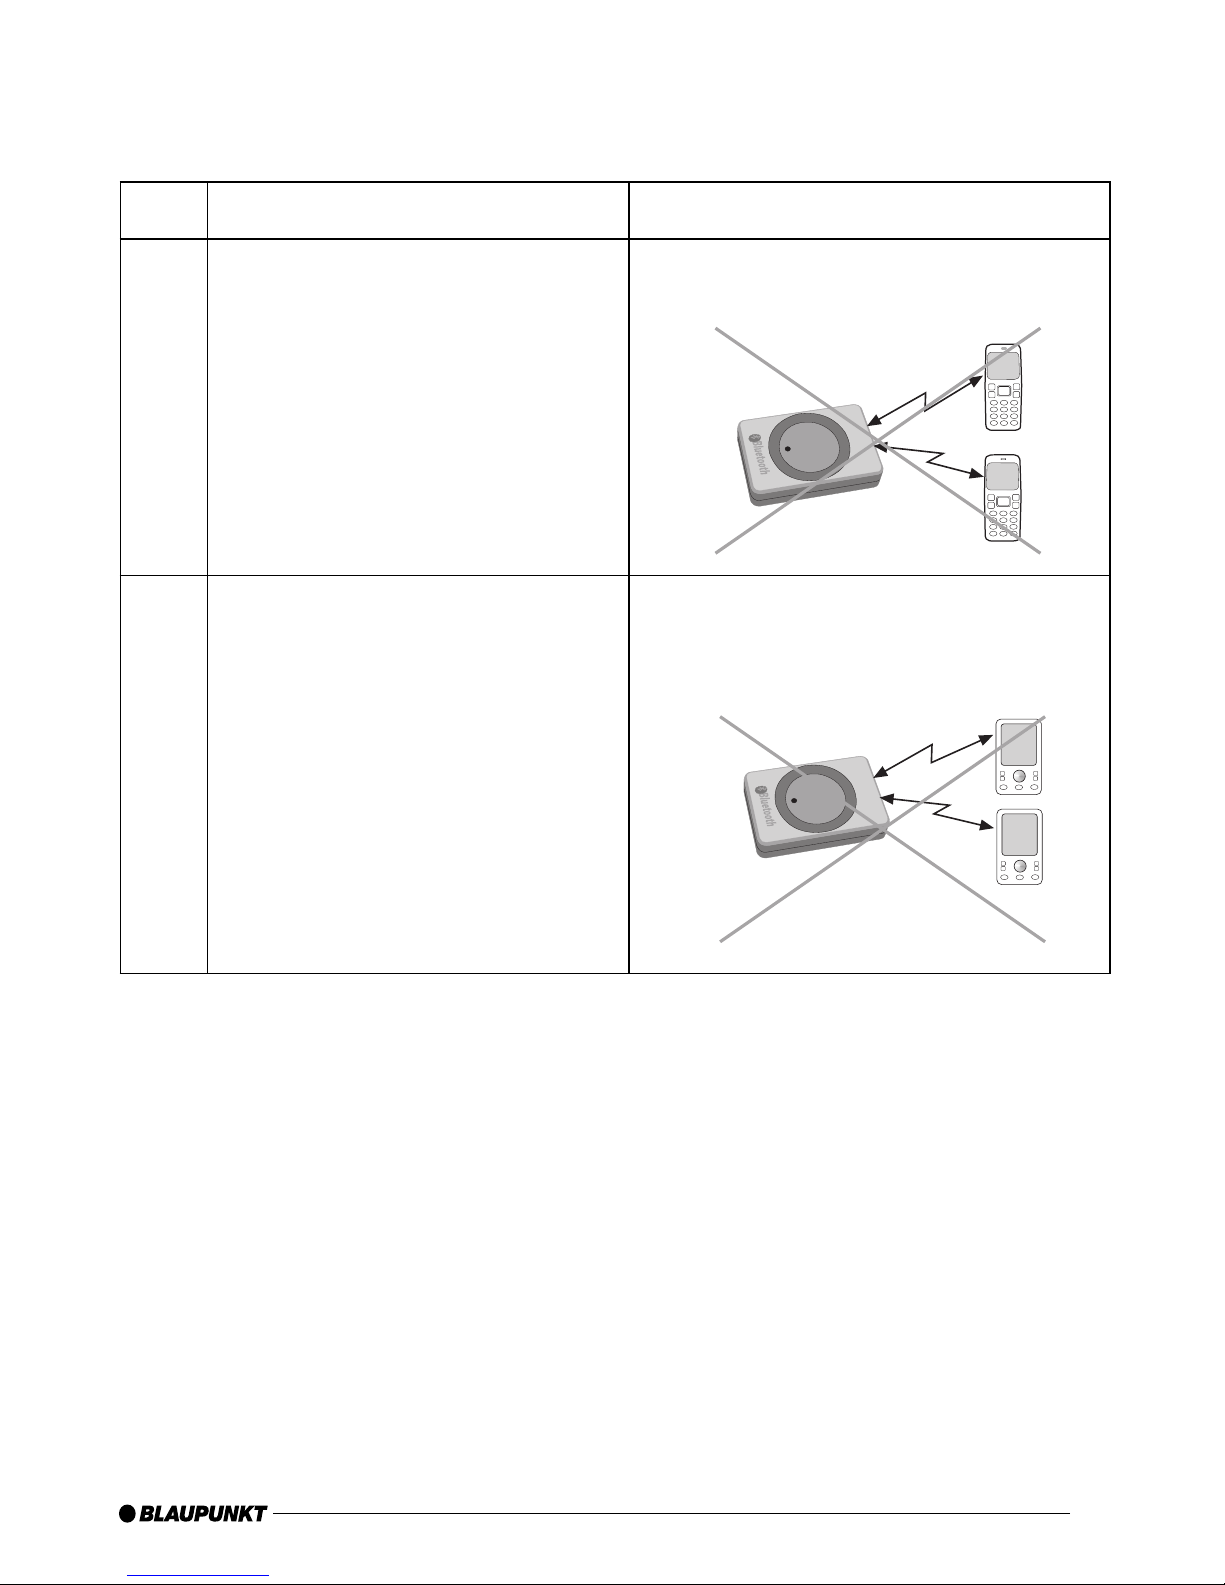
You can couple up to 5 cell phones with the inter-
face. If additional phones are coupled, the data of
the phone coupled first are deleted from the list.
The automatic reconnect for handsfree register-
ing is started by the interface under the following
conditions:
After switch-on of the interface, every one
of the last up to 5 pairings is checked for
up to 15 seconds whether a pairing can
be re-established. During this time, the BT
symbol flashes. With active pairing, the BT
symbol is displayed constantly. If no pairing
is accomplished, the BT symbol goes out.
As long as the BT symbol flashes, acoustic
interference's are possible in an existing
audio stream connection, since all BT radio
channels (including those in which an audio
stream already exists) are checked for the
pairing.
An automatic pairing attempt (flashing BT
symbol) starts if an existing pairing is dis-
solved with switching off BT in the cell phone
or removing it from the BT radio range.
Press on the green phone button (as long as
no telephone is registered).ntaste (solange
kein Telefon gekoppelt ist).
Note:
To initiate a pairing, it is NO LONGER required to
hold the PTT button pressed for 5 seconds. The
interface is always visible in the BT radio range
and ready for pairing.
Without any preparation at the interface of your
BT device, start the function "Find other BT de-
vices" (may be called differently, see the in-
structions of your BT device) and select your
"Blaupunkt interface"
1.
2.
3.