manuals.online logo
Brands
  1. Home
  2. •
  3. Brands
  4. •
  5. Foscam
  6. •
  7. Security Camera
  8. •
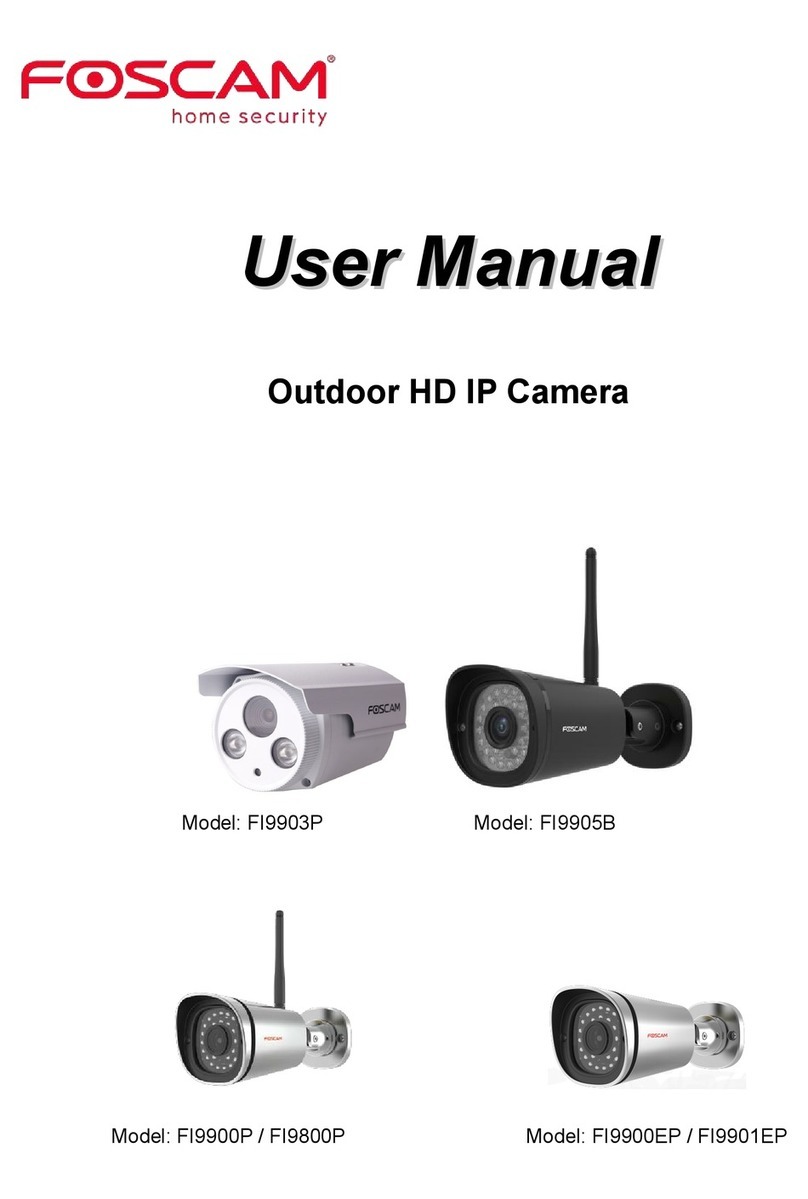
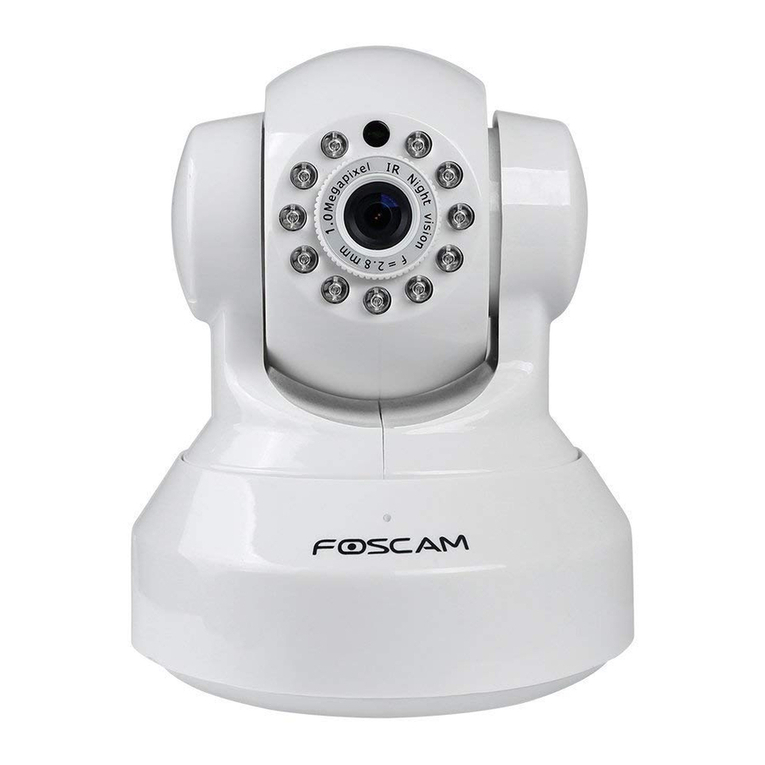
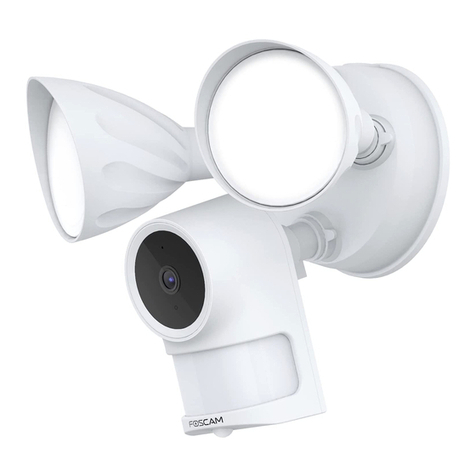
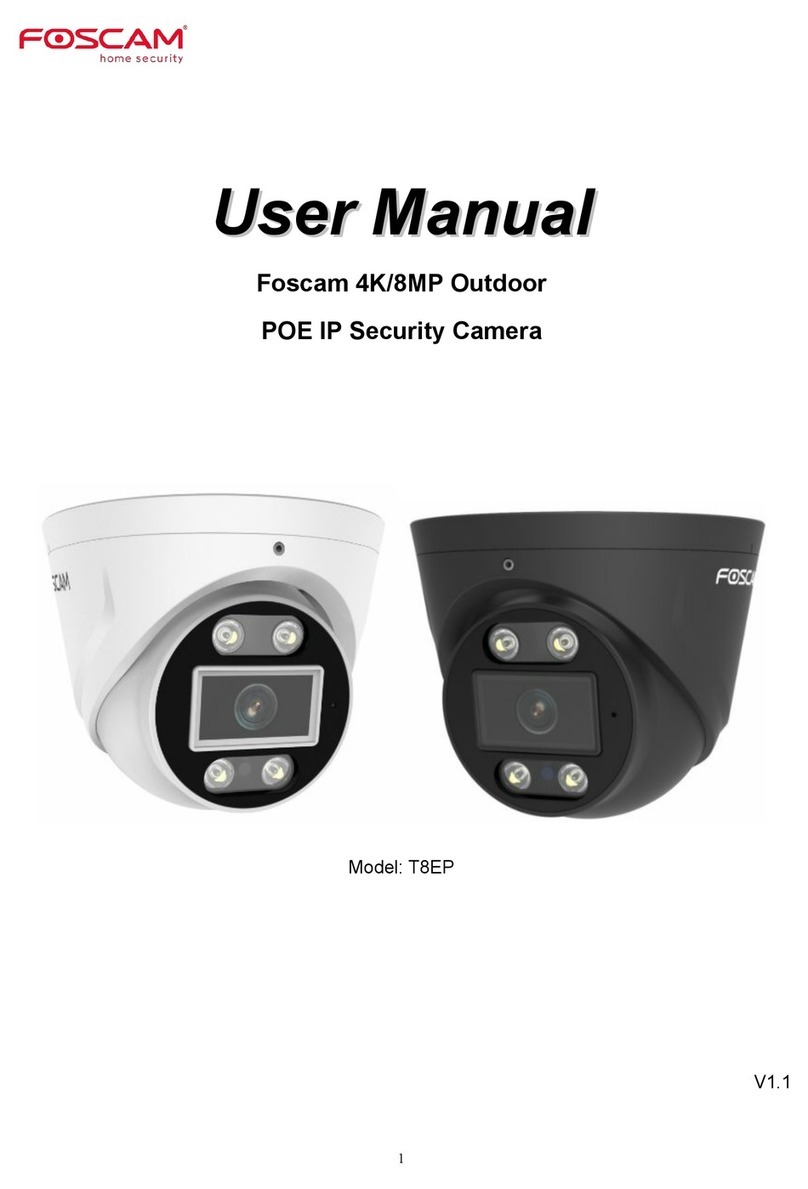
  9. Foscam FI9853EP User manual

Foscam FI9853EP User manual

1 2 3 4
8
7
6
5
2 Software Installation
Shortcut icon for Windows OS Shortcut icon for Mac OS
1. Insert the CD into the CD drive of your computer.
2.
Go to the folder “IP Camera Search Tool” and nd the folder “For
Windows OS”or “For Mac OS”. Copy and paste the IP camera tool le
to your computer, or drag it onto your desktop.
3 Access the Camera
3.
After installing the add-on, refresh the browser and click
Login
.
Main stream oers the highest
quality video while Sub stream
oers less quality, but also less
delay when viewing.
Default user is admin with no
password.
Main stream oers the highest
quality video while Sub stream
oers less quality, but also less
delay when viewing.
Default user is admin with no
password.
1 Hardware Introduction
Package Contents
Quick Installation Guide
Resource CD
Ethernet Cable
Power Adapter
IP Camera
Warranty Card
Physical Description
Quick Installation Guide
(For Windows & Mac OS)
HD IP Camera
1. Loosen the three screws on the base of the camera, remove
the camera base.
2. According to the monitored area, install the base of the
camera on the ceiling or wall with expansion screws.
3. Assembly the sphere, cover and decorative ring of the order,
according to the monitored area to turn the angle of the
sphere. Finally, x the decorative ring and the base with screws.
Sphere
Cover
Decorative ring
Ceiling or wall
Base
Hardware Installation
Click Install
V4.5
EQ985305
1. Enable the DHCP feature of your router (Enabled by default
normally), then open the IP Camera Tool program. It should
display the camera’s IP address in your LAN (Local Area Network).
2. Double click the camera list here, and your default browser will
open up to the camera’s login page. When logging in for the rst
time, you will need to download and install the add-on. Take
Microsoft Internet Explorer as an example. For Google Chrome,
Apple Safari, or Mozilla Firefox, please refer to the User Manual.
Notes:
If your computer ( Windows OS ) supports autorun function,
you can nd the corresponding le in the opened control panel.
I
f your computer doesn’t have CD drive, you can download
the IP camera tool from our website for free.
Array LED
LENS
LAN
Power
Reset Button
Notes:
After logging in for the rst time, it will go to "Setup
Wizard” automatically. Please set the basic parameters, such
as camera name, camera time and so on.
If you forget your username or password, you can press
and hold the reset button on the bottom of the camera using
a pin for 5 seconds. This resets the camera to factory defaults.
4. When you login for the rst time, it will request that you
modify the default username and/or password. Input the New
username, New password, and Confirm the password, click
Modify to complete the modication. You will now use the new
username and password to login to the camera in the future.
Note:
Doesn't support 64-bit browser.
Note:
Quick Installation Guide
(ForWindows& Mac OS)
HDIP Camera
Input the New username,
New password and
Conrm the password.
Input the New username,
New password and
Conrm the password.
Hardware Connection
1. Connect the camera to the LAN network (Router or Switch)
via network cable.
2. Connect the power adapter to the camera.
WPSWPS
5.
After logging in, you should see live video on the interface.
ShenZhen Foscam Intelligent Technology Co., Ltd
www.foscam.com
910 11 12 13
1817161514
7 Technical Support
If you have problems with your Foscam IP Camera, please
contact the Foscam reseller you purchased from, or you can
e-mail the Foscam headquarter technical support team:
[email protected]
Your valuable comments and suggestions on improving
Foscam products are welcomed!
6 Access the IP Camera
by CMS
5
Access the IP Camera
by Smart Phone
If you use android or iOS mobile device, you can access the IP
camera by Foscam App. Mobile phone connecting the camera
after the success, recommend that you modify the user name
and password.
This document takes Android system as an example, the iOS
and android interface only subtle dierences, you can still
complete the operation in accordance with this example.
1. Download and Install the Foscam App.
Search and install Foscam Viewer on App Store or Google Play
for iOS or Android devices.
2. Click the Foscam Viewer on your phone to run the App.
Click here
4. When you nish the QR code scanning, the UID will be input
automatically, then input Device Name, Username (default is
admin), Password (blank by default), click OK.
If you scan a QR code on the bottom of the
camera successfully, the UID will be displayed
automatically.
Default username is admin with no password.
3. In the IPC management interface, click . Your phone will
go into the QR code scanning mode.
Note:
If the QR code scanning is not successful, click , please input
the UID on the bottom of the camera manually. The procedure
for inputting data is as follows. Click OK.
Select High Denition.
Select P2P UID.
Please input the UID on
the bottom of the camera.
Default username is admin
with no password.
5. So far, the camera has been added successfully. You can
click it from the list to check the live video.
Tap here to connect
the camera.
A green dot indicates the connection is
successful. A red dot indicates issues
with the connection.
If you want to access your camera by web browser outside of
your LAN, you need to congure some settings.
4 Remote Access
1. Choose “Settings” on the top of the camera web page, then
go to the “Network > IP Conguration” section on the left side
of the screen, then uncheck the Obtain IP DHCP.
IP Address: Set this in the same subnet as
your computer , or keep it as default.
Subnet Mask: Keep it as default.
Gateway and DNS Server: Set it to the IP
address of your router.
2. Enable UPnP and DDNS in the camera’s settings page. We
recommend you to use the DDNS by factory default.
Select Yes and click Save.
3. You can see the port of your camera here. If you want to set
Remote Access for several cameras on the same network, you
will need to change the HTTPS port for each camera.
4. If the UPnP of the router has been enable, you do not need
to perform following steps. Otherwise, you need to select one
of the following methods to congure port forwarding on
your router. For these steps, we will be using the TP-LINK
brand wireless router as an example.
Click Add New.
Input the port and IP address
of your camera and click Save.
443
443
5. Now you can access your IP camera by https://domain
name: HTTPS port via the Internet.
Input New Username,
New Password and
Conrm password.
If it is the rst time to login with Foscam App, it will go to
"Setup Wizard” automatically. Please set the basic parameters,
such as camera name, camera time and so on.
NOTES:
If it is the rst time to login with Foscam App, the username is
set to admin and the password eld is left blank by default.
When you connect your camera to the Foscam app, it will
request that you modify the default username and/or password
if both are still set to default. This is highly recommended and
serves as a security precaution.
To access a remote camera on a Windows PC, please install
the CMS software and perform relevant operations. For the
installation le and operation guide of the CMS, please refer
to Foscam IP Camera Client user manual in the CD.
If there is a UPnP function in your router.
Choose “Forwarding > UPnP”, make sure that the Current
UPnP Status is Enabled.
If there is no UPnP function in your router.
You need to manually add port forwarding, refer to the
following steps. You need go to the “Forwarding > Virtual
Servers” panel for setup.
Click Enable DDNS and click Save.
The content in the Manufacture’s
DDNS column is the domain name
of your camera.
cg88891.myfoscam.org
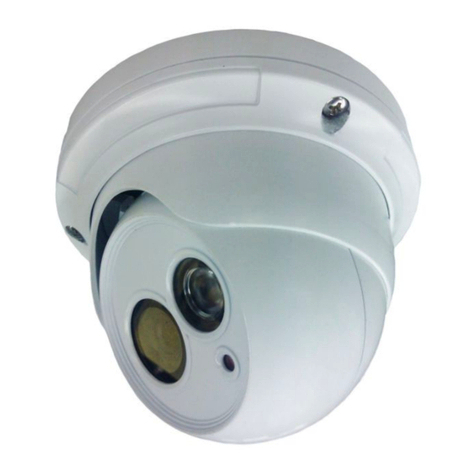
Other manuals for FI9853EP

5

Other Foscam Security Camera manuals

Foscam HUNTVISION P2 User manual

Foscam

Foscam HUNTVISION P2 User manual

Foscam FI9926P User manual

Foscam

Foscam FI9926P User manual

Foscam FI9900P User manual

Foscam

Foscam FI9900P User manual

Foscam FI9903P User manual

Foscam

Foscam FI9903P User manual

Foscam FI8608 User manual

Foscam

Foscam FI8608 User manual

Foscam SD4 User manual

Foscam

Foscam SD4 User manual

Foscam G4EP User manual

Foscam

Foscam G4EP User manual

Foscam FI8910W User manual

Foscam

Foscam FI8910W User manual

Foscam FI8602 User manual

Foscam

Foscam FI8602 User manual

Foscam FI8916W User manual

Foscam

Foscam FI8916W User manual

Foscam FI8918W Operating and maintenance instructions

Foscam

Foscam FI8918W Operating and maintenance instructions

Foscam FI9805W User manual

Foscam

Foscam FI9805W User manual

Foscam FI9928P User manual

Foscam

Foscam FI9928P User manual

Foscam FI8918W User manual

Foscam

Foscam FI8918W User manual

Foscam E1 User manual

Foscam

Foscam E1 User manual

Foscam FI9816P User manual

Foscam

Foscam FI9816P User manual

Foscam SD2 User manual

Foscam

Foscam SD2 User manual

Foscam FI8910W User manual

Foscam

Foscam FI8910W User manual

Foscam FI9851P User manual

Foscam

Foscam FI9851P User manual

Foscam FI9804W User manual

Foscam

Foscam FI9804W User manual

Foscam HD Wireless IP Camera User manual

Foscam

Foscam HD Wireless IP Camera User manual

Foscam F41/FLC User manual

Foscam

Foscam F41/FLC User manual

Foscam R2 User manual

Foscam

Foscam R2 User manual

Foscam FI8910W User manual

Foscam

Foscam FI8910W User manual

Popular Security Camera manuals by other brands

Marshall Electronics CV612HT-4K installation guide

Marshall Electronics

Marshall Electronics CV612HT-4K installation guide

EVE Cam Get started

EVE

EVE Cam Get started

Digital Watchdog Star-Light Plus DWC-D3863WTIRW quick start guide

Digital Watchdog

Digital Watchdog Star-Light Plus DWC-D3863WTIRW quick start guide

HAWK-I Security 1550SVXIRCB Specifications

HAWK-I Security

HAWK-I Security 1550SVXIRCB Specifications

Wren MPG10 Product information

Wren

Wren MPG10 Product information

Speco CVC-5815DNV Specifications

Speco

Speco CVC-5815DNV Specifications

DSE DK-WP3-HDS user manual

DSE

DSE DK-WP3-HDS user manual

Axis P32 Series Repainting instructions

Axis

Axis P32 Series Repainting instructions

COP-USA CM259VAIR-WF Specifications

COP-USA

COP-USA CM259VAIR-WF Specifications

COP-USA CM1-VP Specification sheet

COP-USA

COP-USA CM1-VP Specification sheet

Conceptronic DARAY01W Multi Language Quick Guide

Conceptronic

Conceptronic DARAY01W Multi Language Quick Guide

Nestbox CIBI user guide

Nestbox

Nestbox CIBI user guide

Planex CS-W02G user manual

Planex

Planex CS-W02G user manual

JVC TK-C553U - Fixed Color Dome Camera specification

JVC

JVC TK-C553U - Fixed Color Dome Camera specification

Digital Watchdog MEGApix Pano DWC-MBW8Wi2TW user manual

Digital Watchdog

Digital Watchdog MEGApix Pano DWC-MBW8Wi2TW user manual

Wisenet SNB-6011B quick guide

Wisenet

Wisenet SNB-6011B quick guide

ZMODO CM-S22326BG user guide

ZMODO

ZMODO CM-S22326BG user guide

Defender Security 82-12165 manual

Defender Security

Defender Security 82-12165 manual

manuals.online logo
manuals.online logoBrands
  • About & Mission
  • Contact us
  • Privacy Policy
  • Terms and Conditions

Copyright 2025 Manuals.Online. All Rights Reserved.