4 5
Pressing this switch illuminates the DEPTH and SPEED LEDs alternately and the display
contents change accordingly. In Stereo Connection mode, the depth and speed of panning
is adjusted. In Series Connection mode, the depth and speed of tremolo is adjusted.
Adjusting Depth of Panning p.13
Adjusting Speed of Panning p.13
Adjusting Depth of Tremolo p.13
Adjusting Speed of Tremolo p.13
Pressing this switch illuminates the S.DIV and TRAIL LEDs
alternately and the display contents change accordingly.
Press this switch when setting the delay length as note duration
and when setting whether to retain the delay sound or not.
Setting Delay Length as Note Duration (Subdivision) p.12
Trail Function p.12
Pressing this switch illuminates the DEPTH, RATE, and
RFPM LEDs sequentially and the display contents change
accordingly.
Press this switch when applying the modulation effect.
Modulation Function p.14
Press this switch to select Presets 1–4. When held pressed,
the presets change sequentially in every 0.5 seconds: PS1
PS2 PS3 PS4 PS1 ...
This switch is also pressed when entering Tap tempo.
Adjusting Delay Tempo (2) - Tap Function p .10
Various functions can be assigned to this switch.
Assigning Functions to PRESET SELECT/TAP Switch p.16
Pressing this switch illuminates the BPM, mS, and PS LEDs
sequentially and the display contents change accordingly.
When the BPM or mS LED is lit, the delay tempo is displayed.
Setting Delay Unit p.9
When the PS LED is lit, the number for the selected preset is
displayed.
Recalling a Preset p.8
Press this switch to turn on the
delay effect. When on, the LED
above the switch illuminates.
Pressing this switch illuminates the MIX, OUT, and DRY LEDs sequentially and the display contents
change accordingly. Press this switch when adjusting the Mix/Out level or turning on/off the dry
sound. By pressing this switch for about 2 seconds, you can set the phase of the delay sound.
Adjusting Delay Volume p.11
Adjusting Output Volume p.11
Kill Dry Function p .12
Setting Delay Sound’s Phase p.12
PAN Switch FUNC Switch MOD Switch
PRESET SELECT/TAP Switch
DISP Switch & Display
ON/OFF Switch
Pressing this switch illuminates the TREB, MID, and BASS LEDs sequentially
and the display contents change accordingly. Press this switch when
applying the equalizer to the delay sound. By pressing this switch for
about 2 seconds, you can select each frequency point for the 3-band
equalizer.
3-Band Equalizer Function p.14
EQ Switch
OUTPUT Switch
DLY Switch
Pressing this switch illuminates the D.TIME, FB, and TONE LEDs sequentially
and the display contents change accordingly. Press this switch when
adjusting the delay tempo, feedback amount, or delay timbre.
Adjusting Delay Tempo (1) p.10
Adjusting Feedback Amount p.11
Adjusting Delay Timbre p.11
PARAMETER Encoder
Turn this knob when changing the setting of each function.
Press this knob when accepting the change you made.
When the knob is pressed and turned, the change rate increases in a
block of 10 steps.
A-DLY-B SEL Switch
Press this switch to select the delay unit (A, B, or A+B) whose setting is
to be changed. When the LED is not lit, you cannot change the setting
(except for some functions).
SAVE Switch
Press this switch to store the setting.
Storing Changes in a Preset p.7
PRESET Switch
Press this switch to recall a preset.
Recalling a Preset p.8
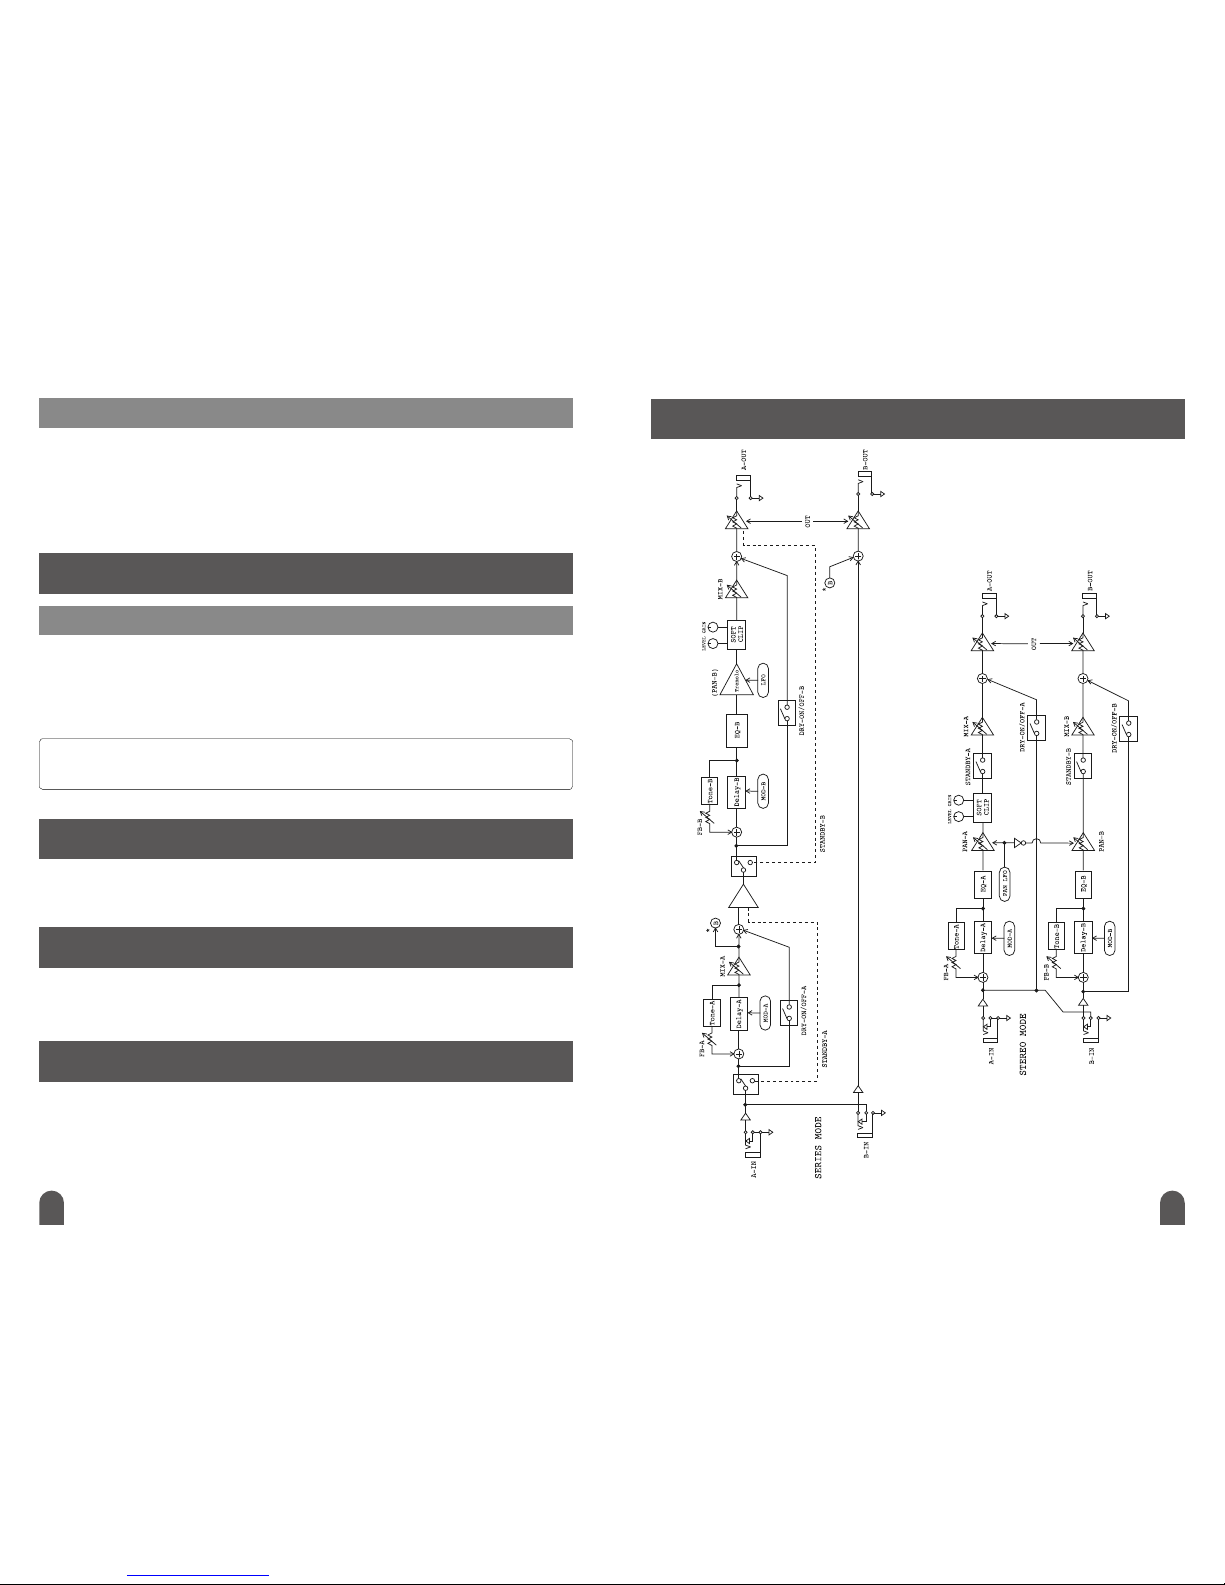
MODE Switch
Press this switch to select the connection mode (Stereo and Series) of
the two delay effect units (delays A and B) in the FF-1Y. By pressing the
switch for about 2 seconds, the connection mode toggles.
Selecting Delay Connection p.7
MIX/EXT1 Knob
FEEDBACK/EXT2 Knob
Turn this knob when adjusting the mix level (when in initial setup
procedure). You can assign various functions of the FF-1Y to this knob for
direct operation.
Adjusting Mix Level p .11
Assigning Functions to MIX/EXT1 or FEEDBACK/EXT2 Knob p.15
Turn this know when adjusting the feedback amount (when in initial setup
procedure). You can assign various functions of the FF-1Y to this knob for
direct operation.
Adjusting Feedback Amount p.11
Assigning Functions to MIX/EXT1 or FEEDBACK/EXT2 Knob p.15
STANDBY Switch
By pressing this switch, the DLY A and DLY B LEDs illuminates alternately.
Press this switch to turn off either of the FF-1Y’s internal delay units (A
and B).
Outputting Delay Sound Individually p.7
SOFT CLIPPING LEVEL & GAIN Knobs
Turn these knobs when adjusting the distortion amount and volume of the
delay sound.
Distorting Delay Sound p.13
SOFT CLIPPING ON Switch
Press this switch when distorting the delay sound.
Distorting Delay Sound p.13
A-DLY-B TAP SEL Switch
TAP TEMPO LED
Press this switch when selecting the delay unit to which the Tap tempo is
entered. If the LED is not lit, you cannot enter the Tap tempo.
Adjusting Delay Tempo (2) - Tap Function p .10
Blinking of this LED shows the tap-entered tempo.
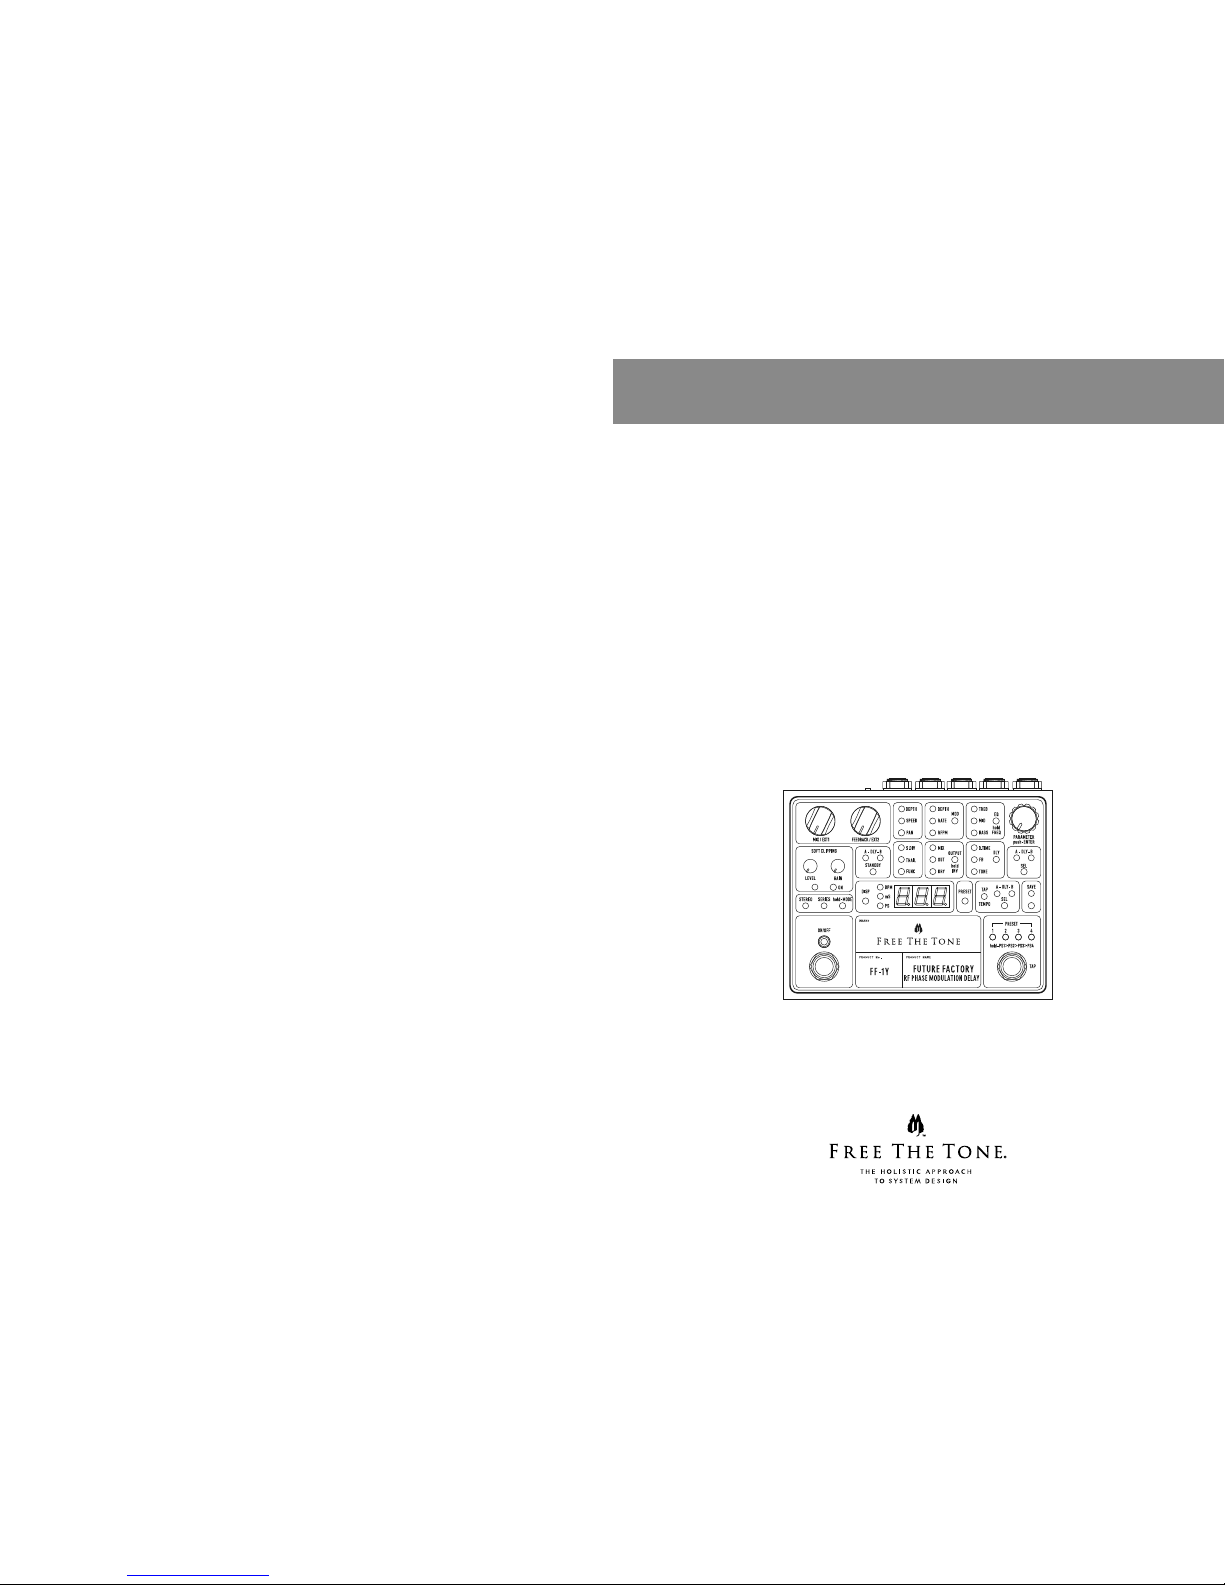
Controls and Indicators
Front Panel