Identification
These instructions have been made to support
the users of the cable blowing machine
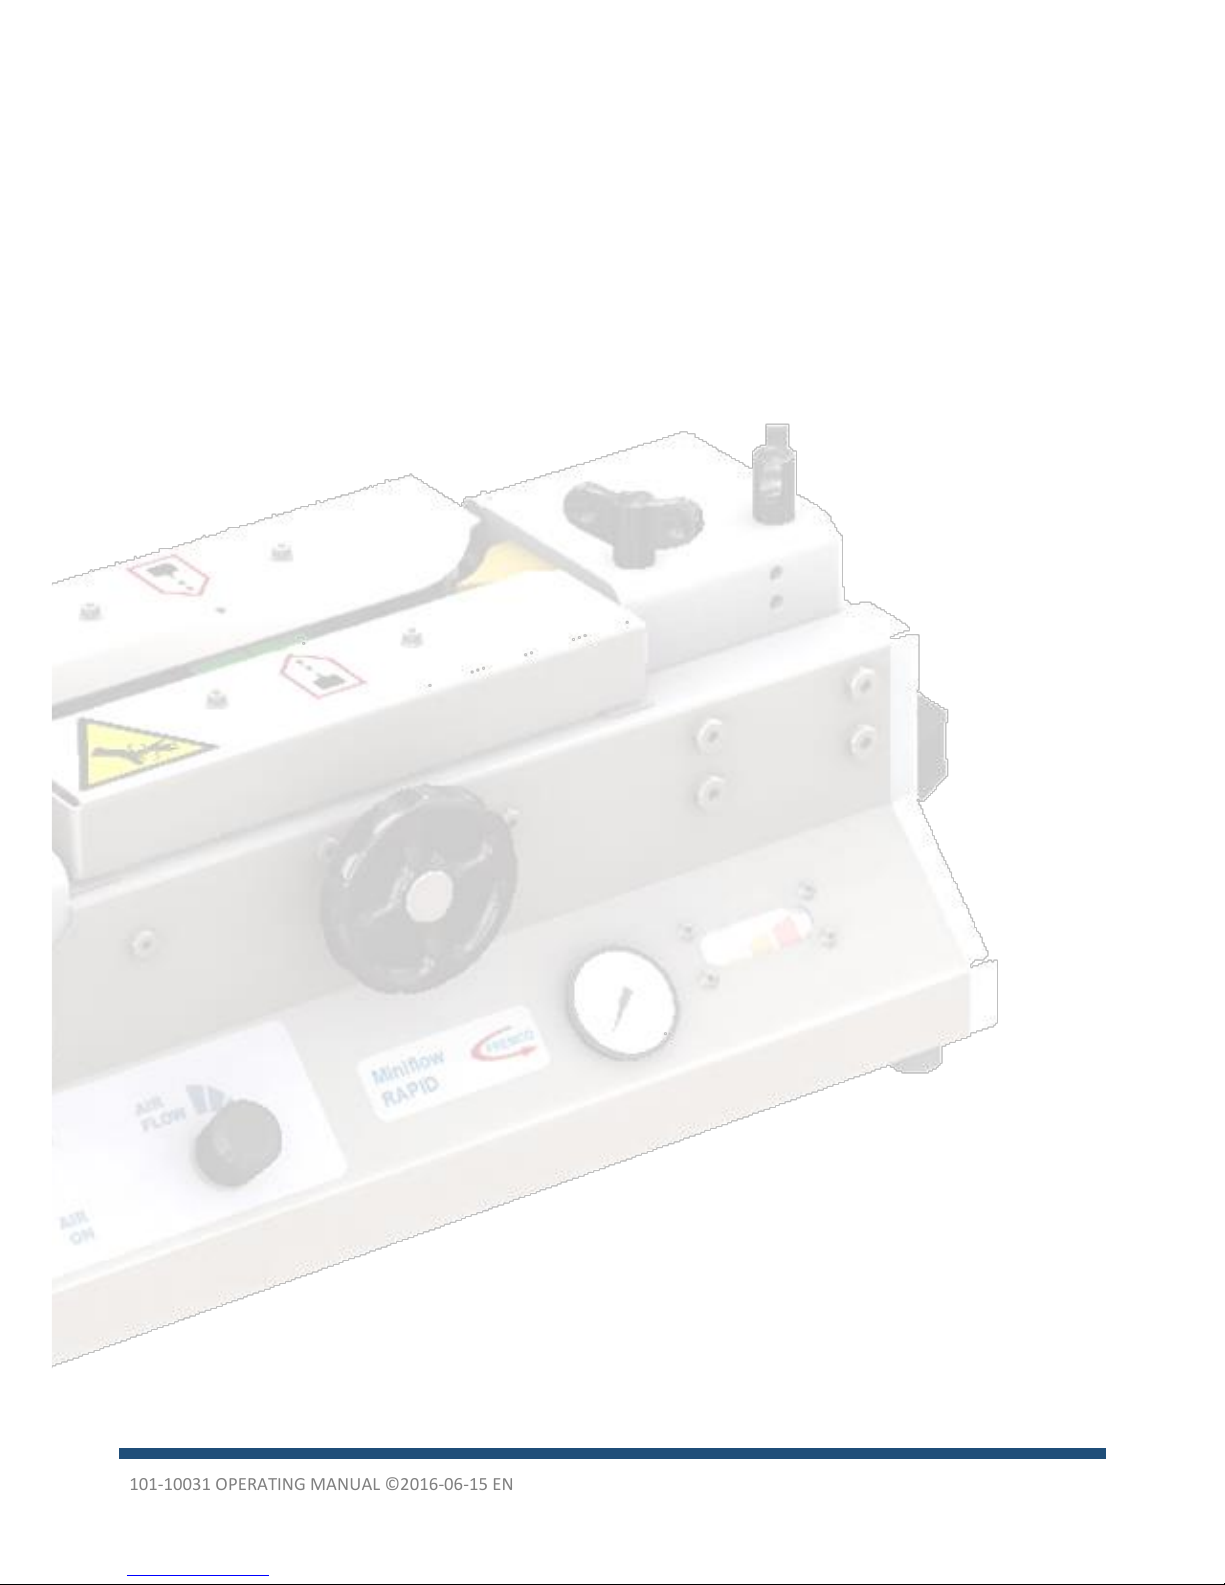
MiniFlow RAPID. The machine type can be
identified by the type plate on the machine.
The type plate provides information about
serial number, year of production and name
and address of the manufacturer.
It is recommended to read this instruction
carefully and become familiar with the
functionality and maintenance of the cable
blowing machine before use.
Application
The cable blowing machine MiniFlow RAPID is
constructed for blowing fiber optic cables into
microducts.
Always use adaptor plates designed for the
actual diameter of cable and duct. The adaptor
plates are marked with the size for which they
are intended.
It is very important to use the correct adaptor
plates. If the adaptor plates do not fit the duct,
dangerous situations may occur.
Mounting
Make sure to place the machine on a stable
foundation and to fasten it to withstand the
forces, which occur during use.
Supply of Compressed Air and
Hydraulic Pressure
The volume and quality of compressed air is
one of the most important parameters in order
to achieve good results when blowing fiber
optic cables.
The minimum capacity needed is 1,000 l/min.
The compressed air must be filtered, cooled
and dried to avoid moisture and dirt in the
microduct.
NOTE: Do not use compressed air
directly from a compressor unit,
since the air can be very hot and
can damage microduct, fiber cable
and machinery.
The supply of hydraulic pressure must be 110
bar, minimum 17 l/min. It is recommended to
use the hydraulic power unit that is designed
specifically for use with the Fremco cable
blowing machines.
Fiber Cable Blowing
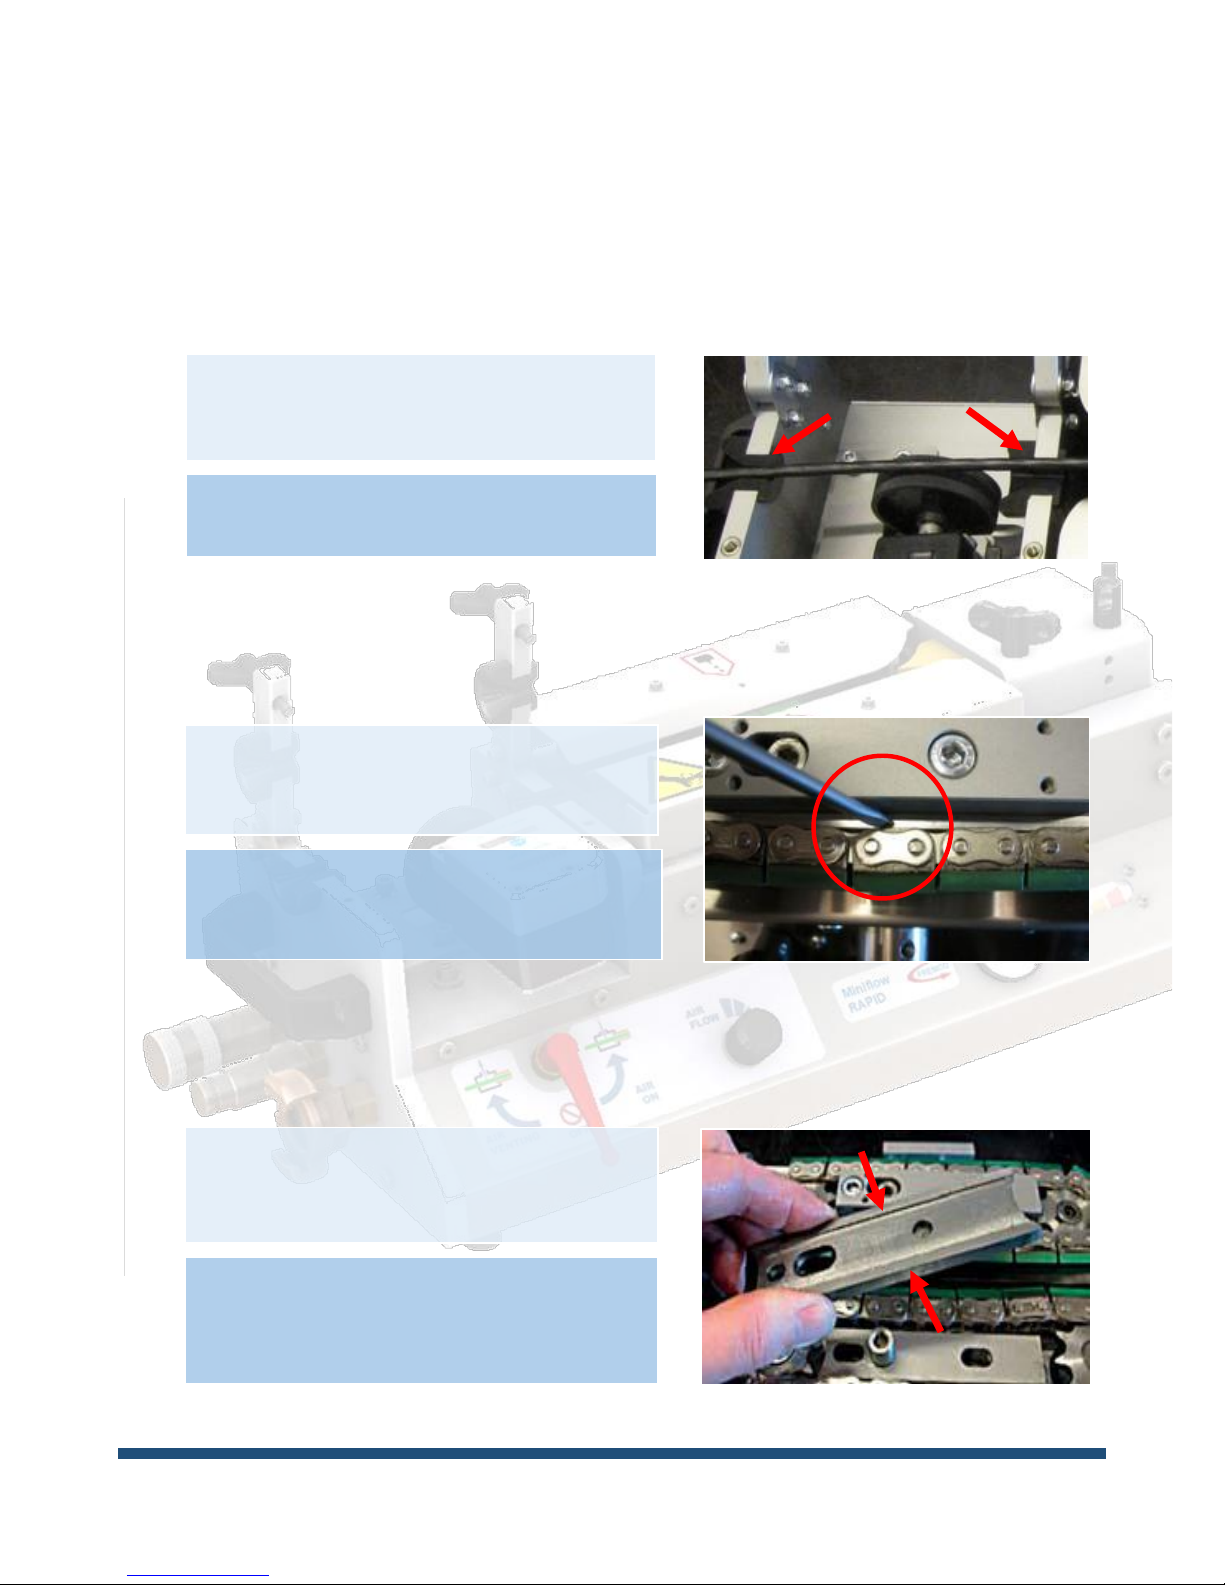
Having set up and connected the hydraulic
pump and the air compressor, tighten the chain
hand wheel so that the chains do not skid on
the cable. The best result is achieved by not
tightening too hard.
The hydraulic control unit is used to control
direction (forward/back), speed and push/pull
force. Use the joystick on the hydraulic control
unit to control start/stop and direction.
The speed can be adjusted by turning the valve
handle marked ”Speed”. By turning the handle
to the left, pressure is reduced.
With the valve handle marked “Power” you can
adjust the maximum force to be transferred to
the cable. The pressure, and with it the force, is
increased when the handle is turned to the
right.
When installing the cable it is important to
make sure not to push the cable too hard into
the duct, because it is the supplied compressed
air that must lead the cable forward inside the
duct.