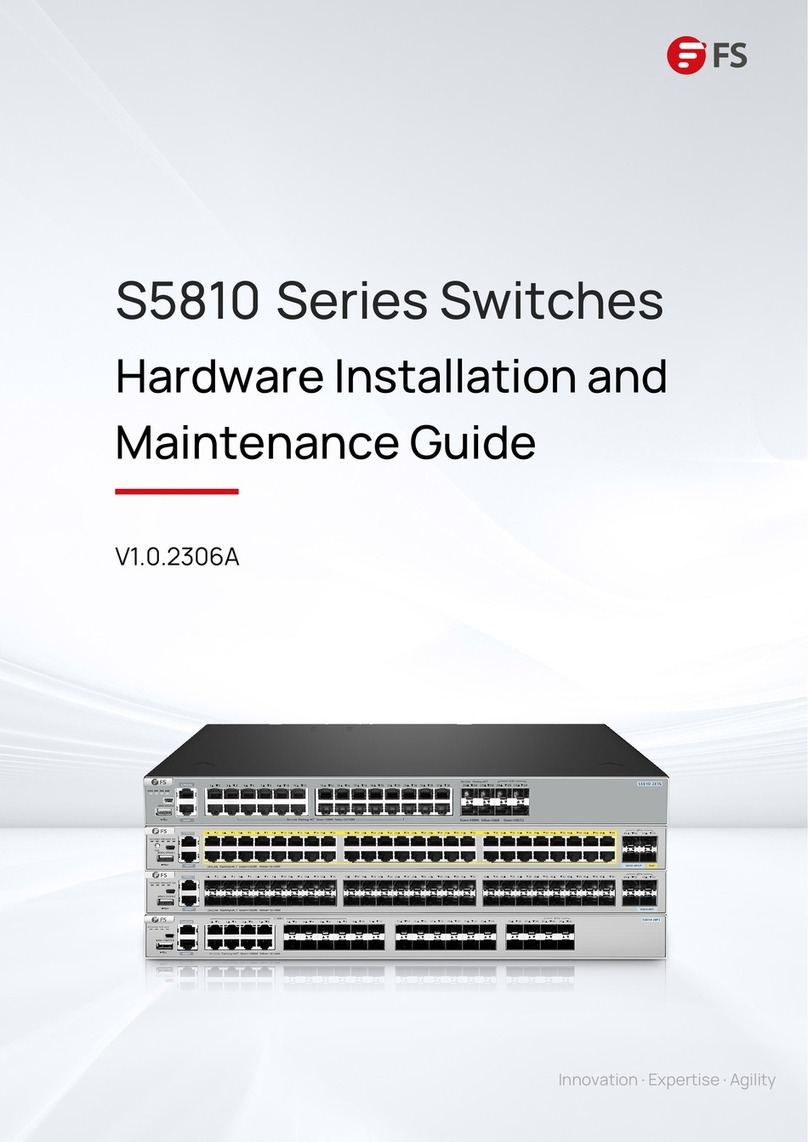
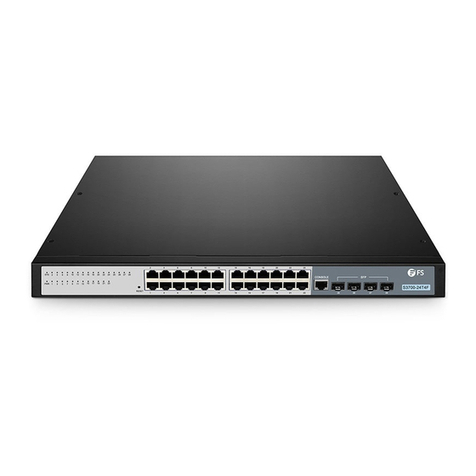
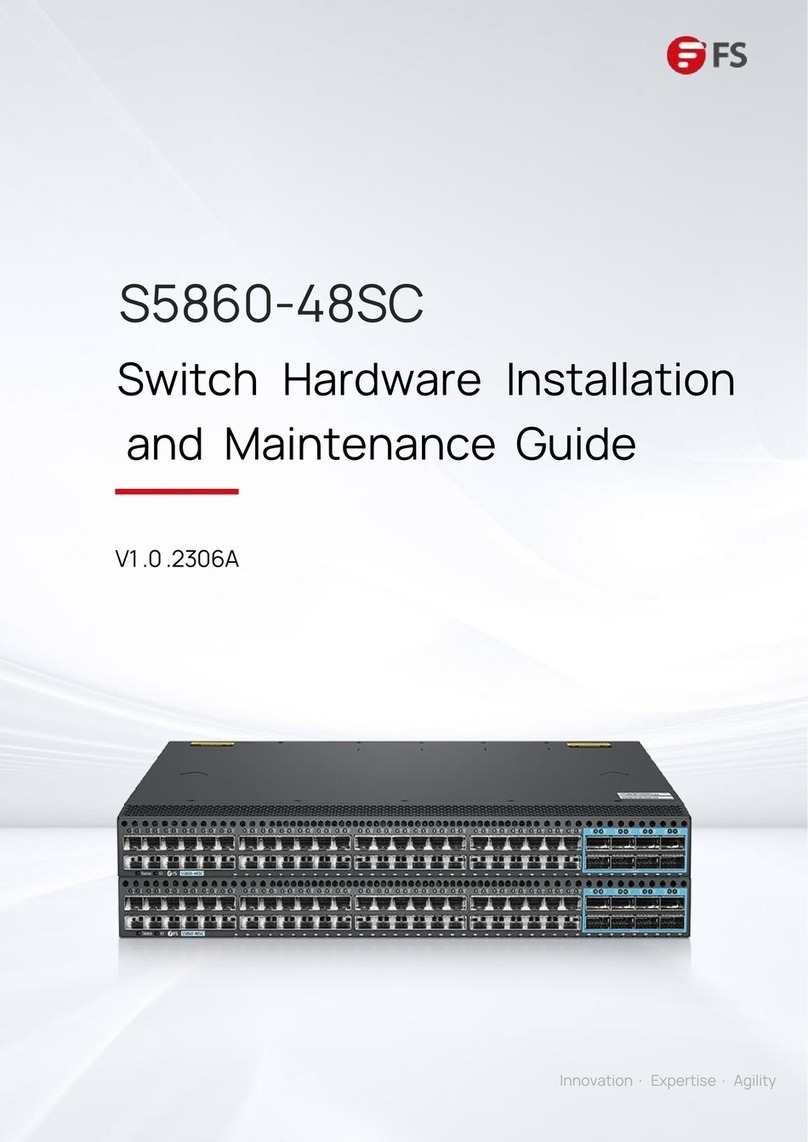
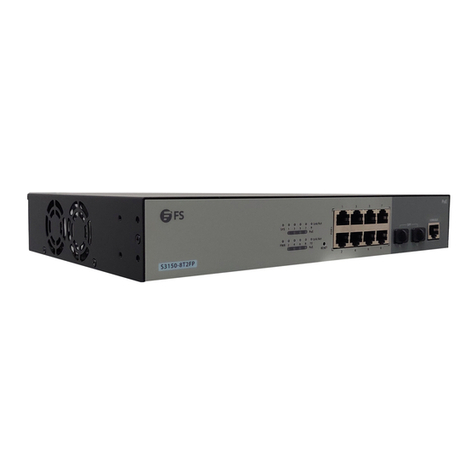
FS T5850 Series User manual

V1.0
NETWORK TAP AGGREGATION
Quick Start Guide
T5850, T5800, T8050 Series
ETH
CON
T5850-48S6Q
IDSYS
RST
1 2 3 4 56789 10 11 12 13 14 15 16 17 18 19 20 21 22 23 24 25 26 27 28 29 30 31 32 33 34 35 36 37 38 39 40 41 42 43 44 45 46 47 48
40GBrea kout
40G
49 50 51 52 53 54
12 3 4
ETH
CON
T5850-48S2Q4C
ID SYS
RST
1 2 3 4 567 8 9 10 11 12 13 1415 16 17 18 19 20 21 22 23 24 25 26 27 28 29 30 31 32 33 34 35 36 37 38 39 40 41 42 43 44 45 46 47 48
40GBrea kout
40G/100G
49 50 51 52 53 54
1234
ID
CON
ETH
40G Breakout
1234
T5850-32S2Q
RST
PWR
FAN
SYS
1 2 3 4 5 6 7 8 9 10 11 12 13 14 15 16 17 18 19 20 21 22 23 24 25 26 27 28 29 30 31 32 33 34
ID
CON
ETH
13
2440G Breakout
123 4
T8050-20Q4C
PWR
FAN
SYS
12345678910 11 1213 14 15 16 1718 19 20 21 22 23 24
40G/100G
CON
ETH
USB
10G BASE-X
T5800-8 TF1 2S
12341234
567811 12
910 13 14 15 16 17 18 19 20
10/100/1000 BASE-T100/1000 BASE-X
SYS FAN PWR1 PWR2 STCK IND
5678

Introduction
Thank you for choosing T5850, T5800 and T8050 Series Network TAP Aggregation. This guide is
designed to familiarize you with the layout of the Network TAP Aggregation and describes how to
deploy it in your network.
ETH
CON
T5850-48S6Q
ID SYS
RST
1 2 3 4 5 6 7 8 9 10 11 12 13 14 15 16 17 18 19 20 21 22 23 24 25 26 27 28 29 30 31 32 33 34 35 36 37 38 39 40 41 42 43 44 45 46 47 48
40GBreakout
40G
49 50 51 52 53 54
1 2 3 4
ETH
CON
T5850-48S2Q4C
ID SYS
RST
1 2 3 4 5 6 7 8 9 10 11 12 13 14 15 16 17 18 19 20 21 22 23 24 25 26 27 28 29 30 31 32 33 34 35 36 37 38 39 40 41 42 43 44 45 46 47 48
40GBreakout
40G/100G
49 50 51 52 53 54
1 2 3 4
ID
CON
ETH
40GBreakout
1 2 3 4
T5850-32S2Q
RST
PWR
FAN
SYS
1 2 3 4 5 6 7 8 9 10 11 12 13 14 15 16 17 18 19 20 21 22 23 24 25 26 27 28 29 30 31 32 33 34
ID
CON
ETH
1 3
2 4 40GBreakout
1 2 3 4
T8050-20Q4C
PWR
FAN
SYS
1 2 3 4 5 6 7 8 9 10 11 12 13 14 15 16 17 18 19 20 21 22 23 24
40G/100G
CON
ETH
USB 10GBASE-X
T5800-8TF12S
1 2 3 4 1 2 3 45 6 7 8 11 129 10 13 14 15 16 17 18 19 20
10/100/1000 BASE-T100/1000 BASE-X
SYS FAN PWR1 PWR2 STCK IND
5 6 7 8
T5850-32S2Q
T5850-48S6Q
T5850-48S2Q4C
T8050-20Q4C
T5800-8TF12S

Accessories
Power Cord x2 Console Cable x1 Cat5e Cable x1
Grounding Cable x1 Rack Mount Bracket x2 M4 Screw x8 Rubber Pad x4
Hardware Overview
Front Panel Ports
T5850-48S6Q
ETH
CON
T5850-48S6Q
ID SYS
RST
1 2 3 4 5 6 7 8 9 10 11 12 13 14 15 16 17 18 19 20 21 22 23 24 25 26 27 28 29 30 31 32 33 34 35 36 37 38 39 40 41 42 43 44 45 46 47 48
40G Breakout
40G
49 50 51 52 53 54
1234
CON
ETH
USB
SFP+ QSFP+
Ports Description
USB
CON
ETH
SFP+
A USB 2.0 management port
An RJ45 console port for serial management
An Ethernet management port
Hot swappable SFP+ ports for 1G/10G connection
QSFP+ Hot swappable QSFP+ ports for 40G connection

Front Panel Button
T5850-48S6Q
Front Panel LEDs
T5850-48S6Q
ETH
CON
T5850-48S6Q
ID SYS
RST
1 2 3 4 5 6 7 8 9 10 11 12 13 14 15 16 17 18 19 20 21 22 23 24 25 26 27 28 29 30 31 32 33 34 35 36 37 38 39 40 41 42 43 44 45 46 47 48
40G Breakout
40G
49 50 51 52 53 54
1234
Button Description
RST
Restart: Press and release the RST button quickly.
Restore to Factory Default Settings: Press and hold the RST button
for more than ve seconds.
RST
ETH
CON
T5850-48S6Q
ID SYS
RST
1 2 3 4 5 6 7 8 9 10 11 12 13 14 15 16 17 18 19 20 21 22 23 24 25 26 27 28 29 30 31 32 33 34 35 36 37 38 39 40 41 42 43 44 45 46 47 48
40G Breakout
40G
49 50 51 52 53 54
1234
ID
ETH
SYS
SFP+ QSFP+
SYS
Help locate the TAP aggregation.Green
Green
Amber
O
ID
On: System is working abnormally.
Blinking Quickly (2Hz): System is powered on but CPU is not running.
Blinking Slowly (0.5Hz): System is working normally.
On: System occurs alarm or error.
Blinking Quickly (2Hz): System is in u-boot initiation.
Blinking Slowly (0.5Hz): System is in system initiation.
No power or system is not working or working abnormally.
LEDs Status Description

Site Environment
T5850-48S6Q
Back Panels
Four Fans Dual Power
Grounding
Point
PS2PS1
GND
Do not operate it in an area that exceeds an ambient temperature of 45°C.
The installation site should be well ventilated.
LEDs Status Description
ETH
SFP+/
QSFP+
Green
Blinking Green
O
Green
Blinking Green
O
A device is connected to the port, but no activity.
A device is connected to the corresponding port, but no activity.
Data is being transmitted or received.
No device is connected to the port.
Data is being transmitted or received.
No device is connected to the corresponding port.
Be sure that the TAP aggregation is level and stable to avoid any hazardous conditions.
Do not install the equipment in a dusty environment.
The installation site must be free from leaking or dripping water, heavy dew, and humidity.
ETH
CON
T5850-48S6Q
ID SYS
RST
1 2 3 4 5 6 7 8 9 10 11 12 13 14 15 16 17 18 19 20 21 22 23 24 25 26 27 28 29 30 31 32 33 34 35

Installing (Based on model T5850-48S6Q)
Desk Mounting
1. Attach four rubber pads to the bottom.
2. Place the chassis on a desk.
1. Secure the mounting brackets to the two sides of the TAP aggregation with eight M4 screws.
ETH
CON
T5850-48S6Q
ID SYS
RST
1 2 3 4 5 6 7 8 910 11 12 13 14 15 16 17 18 19 20 21 22 23 24 25 26 27 28 29 30 31 32 33 34 35 36 37 38 39 40 41 42 43 44 45 46 47 48
40GBreakout
40G
49 50 51 52 53 54
1 2 3 4
Rack Mounting
38 39 40 41 42 43 44 45 46 47 48
40G Breakout
40G
49 50 51 52 53 54
1 2 34

2. Attach the TAP aggregation to the rack using four M6 screws and cage nuts.
Grounding the TAP Aggregation
38 39 40 41 42 43 44 45 46 47 48
40G Breakout
40G
49 50 51 52 53 54
1 2 3 4
PS2 PS1 GND
1. Connect one end of the grounding cable to a proper earth ground, such as the rack in which the
TAP aggregation is mounted.
2. Secure the grounding lug to the grounding point on the TAP aggregation back panel with the
washers and screws.
CAUTION: The earth connection must not be removed unless all supply connections have
been disconnected.

Connecting to the Power
PS2 PS1 GND
1. Plug the AC power cord into the power port on the back of the TAP aggregation.
2. Connect the other end of the power cord to an AC power source.
First install the SFP+ transceivers and then connect ber optic cables to the transceivers, or directly
connect DAC cables to the SFP+ ports.
WARNING: Do not install power cords while the power is on.
WARNING: Laser beams will cause eye damage. Do not look into bores of optical modules
or optical bers without eye protection.
Connecting to the SFP+ Ports
ETH
CON
T5850-48S6Q
ID SYS
RST
1 2 3 4 5 6 789 10 11 12 13 14 15 16 17 18 19 20 21 22 23 24 25 26 27

First install the QSFP+ transceivers and then connect ber optic cables to the transceivers, or directly
connect DAC cables to the QSFP+ ports.
Connecting to the QSFP+ Ports
33 34 35 36 37 38 39 40 41 42 43 44 45 46 47 48
40G Breakout
40G
49 50 51 52 53 54
1234
1. Connect the DB9 female connector of the mini USB to RS-232 cable to RS-232 serial port on the
computer.
2. Insert the mini USB connector into the USB port on the front of the TAP aggregation.
Connecting to the USB Port
ETH
CON
T5850-48S6Q
ID SYS
RST
1 2 3 4 5 6 7 8 9

1. Connect the DB9 female connector of the console cable to RS-232 serial port on the computer.
2. Insert the RJ45 connector into the RJ45 console port on the front of the TAP aggregation.
Connecting to the Console Port
ETH
CON
T5850-48S6Q
ID SYS
RST
1 2 3 4 5 6 7 8 9
1. Connect one end of a standard RJ45 Ethernet cable to a computer.
2. Connect the other end of the cable to the ETH port on the front of the TAP aggregation.
Connecting to the ETH Port
ETH
CON
T5850-48S6Q
ID SYS
RST
1 2 3 4 5 6 789 10 11 12 13 14 15 16 17 18 19 20 21

Conguring the TAP Aggregation Using the Console Port
Step 1: Connect a computer to the TAP aggregation's console port using the supplied console cable.
Step 2: Start the terminal simulation software such as HyperTerminal on the computer.
Step 3: Congure the terminal simulation with the following parameters:
Login
Username
Enter username
Password
English中文
Enter password
Login
Conguring the TAP Aggregation
Conguring the TAP Aggregation Using the Web-based Interface
Step 1: Connect your computer to any Ethernet port of the TAP aggregation using the network cable.
Step 2: Set up the IP conguration on your computer. The IP address of your computer should be set
in the same subnet addresses of the TAP aggregation. The IP address is 192.168.1.x ("x" is any
number from 2 to 254).
Step 3: Open a web browser window. Enter the default IP address of the TAP aggregation http://192.
168.1.1 in the address bar and press enter.
Step 4: When the login page appears choose the language that you prefer and enter the username
and password.
The default username is admin. The default password is admin.
Step 5: Click Login to display the web-based conguration page.

Troubleshooting
CAUTION: After using boot_ash_nopass command, system will clear up the startup-cong
les; before starting this operation, the startup-cong les will be stored in ash:/startup-
cong.conf.old le.
Loading Failure Processing
1. Check the physical port connections.
2. Check the loading process information displayed on the super terminal.
3. Make sure physical connections are correct and there are no input errors in the loading process.
User Password Lost
If system password is lost or forgotten, the following method can be used to reset password:
1. Enter uBoot operation mode.
2. Input boot_ash_nopass command to start system in uBoot mode.
Model: T5850-48S6Q, T5850-48S2Q4C, T5850-32S2Q, T8050-20Q4C
115200 bits per second
8 data bits
1 stop bit
no ow control
Model: T5800-8TF12S
9600 bits per second
8 data bits
1 stop bit
no ow control
Step 4: Enter the username and password. The default username is admin. The default password is
admin.
You are now ready to congure the TAP aggregation. Refer to the TAP Aggregation CLI Reference
Guide online for further information.

Online Resources
Download
Help Center
Contact Us
https://www.fs.com/download.html
https://www.fs.com/service/help_center.html
https://www.fs.com/contact_us.html
Product Warranty
FS ensures our customers that any damage or faulty items due to our workmanship, we will oer a
free return within 30 Days from the day you receive your goods. This excludes any custom made
items or tailored solutions.
Warranty: FS Network TAP Aggregation enjoys 5 years limited warranty against defect in
materials or workmanship. For more details about warranty, please check at
https://www.fs.com/policies/warranty.html
Return: If you want to return item(s), information on how to return can be found at
https://www.fs.com/policies/day_return_policy.html
5
1. Check th power cable connections at the TAP aggregation and the power source.
2. Make sure that all cables are used correctly and comply with the Ethernet specications.
Power LED Working Abnormally
1. Make sure the power supply is normal and the console cable is properly connected.
2. Check if the console cable is the right type.
3. Check if the control cable driver is properly installed on the computer.
4. Ensure the parameters of the HyperTerminal are correct.
HyperTerminal Displaying Abnormally
Copyright © 2020 FS.COM All Rights Reserved.
Q.C. PASSED
This manual suits for next models
6
Table of contents
Other FS Switch manuals
Popular Switch manuals by other brands

QCT
QCT QuantaMesh T1048-LB9 installation guide

Siemens
Siemens SIMATIC NET SCALANCE X-300M Compact operating instructions

axing
axing premium-line SPU 96-09 Operation instructions

Linkskey
Linkskey LDV-002ESK Quick installation guide

Meikyo
Meikyo Watchboot RPC-M5C-EA quick start guide

Fort
Fort ECSPHB quick start guide