Fujiiryoki HWP-77EN User manual

Instruction Manual
Thank you very much for purchasing our product.
This “Instruction Manual” describes important items
for use. Fully read and understand this Manual
before use in order to use the product correctly.
For household use only
Alkaline Water Ionizer
HWP-77EN
HWP-77JP
Our website has English and Chinese version of the Instruction Manual.
۩ћৠ߄ކչИކ࣍҅પޢа澞
https://www.fujiiryoki.com/
使用说明书
䶎ᑨᝏ䉒ᛘ䍝ҠᵜޜⲴӗ૱DŽ
↔䈤᰾Җѝ䇠䖭Ҷ֯⭘ᰦ䴰㾱⌘Ⲵ䟽㾱һ亩DŽ
䈧൘֯⭘ࡽ䈖㓶䰵䈫ˈ❦↓⺞֯⭘DŽ
䰵䈫ᆼˈ䈧о䱴亥ѝⲴĀ؍؞Җāа؍㇑ྭDŽ
家庭装
碱性离子水生成器


3
ᆹ㻵ᯩ⌅
֯⭘ᯩ⌅㔤ᣔ
ަԆ ᔰ Method of
mounting
How to useMaintenance
Other Introduction
ⴞᖅ
Contents
Safety precautions (Make sure to observe) ……………… 4
Before use …………………………………………………… 8
Name of each part ………………………………………… 9
How to mount corporation stop …………………………… 13
Installation of main body …………………………………… 16
Using alkaline ionized water, acidic water
and purified water ………………………………………… 19
When pH value of alkaline ionized water is low…………… 22
Switch display ……………………………………………… 23
Confirming filter life ………………………………………… 24
Generation of sanitized water …………………………… 25
Precautions for use ………………………………………… 27
Measuring pH value ………………………………………… 28
Cleaning inside of the main body ………………………… 29
Maintenance ………………………………………………… 30
Anti-freezing ………………………………………………… 30
Filter replacement …………………………………………… 31
When any of the following indications appear…………… 34
When failure is suspected ………………………………… 35
Specifications ………………………………………………… 38
ѪҶᆹޘ֯⭘ˈ䈧࣑ᗵ䚥ᆸ ĂĂĂĂĂĂĂĂĂĂĂĂĂ
֯⭘ࡽ ĂĂĂĂĂĂĂĂĂĂĂĂĂĂĂĂĂĂĂĂĂĂ
䜘ԦⲴ〠 ĂĂĂĂĂĂĂĂĂĂĂĂĂĂĂĂĂĂĂ
࠶↗ṃⲴᆹ㻵ᯩ⌅ ĂĂĂĂĂĂĂĂĂĂĂĂĂĂĂĂĂ
ѫᵪⲴ䇮㖞 ĂĂĂĂĂĂĂĂĂĂĂĂĂĂĂĂĂĂĂĂ
֯⭘⻡ᙗᆀ≤ˈ䞨ᙗ≤ˈ߰≤ ĂĂĂĂĂĂĂĂĂĂĂ
⻡ᙗᆀ≤Ⲵ S+ ٔٿվᰦ ĂĂĂĂĂĂĂĂĂĂĂĂĂ
⭫䶒࠷ᦒ ĂĂĂĂĂĂĂĂĂĂĂĂĂĂĂĂĂĂĂĂĂ
ḕⴻ└㣟Ⲵ֯⭘ሯભ ࢙։䟿 ĂĂĂĂĂĂĂĂĂĂĂ
䞨≤Ⲵ⭏ᡀ ĂĂĂĂĂĂĂĂĂĂĂĂĂĂĂĂĂĂĂ
֯⭘ᰦⲴ⌘⛩ ĂĂĂĂĂĂĂĂĂĂĂĂĂĂĂĂĂĂ
⍻ᇊ S+ ٬ ĂĂĂĂĂĂĂĂĂĂĂĂĂĂĂĂĂĂĂĂĂ
ѫᵪ䜘Ⲵ⍇ ĂĂĂĂĂĂĂĂĂĂĂĂĂĂĂĂĂ
㔤ᣔ ĂĂĂĂĂĂĂĂĂĂĂĂĂĂĂĂĂĂĂĂĂĂĂ
ޣҾ䱢→߫㔃 ĂĂĂĂĂĂĂĂĂĂĂĂĂĂĂĂĂĂĂ
└㣟Ⲵᴤᦒ ĂĂĂĂĂĂĂĂĂĂĂĂĂĂĂĂĂĂĂĂ
ྲࠪ⧠ྲлᱮ⽪ᇩᰦ ĂĂĂĂĂĂĂĂĂĂĂĂĂĂ
ᝏ㿹⭏᭵䳌ᰦ ĂĂĂĂĂĂĂĂĂĂĂĂĂĂĂĂĂĂ
㿴Ṭ ĂĂĂĂĂĂĂĂĂĂĂĂĂĂĂĂĂĂĂĂĂĂĂ
ӗ૱ѝᴹᇣ⢙䍘Ⲵ〠৺䟿 ĂĂĂĂĂĂĂĂĂĂĂĂ

4
Introduction
Safety precautions (Make sure to observe)
●
●
<Example of pictorial indication>
symbol indicates “Prohibited” (do not perform).
symbol indicates “Mandatory” (make sure to perform).
“Disassembly prohibited” “Use in a place with water prohibited”
“Keep dry”“Wet hands prohibited” “Keep fire away”
“General action”
“Remove the power plug from the power outlet”
After reading, make sure to keep this Manual in an easy to access location where users
can refer to it at any time.
●
Extent of hazard or damage that improper operation is predicted to
result in injury to users or physical damage.
Extent of hazard that improper operation is predicted to result in
death or serious injury to users.
●
The precautions described here are intended for you to use the product safely and
correctly, and prevent hazards or injury to you and other persons before they occur.
The precautions are classified as follows.
All of the items are related to safety and important matters, therefore, make sure to
observe them.

5
Introduction
Do not use water unsuitable for human consumption.
(Poor physical condition may result.)
Do not use this product by any method exceeding the rating of power outlet
or wiring appliance and at power supply other than an alternating current of
110-240V. (Fire or electric shock may result.)
Do not damage the power cord or power plug.
- Do not fix with a staple - Do not compromise - Do not rework
- Do not forcibly bend - Do not twist - Do not pull
- Do not bring close to thermal appliance - Do not put any heavy objects on top
- Do not bundle - Do not sandwich (Use with damage may result in electric
shock, short-circuit or fire.)
When removing the power plug, hold the power plug without holding the cord.
Consult with the store where you purchased this product to repair the power cord
or the power plug.
When the power cord or the power plug are damaged, or the plug is loosely inserted
into the power outlet, do not use.
(Electric shock, short-circuit or ignition may result.)
If you accidentally drop the main body in water, remove the power plug from
the power outlet, and remove the main body from the water.
(Electric shock may result.)
Make sure to consult with the store where you purchased this product for repair.
Remove dust adhered to the power plug. (Accumulation of dust on the power
plug may cause insulation failure due to moisture, resulting in fire.)
Remove the power plug from the power outlet, and wipe off dust with a dry cloth.
Completely insert the power plug into the power outlet. (Insufficient insertion may
result in electric shock and fire due to heat generation.)
When performing maintenance, make sure to remove the power plug from the
power outlet. (Electric shock may result.)
Do not wash main body with water and do not splash water.
(Electric leakage or electric shock may result.)
Do not use this product in a humid place such as a bathroom.
(Electric leakage or electric shock may result.)
Do not insert or remove the power plug with wet hands.
(Electric shock may result.)
Never remodel, disassemble or repair this product.
(Fire or electric shock may result.)
Consult with the store where you purchased this product for repair.
Prohibited
Keep dry
Wet hands
prohibited
Disassembly
prohibited
Make sure
to observe
Remove the
power plug
Use in a place
with water
prohibited
●
●
●
●
●
continued

6
Introduction
Safety precautions (Make sure to observe)
Persons described below should consult with a doctor before drinking alkaline
ionized water.
- A person who has any chronic disease, is weak in body or feels any abnormality in
body.
- A person who is receiving medical treatment from a doctor, in particular, has a
problem with kidneys.
When you feel any abnormality from drinking alkaline ionized water, stop using and
consult with a doctor.
A person who drinks for the first time should set to Alkaline 1 (rough standard : pH8.5),
drink little-by-little (one or two cups), and increase pH value and amount
according to physical condition after getting used to alkaline ionized water.
- If drinking or using strong alkaline ionized water of high pH initially, you may suffer
from a poor physical condition.
Persons described below should consult with a doctor before using acidic water.
- A person with sensitive skin. - Allergic person.
When feeling any abnormality with your skin by using acidic water, stop using and
consult with a doctor.
Use alkaline ionized water, purified water and acidic water immediately after
generating. When reserving, put water into a clean enclosed container and use it
within two days after storing in a refrigerator.
- Because disinfection agent (such as chlorine) is removed in alkaline ionized water
and purified water, bacteria tends to increase, therefore, you may suffer from a
poor physical condition when drinking and using water which has been stored for
a long time.
Pass water (approximately one liter) before use until the marks on the LCD monitor
change from “flashing” to “lit” and “beeping” sound is emitted at the beginning of
daily use. If not used for two days or longer, pass water for two minutes or longer
before use even after the marks on the LCD monitor changes to “lit” and “beeping”
sound is emitted.
A person with a kidney disease (kidney failure and potassium excretion disorder)
should not drink alkaline ionized water.
Do not take medicinal drugs with alkaline ionized water.
Do not directly drink water of pH10 or more (strong alkaline ionized water).
(Poor physical condition may result.)
-
It is recommended to drink water of Alkaline 3 (rough standard : pH9.5) (daily use).
Amount of drinking for one day should be 0.5 liters to 1 liter as a rough standard.
Do not drink water described below. (Poor physical condition may result.)
- Acidic water - Water coming out from the drain hose - Water during cleaning
- Sanitized water
Do not use anything other than the included pH test liquid.
- Use the accessories or separately sold product.
Do not use aluminum containers sensitive to alkaline and copper containers
sensitive to acid.
- Discoloration or damage to the containers may result.
Make sure
to observe
Prohibited

7
Introduction
Ɣ'RQRWIORZKRWZDWHURI&RUKLJKHUWRWKHPDLQERG\)DLOXUHPD\UHVXOW
Ɣ'RQRWIORZKRWZDWHURI&RUKLJKHUWRWKHFRUSRUDWLRQVWRS
(Burn injury or failure may result.)
Do not use alkaline ionized water, acidic water or purified water as breeding water
for fish. Change in environment may cause fish to die.
Do not drink water containing pH test liquid or test liquid, or do not put into eyes.
(Poor physical condition may result.)
Do not drink water while the “Cleaning”, “Rinsing” or “Preparing” mark is indicated.
(Poor physical condition may result.)
Never drink sanitized water because it is a strong acidic water of approximately
pH2.5. (Poor physical condition may result.)
When feeling any abnormality with your body by using sanitized water, immediately
stop use and consult with a doctor.
Do not add any salt other than usable salt in the salt case. (Failure may result.)
Refer to the “Usable salt” on page 27 for salt that can be used.
Do not store sanitized water. (Generated chlorine may result in poor physical condition.)
Do not soak metallic dishes or rings in sanitized water.
(Rust and discoloration may result.)
As the pH test liquid contains alcohol, do not bring it close to fire.
(Fire may result)
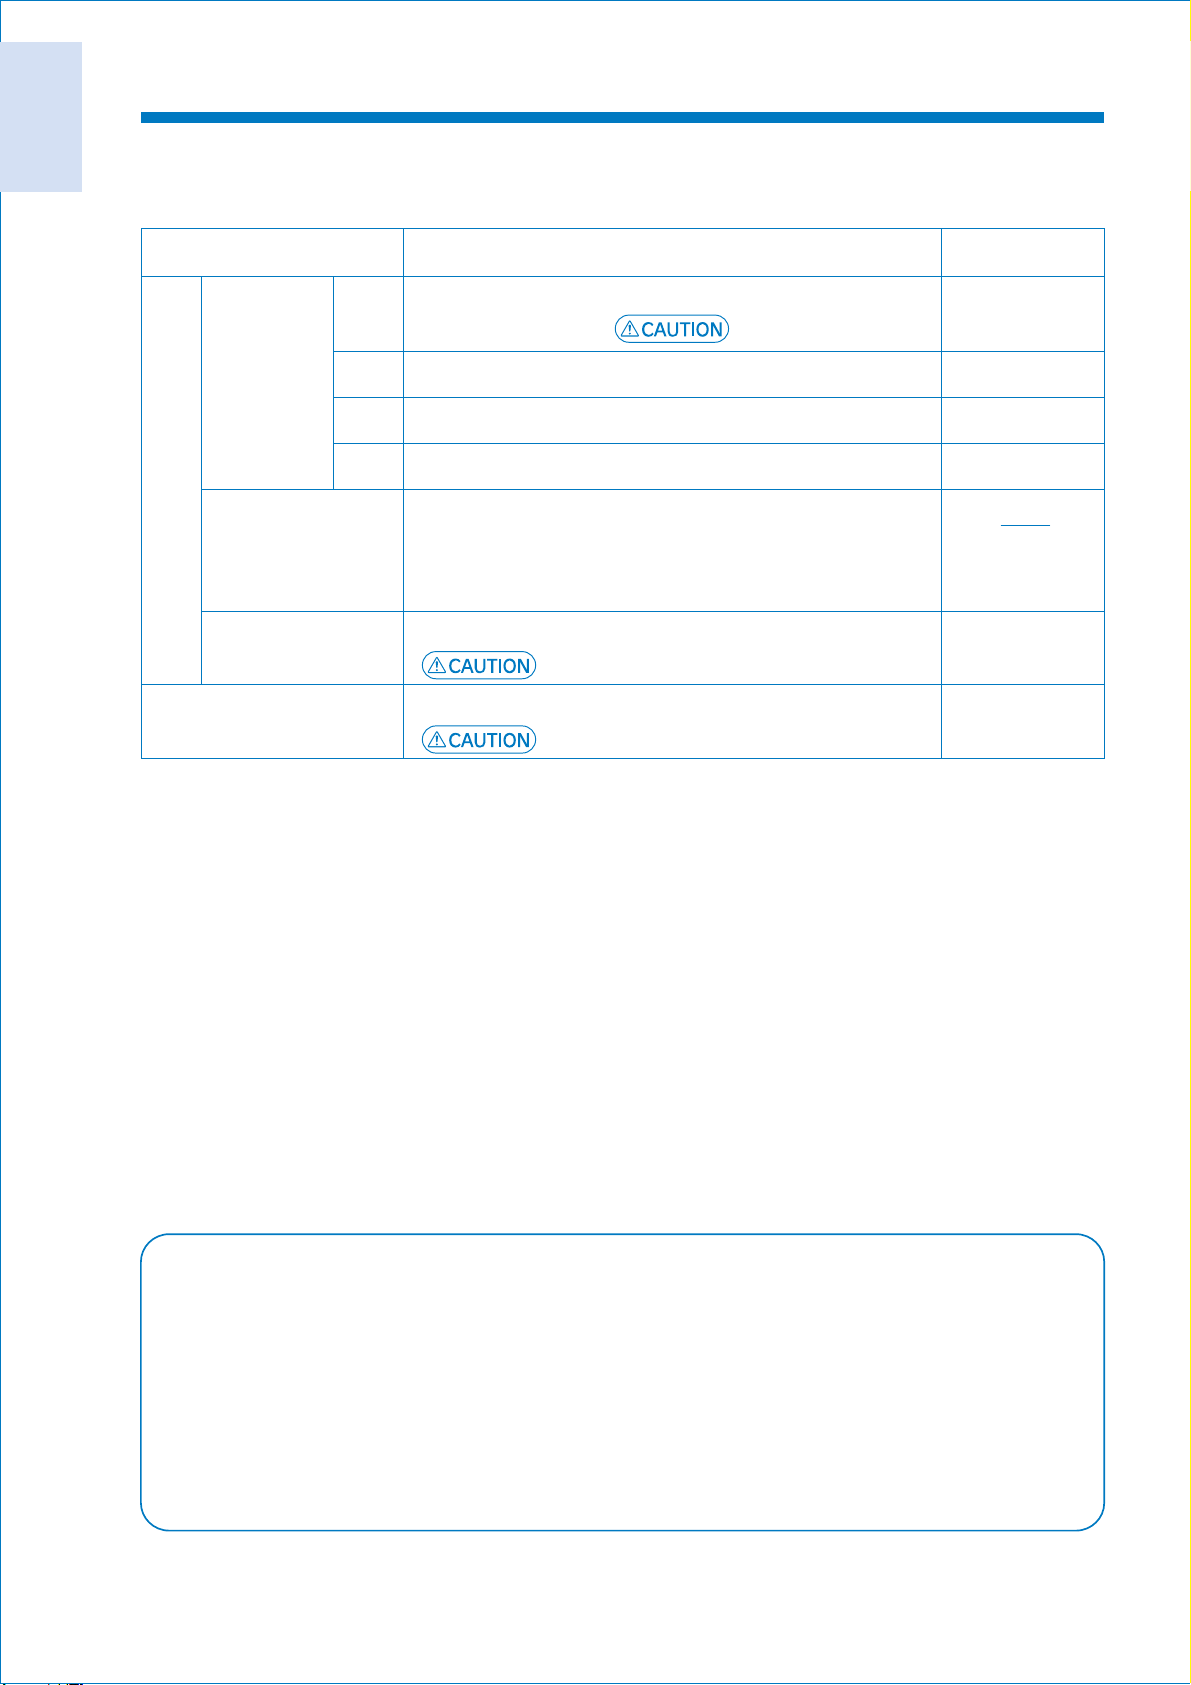
After installation and if not used for a long time (rough standard:one week or longer),
make sure to measure pH value with the included pH test liquid, and
confirm that the water of Alkaline 3 (rough standard : pH9.5) does not
exceed pH10 before use. Periodically measure it after that (more frequently than
once a month).
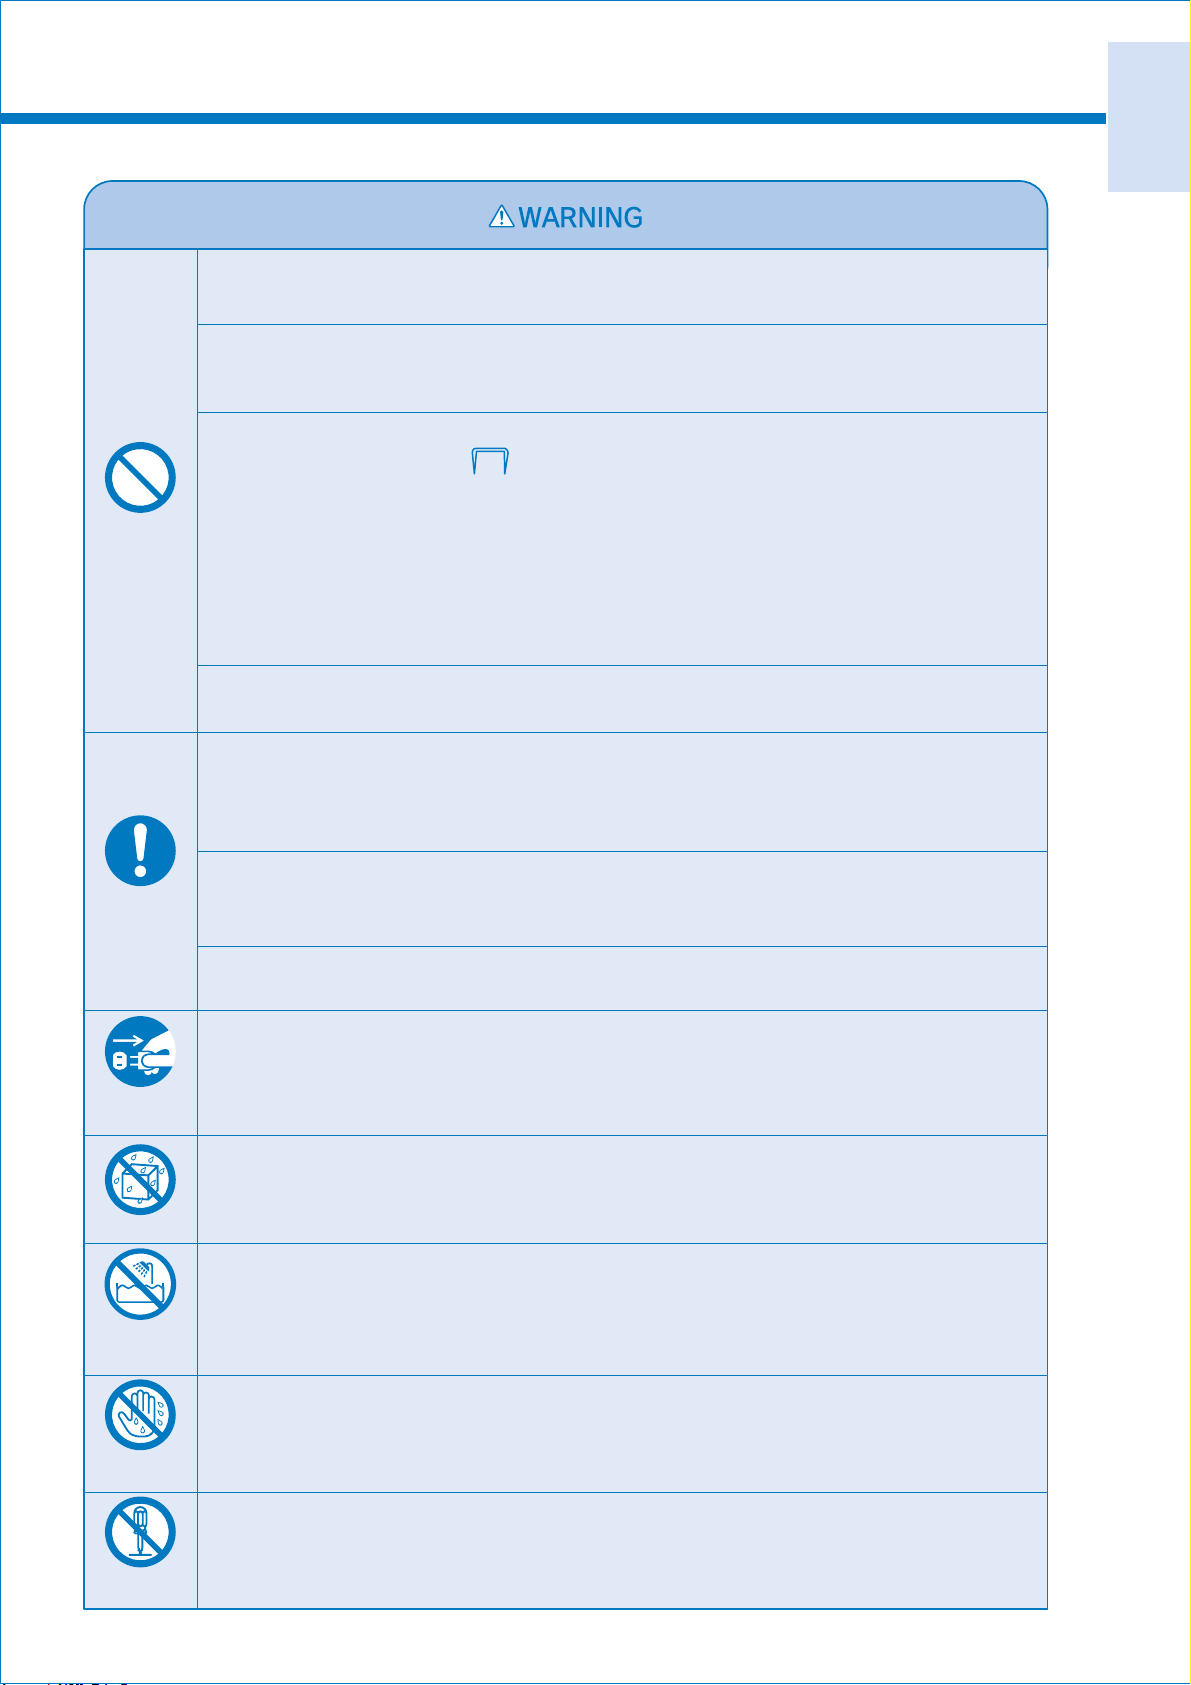
When removing the power plug from the power outlet, make sure to hold the power
plug without holding the power cord.
(Electric shock, short-circuit or ignition may result.)
When not in use for a long time (one week or longer as a rough standard), make
sure to remove the power plug from the power outlet.
When generating, using or draining sanitized water, use in a well-ventilated place
by turning on a ventilation fan or opening a window because a chlorine odor occurs.
(Poor physical condition may result.)
If sanitized water or water coming from the drain hose gets into your eyes,
immediately rinse eyes out with a plenty of tap water.
(Poor physical condition may result.)
After generating, using or draining sanitized water in a stainless steel sink, rinse out
sink with tap water. (Discoloration of sink may result.)
When sanitized water splashes on clothing or hair, rinse clothing or hair off with tap
water. (Discoloration may result.)
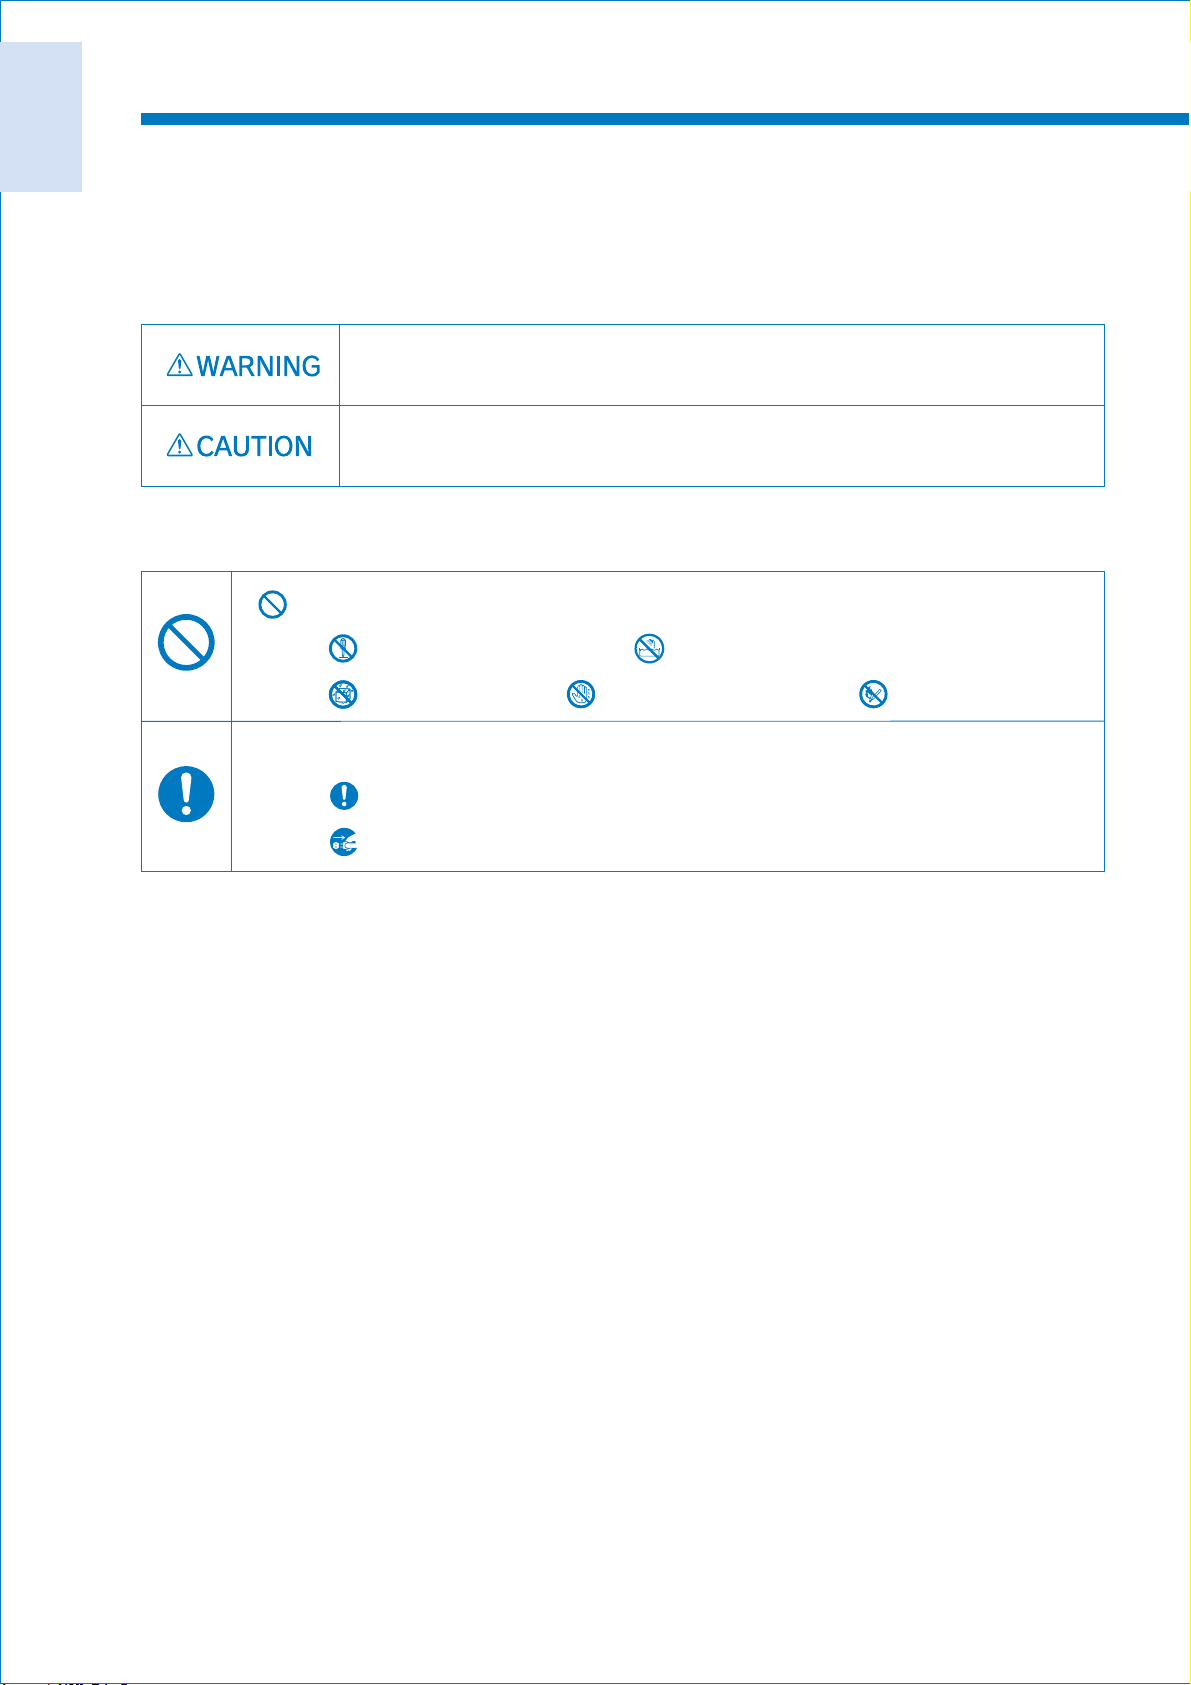
Keep fire away
Prohibited
Make sure
to observe

8
Introduction
What is pH of water?
pH represents the concentration of hydrogen ions in water and is an index representing
whether water is alkaline or acidic.
AcidicNeutralAlkaline
(Smaller numerical value) (7) (Larger numerical value)
→
←
●
Before use
●
●
Built-in “No discharge water mode”
There is no discharge water at the start of generation while the “No discharge water” lamp is lit,
and you can use it immediately.
Built-in “Hydrogen plus mode” and “Hi mode” which increase
electrolytic capacity at the press of a button
This is easily set in a region where pH value is difficult to increase.
Use the “Hydrogen plus mode” when the measured pH value is lower than the rough standard for
pH values displayed on the LCD monitor.
Use the “Hi mode” if the measured pH value does not reach the rough standard range even when
using the “Hydrogen plus mode.”
※The amount of the pH value increase depends on water quality and operating conditions.
For optimal use
●What is dissolved hydrogen concentration?
Dissolved hydrogen concentration represents a rough standard of the hydrogen amount in
the generated alkaline ionized water by electrolysis of water.
●Proper use of 4 kinds of water For optimal use according to application
pH adjustment button
Application Rough Standard
of pH value
Strong For washing vegetables and cooking ingredients
with a lot of scum. Do not drink directly. 10〜11
Sanitized water For passing water and cleaning and disinfection.
Do not drink. 2.5〜3.5
Purify water Water filtered by filter.
For taking medicinal drugs, preparing milk and
drinking.
※This water is not electrolyzed.
3
Alkaline
ionized
water
For daily drinking, making coffee, tea, cooking. 9〜9.9
Acidic water For washing your face.
Do not drink. 4.5〜6.5
2For becoming accustomed to drinking, for cooking rice. 8.5〜9.5
1For first time use. 8〜9
●Easily visible digital display
The water in use can be checked at a glance by the LCD monitor.
The LCD monitor shows the pH, dissolved hydrogen concentration, total flow rate, and remaining
usable filter amount.

9
Introduction
continued
Name of each part
Salt case
(with “salt spoon”
for measuring salt)
●
●
●
●
32
32
●
Fixing ring
Drain hose
(Thin hose)
●
Water supply hose
(Thick hose)
●
Usage start date.
Number in indicates the page
where explanation is given.
Delivery pipe
(Discharge port)
Operation panel Main body
Filter cover
Filter
<Accessories>
Corporation stop
Suction cup
(for fixing drain
hose)
Delivery pipe
Hose
fixing band
(2 pieces)
Accessory for
mounting
corporation stop
Filter
replacement seal
1 sheet
Salt
(Sanitized water
generation auxiliary)
5g in 1 pack
(3 packs included)
pH test liquid set
pH test liquid
pH test color paper
Dedicated cup

10
Introduction
Name of each part
<Operation panel>
●
LCD monitor
The pH value of water coming out from the delivery pipe (displays “--” at
“Purify” mode), the dissolved hydrogen concentration and the
combined total flow rate of water coming out from the delivery pipe and
drainage hose, and the usable passing water amount of the filter are
displayed. (The above numerical values are rough standards)
※The pH value, dissolved hydrogen amount of the actual generated
water may not be stable, and an error may occur in the passing water
amount due to variations in water quality and flow rate.
20
20
20
20
●
22
●
●
●
33
●
20
●
●
22
20
●
●
26
●
31
●
●●●
Contents of the LCD monitor
※All contents are never displayed at
the same time.
When the lamp lights up,
“ Change” appears.
(
(
Operation panel
Number in indicates the page
where explanation is given.
“Hydrogen plus” button
“Switch display”
button
“Purify” button
“Sanitize” lamp
“Acidic” button “Strong alkaline
hydrogen” button
“No discharge
water” lamp
“Change filter” lamp
“Change filter
reset” button
“Hi mode” setting
button
(Set by holding for
2 seconds)
“Alkaline hydrogen”
button
“Generating” mark
“Hi mode” mark
“Hydrogen plus” mark
“Preparing” mark
“Cleaning” mark
“Rinsing” mark
Approximately
L/min
Control the flow rate not to
exceed the value(L/min)
displayed on the LCD
monitor

11
Introduction
continued
<Installation completion drawing>
Power plug
●
Power cord
(Length: Approximately 2.5m)
●
Drain hose
(Length: Approximately 0.8m)
●
Suction cup
●
Water supply hose
(Length: Approximately 1.2m)
●
●
Delivery pipe
●
●
Corporation stop
Water tap
(not included)
※Install in a stable position around sink.
HWP-77EN HWP-77JP

12
Introduction
Name of each part
<Corporation stop>
●
Corporation stop tightening cap
・・Fixes corporation stop to water tap.
●Packing
・・・・・・・・・・・・・・・・・・・・・・・・・・・Prevents water leak from the connection parts of the corporation
stop and water tap.
●Metal mesh
・・・・・・・・・・・・・・・・・・・・・・When the metal mesh has clogged with contaminants, water
quantity decreases. If water quantity of “tap water” and “ionized
water and purified water” decreases, or after use for a long time
(6 months or longer), remove contaminants which have
accumulated in the metal mesh with a toothbrush or a similar object.
●Water selection lever
・・・・・・・・・・・ Allows to select from “Ionized water and purified water(Ion),”
“Tap water shower( )” or “Tap water straight(Raw).”
●Pressure valve
・・・・・・・・・・・・・・・・・・This valve opens to discharge water when water pressure in
the main body is excessively high. (Approximately 500kPa)
When water comes out of the pressure valve, choke the cock of
the water tap because water pressure is excessively high.
●Hot water discharge port
・・・・・・When the lever is set to “Ion” side hot water is discharged
LIKRWZDWHURI&RUKLJKHUIORZV
●Hose connection port
・・・・・・・・・・Connect the water supply hose.
●Hose tightening cap
・・・・・・・・・・・・Fixes the water supply hose to the hose connection port.
●How to use the water selection lever
●
●
●
When using “Ionized water
and purified water” When using “Tap water straight”
Corporation stop
tightening cap
●
Packing
●
Metal mesh
Water selection
lever
●
Hose connection port
Hose tightening cap
●
Functions
Pressure valve
●
Hot water discharge
port
When using
“Tap water shower”
●●
●
“ Ion ” “ ” “ Raw ”

13
Method of
mounting
How to mount corporation stop
Corporation stop cannot be mounted to the following water taps.
Different screw
diameter
Not 22mm
Water tap diameter
25mm or more
Tip end is
15mm or less
With shower
Deformation
Special screw
diameter
With sensor
8VHLRQL]HGZDWHUDQGSXULILHGZDWHUDWZDWHUWHPSHUDWXUHRIORZHUWKDQ&
(Failure may result.)
Select accessories for mounting suitable to screw diameter of water tap.
(Water leakage may result.)
●Foaming
fitting
Make sure
to observe
continued

14
Method of
mounting
How to mount corporation stop
When there is a foaming fitting at the tip end
of the water tap
Remove a set of
the foaming fittings.
Turn the accessory
for outside screw
or inside screw with
a coin or a similar
object, and install
the corporation
stop tightening
cap to the water
tap.
Apply the corporation stop
horizontally from below and
tighten the corporation
stop tightening cap.
Corporation stop
tightening cap
For inside screw
For outside screw
●
●Foaming fittings
●
●●
●
Pass through the
corporation stop
tightening cap.
Water may leak when installing the corporation stop in a plastic water tap.
It is recommended to replace the water tap.
Information
Packing
●
CAUTION
Do not use any tools to
mount the corporation stop
tightening cap.
(Breakage may result.)
Installation of this part.

15
Method of
mounting
If there is any bulge at the tip end of
the water tap If the end of the water tap is straight and
not stepped
How to install a screw clamp
(If the corporation stop mounting accessories
of 16mm, 17.5mm and 19mm cannot be used)
Pass the corporation stop
tightening cap
through the pipe.
Insert the fixing ring to
the end of the pipe.
Apply the corporation
stop to the water tap
horizontally and tighten
the corporation stop
tightening cap.
Use the backing of the corporation stop
mounting accessory to measure the diameter
of the pipe and select a fixing ring to be used.
Backing of corporation
stop mounting accessory
Corporation stop
tightening cap
●
※No screw clamp is packed together with this
product. Place an order with the store where
you purchased this product.
Direct the cutout of the fixing ring
toward you so as to easily insert.
Cutout
●
Do not use any tools to mount the corporation
stop tightening cap. (Breakage may result.)
Loosen the screw and set
the corporation stop
horizontally, and tighten
the screw while pressing
it against the water tap.
Do not excessively
tighten the screw.
(The water tap may
be perforated.)
Remove the screw
and pass the fitting
through the
corporation stop
tightening cap.
Mount the
screw again.
Corporation
stop tightening
cap
●
●
Fitting
●Screw
●Screw
●
Corporation stop
tightening cap
Tighten the corporation stop
tightening cap.
CAUTION

16
Method of
mounting
Installation of main body
Install so that the main body is horizontal.
Do not install in an unstable place such as on a wobbling stand or inclined surface.
(The main body may drop or fall off, resulting in injury.)
Do not install in places described below.
(Deformation, discoloration, malfunction or failure may result.)
3ODFHZKHUHILUHLVXVHGRUQHDUREMHFWWKDWJHWVKRW&RUKLJKHU
- On and near microwave oven, electromagnetic range, refrigerator
- Place subject to direct sunlight - Place where oil adheres
- Outdoors or place subject to wind and rain
- Bathroom and place subject to water or steam - Place which may freeze
Do not extend water outlet with commercially available hose. (Failure may be result.)
Do not connect other equipment to water supply and drain hoses.
(Water leakage or failure may be result.)
Do not block water outlet and do not bend, twist or crush hose.
(Appropriate pH value cannot be obtained, or water leakage or failure may result.)
Do not install on hot-water supply facility without check valve (backwater valve).
(Failure of hot-water supply facility may result.)
Do not install to water tap dedicated to hot water. (Failure may result.)
Prevent the main body from pressing the power cord, water supply hose, and
drain hose. (Water leakage or failure may result.)
Make sure
to observe
Prohibited
Place the salt case on the filter.
Installation of the salt case
Salt case
●
Filter
●
How to pull out the power cord, water supply hose and drain hose
Determine the direction of right or left for pulling out
the power cord, water supply cord and water drain hose
according to the installation position.
Front of main body
●
Power cord
●
Water supply hose ●
The water supply hose and drain hose can be routed from the base.
●
●
Drain hose

17
Method of
mounting
Fix the drain hose to a sink with a
suction cup.
Delivery pipe
Screw in the delivery pipe to the root.
Drain hose
(Thin hose)
●
Installation of this part.
●
Inserting part
Delivery pipe ●
●
●
Installation of the delivery pipe
Installation of the drain hose
●When bending the delivery pipe after installation, hold the root and bend the pipe with your
free hand.
Note
Do not extend the water outlet with a hose. (Water leakage and failure may result.)
Do not unnecessarily screw in because the inserting part is made of plastic.
(Water leakage and failure may result.)
Prohibited
Suction cup
Difference in height
15cm or more
Less than 40cm
●
●
●
●
●
The difference in height between the
end of the delivery pipe and the end of
the drain hose shall be 15cm or
more, and less than 40cm.
(In order to obtain the appropriate pH value)
Set the end of the drain hose below
the bottom face of the main body.
If the drain hose is excessively long, cut it
for use.
Prevent the drain hose from being bent.
Do not extend the drain hose.
Note
continued

18
Method of
mounting
②①
●
●
Installation of main body
4
3
2
1
Installation of this part.
●
●
Connection of the water supply hose
●When installing the corporation stop to a water tap, set the water supply hose to be flexible
so as to allow the water tap to swing to both sides.
Note
Do not bend or twist the water supply hose. (Water leakage may result.)
Do not install to water tap dedicated to hot water. (Failure may result.)
:KHQFRQQHFWLQJWRDFRPELQDWLRQWDSGRQRWSDVVKRWZDWHU&RUKLJKHU
(Failure may result.)
Prohibited
● If the water supply hose is excessively long,
it is recommended to cut the hose straight
for use.
Hose fixing band
Remove the hose tightening cap from
the corporation stop and pass it
through the water supply hose.()
Firmly tighten the hose tightening cap.
Ɣ 'RQRWXVHDQ\WRROV
(Breakage of the corporation stop
may result.)
Fix the water supply hose with
the hose fixing band.
Ɣ 'RQRWFUXVKWKHKRVHZKHQIL[LQJ
Good example
Bad example
Gap
Hose tightening cap
Water supply hose
Insert the water supply hose all
the way.()

19
Method of
mounting
How to use
Using alkaline ionized water, acidic water and purified water
Note
●
●
As water becomes turbid immediately after water supply work has been carried out,
set the water selection lever to the “Raw” side and wait to use until
the water becomes transparent. (Clogging of the filter may result.)
Do not use with the power plug removed from the power outlet.
(Because flow rate for judgment of filter life and number of operating days cannot be counted,
there may occur an error in filter replacement period.)
Do not use while the “Preparing(準備中)” mark on the LCD monitor flashes.
- The “Preparing(準備中)” mark continuously flashes until retained water in the main body
is completely flowed.
- Flashing time depends on use interval or flow rate.
Make sure to carry out when passing water for the first time after installation.
continued
●
●
●
●
●
Pass water once before inserting the power plug into the power outlet.
When water comes out from the pressure valve of the corporation stop, decrease flow rate
because water pressure is excessively high.
When water does not come out, confirm that the water selection lever has been completely switched.
Switch the water selection lever after stopping water flow. (Failure may result.)
Set the water selection lever to the
“Ion” side and open the cock
of tap water.
1
Pass water until the water becomes
transparent.
2
Remove the filter cover to confirm that the filter is installed.
Prohibited

20
How to use
Using alkaline ionized water, acidic water and purified water
Use after the indication on the LCD monitor changes from the “Preparing(準備中)”mark to
the “Generating(生成中)”mark and the buzzer sounds.
3
LCD monitor
“Hydrogen plus” button
Press this button when setting the
hydrogen plus mode.
“Switch display” button
“Dissolvedh\GURJHQFRQFHQWUDWLRQĺ
IORZUDWHĺUHPDLQLQJILOWHUDPRXQW´DUH
displayed every time this button is
pressed.
“pH adjustment” button
Press these buttons according to the
application.
The lamp on the pressed button lights up.
- Water does not come out from the drain hose while the “Purify” mode is used.
- After the “Strong Alkaline” mode or “Acidic” mode is used, and is stopped once and then used again,
the water mode automatically returns to the previously used drinkable water mode; Alkaline ionized
water 1, 2, 3 or purified water in order to prevent accidental drinking.
- The alarm buzzer keeps sounding when the “Strong Alkaline” mode or “Acidic” mode is used.
While this lamp is lit, immediate use is possible because the
“Preparing(準備中)”mark does not flash at the time of
water passing (no need to discharge water) when continuously
using any water quality of alkaline ionized water 1, 2, 3 or purified
water that was previously used.
This is convenient for continuously drinking alkaline ionized water
or washing rice, etc.
- The “No discharge water lamp” turns off after approximately
30 minutes when the water tap is closed.
- This lamp does not light up when strong alkaline ionized water or
acidic water is selected.
No discharge water lamp
pH adjustment
button Application
(Not for drinking)
(For drinking)
●
●
●
●
●
“No discharge water” lamp
●
“Change filter reset” button
●
“Change filter” lamp
Set the water selection lever to the
“Ion” side and open the water tap.
Insert the power plug into the power
outlet and press the pH adjustment
button to be used.
2
1
How to use
Strong
Alkaline
Alkaline 3
Alkaline 2
Alkaline 1
Purify
Acidic
※Refer to “For optimal use” on
page 8 for other use applications.
For daily use
(For drinking)
For becoming
accustomed to
drinking (For drinking)
For first time use
(For drinking)
For face washing
(Not for drinking)
This manual suits for next models
1
Table of contents
Languages: