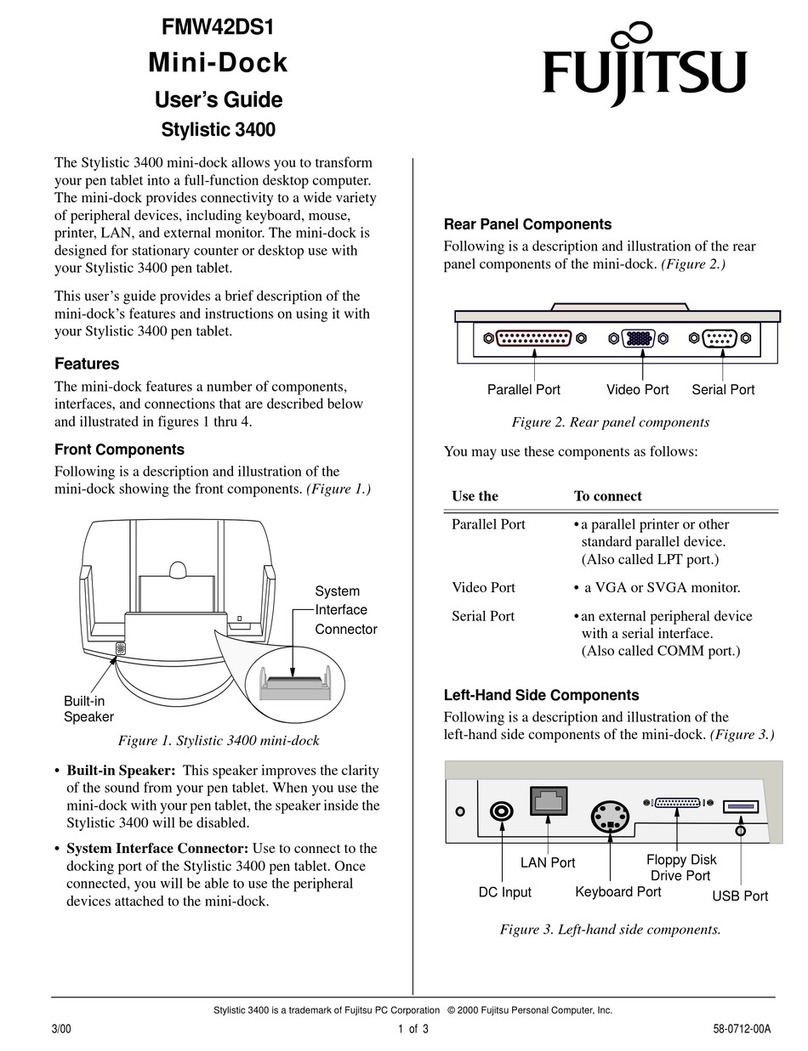
Fujitsu is a registered trademark of Fujitsu Ltd. © 2000 Fujitsu PC Corporation
-
-
Theviewingangleofthemini-dockcanbeadjusted
to four different positions. The bottom of the support
bail on the rear of the support platform (see Figure
3). snaps into one of four slots. When storing the
mini-dock, flip the bail up against the back of the
support platform to allow the platform to lie flat.
Figure 2. Right Side of Mini-Dock
Figure 3. Rear and Left-Side of Mini-Dock
Installing the System into the Mini-Dock 0
1. Shut down the system by selecting Start> Shut
Down> Shut Down.
2. Position the pen tablet against the positioning
guideandthebackofthemini-dock.
3. Slide the pen tablet into the tray at the bottom of
the mini-dock and press it down firmly until it is
seated, as shown in Figure 4. The alignment guide
in the bottom of the tray ensures that the system is
properly seated over the connector.
4. Re-start your system.
Figure 4. Installing the System in the Mini-Dock
Removing the System from the Mini-Dock 0
1. Shut down the system by selecting Start> Shut
Down> Shut Down.
2. Whileholdingthebaseofthemini-dockwithone
hand, grasp the pen tablet at the top and firmly pull
it straight up from the base.
3. Restart your system.
PS/2-style
Mouse Port LAN Port
AC Adapter
Port
Serial Port Video Port Floppy Disk
Drive Port
Support
Platform
USB
Port
PS/2-style
Keyboard
Support
Bail
Parallel
Port Port
Cautions
• Dropping conductive material onto the charging contacts
could result in internal damage to the pen tablet circuitry.
• Prior to installing your pen tablet into the mini-dock, be
sure to power down your system first. Failure to do so
could result in damage to the system or the mini-dock.
Mini-Dock
Base
Mini-Dock
Pen Tablet
Positioning
Guide
