Engineering Bulletin
Entering Function Settings
Disclaimer:
In order to perform some of these tests an electrical and/or refrigerant license is required. We strongly advise to check the Service manual for more detailed explanation. If you are not sure about these recommendations please contact us at 866-952-8324.
© 2015 Fujitsu General America, Inc.
# 050
9/10/14
by
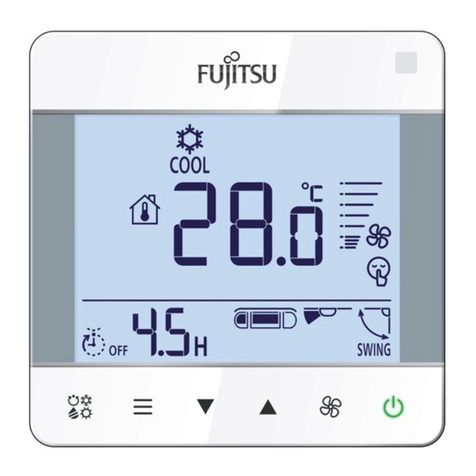
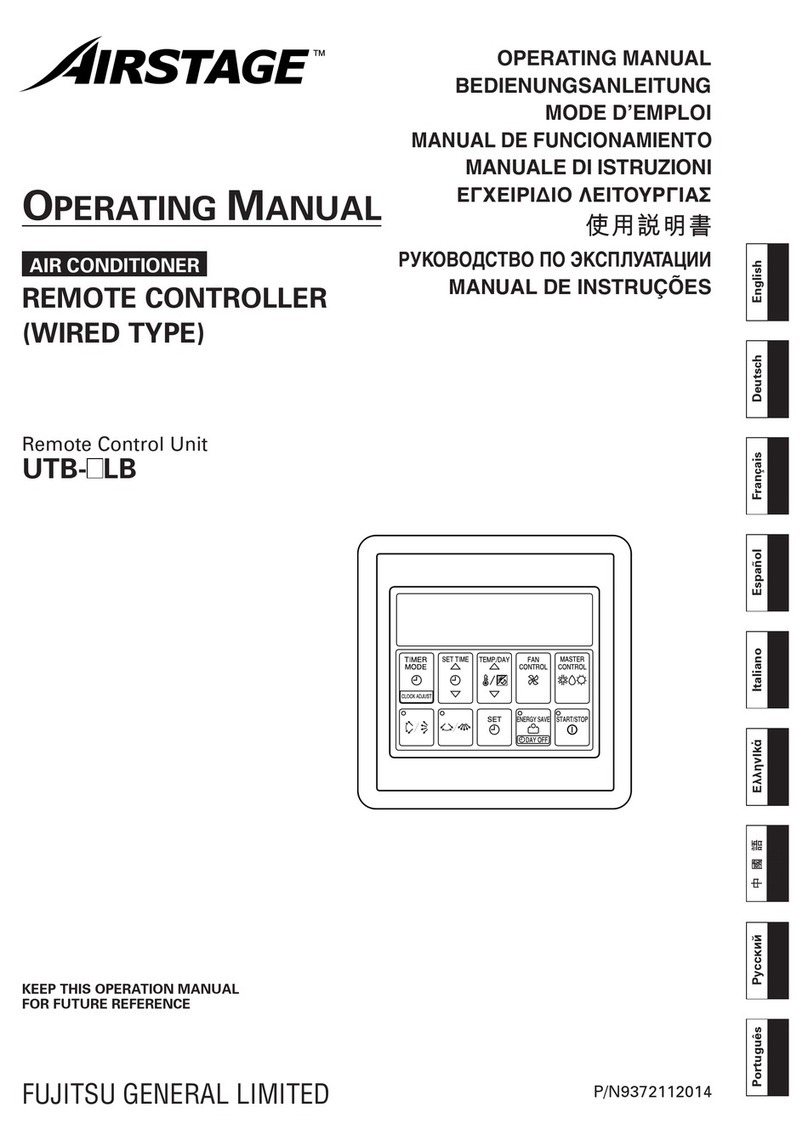
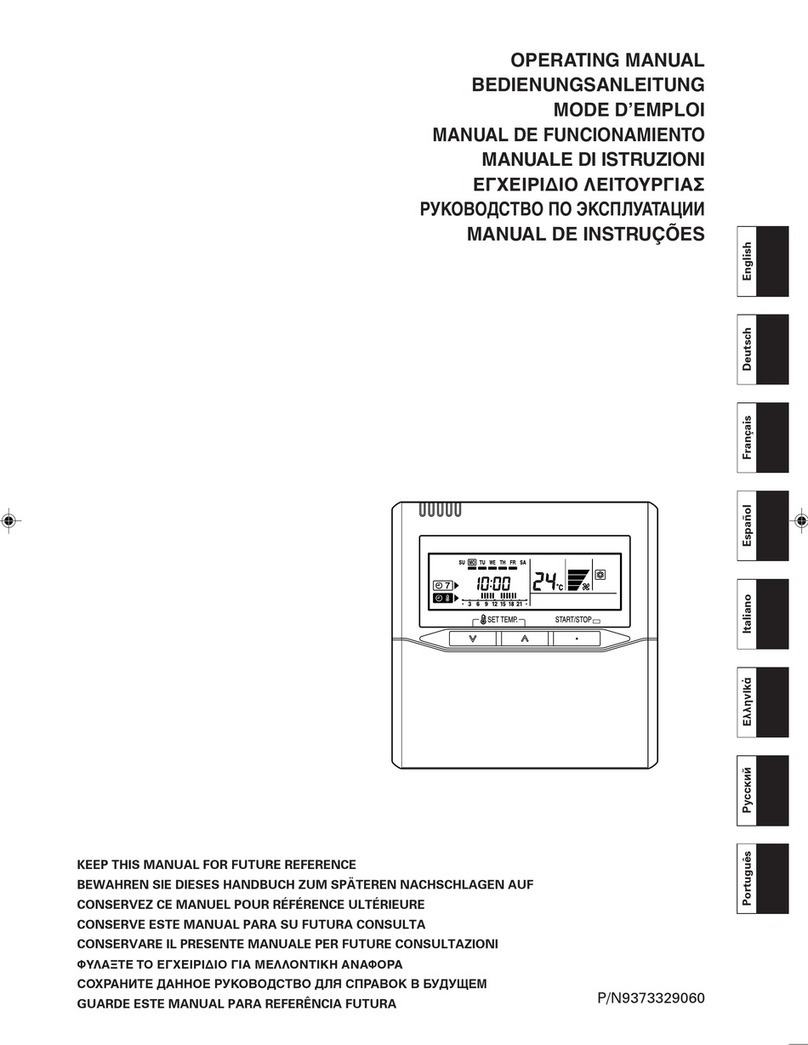
UTY-LNHUM / UTY-LRHUM AR-REC1U /AR-RED1U / AR-REG1U
Entering the Function Setting Mode:
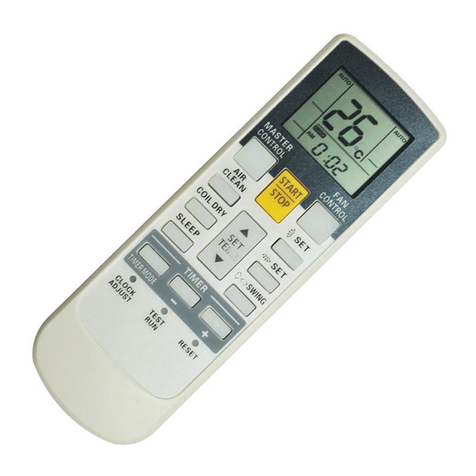
Press the Fan (Control) button, Set Temp.(˄) and the Reset
button simultaneously then release the Reset button to enter the
function setting mode.
Selecting the Function Number and Setting Value
1. Press the Mode button first then press the Set Temp.
(˄)(˅) buttons to select the function number. (Press the
Mode button to switch between the left and right digits.)
2. Press the Fan button to proceed to setting the value. (Press
the Fan button again to return to the function number
selection.)
3. Press the Set Temp.(˄)(˅) buttons to select the setting.
(Press the Mode button to switch between the left and
right digits.)
4. Press the Timer Mode button and Start/Stop button, in the
order listed to confirm the settings.
5. Press the Reset button to cancel the function setting mode.
6. After completing the Function Setting, be sure to turn off
power to the outdoor disconnect for a minimum of one
minute and turn it on again.
Entering the Function Setting Mode:
Press the Powerful button, Set Temp.(˄) and Reset button
simultaneously then release the Reset button to enter the function
setting mode.
Selecting the Function Number and Setting Value
1. Press the Set Temp.(˄)(˅) buttons to select the function
number. (Press the Min. Heat button to switch between the left
and right digits.)
2. Press the Powerful button to proceed to setting the value.
(Press the Powerful button again to return to the function
number selection.)
3. Press the Set Temp.(˄)(˅) buttons to select the setting. (Press
the Min. Heat button to switch between the left and right
digits.)
4. Press the Mode button and then the Start/Stop button, in the
order listed to confirm the settings.
5. Press the Reset button to cancel the function setting mode.
6. After completing the Function Setting, be sure to turn off power
to the outdoor disconnect for a minimum of one minute and
turn it on again.
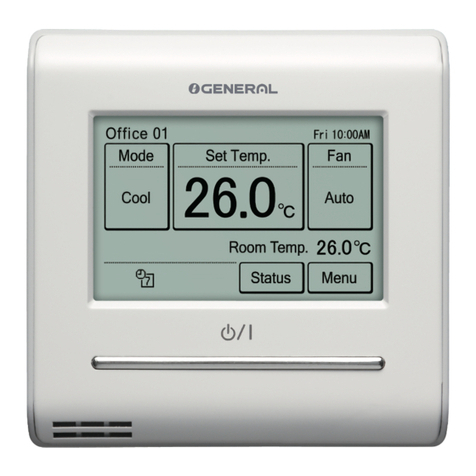
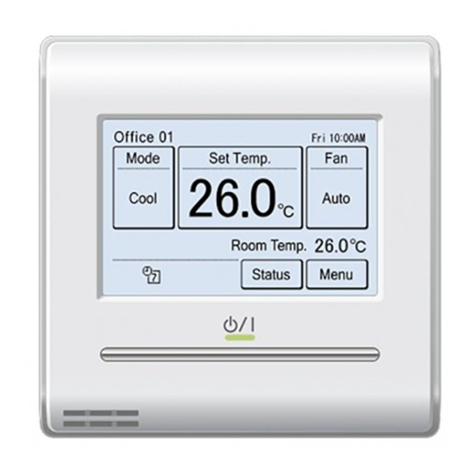
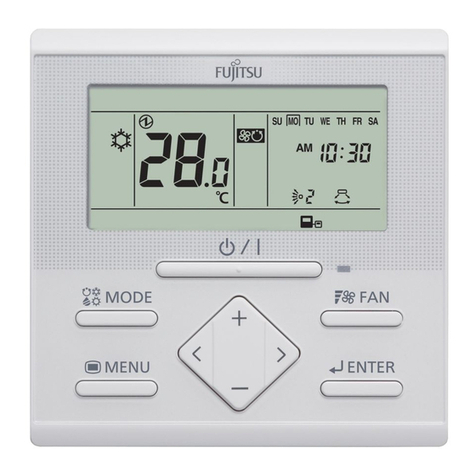
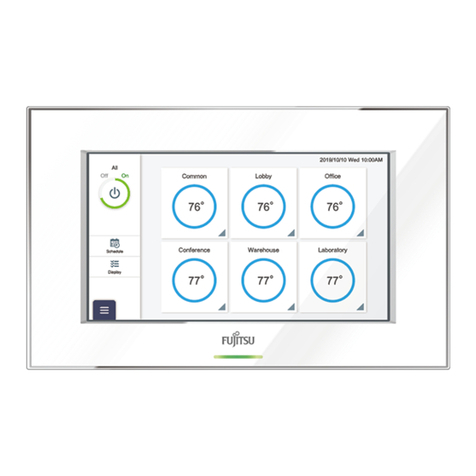
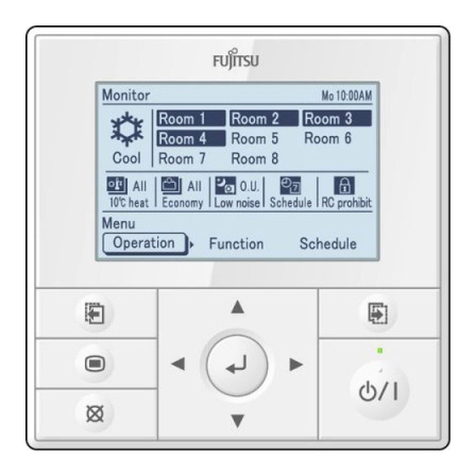
UTY-RVNUM
Entering the Function Setting Mode:
1. Make sure the indoor unit is powered down and not
running otherwise you will be restricted from entering
the Function Settings menu.
2. From the monitor screen, press the Menu button twice.
3. Once at the submenu, press and hold the Screen Left
and Screen Right buttons for 5 seconds.
4. Select the Function Setting option from the list. From
there you will be in the Function Settings Menu and
free to select function number and setting values.
5. After completing the Function Setting, be sure to turn
off power to the outdoor disconnect for a minimum of
one minute and turn it on again.
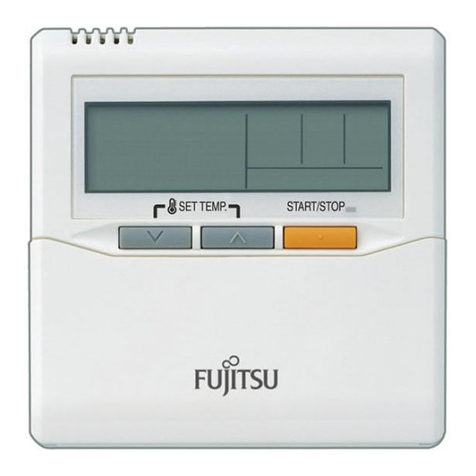
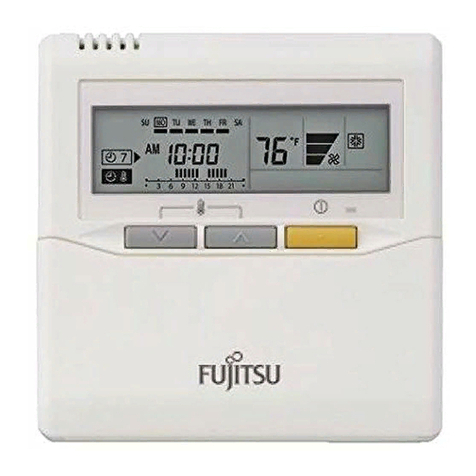
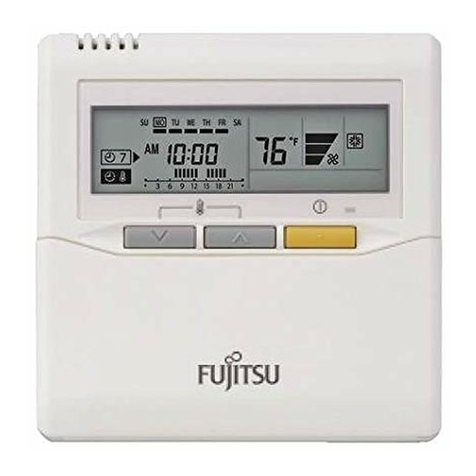
Entering the Function Setting Mode:
1. Press the Set Temp.(˄)(˅) buttons and Fan button
simultaneously for more than 5 seconds to enter
the function setting mode.
2. Press the Set Back button to select the indoor unit
number.
3. Press the Set Time buttons to select the function
number.
4. Press the Set Temp. buttons (˄)(˅) to select the
setting value. The display flashes as shown to the
right during setting value selection.
5. Press the Timer Set button to confirm the setting.
Press the Set button for a few seconds until the
setting value stops flashing. If the setting value
display changes or if “- -”is displayed when the
flashing stops, the setting value has not been set
correctly. (An invalid setting value may have been
selected for the indoor unit.)
6. Repeat steps 2 to 5to perform additional settings.
Press the Set Temp. buttons (˄)(˅) and Fan
button simultaneously again for more than 5
seconds to cancel the function setting mode. In
addition, the function setting mode will be
automatically canceled after 1 minute if no
operation is performed.
7. After completing the Function Setting, be sure to
turn off power to the outdoor disconnect for a
minimum of one minute and turn it on again.
UTY-RNBYU /UTY-RNNUM
UTY-RSNUM
Entering the Function Setting Mode:
1. Press both the Temp. Up and Down buttons (˄)(˅) and FAN together for more than 5
seconds simultaneously. Then, shift to Function Setting Mode.
2. Press the Temp. Up or Temp. Down button (˄)(˅) and select the indoor unit number.
Then, press the Fan button.
Function Number & Setting Number Setting
3. “Function Number” display blinks. Then, display Number by pressing the Temp. Up or
Temp. Down button.
4. When the “Setting Number” blinks, press the Fan button to set the Setting number by
pressing the Temp. Up or Temp. Down button (˄)(˅).
5. Fix the setting by pressing the power button. (Data is transferred to the indoor unit).
6. After completing the Function Setting, be sure to turn off power to the outdoor
disconnect for a minimum of one minute and turn it on again.
