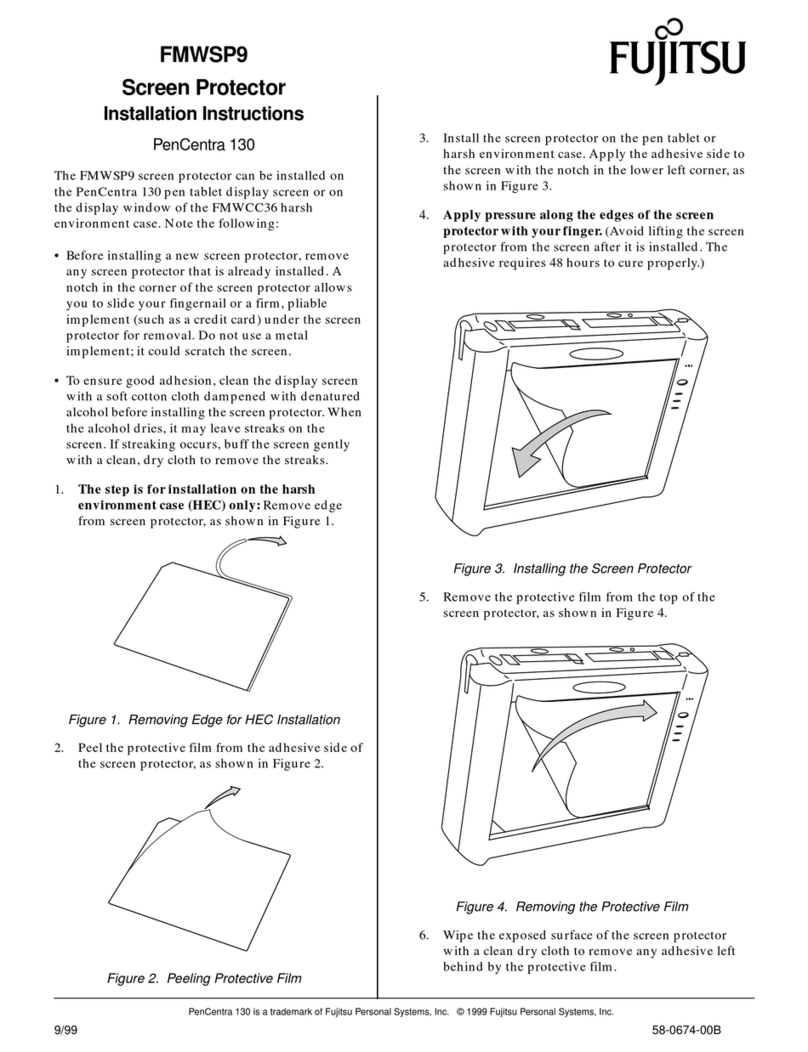
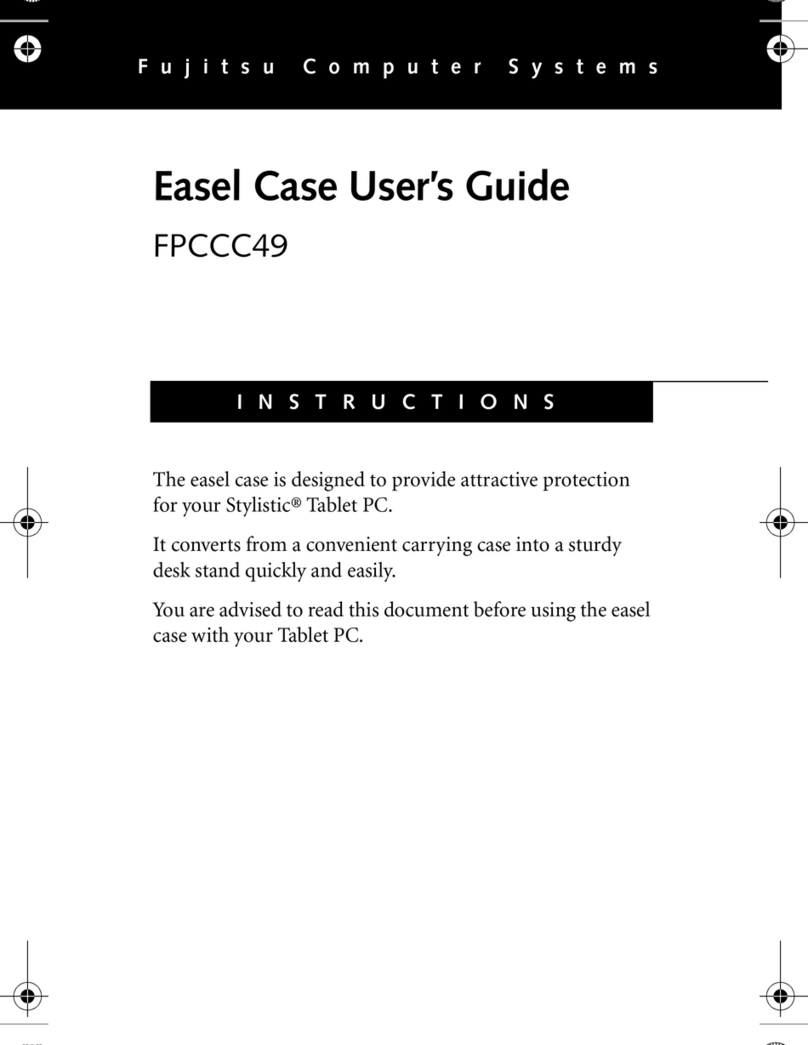
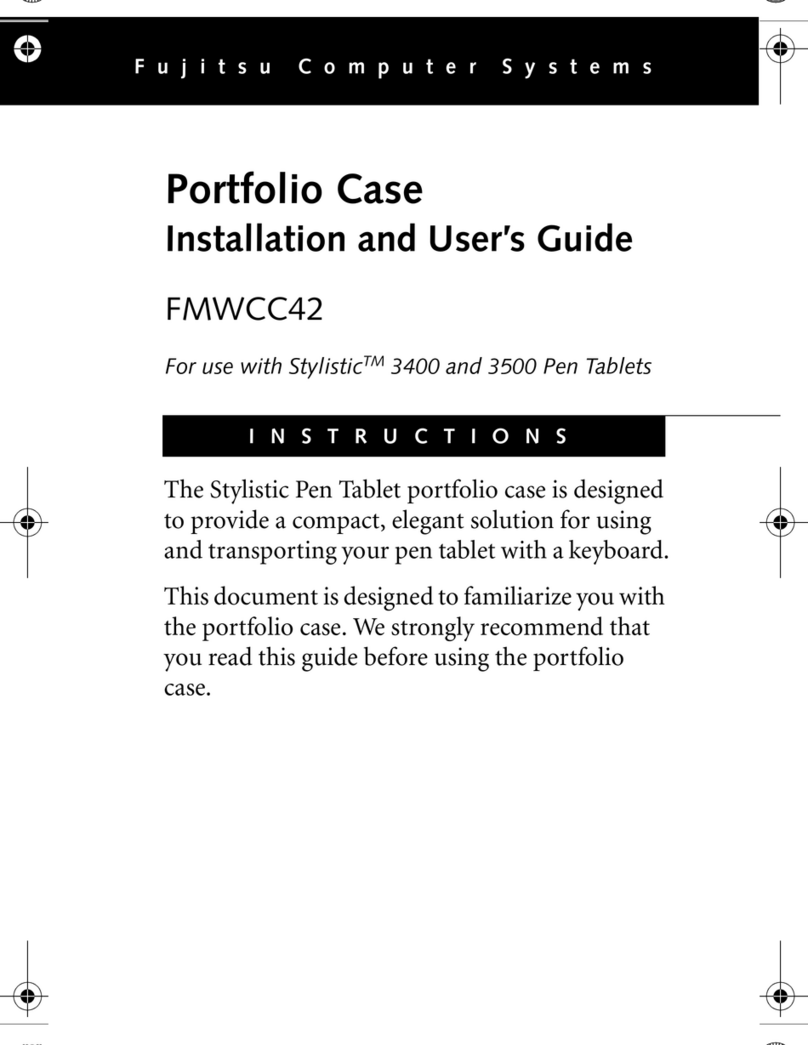
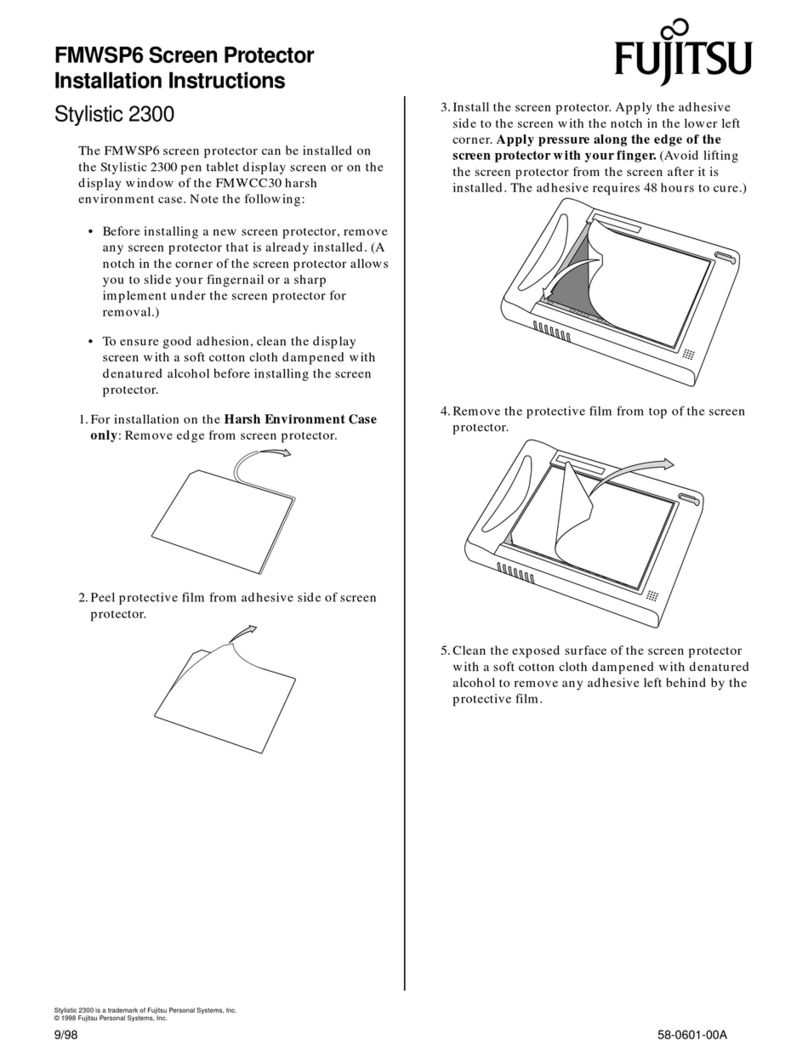
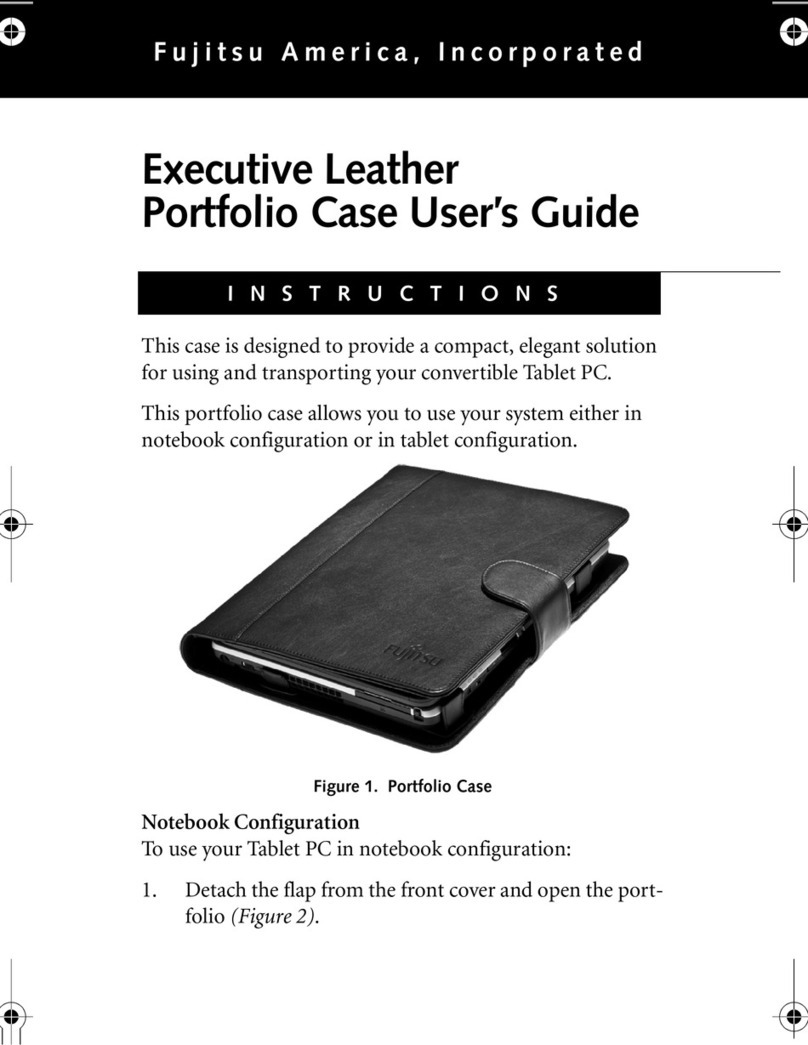
Fujitsu Connectivity Peripherals Point 1600 User manual

Connectivity Peripherals
Installation Guide
Point 510
Point 1600


Connectivity Peripherals
Installation Guide
Point 510
Point 1600

Fujitsu Personal Systems, Inc. has made every effort to ensure the accuracy and completeness of this
document. However, because ongoing development efforts are continually improving our products,
we cannot guarantee the accuracy of the contents of this document. We disclaim liability for errors,
omissions, or future changes herein.
Point 510 and Point 1600 are trademarks of Fujitsu Personal Systems, Inc.
The Fujitsu logo is a registered trademark of Fujitsu Ltd.
All other products are trademarks or registered trademarks of their respective companies.
Copyright 1999
Fujitsu Personal Systems, Inc.
No part of this publication may be copied, reproduced, or translated, without the prior consent of Fujitsu Personal
Systems, Inc.No part of this publication may be stored or transmitted in anyelectronic form without the priorconsent of
Fujitsu Personal Systems, Inc.

Agency Compliance
FCC Notice
This equipment has been tested and found to comply with the limits for a Class B digital device, pursuant to Part 15
of the FCC rules. These limits are designed to provide reasonable protection against harmful interference in a
residential installation. This equipment generates, uses, and can radiate radio frequency energy and, if not installed
and used in accordance with the instructions, may cause harmful interference to radio communications. However,
there is no guarantee that interference will not occur in a particular installation. If this equipment does cause harmful
interference to radio or television reception, which can be determined by turning the equipment off and on, the user
is encouraged to try and correct the interference by one or more of the following measures:
• Reorient or relocate the receiving antenna.
• Increase the separation between the equipment and receiver.
• Connect the equipment into an outlet on a circuit different from that to which the receiver is connected.
• Consult the dealer or an experienced radio/TV technician for help.
Shielded interconnect cables must be employed with this equipment to insure compliance with the pertinent RF
emission limits governing this device.
Changes or modifications not expressly approved by Fujitsu Personal Systems, Inc., could void the user’s authority
to operate the equipment.
Canadian DOC Compliance
This digital apparatus does not exceed the Class B limits for radio noise emissions from digital apparatus as set out
in the radio interference regulations of the Canadian Department of Communications.
Le présent appareil numérique n’émet pas de bruits radioélectriques dépassant les limites applicables aux appareils
numériques de classe B prescrites dans le règlement sur le brouillage radioélectrique édicté par le Ministère des
Communications du Canada.


v
Table of Contents
About This Guide .............................................................................................................................. vii
Organization....................................................................................................................................................... vii
Chapter 1
Introduction to Connectivity Peripherals .......................................................................................1-1
Cradle Module ................................................................................................................................................... 1-3
The Portable Port Expander .............................................................................................................................. 1-3
Port Replicator................................................................................................................................................... 1-4
High-Usage Cradle ............................................................................................................................................ 1-4
High-Connectivity Cradle.................................................................................................................................. 1-5
Wall-Mount Cradle............................................................................................................................................ 1-6
Charge-Only Cradle........................................................................................................................................... 1-6
Chapter 2
Assembling and Installing Connectivity Peripherals .................................................................... 2-1
Portable Port Expander ..................................................................................................................................... 2-1
Removing the Latch and Spacer (For Installation in Cradle Module Only).......................................... 2-1
Connectors ............................................................................................................................................. 2-2
Assembling the Port Replicator......................................................................................................................... 2-3
Attaching the Feet.................................................................................................................................. 2-4
Attaching the Wire Catch ...................................................................................................................... 2-4
Connectors ............................................................................................................................................. 2-5
Using the Folding Desk Stand............................................................................................................... 2-7
Assembling the High-Usage Cradle .................................................................................................................. 2-8
Installing the High-Usage Cradle ...................................................................................................................... 2-12
Assembling the High-Connectivity Cradle........................................................................................................ 2-14
Installing the High-Connectivity Cradle............................................................................................................ 2-17
Installing the Wall-Mount Cradle...................................................................................................................... 2-19
Required Tools and Hardware............................................................................................................... 2-19
Testing the Wall-Mount Cradle After Installation................................................................................. 2-28
Connectors ............................................................................................................................................. 2-29
Installing the Charge-Only Cradle..................................................................................................................... 2-30
Confirming External Power Is Supplied............................................................................................................ 2-31

vi

vii
About This Guide
This guide provides installation instructions for connectivity peripherals compatible with Point 1600 and
Point 510 pen tablet systems including the following:
• Portable port expander
• Port replicator*
• High-connectivity cradle*
•High-usagecradle*
• Wall-mount cradle*
• Charge-only cradle
* These connectivity peripherals are available in locking and non-locking versions. Information
given in this manual applies to both versions.
Instructions given in this guide include procedures for assembling and installing these peripherals. For
instructions on using these peripherals with your pen tablet, refer to the Connectivity Peripherals User’s
Guide: Point 510, Point 1600.
Note: All connectivity peripherals designed for use with the Point 510 pen tablet are also compatible with the
Point 1600 pen tablet.
Organization 0
This guide is organized as follows:
• Chapter 1 Introducing Connectivity Peripherals
This chapter provides an introduction to the connectivity peripherals and lists the components needed
to assemble each connectivity peripheral.
• Chapter 2 Assembling and Installing Connectivity Peripherals
This chapter gives detailed instructions on assembling each connectivity peripheral and instructions
for installation at the work site.

viii
About This Guide

1-1
Chapter 1
Introduction to Connectivity Peripherals
Connectivity peripherals for the Point 510 and Point 1600 pen tablet systems are engineered using
modular design principles. Each connectivity peripheral is assembled using components which may be
used in different connectivity peripheral products. Components that make up connectivity peripherals
are shipped unassembled.
This chapter gives an introduction to each connectivity peripheral. Use this chapter to verify that the
components comprising the connectivity peripheral you intend to assemble are present. For details on
assembling these peripherals, refer to the appropriate section of Chapter 2.
Table 1-1 shows the model numbers for connectivity peripheral products. Note that some models are
available in locking and non-locking versions. The components used to assemble each connectivity
peripheral are described later in this chapter.
* The type of cradle module (locking or non-locking) installed in this assembly determines
whether the connectivity peripheral is a locking or non-locking version.
†The cradle module is not sold as a separate product. It is sold as a component of other
connectivity peripherals.
Table 1-1. Connectivity Peripheral Model Numbers
Part Name Locking/
Non-Locking FPSI Model Number
Portable port expander N/A FMW26CR5
Port replicator*Locking FMW26CR3
Non-Locking FMW26CR23
High-connectivity cradle*Locking FMW26CR2
Non-Locking FMW26CR22
High-usage cradle*Locking FMW26CR1
Non-Locking FMW26CR21
Wall-mount cradle*Locking FMW26CR4
Non-Locking FMW26CR24
Charge-only cradle N/A FMW26CR10
Cradle module†Locking FMW26CR8
Non-Locking FMW26CR28

1-2
Introduction to Connectivity Peripherals
Table 1-2 shows what type of connectors are present on each connectivity peripheral product.
* Although the wall-mount cradle includes a mouse port, the mouse port is not used in the
wall-mount cradle.
†The mouse port on the portable port expander duplicates the mouse port on the pen tablet.
On the Point 1600 pen tablet, this port can function as either a keyboard or mouse port.
Table 1-2. Connectors on Connectivity Peripherals
Portable Port
Expander
Port Replicator
High-UsageCradle
High-Connectivity
Cradle
Wall-Mount
Cradle*
Charge-Only
Cradle
Serial Port A ✔✔ ✔
Serial Port B ✔✔ ✔
Mouse Port†
(on portable port
expander)
✔✔ ✔
Keyboard ✔✔✔✔
Mouse Port
(on cradle module) ✔✔✔
Parallel Port ✔✔ ✔
Floppy Drive Port ✔✔ ✔
Video Port ✔✔ ✔
DC Power Input ✔✔✔✔✔

Cradle Module
1-3
Cradle Module 1
The cradle module is a central component in the following connectivity peripherals:
• port replicator
• high-usage cradle
• high-connectivity cradle
• wall-mount cradle
The cradle module holds the pen tablet when it is inserted in these connectivity peripherals. Two types of
cradle modules are available, a locking version (cradle module FMW26CR8), and a non-locking version
(cradle module FMW26CR28). The non-locking version is not equipped with the tubular lock and cradle
latches that are present on the locking version. The locking version of the cradle module is used to
assemble locking versions of connectivity peripherals while the non-locking version of the cradle module
is used to assemble the non-locking connectivity peripherals.
Assembly and installation instructions given in this manual generally refer to the locking version of the
cradle module; however, these instructions also apply to the non-locking version (with the exception of
instructions regarding locking and latching the pen tablet into the cradle module).
The Portable Port Expander 1
The portable port expander is best suited for mobile computing tasks where a quick and temporary
connection to peripheral computer equipment is needed and the pen tablet alone does not provide the
necessary connectivity.
The portable port expander is shipped from the factory fully assembled and ready for use. The portable
port expander is equipped with a mechanical latch and spacer that help secure the portable port expander
to the pen tablet. Before using the portable port expander, confirm that the latch and spacer are installed
on the portable port expander. See “Portable Port Expander” on page 2-1 for details.
Cradle
Module

1-4
Introduction to Connectivity Peripherals
Port Replicator 1
The port replicator provides the combined features of the portable port expander, plus additional
keyboard and power connectors. The port replicator is assembled by installing the portable port expander
in the cradle module. For assembly instructions, see “Assembling the Port Replicator” in Chapter 2 of this
manual.
The port replicator is best suited for use on a desk top and is designed for use with the FMWDS3 folding
desk stand. The port replicator replicates ports that are built into the pen tablet and adds connectivity that
is not built in. Typically, the port replicator is connected to peripheral computer equipment and the pen
tablet can then be inserted in the port replicator when the peripheral equipment is needed.
High-Usage Cradle 1
The high-usage cradle is designed for applications where the pen tablet is inserted into and removed
from the cradle frequently. The high-usage cradle is equipped with special “high-usage” connector pins
that are designed to withstand a high number of pen tablet insertion and removal operations. This cradle
is best suited for desk-top or counter-top installations where the cradle remains stationary. Locking
versions are equipped with a tubular lock which allows you to lock the pen tablet into the cradle. The
high-usage cradle assembly includes the cradle module and the cradle base. An AC adapter must also be
installed in the cradle base if the cradle is to provide power to the system. (An AC adapter is shipped
with each pen tablet and can also be purchased separately.)
Cradle
Module Portable Port
Expander Port
Replicator
=
+
Assembled Package
Components
(Note: Latch and spacer must
be removed before assembly.)
High-Usage
Cradle
Cradle
Base
=
+
Cradle
Module
Assembled Package
Components

High-Connectivity Cradle
1-5
High-Connectivity Cradle 1
The high-connectivity cradle provides all the connectivity of the port replicator and is designed for
desk-top or counter-top installations where the cradle remains stationary. Locking versions are equipped
with a tubular lock which allows you to lock the pen tablet into the cradle. The high-connectivity cradle is
assembled using a cradle module, cradle base, and portable port expander. An AC adapter must also be
installed in the cradle base if the cradle is to provide power to the system. (An AC adapter is shipped
with each pen tablet and can also be purchased separately.)
High-Connectivity
Cradle
Cradle
Base Portable Port
Expander
Cradle Module
=
+
+
Assembled Package
Components
(Note: Latch and spacer
must be removed before
assembly.)

1-6
Introduction to Connectivity Peripherals
Wall-Mount Cradle 1
The wall-mount cradle provides a folding keyboard tray and can be located in hallways or other wall
areas to give mobile workers a convenient place to store the pen tablet, input data with a keyboard and
connect the pen tablet to an external power source. Locking versions are equipped with a tubular lock
which allows you to lock the pen tablet into the cradle. The wall-mount cradle is assembled using a cradle
module, wall-mount base, and a keyboard.
Charge-Only Cradle 1
The charge-only cradle is designed for a desk-top or counter-top installation where a quick connection to
a DC power source is needed. The pen tablet can be placed in the charge-only cradle and used while
external DC power is supplied by the cradle. The cradle accommodates the pen tablet with or without the
hand strap (FMWHS5) attached. The connector pins on the cradle are “high-usage” type connectors and
are designed to withstand a large number of insertion and removal operations. The charge-only cradle is
shipped from the factory fully assembled. An AC adapter (shipped with the pen tablet and also sold
separately) is required to provide power to the cradle.
Wall-Mount Cradle
Wall-Mount
Base
Cradle Module
=
+
Assembled Package
Components
with keyboard (keyboard sold separately)
Charge-Only
Cradle

2-1
Chapter 2
Assembling and Installing Connectivity Peripherals
This chapter describes the assembly and installation of connectivity peripherals.
Portable Port Expander 2
The portable port expander can be used alone with the pen tablet or it can be installed in the cradle
module as a component in other connectivity peripheral assemblies.
The portable port expander is equipped with a latch mechanism and spacer to allow it to be attached
directly to the pen tablet. For details on attaching the portable port expander to the pen tablet and
connecting peripheral devices, refer to the Connectivity Peripherals User’s Guide.
Removing the Latch and Spacer (For Installation in Cradle Module Only) 2
The portable port expander is shipped with two extra screws that are used if the portable port expander
is installed in the cradle module as a component in another connectivity peripheral assembly. If you plan
to install the portable port expander in the cradle module, you must first remove the latch and spacer. To
do so, remove the screws (called out in Figure 2-1) that fasten the latch and spacer to the portable port
expander. (Save the latch, spacer, and screws in case they are needed later.) Once the latch is removed,
the portable port expander can be installed in the cradle module.
Figure 2-1. Portable Port Expander Latch
Screws
Spacer
Latch Detail:
Latch Handle
Latch
Locked Position
Unlocked Position

2-2
Assembling and Installing Connectivity Peripherals
Connectors 2
Figure 2-2 shows the location of peripheral connectors on the portable port expander.
Figure 2-2. Bottom View, Portable Port Expander
Peripheral connectors on the portable port expander are described in Table 2-1.
The ability of the pen tablet to utlize these ports is determined by BIOS settings. Ensure that the ports you
intend to use are enabled and properly configured in the BIOS.
Table 2-1. Portable Port Expander Connectors
Port Description
Serial Port A This 9-pin D-sub male connector can be used to connect
an external device with a serial interface such as a
modem. This is a fully-functional RS232-C serial port.
Serial Port B This connector can be used to connect an external device
with a serial interface. Note the following:
1) This port provides only the Rx and Tx (receive and
transmit) signals of the RS232-C interface. 2) When this
port is enabled, the IrDA port on the pen tablet is disabled.
Parallel Port This 25-pin D-sub female connector can be used to
connect a device with a parallel interface such as a parallel
printer.
Floppy Disk
Drive Port This connector can be used to connect the Fujitsu
FMWFD2 floppy disk drive.
Mouse Port This 6-pin mini-DIN plug can be used to attach a
PS/2-style mouse. When used with the Point 1600 pen
tablet, this port can be connected to either a PS/2-style
keyboard or mouse.
Video Port This 15 pin D-sub female connector allows you to connect
an external SVGA monitor.
Point 1600 pen tablet users: Note that an external monitor
and the pen tablet display screen cannot be viewed
simultaneously.
Serial Port B
Serial Port A
Parallel Port
Video Port
Floppy Disk
Mouse Port
Drive Port

Assembling the Port Replicator
2-3
Assembling the Port Replicator 2
The port replicator is assembled using a cradle module and a portable port expander. The process of
assembling the port replicator is outlined in the following:
• Install the portable port expander in the cradle module.
• Attach the rubber feet to the cradle module.
• Attach the wire catch to the cradle module.
(Required if using the port replicator with the folding desk stand.)
Detailed procedures for these tasks are given in this section. Before you begin, the latch and spacer
provided with the portable port expander must be removed. See “Removing the Latch and Spacer (For
Installation in Cradle Module Only)” on page 2-1 for details.
Note that the following hardware is included with the cradle module and is used when assembling the
port replicator:
• Four rubber feet with four mounting screws
•Wirecatch
• Cover label (not used in this assembly)
• Two tube keys for use with the tubular lock (locking versions only)

2-4
Assembling and Installing Connectivity Peripherals
To install the portable port expander in the cradle module,
1. Insert the portable port expander through the bottom of the cradle module as shown in Figure 2-3.
2. Position the portable port expander so you can see the portable port expander screw holes through
the two holes inside the cradle module.
3. Insert the two screws (provided with the portable port expander) as shown in Figure 2-3 and tighten
until snug.
Figure 2-3. Installing the Portable Port Expander
Attaching the Feet 2
Using the four screws provided with the cradle module, attach the rubber feet to the back of the cradle
module as shown in Figure 2-4. Tighten the screws until they are snug, do not over tighten them.
Note: The feet are only installed on the cradle module when assembling the port replicator. Do not install the
feet if you are assembling the high-usage cradle, high-connectivity cradle, or wall-mount base.
Attaching the Wire Catch 2
The port replicator is designed for use with the FMWDS3 folding desk stand to improve viewing and
usability. To secure the port replicator to the desk stand, a wire catch is provided.
The wire catch is a piece of spring-steel wire that is inserted in a set of holes in the back of the cradle
module. You can install the wire catch in one of 3 different positions allowing you to mount the port
Warning
Use the wire catch when using the port replicator with the
desk stand. Simply leaning the port replicator on the desk
stand is unstable and the pen tablet will fall.
Portable Port Expander
Screws
Cradle
Module
Tubular Lock
This manual suits for next models
15
Table of contents
Other Fujitsu Tablet Accessories manuals

Fujitsu
Fujitsu Point 1600 User manual

Fujitsu
Fujitsu FMWSP9 User manual

Fujitsu
Fujitsu Stylistic 3400 User manual

Fujitsu
Fujitsu Point 1600 User manual

Fujitsu
Fujitsu FPCCC24 User manual

Fujitsu
Fujitsu Executive Leather Portfolio Case User manual

Fujitsu
Fujitsu FPCCC27P User manual

Fujitsu
Fujitsu PenCentra 130 User manual

Fujitsu
Fujitsu P-600 - Stylistic LT User manual

Fujitsu
Fujitsu Stylistic 2300 User manual