7
3. The possession arrows can be enabled or disabled at any time before or during a game. If the
possession indicators are disabled, pressing the or button will enable the
possession indicator for the respective side. Pressing the same button again will disable the
possession indicator. Pressing the opposite team’s possession button when the arrows are on will
simply switch the indicator to that team’s indicator.
4. The scoreboard horn can be configured to automatically sound for different conditions (aside from
manually sounding it with the ‘HORN’ button). The game clock must be enabled for the
automatic horn sounding to be enabled:
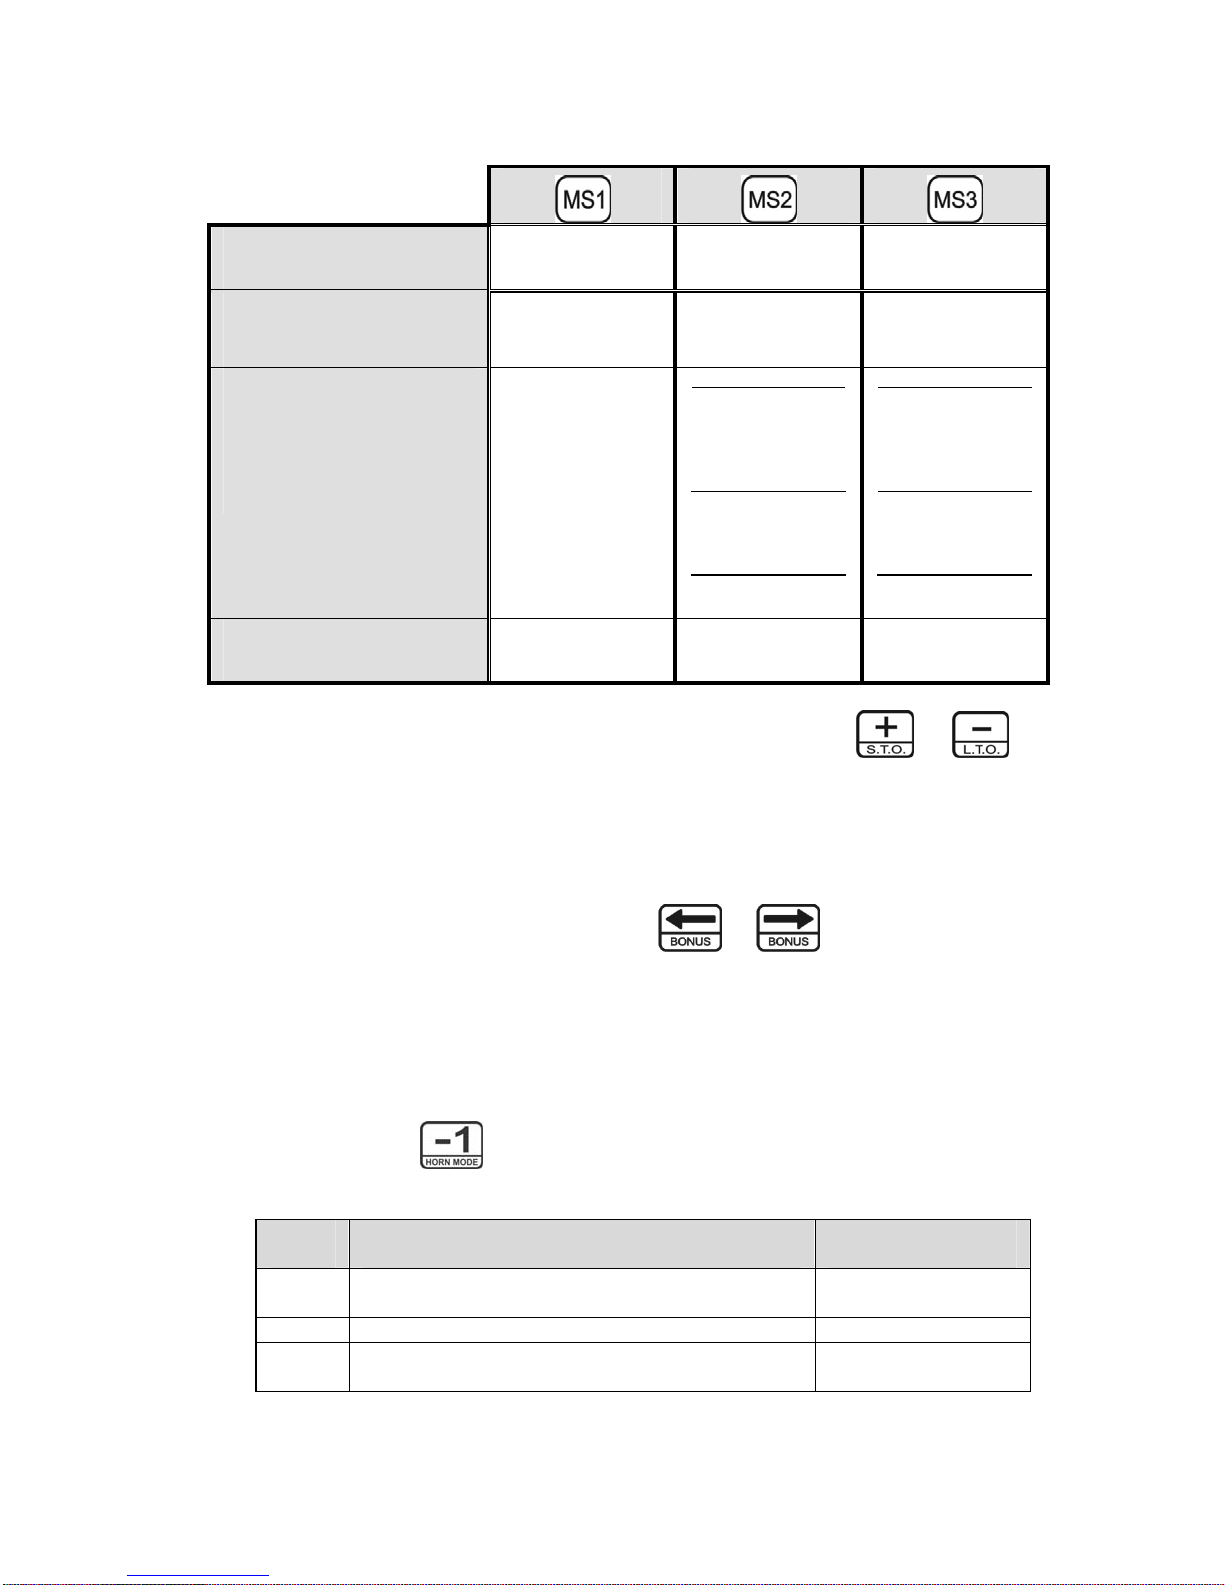
Press and hold the button for 3 seconds to cycle through each of the three modes
described below.
HORN
MODE
DESCRIPTION OF HORN MODE
INDICATED BY
1 Automatic horn sound disabled – no horn when period
expires or when clock started/stopped Display blinking
once when selected
2 Horn sounds when period ends (default) Horn beeps once
3 Horn sounds when clock starts/stops, and when period ends Horn beeps twice
NOTE: The display may dim or go offwhile the horn is sounding when the scoreboard is
powered with batteries. This is a sign that the batteries are near the end of their life.
5. To start and stop the game clock, press the or buttons, respectively.
6. Use the , , , and buttons to control the team scores. Use the
and buttons to control the possession arrows (i.e., indicate who has controlling
serve in a game of table tennis, or to indicate who has control of the ball).
7. The SNT-130MP scoreboard has the ability to display fouls for each team when using play mode 1.
Simply press the and buttons to increment the Home and Guest team’s fouls,
respectively. Press and release the button to clear the fouls display.
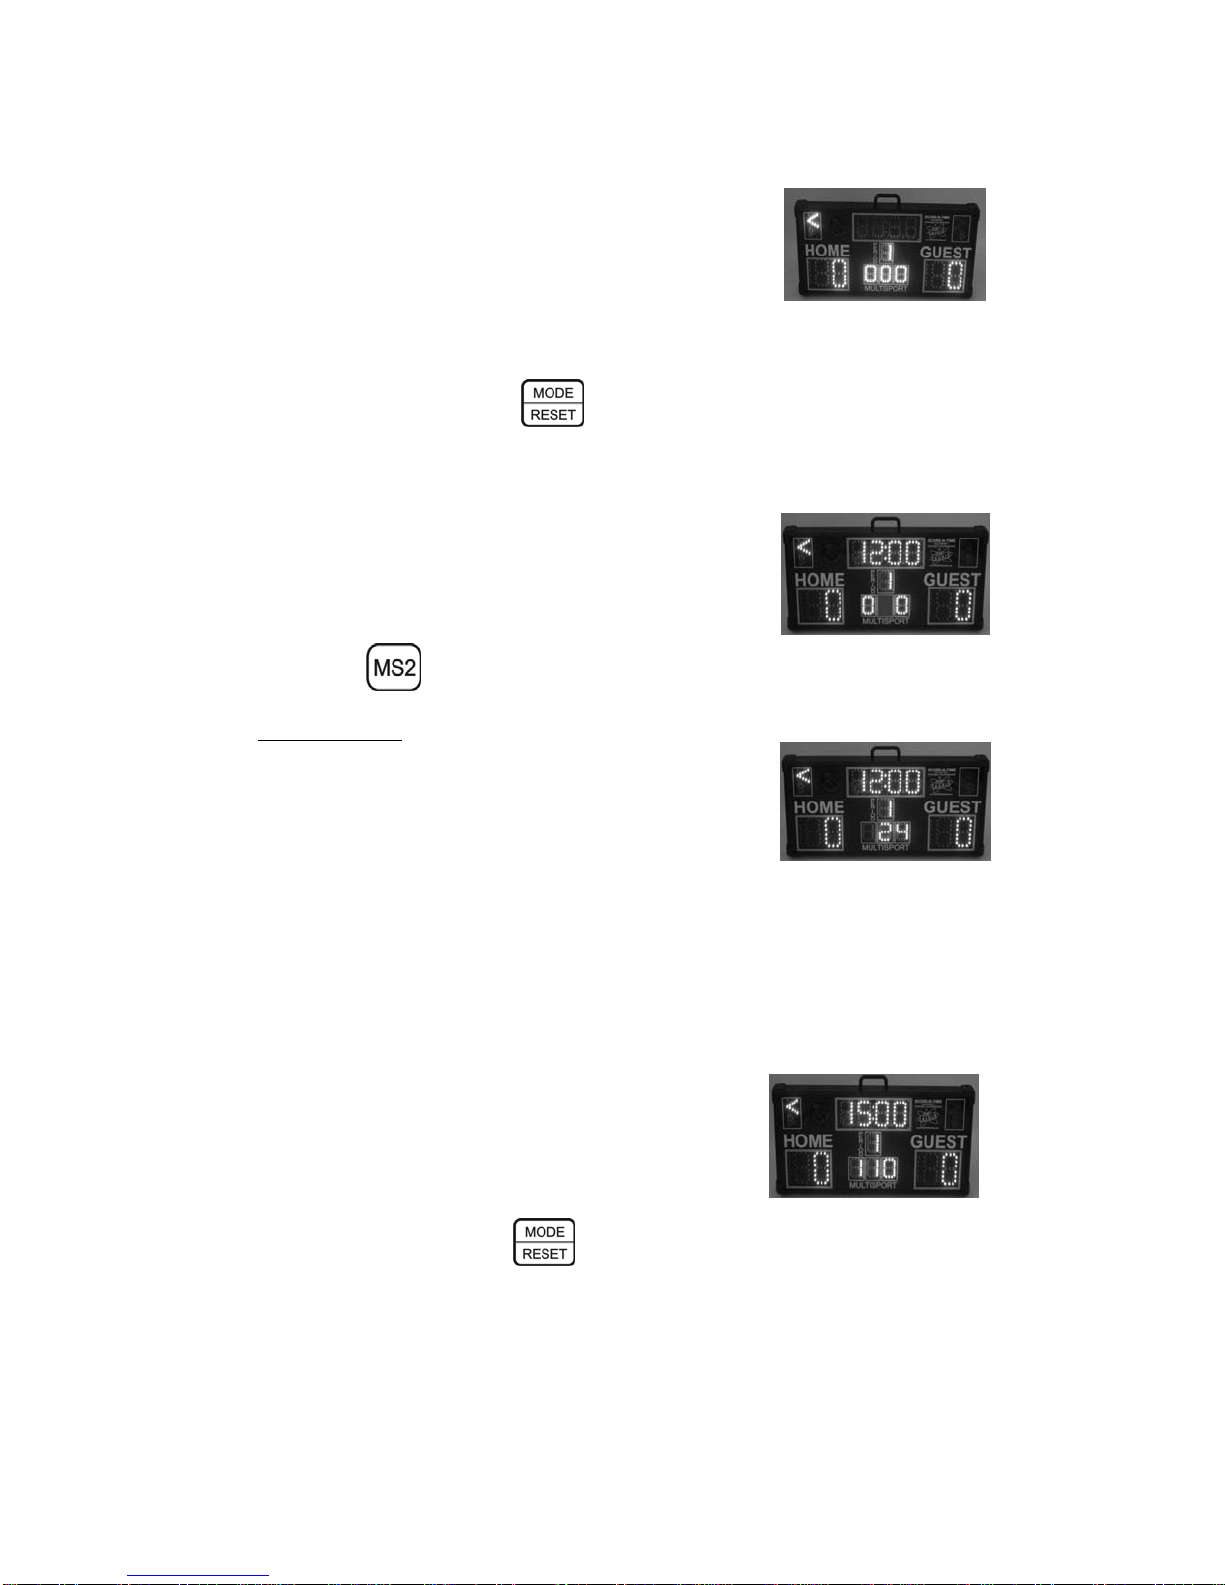
8. After approximately 10 minutes of non-use (game clock stopped, no buttons pressed), the
scoreboard display will shut off and the game clock decimal point will blink to indicate the
scoreboard is still on and in power save mode. Pressing any button on the remote will re-awaken
the scoreboard with the previous status of the game play information intact.
9. To adjust the remaining time in a period during game play (i.e., disputed call requiring adding time
back onto the game clock): stop the game clock and press the and buttons to add
or subtract time from the game clock, respectively. Game play can resume by pressing the
button. This adjustment will not affect the length of the remaining periods.
10. If your game goes into overtime, set the period digit to ‘0’ by repeated presses of the
button and then set the length of the overtime period time using the and buttons.
See Section 9 for details on using the halftimeand overtime periods.
11. Your scoreboard features a short and long timeout function when using play modes 1 or 2. Refer to
Section 10 for details on using the short and long timeout feature.