Furniture Solutions Piazza Series User manual

INSTRUCTION MANUAL
PRODUCT: PIAZZA RANGE
MADE IN CHINA
Furniture Solutions (Aust) Pty Ltd
10-16 Daisy St,
Revesby, NSW. 2212
www.furnituresolutions.com.au
Piazza 2Pce Modular Lounge
Piazza Low Dining Table (Sold Separately Assembly Required)
Piazza Bench Seat (Sold Separately Assembly Required)
Please retain these pages as they contain ps to maximize the lifeme of your furniture with a measured eort.
Properly caring for your furniture can help ensure that it looks great year aer year.
Important Noce: While every eort is made to use quality materials our products are limited in design for domesc use only
& are not suitable for commercial use.

PRE ASSEMBLY PREPARATION
Before you start:
1. Choose a clean, level, spacious assembly area. Avoid hard surfaces that
may damage the product
2. Take care when liing. Product should be assembled as near as possible to
the point of use
3. Ensure that you have all required contents for complete assembly
4. Always read the assembly instrucons carefully before beginning assembly
5. Keep all hardware parts and packaging out of reach of small children
6. Do not over ghten the screws and bolts as this may damage the threads
40
MINUTES
ALLOW TIME PEOPLE REQUIRED
X2
For any assistance with assembly or missing parts please contact:
Place of purchase or Furniture Soluons on below
Customer Service (Australia) Phone– 1300794 188
Email– customerservice@furnituresoluons.com.au

Component List
Piazza 2Pce Modular
Sofa with corner
Frame Size
2100*850*680mm
Seat Cushion x 1 1940*780*120mm
Back Cushion x 3 640*420*300mm
Corner Cushion x 1 540*420*300mm
Sofa one end open 2120*850*680mm
Seat Cushion x 1 1940*780*120mm
Back Cushion x 3 640*420*300mm
Scatter Cushion x 6 450*450mm

Component List Low Dining Table Component List Bench Seat
A: x 1
Table Top
165*98cm
A: x 1
Bench Top
150*40cm
B: x 2
Table Leg B: x 2
Bench Leg
C: x 1
Support Brace C: x 1
Support Brace
Parts List Low Dining Table Parts List Bench Seat
D: x 12
Bolt M6 x 25mm
D: x 12
Bolt M6 x 15mm
E: x 1
Tool Allen key 4mm
E: x 1
Tool Allen key 4mm
Piazza Low Dining Table
ASSEMBLY STEP 1–FIT LEG FRAME
Lay table top [A] facing down on a soft clean surface. Locate threaded holes inside of frame in
table top. With the help of another person aline the holes in table leg [B] with thread holes in
table top. Once aliened have second person hold table leg in position while by hand you insert
bolt [D] thru hole in table leg, now seat thread correctly by turning bolt 2-3 times to ensure
bolt is griped properly. Note do not tighten yet. Repeat for all remaining bolts. Move to step 2

Piazza Low Dining Table
ASSEMBLY STEP 2–FIT SUPPORT BRACE
Take support brace [C] with the help of another person line up holes in support brace with
threaded holes in table leg, as indicated in diagram. With other person holding support brace
level. Take bolt [D] insert thru hole support brace into threaded hole ensure to seat thread
properly by turning bolt 2-3 times. Do not tighten fully yet. Repeat for remaining bolts. Once all
bolts are seated correctly, take tool [E] and tighten all 12 bolts till firm. Note overtightening
can strip threads. Assembly complete. With the help of another person lift table (do not roll)
into air and rotate till feet are on the ground.

Piazza Bench Seat
ASSEMBLY STEP 1/2–FIT LEG FRAME
Lay bench top [A] facing down on a soft clean surface. Locate threaded holes inside of frame
in bench top. With the help of another person aline the holes in bench leg [B] with thread
holes in table top. Once aliened have second person hold bench leg in position while by hand
you insert bolt [D] thru hole in bench leg, now seat thread correctly by turning bolt 2-3 times
to ensure bolt is griped properly. Note do not tighten yet. Repeat for all remaining bolts.
Step 2 Repeat for second leg.
Piazza Bench Seat
ASSEMBLY STEP 3–FIT SUPPORT BRACE
Take support brace [C] with the help of another person line up holes in support brace with
threaded holes in table leg, as indicated in diagram. With other person holding support brace
level. Take bolt [D] insert thru hole support brace into threaded hole ensure to seat thread
properly by turning bolt 2-3 times. Do not tighten fully yet. Repeat for remaining bolts. Once all
bolts are seated correctly, take tool [E] and tighten all 12 bolts till firm. Note overtightening
can strip threads. Assembly complete. With the help of another person lift table (do not roll)
into air and rotate till feet are on the ground.

Polywood or plastic lumber is composed of virgin or waste plastics including HDPE, PVC, PP,
ABS, PS and PLA. Additives such as colorants & stabilizers are introduced during melting process
to ensure bonding to plastic at a cellular level.
It is waterproof and resists all types of rot and mould, although it is not as rigid as wood and
may slightly deform in hot weather. Again in hot weather surface can become soft or supple,
product should not be exposed to direct heat. Care should be taken to use table cloths and
placemats to avert marking Polywood.
Cleaning Polywood
Use a bucket filled with warm water & a soft soap, sponge all over till clean then rinse with
clean water. Using a soft clean cloth wipe till dry. For stubborn stains a mixture of 1/3 bleach
and 2/3 water using a soft non-metallic brush, please rinse thoroughly with clean water and dry
as above. Some scratchers and marks can be sanded out depending on surface of Polywood
please contact Furniture Solutions before attempting to repair, contact details on page 2.
Fabric Information
Fabrics used in outdoor product are not made of any special type of material; they do however
use blends of common materials such as polyester, olefin & acrylic which perform best for
intended purpose. These fabrics are not impervious to fading or mould, ensure cushions are
always dry and put away when not in use.
Fabric Maintenance
It is important to keep fabric free of dust and or debris. Please vacuum at least every 2-3
weeks. Spot cleaning warm water & soft soap solution, sponge onto affected area till clean rinse
area with clean sponge, pat dry with a soft clean cloth. Stubborn stains may be removed with
fabric cleaner or if available steam cleaning is ok providing covers are left on filling and on
gentle setting. Note do not use solvents, do not machine wash, do not tumble dry.
PRODUCT CARE & MAINTENANCE

PRODUCT CARE & MAINTENANCE
Aluminium Frame Information
The majority of frames are mainly produced from aluminium, with the main benefit being a
light weight product for easier use. Some designs require steel to be used in certain sections
for added strength. While aluminium is rust resistant, bare metal can show signs of oxidation
(red film) this does not constitute rust. Simply you are able to wipe or sand surface to remove
oxidation mark.
Note you will need to touch up affected area with paint to stop from reoccurring. Steel itself
has a lower resistance to elements than aluminium and will show signs of rust as it ages.
Limited exposure & maintenance are best solutions for adding life to any furniture used in
outside areas.
Aluminium Frame Maintenance
Use a bucket filled with warm water & a soft soap, sponge over frame till clean, once clean
rinse off with a hose, pat dry with a soft clean cloth before use. Every 4-6 weeks.
Note when cleaning if you find scratches in paint, please cover with a suitable paint to prevent
oxidation.
Cushions
Rotate cushion if possible to share the wear, take in cushions when not in use & stored in a
dry area. Should cushions get wet, please hang over chair frame to drip dry completely before
using or storing. Cushion and sling fabric fading resulting from general wear and tear or from
a failure to comply with these care and maintenance instructions are not covered under the
warranty. Mould & mildew of cushions & slings is caused through atmospheric conditions, such
as damp or poorly ventilated areas please check regularly for dampness.

WARNING SAFETY & ADVICE
Please be aware materials used in your furniture are not impervious to neglect, acts of god,
abuse, alcohol spills, improper use of chemicals such as bleach or any solvent based product,
products are limited in design for residential use only and not suitable for commercial use.
Please be aware that heat generated from barbeques and heaters will have an adverse effect on
your furniture do not place furniture in close proximity to heat sources.
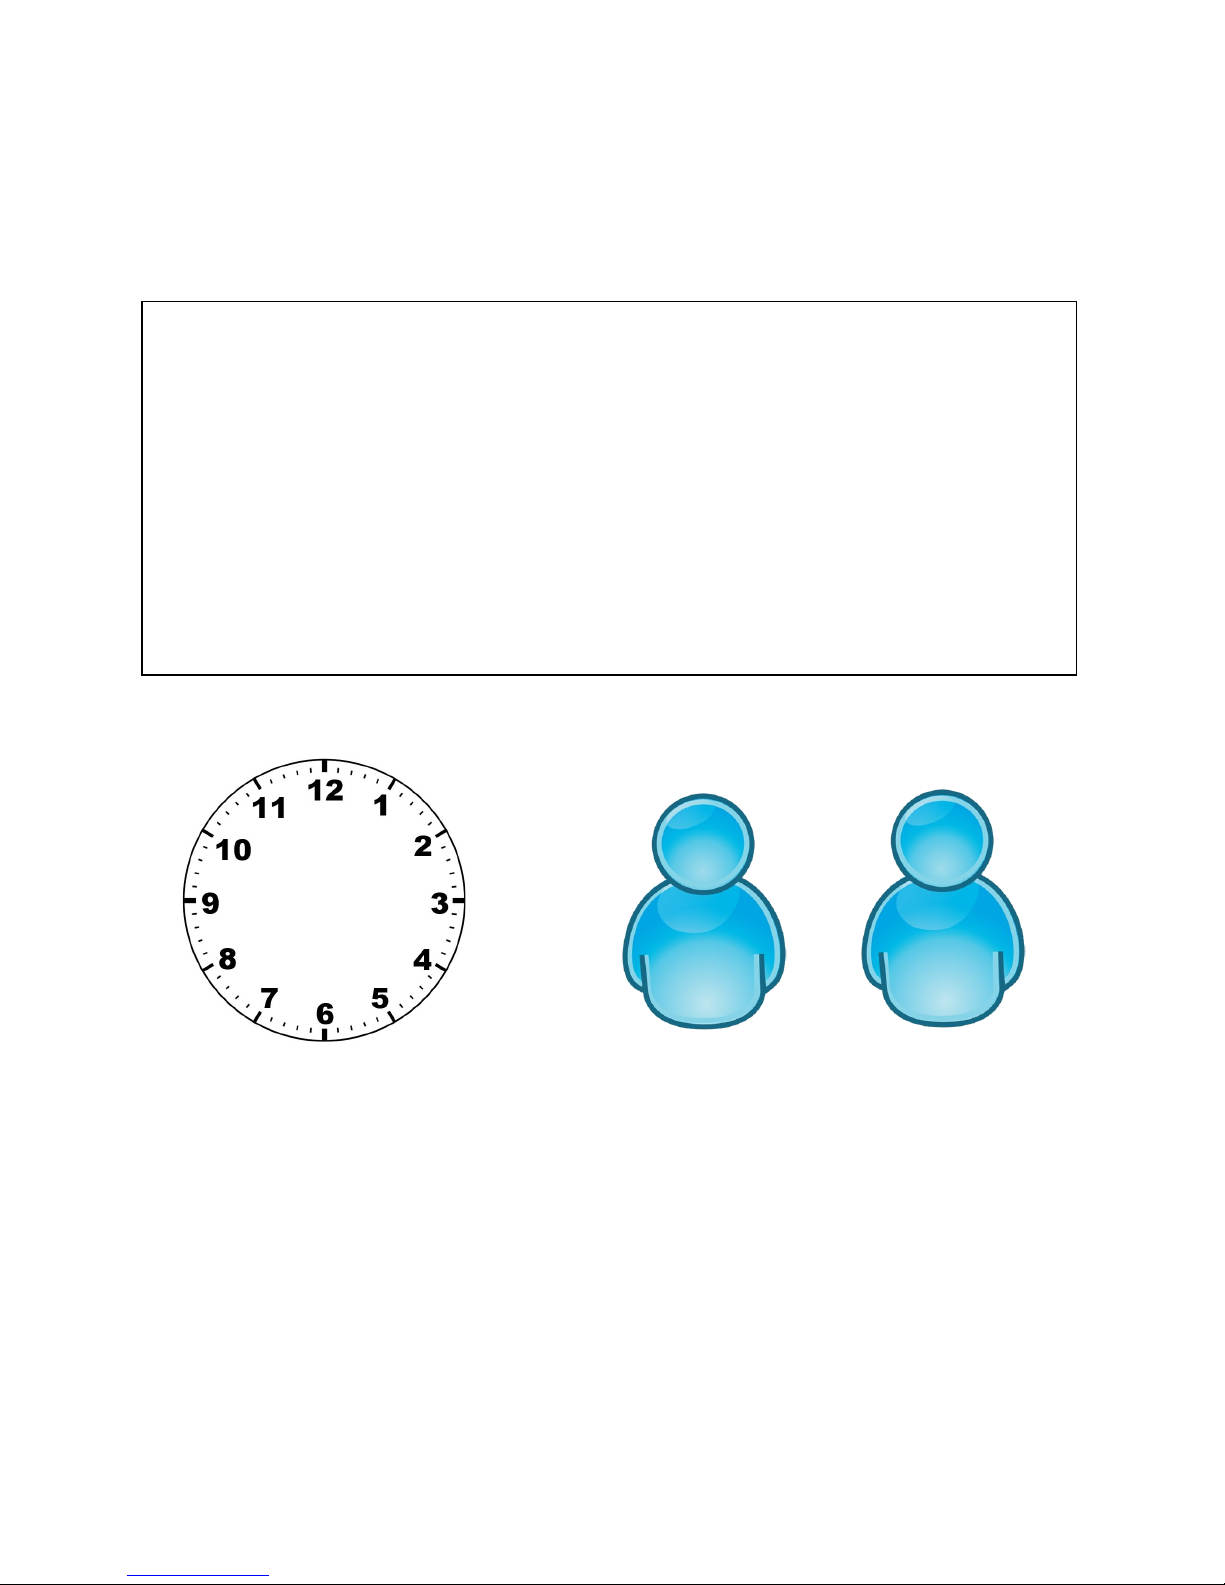
When moving tables, chairs, sofas or bench’s always lift off the floor never drag. Most tables
would require a 2 person lift doing so benefits yourself and furniture as dragging may cause
damage to furniture and or surface on flooring.
Do not stand on furniture for your own safety & for the sake of the furniture
Never strike glass
Never drag or lean back chair, sofa, benchers whilst sitting on them
Tables, chairs, sofas & benches are not work benchers please only use as intended.
Fitting; bolts, nuts & screws should be checked periodically to ensure they are still firm. Note
do not over tighten.
Please secure furniture during in climatic weather, as lightweight aluminium can become a
projectile
Polywood is made up of plastic material, be aware that high temperatures will soften the
lumber panels, please keep out of direct sunlight at all times, ensure hot or cold containers
have sufficient insulation between surface of table and said container IE: Coffee cups, plates
with hot food, do not place of surface at any time candles, fry pans & any other utensil that
retains heat. Always use place mats made of cork, tile or wood. Fabric place mats provide no
protection from heat.
Please be aware of staining fabric; Suntan oil, alcohol, juices & other chemical may do per-
manent damage to your covering, should be cleaned immediately
General wear & tear on cushions, please rotate cushions were possible as filling will soften
with use, replacement cushion fillings can be purchased from local upholster if required in
future.
General wear & tear fabrics, most synthetic fabric resist pilling but pilling can occur from
transference from other fabric that come in contact with material IE: Cotton clothing & or
towels.
Do not allow children to play under tables
In summary outdoor furniture products require care to provide you with many years of use.
Best results are to combine maintenance and protection from environment + the use of an out-
door cover can give you better result with least amount of effort.

1 Year Warranty
A one (1) year warranty applies to product against any defect associated with faulty workmanship for a period of
(1) year from date of purchase.
Extended Warranty of (1) year total of (2) years applies to Polywood panels against any defect associated with
faulty workmanship from date of purchase.
Extended Warranty of (2) year total of (3) years applies to aluminum frame against any defect associated with
faulty workmanship from date of purchase.
Furniture Solutions accepts no responsibility for defects caused by incorrect assembly, mishandling, acts of god,
general wear & tear, stains from spills/vegetation, chipping/scratching, exposure to extreme heat/cold, mould/
mildew, hardware corrosion, misuse of the products & defects caused by failure in duty of care for the product in
accordance with the care instructions. Warranty only extends to original purchaser and is not transferable, except
when given as a gift.
Duty of care:
While every attempt is made to supply product using quality components there is always a need from consumer to
help ensure a long life of use for product.
*Proper use of item, only what it is designed to do
*Regular maintenance and cleaning
To extend the life of your outdoor furniture we recommend the following furniture covers should be used on
furniture which is used in areas not protected from elements. Caution should be used when using oils, lotions &
other chemicals such as chlorine.
Instruction Manual – Have been written to suit individual materials used in construction, please retain for future
use for duty of care, assembly, parts & component sizing.
Claim management:
To make a warranty claim, customers can either contact the retailer where the purchase was made or Furniture
Solutions on contact details below. Proof of purchase will be required before proceeding with any claim. In the
case of product defects providing photos may be able to speed up processing of the claim. If missing parts please
refer to assembly instructions for identification of said part and contact either of the above.
“Our goods come with guarantees that cannot be excluded under the Australian Consumer Law. You are entitled
to a replacement or refund for a major failure and for compensation for any other reasonably foreseeable loss or
damage. You are also entitled to have the goods repaired or replaced if the goods fail to be of acceptable quality
and the failure does not amount to a major failure”.
Warranty details:
Table of contents
Other Furniture Solutions Outdoor Furnishing manuals
Popular Outdoor Furnishing manuals by other brands

VRIES
VRIES TRENDY PURE TWIN Eco Beach Chair Care & assembly instructions

stilum
stilum placidus 2 Mounting instructions

Happy Garden
Happy Garden ALIZE 2TEN101 Assembly instructions

Modern-Mill
Modern-Mill ACRE THE FERNWOOD Assembly instructions

BullFrog
BullFrog ISOLA OD1519 Assembly and instruction manual

HOMEDEPOT
HOMEDEPOT XWG-098 instruction manual