1. PREPARATION
2
1.2 How to Setup the PC
Note: The item names may be different depending on your operating system.
1. Power the PC.
2. Set the IP address and subnet mask in [Network and Internet] – [Network and
Sharing Center] – [Change adapter settings] – [Ethernet] – [Properties] – [Internet
Protocol Version 4 (TCP/IPv4) Properties].
• IP address: 192.168.31.226
• Subnet mask: 255.255.255.0
3. Set the following items in [Power Options].
• [System Settings] – [When I press the power button]: Select [Do nothing].
• [System Settings] – [When I close the lid] or [When I press the sleep button]:
Select [Do nothing].
• [System Settings] – [Shutdown settings] – [Turn on fast startup]: Uncheck the
box.
• [Create a power plan]: Select [Balanced] or [High performance].
• [Edit Plan Settings] – [Turn off the display]: Select [Never] or an arbitrary option.
• [Edit Plan Settings] – [Put the computer to sleep]: Select [Never].
Note: When there is no menu item listed above, set your PC not to sleep while
running this software.
4. Set the following items in [Display].
• [Scale and layout] – [Change the size of text, apps, and other items]: Select
[100%].
• [Scale and layout] – [Resolution]: Select [1920 ×1080].
Firewall Settings
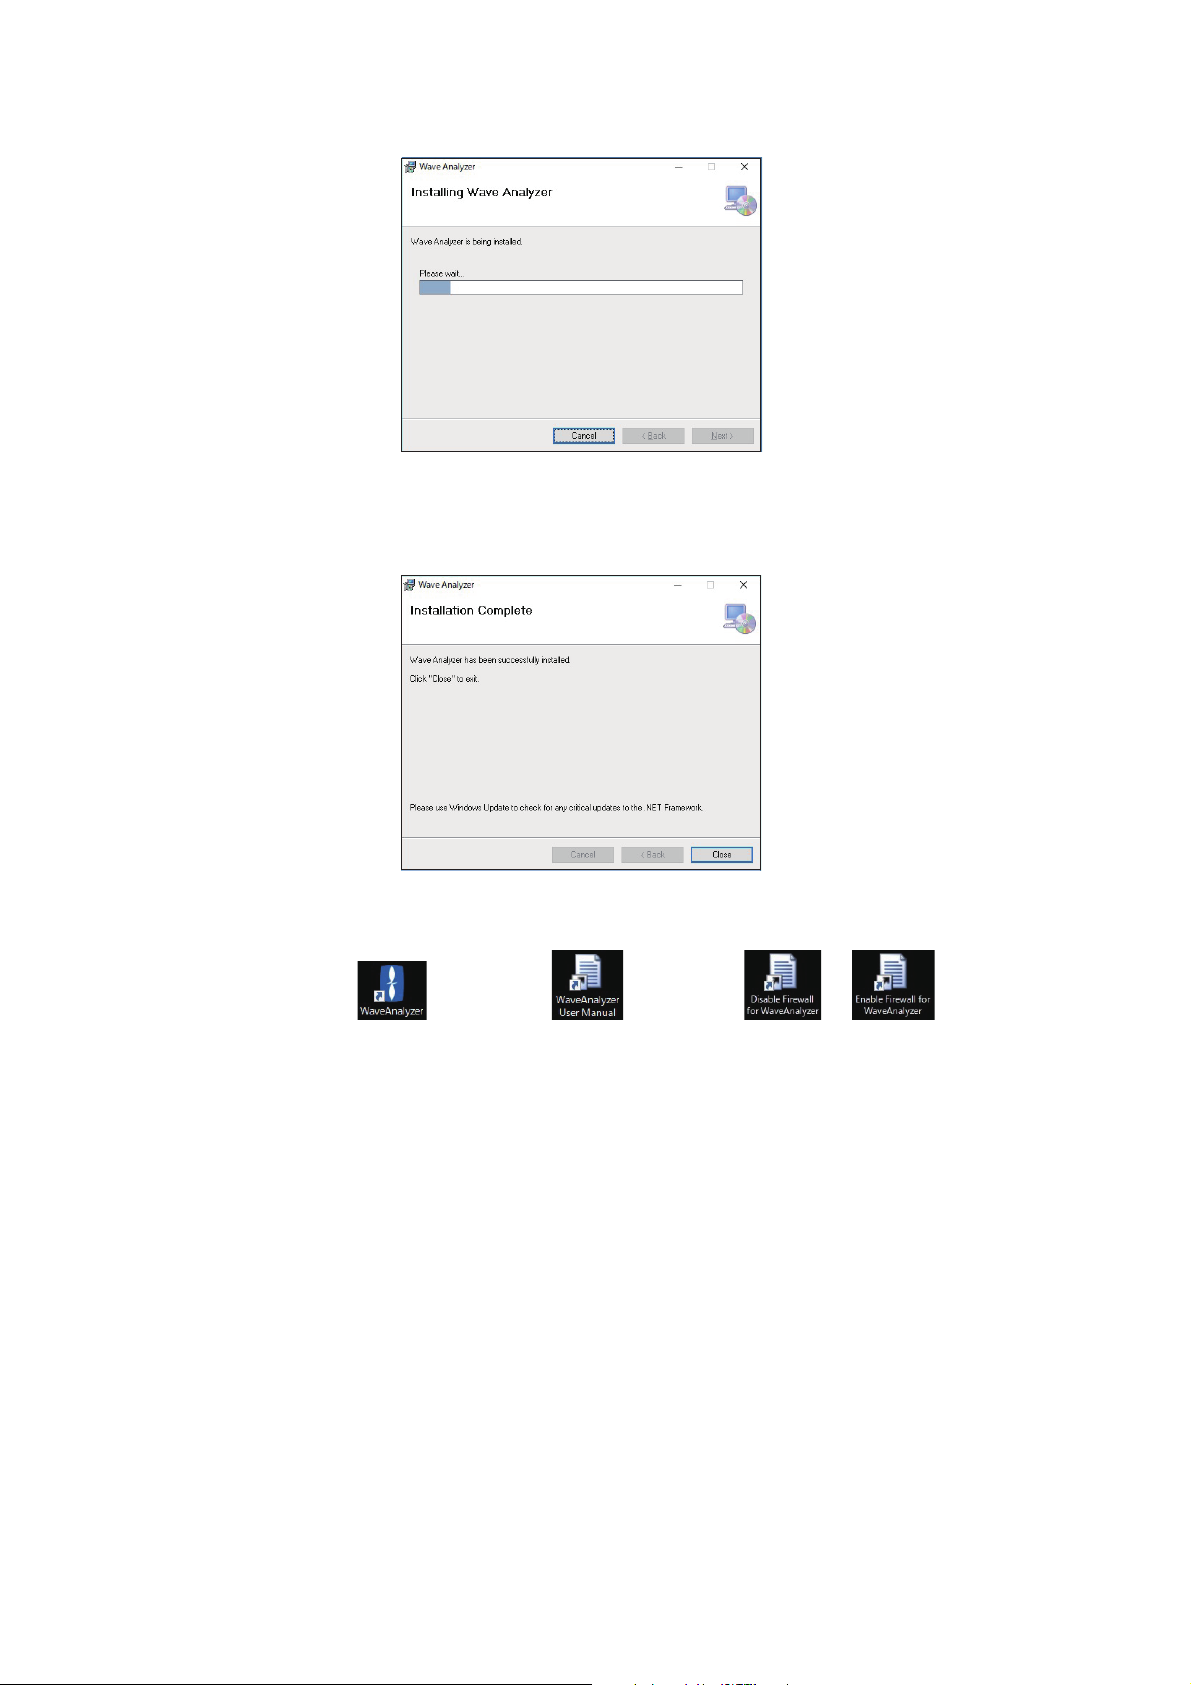
As part of the software installation process (see section 1.3), two shortcuts are created
on your desktop for switching firewall settings.
• [Enable Firewall for Wave Analyzer]: firewall settings are adjusted and optimized
for the analysis software.
• [ Disable Firewall for Wave Analyzer]: optimizations are removed and previous set-
tings are restored.
Depending on your PC settings, the [User Account Control] dialog may appear when
you click either of the shortcuts.If the [User Account Control] dialog appears, click
[Yes].