MAN_BRW 199199.1200_Vers. 03_2013 BRW 148200
Brütsch / Rüegger Werkzeuge AG • Heinrich Stutz-Strasse 20 • Postfach • 8902 Urdorf • Tel. +41 44 736 63 63 • Fax +41 44 736 63 00 • www.brw.ch • sales@brw.ch
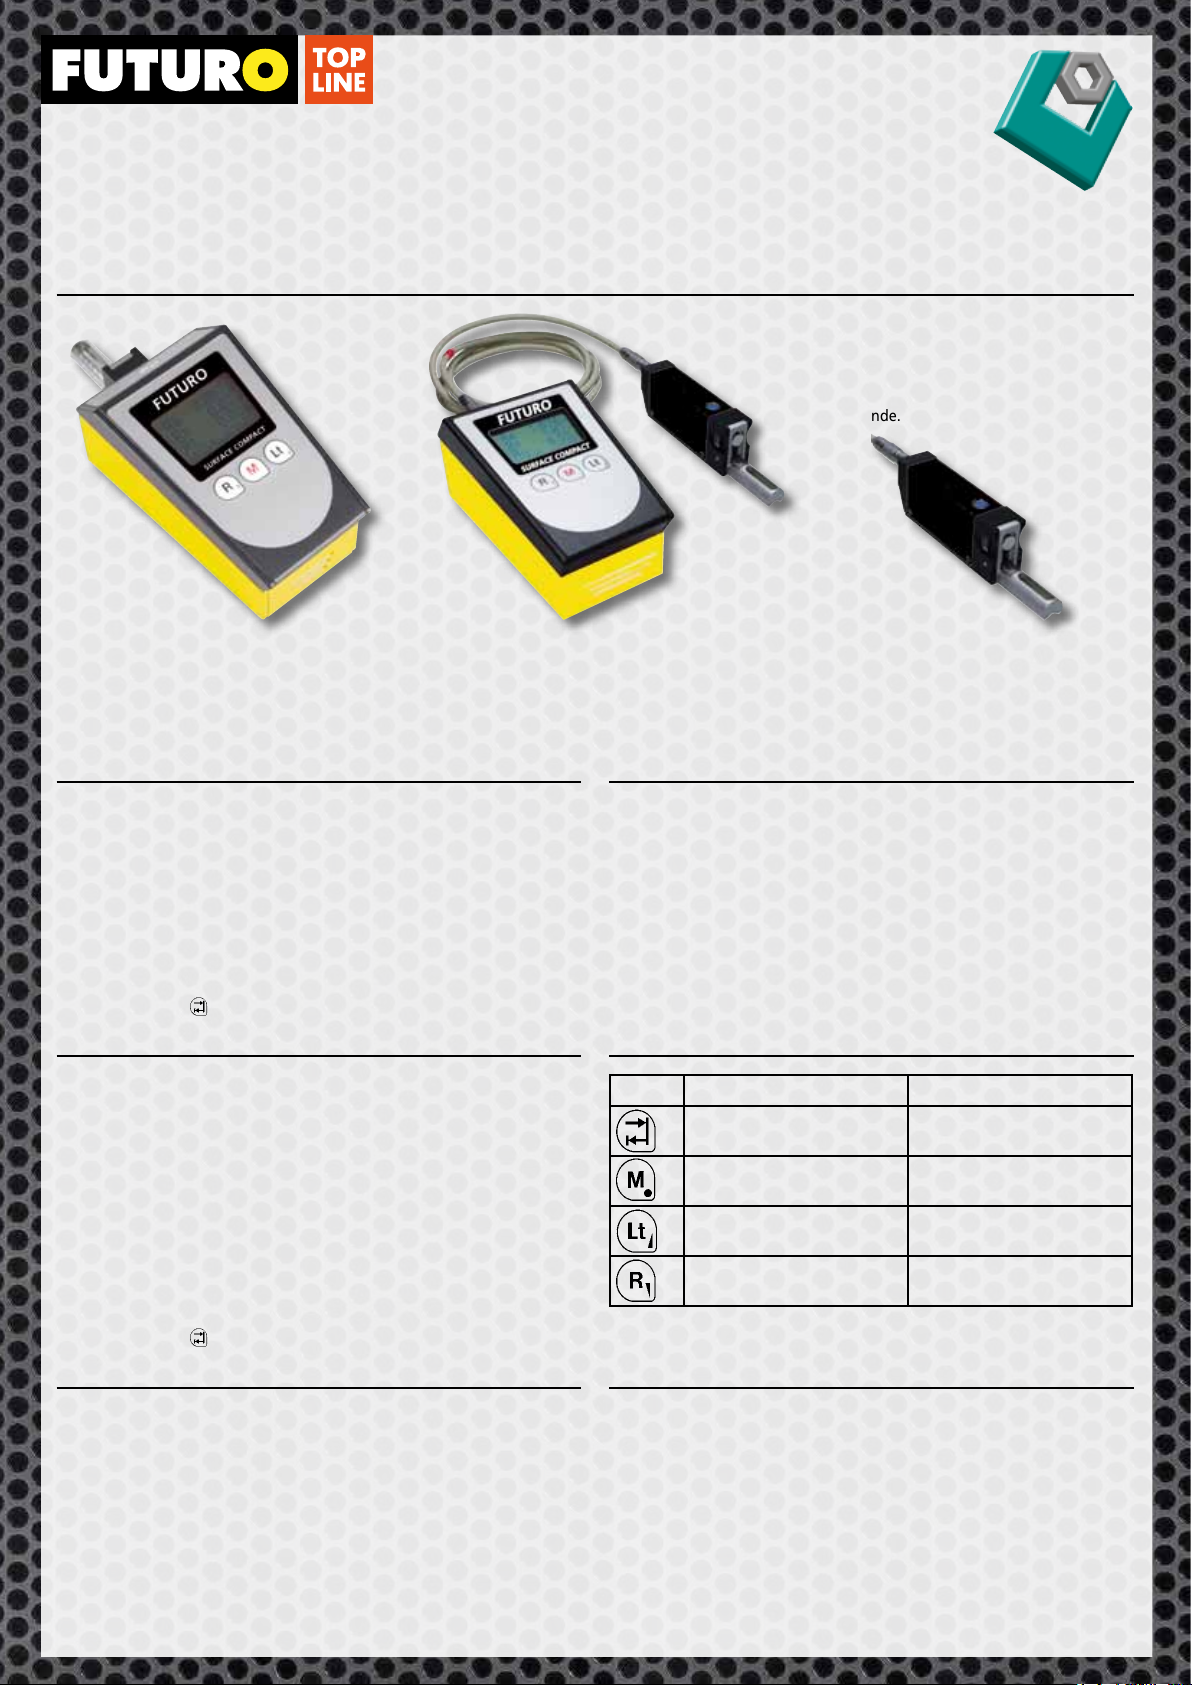
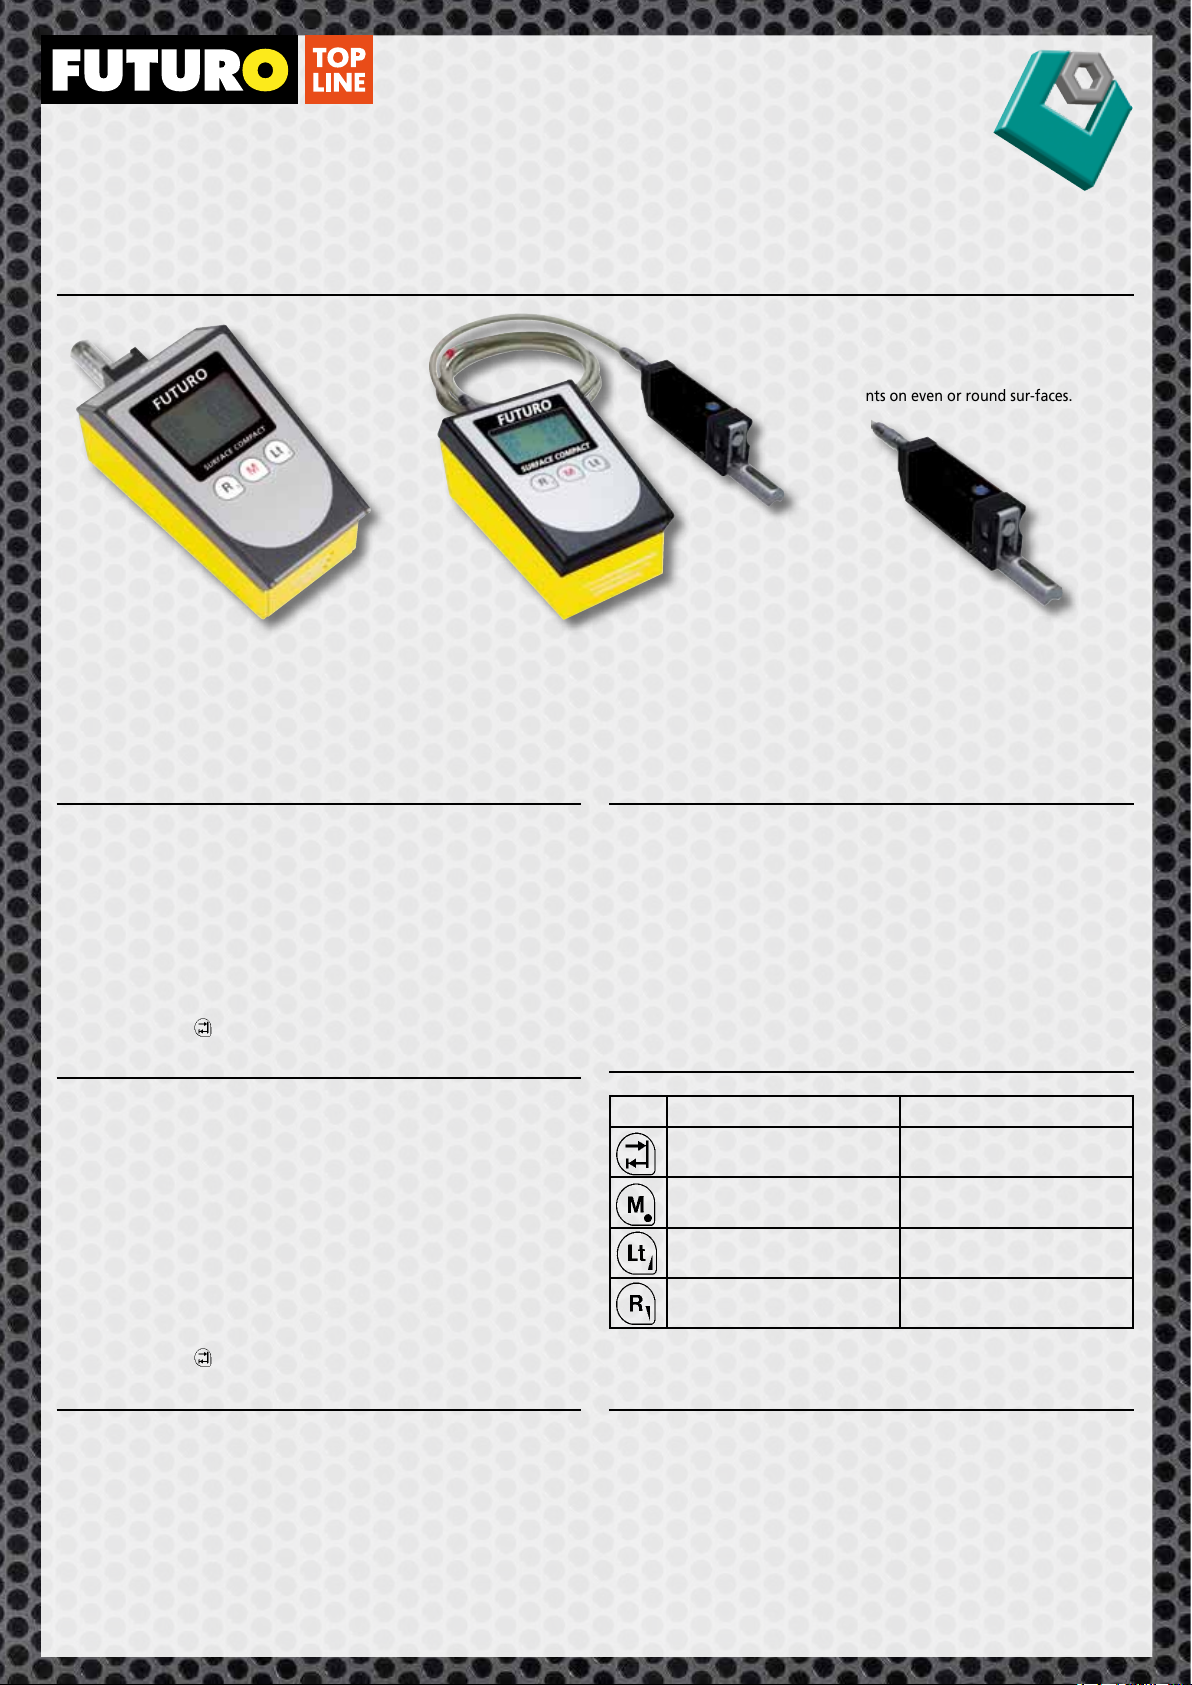
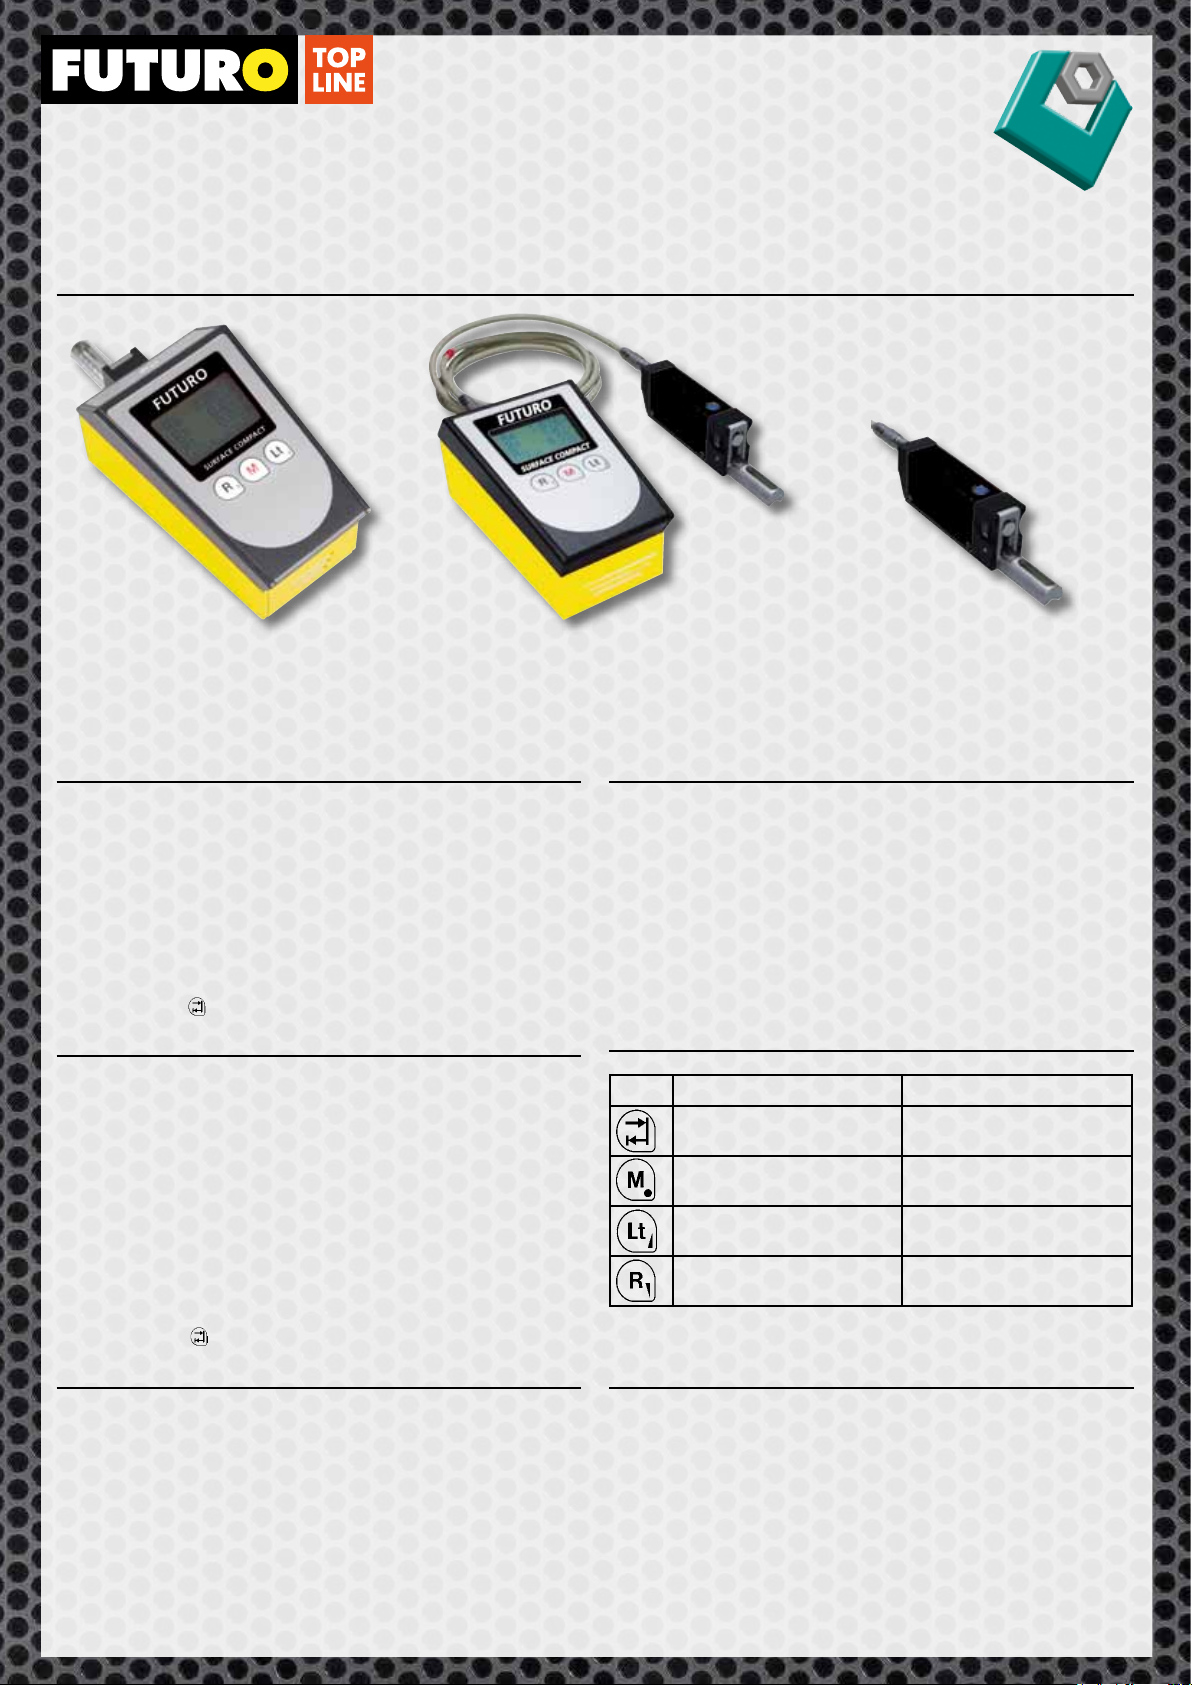
Structure of instrument
The FUTURO SURFACE COMPACT VHF is supplied with an adapter, connected
directly with the instrument, and an extension cable for measuring directly
with the handier traverse unit. This enables free measurements, to reach
badly accessible measuring spots, and to effect measurements by means of
a measuring support as well - unavoid-able for measuring with skidless
tracers.
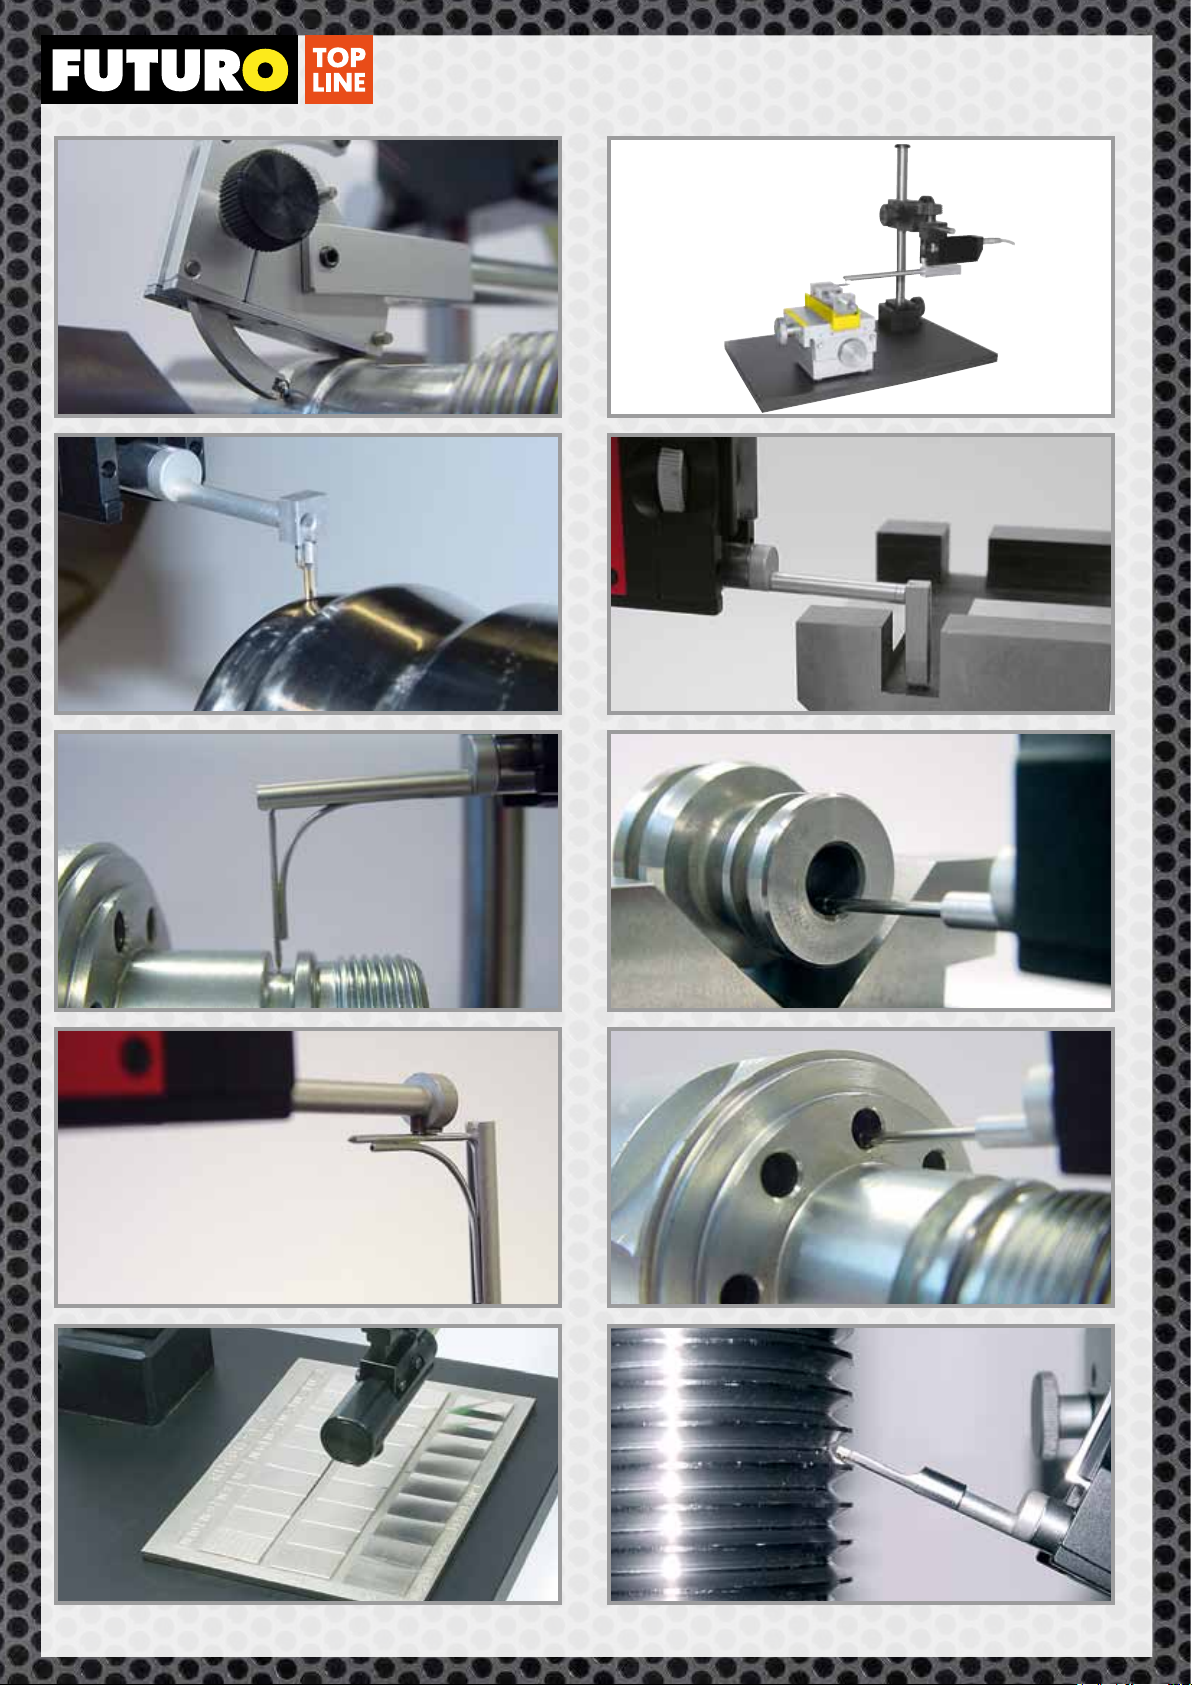
Measuring
The area to be measured on the work piece must be properly cleaned in
order to avoid that the tracer getting dirty. If the roughness is measured
manually, the tracer is laid onto the work piece and held steadily. The green
indicator LED on the instrument must be on, confirming that the tracer and
the instrument are in condition ready to measure. After pressing the start key,
the measuring procedure is effected automatically. Shortly after, the measu-
ring values can be read on the LCD-display and printed out.
Pressing any key can interrupt a current measuring operation and bring the
tracer to a halt. The measuring operation must be started again, to bring
the tracer to its starting position again.
Keyboard
Tracer
Remove the supporting shoe by using the enclosed hexagon key or by means
of the knurled nut (type VHF).
The tracer is now inserted into the traverse unit that the point in the middle
is facing the prism.
Warning: By no means is the tracer to be inserted forcefully; it must be held
with the utmost care at its largest diameter! If manual measurements are to
be effected, remount the supporting shoe to the traverse unit once again.
The position of the supporting shoe is correctly reached when the work piece
is supported on its whole length by the traversing unit with supporting shoe.
If the measuring area is too small, the bottom surfaces of traversing unit and
supporting shoe must be on the same level.
Connections
Under the cover there are connections for: Main adapter, USB
The traverse unit and the adapter, held by two fixing balls in the instru-
ment, must by no means be inserted obliquely, as this could cause damage
of the plug-contacts.
When using as one-hand ope-rated instrument,
the traverse unit (picture below) with inserted
roughness tracer is connected directly with the in-
strument housing. It is suitable to effect roughness
measurements on even or round sur-faces.
One-hand ope-
rated instrument
with tracer
Key Measuring mode Menu function
Start measuring Confirmation
Menu for configuration of
instrument
Menu switch on/ off / Escape
Selection of traversing length Selection of menu – previous
menu point
Recall of the measuring values Selection of menu - next menu
point
Setting of language
1. Press any key – the instrument will be ready for operation within a
few seconds
2. Press button ‚M’ in the display appears the menu
3. Press the button ‚R’ twice to configuration
4. Press the button ‚M’ once
5. Press the button ‚R’ four times to system
6. Press the button ‚M’ once
7. Press the button ‚R’ once
8. Press the button ‚M’ several times, the further languages will appear
one after the other
9. After having reached the requested language, press the button ‚Lt’ once
10 Press the button , till you are again in the measure mode
Calibration
1. Press any button, after some seconds, the instrument is ready for
operation
2. Press button ‚M’ in the display appears the menu
3. Press the button ‚R’ four times to Calibration
4. Press the button ‚M’ once
5. Press the button ‚R’ once to Reference
For the calibration, the cutoff 0.8 mm is set automatically!
6. Press the button ‚Lt’ or ‚R’, if you do not calibrate with the original
metal calibration piece
7. Press the button ‚M’ once
8. Press the button ‚R’ once to cal Ra/Lt
9. Press the button ‚M’ once and confirm again with ‚M’
10. The calibration procedure (4 measurements) lasts one minute
approximately
11. Press the button , till you are again in the measure mode
FUTURO SURFACE COMPACT
Please refer to the attached CD-Rom for the complete manual in PDF format