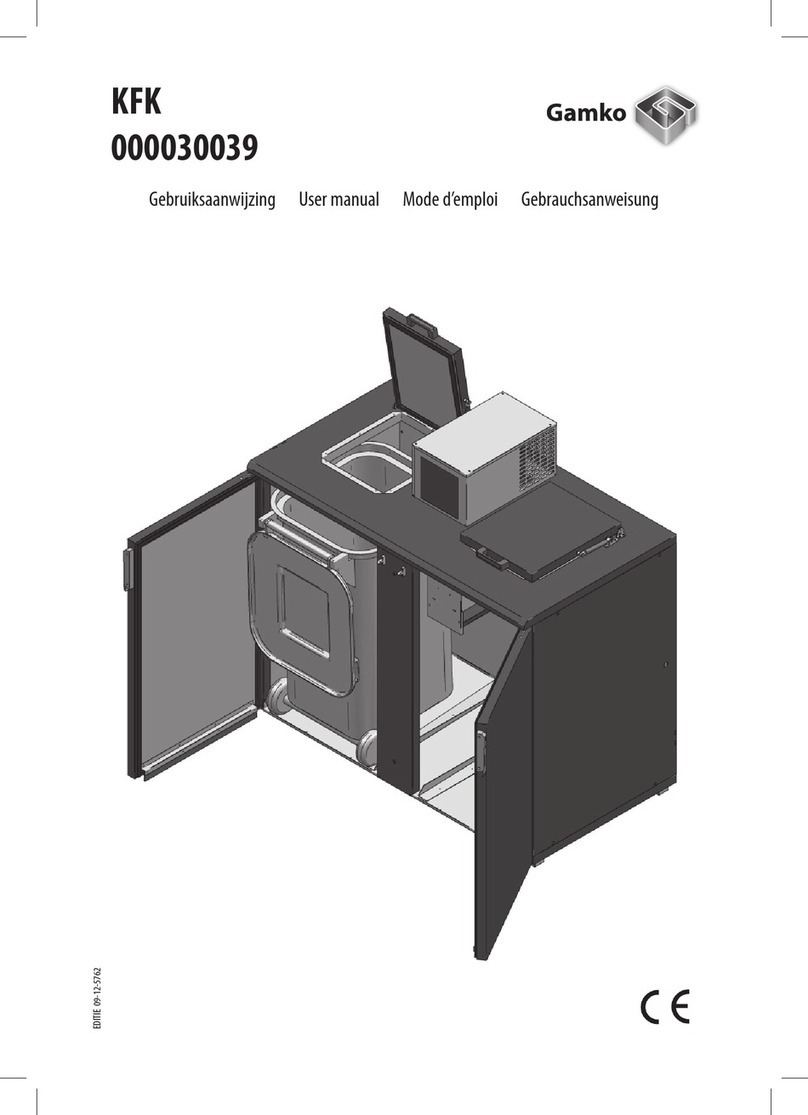
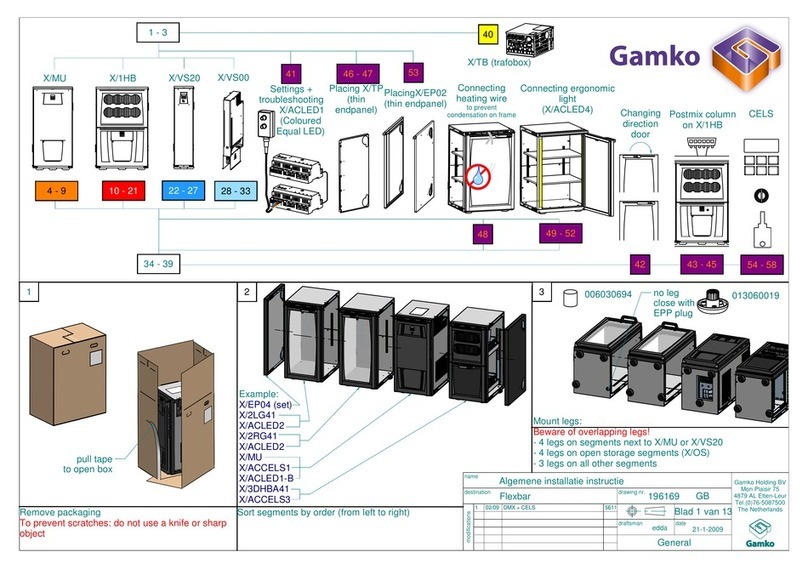
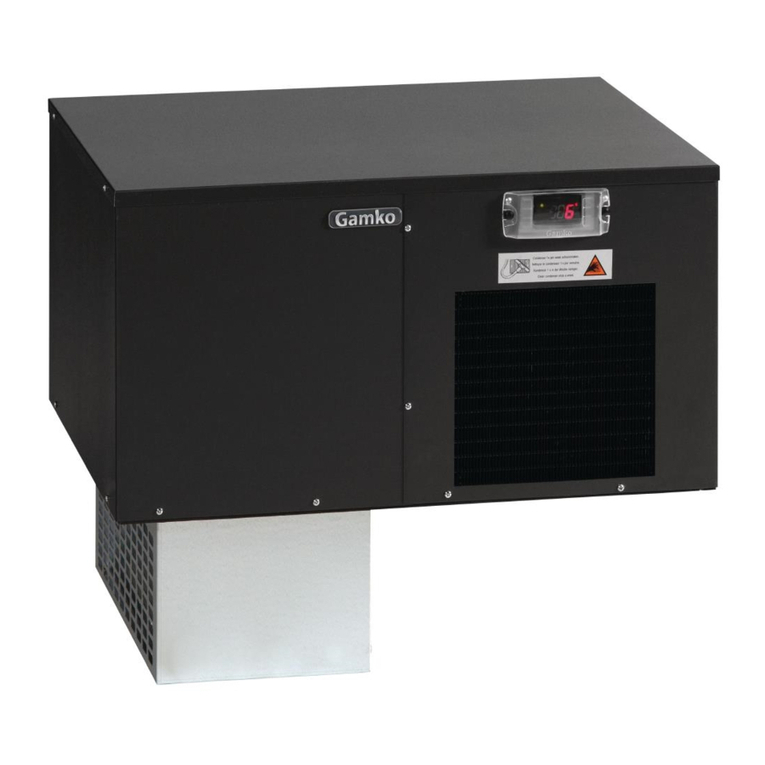
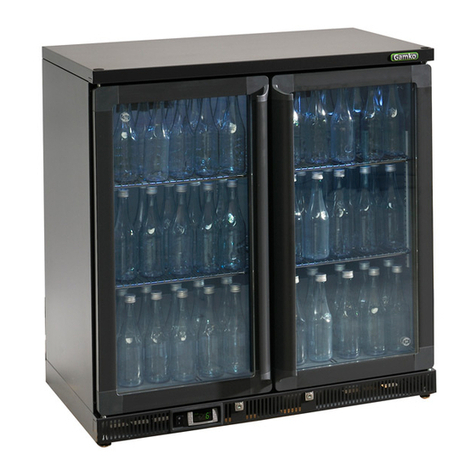
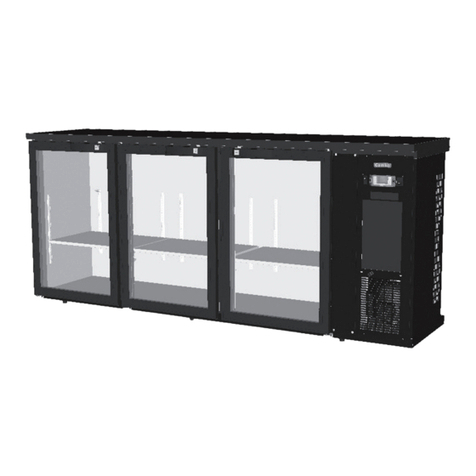
Gamko MG-Line Noverta User manual

EDITIE
12126314
MG-Line
Noverta & Noverta Premium
000030098
Gebruiksaanwijzing User Manual Mode l’em loi
Gebrauchsanweisung
Noverta & Noverta Premium
Gebrauchsanweisung

User Manual
29
Table of contents
Chapter
General information ............................................... 30
Safety recautions ............................................................................... 31
Product descri tion .............................................................................. 33
Ty e late .......................................................................................... 34
Chapter 2
Installation ............................................................ 35
Installing the roduct ........................................................................... 35
Fitting storage racks ............................................................................ 36
Power su ly ...................................................................................... 36
Chapter 3
Using the appliance ............................................... 37
Prior to use ......................................................................................... 37
Thermostat ......................................................................................... 38
Filling the cabinet ................................................................................ 39
Chapter 4
Maintenance .......................................................... 40
Cleaning the cabinet ............................................................................ 40
Interference ........................................................................................ 41
Chapter 5
Technical information ............................................ 42
Plug ready bottle cooler ........................................................................ 42
WEEE-regulations ................................................................................ 49
GWP-table .......................................................................................... 51

User Manual
30
Chapter General information
Thank you for urchasing a Gamko roduct.
This manual contains your warranty and maintenance instructions.
Always kee this document near your roduct, so that you can refer to
it when needed. Please read this manual thoroughly rior to installation
of the roduct. Non com liance with the user instructions may cause
serious damage to the roduct and will render the warranty invalid.
Correct use of the roduct will rolong its useful life.
All installations have to conform to local governmental and munici al
legislation and the machine Directive 2006/42/EG. In case of doubt
lease contact the Gamko service organization or your su lier. The
information contained in this manual can be changed without rior
notice.
CARFUL! – DANGER – Ignoring this sign and
remarks may ut you into ersonal danger.
CARFUL! – DANGER – Ignoring this sign and
remarks may result in damage to your
roduct.
HINT! – Useful hints to make the best use of
your roduct.

User Manual
31
Safety precautions
Technical safety
• Prior to use check the lug and lead for any damage.
• Hold the lug when removing the lug from the socket.
• Check whether the ower su ly is suitable for this roduct.
• Ensure that the roduct is standing firmly and level.
• Always have re airs carried out by qualified service engineers.
• To avoid damage to the roduct a damaged lug lead may only be
re laced by the manufacturer or a qualified service engineer.
Refrigerant
This roduct contains a refrigerant. The quantity used in this roduct is
stated on the ty e late.
-R134a
• Large quantities of refrigerant can lead to suffocation.
• When ex osed to fire the container can burst o en or ex lode.
• Always ensure that there is sufficient ventilation in the room where
the a liance is located.
• Never o en the machine unit.
• Refrigerant can cause burns.
-
R600a
• Contact with liquid may cause frostbite or cold burns.
• Ex osure to low concentrations may lead to dizziness, headache,
nausea and loss of coordination.
• For liquid contact, flush with water for at least 15 minutes. Obtain
medical assistance
• When ex osed to fire the container can burst o en or ex lode.
• Always ensure that there is sufficient ventilation in the room where
the a liance is located.
• Never o en the machine unit.
During operations
•Use this roduct only indoors.
• Only use this roduct for storing acked beverages.
• Never use the roduct as a ste .
• Never store electrical a liances in the roduct.

User Manual
32
• Always store beverages with a high ercentage of alcohol standing
u right and tightly closed.
• Ensure that ventilation grilles both in and outside the cabinet remain
unobstructed.
• In case of emergency the lug should be removed from the socket.
After use
• Make sure that the roduct is stored and dis osed off safely.

User Manual
33
Product description
1 Ty e late (inside)
2 Door
3 Air in/outlet
4 On/off switch
5 Thermostat
1
2
3
3
4
5

User Manual
34
Type plate
A Ty e number roduct
B Refrigerant ty e + volume
C Power consum tion
D Su ly
`` E Rated current
F Climate classification
G Construction year
H unique registration number
Climate classification
A refrigerator is roduced for o timal erformance
within certain ambient tem eratures. This roduct is
suitable for the following classification: N: from +16°C
to +32°C.
Refrigerant
A Refrigerant like R134a can cause burns or, after
ex osure to air, lead to suffocation!
A hydrocarbon refrigerant (R600a) can cause frostbites
and cold burns. Ex osure to low concentrations may
lead to dizziness, headache, nausea and loss of
coordination. When ex osed to fire the container can
burst o en or ex lode.

User Manual
35
Chapter 2 Installation
Hint! Never install the refrigerator next to a heat source!
Operating principle
A refrigerator works by extracting heat from the s ace to be
refrigerated and to release this in the surrounding area.
For maximum air circulation it is recommended to allow at least 0cm
space around the refrigerator. Be very careful never to obstruct
the air inlets and outlets.
Installing the product
Place the roduct on a smooth surface.
Place the roduct at his osition.
2 Make sure the roduct is standing level using a s irit level.
3 The roduct must be laced with feet to rovide adequate air
circulation around the cabinet. This for an o timal o eration of the
roduct and to dis ose a ossible leakages of R600a. Also, the legs
are used for roduct adjustment and leveling.

User Manual
36
Fitting storage racks
Hook in (1) in o enings (2) of rails (C).
2 Push bottom art (B) towards side (A).
3 This causes in (3) to slot into the next o ening (4) in the rails.
4 Fit the other ins at the same height.
5 Place the storage rack (D) sliding the ins (5) in the o enings (6)
Power supply
• If this device cable is damaged it must be re laced with an original
cable su lied by the roducer.
• In case of emergency: remove the lug lead from the socket.
• The socket should be within easy reach of the cabinet.
• Check for the correct ower su ly, referred to the information on
the ty e late.
• Ensure that the lug lead cannot be tra ed or snagged.
• If necessary the lug lead can be extended by a qualified electrician.
• We do not recommend the use of an extension lead.
Fluctuations in the power supply can cause damage, which
causes the cabinet to switch off. Gamko cannot be held
responsible for any consequential damage.

User Manual
37
Chapter 3 Using the appliance
Prior to use
•
Clean the cabinet rior to use. For further details we refer to cha ter
maintenance.
• Leave the installation to stand for at least 2 hours before switching
on the cabinet.
• Plug into a grounded ower socket.
EMERGENCY STOP
REMOVE THE PLUG FROM THE SOCKET!

User Manual
38
Thermostat
Using the thermostat
For use and settings of the thermostat, lease refer to the manual
su lied with this roduct.
Application with XR07CX type thermostat:
To see the set oint.
1. Push the SET key two times, the set point will be showed.
2. Push the SET key three times to return to normal visualisation.
To change the set oint
1. Push the SET key for more than 2 sec and then ush the SET key
again;
2. The value of the set oint will be dis layed and the “°C” LED starts
blinking;
3. To change the Set value ush the UP or DOWN button;
4. To memorise the new set oint value ush the SET key three
times.
Note: The new set value is fixed even if you leave the settings without
the SET button have been ressed.
Light on/o
Up/down button
settings
Manual
de rost
Set button

User Manual
39
Filling the cabinet
•
This roduct is only to be used for the refrigeration of acked
beverages.
• Fill the cabinet during a eriod when it is least used. Re eatedly
o ening of the door will slow down the refrigeration of the roducts.
• Beverages with a high alcohol ercentage should always be stored
ro erly sealed in an u right osition.
To guarantee o timal erformance and air circulation the
air vents of the cabinets should NEVER be obstructed.
NEVER use the cabinet to store electrical a liances
!
HINT!
A ly the so called First-in First-out rinci le when serving
beverages out of the cabinet. This to ensure that the
coldest roduct is served.

User Manual
40
Chapter 4 Maintenance
Cleaning the cabinet
Self-maintenance
• Before First use the cabinet should be cleaned using water and a mild
detergent.
• Intensive use requires regular cleaning.
• This roduct has a maintenance free condenser.
• Check and clean the magnetic seals on a regular basis. If the seal is
not airtight it will have a negative effect on the refrigeration
erformance and it needs to be re laced immediately.
Attention!
• Do not dismantle any fixed com onents when cleaning
the machine unit!
• Do not use aggressive abrasives or detergents!

User Manual
41
Interference
Attention!
Always remove the lug from the socket when carrying out
re airs!
The cabinet does not start.
• Check the lug.
• Restore the ower su ly by re lacing a fault fuse or by using the
on/off switch.
• Contact your local service organization.
Temperature is too high, in spite of recent adjustment of
thermostat.
• Check/restore ower su ly.
• Remove contents which may obstruct ventilation.
• Clean magnetic seal, re lace if necessary. Remove contents which
may obstruct ventilation
• Defrost eva orator.
• Thermostat or com ressor is defect.
• Fan (eva orator or condenser) is defect.
• Contact your local service organization.
Temperature is too low, in spite of recent adjustment of
thermostat.
• Thermostat is defect.
• Contact your local service organization.
Water leak
• Defrost regularly – if necessary extra manual defrost cycle.
• Check if the roduct is leveled. If necessary level the roduct.
• Contact your local service organization.
Plug lead
• To revent accidents the lug lead, if damaged, may only be re laced
by the service/maintenance organization or qualified installer.

User Manual
42
Chapter 5 Technical information
Plug ready bottle cooler
Power su ly 220 - 240 V / 50 Hz / 1~
Refrigerant R134a / R600a
Cooling ca acity 240 Watt*
Thermostat Elektronic
Tem erature range +1 °C t/m +18 °C, standard +6 °C
Ty e MG*/140LG MG*/140LGCS
Power consum tion 173 Watt*(R134a) 173 Watt*(R134a)
Power consum tion 130W*(R600a) 130W*(R600a)
Internal volume 140 L 140 L
Weight 56 kg 56 kg
Illumination 1 x 3 Watt 1 x 3 Watt
Ca acity tray 2 x 50 kg each door 2 x 50 kg each door
Dimensions 602 x 506 x 840/850 mm
602 x 506 x 840/850 mm
Ty e MG*/140RG MG*/140RGCS
Power consum tion 173 Watt*(R134a) 173 Watt*(R134a)
Power consum tion 130W*(R600a) 130W*(R600a)
Internal volume 140 L 140 L
Weight 56 kg 56 kg
Illumination 1 x 3 Watt 1 x 3 Watt
Ca acity tray 2 x 50 kg each door 2 x 50 kg each door
Dimensions 602 x 506 x 840/850 mm
602 x 506 x 840/850 mm
* Conditions: Min. eva oration T = -5 °C, Max. condensation T = 45 °C,
Ambiant tem erature = 25 °C

User Manual
43
Ty e MG*/150LG MG*/150LGCS
Power consum tion 173 Watt*(R134a) 173 Watt*(R134a)
Power consum tion 130W*(R600a) 130W*(R600a)
Internal volume 150 L 150 L
Weight 58 kg 58 kg
Illumination 1 x 3 Watt 1 x 3 Watt
Ca acity tray 2 x 50 kg each door 2 x 50 kg each door
Dimensions 602 x 506 x 900/910 mm
602 x 506 x 900/910 mm
Ty e MG*/150RG MG*/150RGCS
Power consum tion 173 Watt*(R134a) 173 Watt*(R134a)
Power consum tion 130W*(R600a) 130W*(R600a)
Internal volume 150 L 150 L
Weight 58 kg 58 kg
Illumination 1 x 3 Watt 1 x 3 Watt
Ca acity tray 2 x 50 kg each door 2 x 50 kg each door
Dimensions 602 x 506 x 900/910 mm
602 x 506 x 900/910 mm
Ty e MG1/150LDD MG1/150LDDCS
Power consum tion 173 Watt*(R134a) 173 Watt*(R134a)
Internal volume 150 L 150 L
Weight 58 kg 58 kg
Illumination 1 x 3 Watt 1 x 3 Watt
Ca acity tray 2 x 50 kg each door 2 x 50 kg each door
Dimensions 602 x 506 x 900/910 mm
602 x 506 x 900/910 mm
* Conditions: Min. eva oration T = -5 °C, Max. condensation T = 45 °C,
Ambiant tem erature = 25 °C

User Manual
44
Ty e MG1/150RDD MG1/150RDDCS
Power consum tion 173 Watt*(R134a) 173 Watt*(R134a)
Internal volume 150 L 150 L
Weight 58 kg 58 kg
Illumination 1 x 3 Watt 1 x 3 Watt
Ca acity tray 2 x 50 kg each door 2 x 50 kg each door
Dimensions 602 x 506 x 900/910 mm
602 x 506 x 900/910 mm
Ty e MG*/150SD
Power consum tion 173 Watt*(R134a)
Power consum tion 130W*(R600a)
Internal volume 150 L
Weight 58 kg
Illumination 1 x 3 Watt
Ca acity tray 2 x 50 kg each door
Dimensions 602 x 526 x 900/910 mm
Ty e MG*/250G MG*/250GCS
Power consum tion 181 Watt*(R134a) 181 Watt*(R134a)
Power consum tion 137W*(R600a) 137W*(R600a)
Internal volume 250 L 250 L
Weight 77 kg 77 kg
Illumination 1 x 4 Watt 1 x 4 Watt
Ca acity tray 2 x 50 kg each door 2 x 50 kg each door
Dimensions 900 x 506 x 900/910 mm
900 x 506 x 900/910 mm
* Conditions: Min. eva oration T = -5 °C, Max. condensation T = 45 °C,
Ambiant tem erature = 25 °C

User Manual
45
Ty e MG1/250DD MG1/250DDCS
Power consum tion 181 Watt*(R134a) 181 Watt*(R134a)
Internal volume 250 L 250 L
Weight 77 kg 77 kg
Illumination 1 x 4 Watt 1 x 4 Watt
Ca acity tray 2 x 50 kg each door 2 x 50 kg each door
Dimensions 900 x 506 x 900/910 mm
900 x 506 x 900/910 mm
Ty e MG*/250SD
Power consum tion 181 Watt*(R134a)
Power consum tion 137W*(R600a)
Internal volume 250 L
Weight 77 kg
Illumination 1 x 4 Watt
Ca acity tray 2 x 50 kg each door
Dimensions 900 x 526 x 900/910 mm
* Conditions: Min. eva oration T = -5 °C, Max. condensation T = 45 °C,
Ambiant tem erature = 25 °C

User Manual
46
Ty e MG*/275G MG*/275GCS
Power consum tion 316 Watt*(R134a) 316 Watt*(R134a)
Power consum tion 235W*(R600a) 235W*(R600a)
Internal volume 275 L 275 L
Weight 94 kg 94 kg
Illumination 1 x 4 Watt 1 x 4 Watt
Ca acity tray 2 x 50 kg er deur 2 x 50 kg er deur
Dimensions 1200 x 506 x 900/910 mm
1200 x 506 x 900/910 mm
Ty e MG*/275SD
Power consum tion 316 Watt*(R134a)
Power consum tion 235W*(R600a)
Internal volume 275 L
Weight 94 kg
Illumination 1 x 4 Watt
Ca acity tray 2 x 50 kg er deur
Dimensions 1200 x 526 x 900/910 mm
* Conditions: Min. eva oration T = -5 °C, Max. condensation T = 45 °C,
Ambiant tem erature = 25 °C

User Manual
47
Ty e MG*/315G MG*/315GCS
Power consum tion 316 Watt*(R134a) 316 Watt*(R134a)
Power consum tion 235W*(R600a) 235W*(R600a)
Internal volume 315 L 315 L
Weight 103 kg 103 kg
Illumination 1 x 4 Watt 1 x 4 Watt
Ca acity tray 2 x 50 kg er deur 2 x 50 kg er deur
Dimensions 1350 x 506 x 900/910 mm
1350 x 506 x 900/910 mm
Ty e MG*/315SD
Power consum tion 316 Watt*(R134a)
Power consum tion 235W*(R600a)
Internal volume 315 L
Weight 103 kg
Illumination 1 x 4 Watt
Ca acity tray 2 x 50 kg er deur
Dimensions 1350 x 506 x 900/910 mm
* Conditions: Min. eva oration T = -5 °C, Max. condensation T = 45 °C,
Ambiant tem erature = 25 °C
This manual suits for next models
2
Table of contents
Other Gamko Commercial Food Equipment manuals
Popular Commercial Food Equipment manuals by other brands

Pitco
Pitco P90K Installation and operation manual

Doughpro
Doughpro Proluxe DP2010PIPG Operation manual

Angelo Po
Angelo Po 1N1BR2E user manual

Hussmann Chino
Hussmann Chino Q3-DC Installation & operation manual

APW Wyott
APW Wyott FDC-18 Installation and operating instructions

ELRO
ELRO PRECIPAN operating manual