Gantom Storm Form User manual

Introducon:
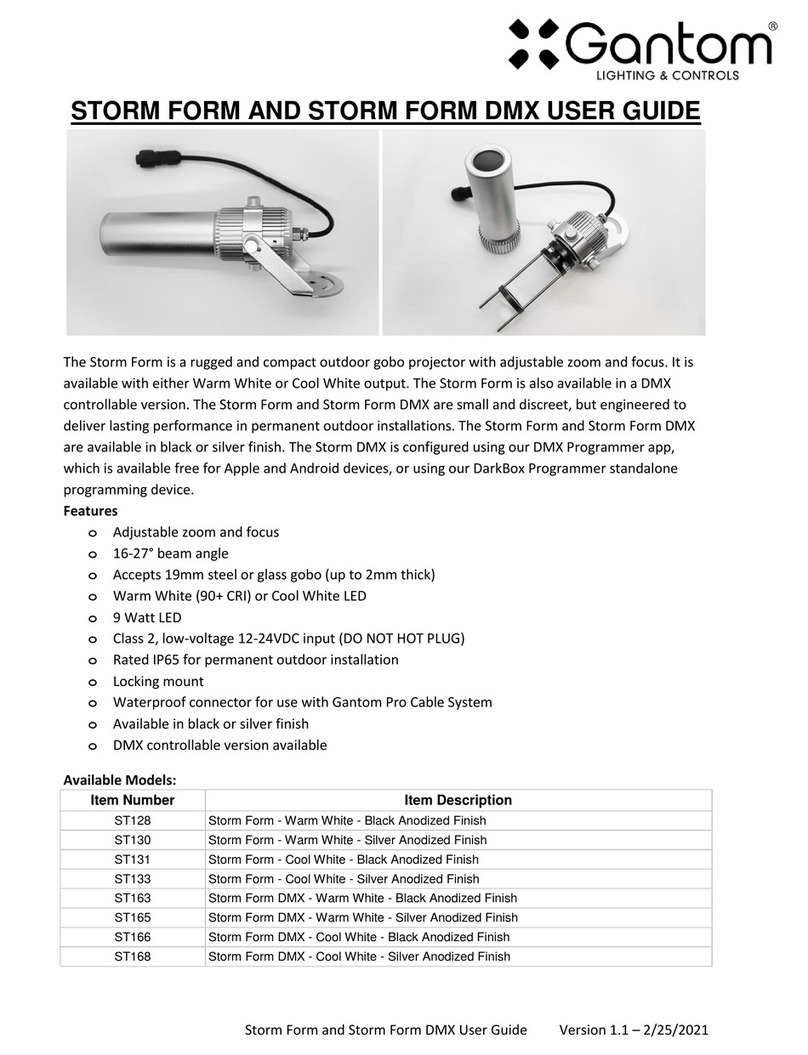
The purpose of this document is to serve as a user manual and guide for operang the Storm Form
micro gobo projector by Gantom Lighng & Controls. This document is intended to apply only to the
outdoor (Storm) version of the Form.
The Storm Form is a rugged compact profile spotlight that is able to project a ght shaped beam. It can
accept any thin material (like Cinefoil) cut into shuers and also accepts 19mm gobos up to 2mm thick.
It is a small, discreet fixture that can be installed almost anywhere.
The Storm Form micro gobo projector is IP65 rated and is intended for use in outdoor environments.
IP65 indicates that the product is meant for permanent installaon in harsh outdoor condions
including freeze cycles. This product is not designed for submersion and this will void the warranty,
however Gantom can make custom products for any operang environment. For more informaon,
contact sales@gantom.com

Safety and Operaon notes:
Please carefully review the following safety notes regarding the Storm Form micro gobo projector. These
notes are important for safe installaon and usage of the product.
Do not look directly at the light source while the fixture is powered on.
Inspect all power cables for damage or crimped cable before use.
Make sure that your circuit is properly grounded and all electrical safety precauons have been
taken to prevent electric shock.
Be aware that the fixture will become HOT to the touch when it is leon.
Allow several minutes for the light to cool before touching it aer extended periods of on me.
Ensure that there are no flammable materials close to or in contact with the light fixture.
Never touch the lenses within the fixtures. If the lenses must be cleaned, use a microfiber cloth
and glasses cleaning soluon.
Make sure that the locking cable connectors are fully ghtened when the product is installed.
Check the voltage of the power line before connecng the fixture to ensure that it is within the
required range for the fixture.
In the event of a serious operang problem, cut power to the fixture and cease operaon
immediately.
For technical support, please contact Support@GANTOM.com or call 1-855-GANTOM1 (1-855-
426-8661).
Assembly:

Mounng Instrucons:
The Storm Form micro gobo projector comes with an aluminum mounng yoke pre-installed. It is meant
to be used with ¼” size hardware, but please note that mounng hardware is not included with the
fixture. The yoke has a hole and a curved slot. Install a screw in the center hole first, then loosely screw
down a second screw through the curved slot. Rotate the fixture to the appropriate angle and then
finally ghten down both screws all the way to lock the fixture in place.

Aiming Instrucons:
Once the fixture has been mounted, youcan complete the aiming of the fixture. The fixture is
adjustable in the following ways:
When youhave the light pointed in the correct orientaon, ghten the locking screws in the indicated
locaons:

Power Instrucons:
The Storm Form micro gobo projector has a short power cable with a Chogori connector.
Pepper’s Pro Tip: Are you dogged by issues with cable connectors? Gantom can provide custom
cable lengths and any connector you want with a custom order! Bark at Sales@gantom.com for more
informaon!
To connect the fixture to the ultra-convenient storm cable system, insert the fixture connector into the
female connector on the Storm Cable T adapter. There is only one orientaon that will work easily, do
not force the connector into the receptacle. Once inserted, ghten down the locking collar firmly so that
the connecon is locked together ghtly.

Gobo Installaon:
A gobo can be a great way to add texture and dimension to your applicaon. The Storm Form micro
gobo projector accepts glass and stainless steel gobos with an outer diameter of 19mm. The maximum
image size for paerns is 15mm and the maximum image size for text is 10mm. Both stainless steel and
full color glass gobos are available to fit the Gantom Form. Custom stainless steel and full color glass
gobos are available through Rosco. Please see hp://www.rosco.com/gobos/ for more informaon on
how you can order your own.
To install a gobo slide, first make sure that your fixture is powered off. Then remove the barrel by
unscrewing it from the middle of the fixture.
Gobo Holder Ring
Gobo Retainer
Primary Optic
Secondary Optic
Set Screws
(two on each ring)

Next, move the primary and secondary opcs all the way to the front end of the opc slider rails. To do
this, you will need to loosen the set screws on the Primary and Secondary Optic as shown in the
previous picture.
Pepper’s Pro Tip: keep your paws offthe lenses, a small fingerprint can distort your projecon!
If the lens must be cleaned, do so with a microfiber cloth and glasses cleaning soluon.
Unscrew the gobo retainer from the gobo holder ring.

Insert your gobo slide into the gobo retenon hole, it should rest easily on the spring that is within the
hole.
Next, screw the gobo retenon ring back into the hole unl it begins to resist. Once it begins to resist,
connue turning it one quarter of a turn and then stop. This will give enough tension to hold the gobo,
but will not over-ghten the retenon ring. Please be careful not to over-ghten the extension ring or
you risk damaging both your fixture and your gobo.
Once the gobo is in place within the retainer system, you can focus your opcs to your desired effect.

Focal Adjustment:
Power on the fixture and remove the barrel by unscrewing it from the middle of the fixture. Be sure to
never look directly at the LED while the fixture is on.
Now, move the primary opc as close to the LED as possible and the secondary opc as far from the LED
as possible on the opc slider rails. You may need to loosen the set screws on the primary and
secondary opcs in order to slide them along the rails.
Slowly begin sliding the secondary opc toward the LED unl the projected image comes into focus. This
will be the narrowest focused beam the fixture can achieve.
This picture shows the fixture in its narrowest beam configuraon
Primary Optic Secondary Optic

To widen the beam move the primary opc forward about 1 mm, and then move the secondary object
backward along the opc slider rails toward the LED unl the beam comes back into focus. Repeat this
process unl you have your desired projecon size. At the maximum beam size, the primary and
secondary opcs will be touching each other at about 1/4th of the length of the opc slider rails.
This picture shows the fixture in its widest beam configuraon
When you have the beam adjusted to the focal seng you would like, ghten down the set screws on
the primary and secondary opcs. Complete the adjustment by screwing the barrel back onto the
fixture.

Beam Shaping:
The Storm Form micro gobo projector has the opon of using Cinefoil or Blackwrap for simple beam
shaping and shuering. This is great for adding some texture and shape for your light.
This picture shows an example of a simple shuer cutout made from Cinefoil
Here are some examples of shaped beams made using Cinefoil cutouts

To do this, remove the barrel by unscrewing it from the middle of the fixture. Next, move the primary
opc, secondary opc, and gobo holder ring all the way to the far end of the opc slider rails. You may
need to loosen the set screws on the opcs and gobo holder ring in order to slide them along the opc
slider rails.
You will be lewith a wave spring that sits directly in front of the light source. This wave spring is
meant to hold shuers you create out of Cinefoil or Blackwrap.
Insert your cutouts into the wave spring as shown in the picture below.

Once the cutouts are in place, slide the gobo holder ring all the way down unl it sits flush on top of the
wave spring. Tighten the set screws on the gobo holder ring so that the gobo holder ring can no longer
move along the opc slider rails. Next, turn the gobo retainer half of a turn clockwise. This should hold
the Cinefoil or Blackwrap firmly in place.
The above image shows the Cinefoil cutouts installed into the wave spring
Now, trim away any material that may block the barrel from being put on.
From here, you can focus the beam as specified in the “Focal Adjustment” secon of this document.
When focal adjustment is complete, screw the barrel back onto the fixture.

Accessories:
A removable cutaway snoot for shielding the light source from view is available for the Storm Form.
Installing the snoot
The snoot can be adjusted or removed by loosening the three set screws that are located toward the
back of the snoot. You can then rotate the snoot to the appropriate posion, and finally ghten down all
three set screws.
Set Screws

Long term care and support:
Under laboratory condions, the LED chip that the Storm Form micro gobo projector uses will last
50,000 hours of operang me. If properly maintained, the fixture can last many years. To get the most
life out of your fixture, the Form has a price-on-applicaon warranty up to 7 years depending on terms
set during specificaon.
For troubleshoong and product support, please do not hesitate to call the Gantom tech support line at
1-855-GANTOM1 (1-855-426-8661) or email us at Support@GANTOM.com
For more informaon about the Gantom Form and other great Gantom products, please visit us on the
web at hp://www.GANTOM.com/
Other manuals for Storm Form
1
Table of contents
Other Gantom Spotlight manuals