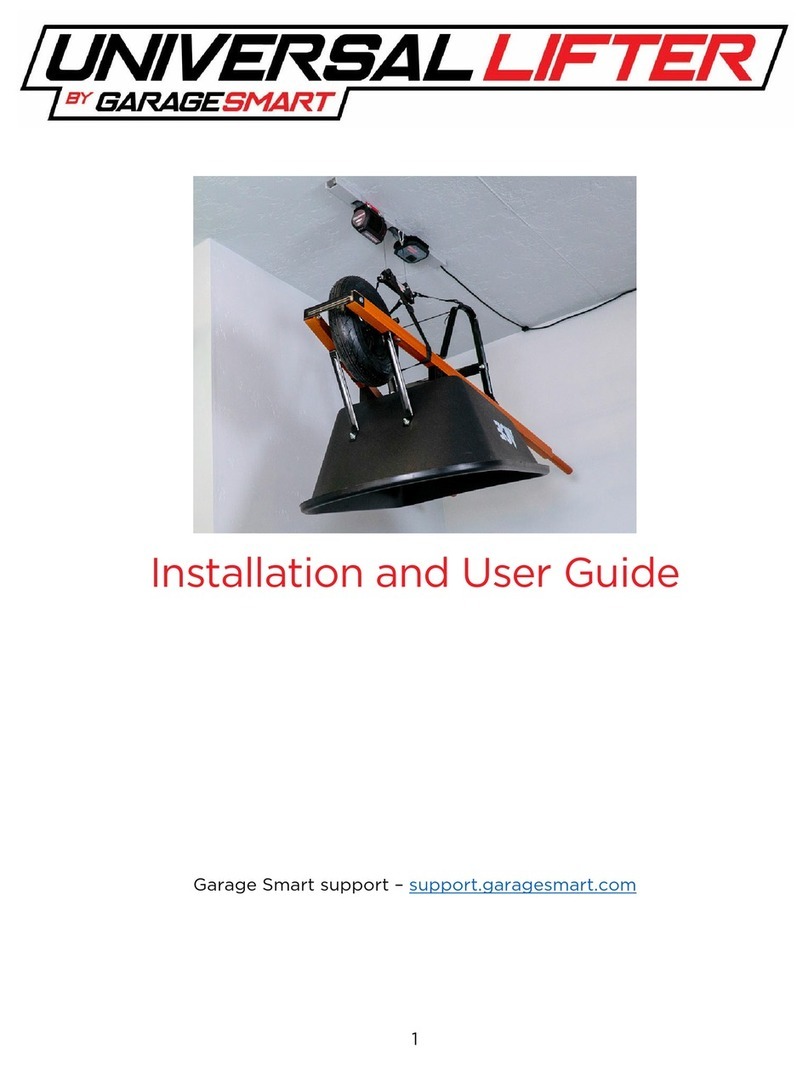
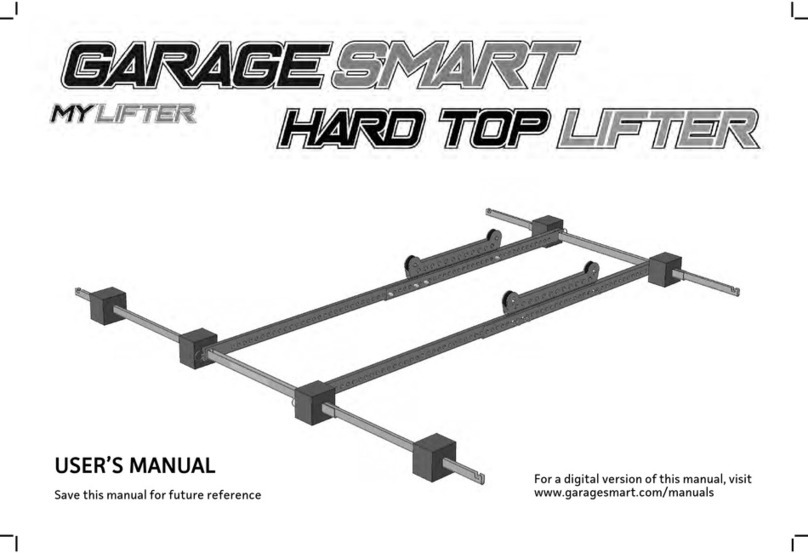
Garage Smart Universal XL HD Lifter User manual

1
User Guide
Garage Smart support – support.garagesmart.com

2
Contents
Limited Lifetime Warranty...............................................................................................................................3
Safety Information...............................................................................................................................................5
FCC Statement .....................................................................................................................................................6
About the Universal XL HD Lifter..............................................................................................................7
Parts Identifier ..............................................................................................................................................7
Installation Overview......................................................................................................................................8
Installing the Universal XL HD Lifter Kit .............................................................................................8
Using the MyLifter App ........................................................................................................................... 17

3
Limited Lifetime Warranty
Garage Smart offers a Limited Lifetime Warranty on all products. If a defect in the
hardware, or any component thereof, occurs Garage Smart will repair or replace the
system, or the defective component. There is no cost to you beyond the cost of shipping
the defective item to us. If your Garage Smart Product is defective, we will send
replacement parts or, at our option, replace it at no charge to you after the defective
product is returned to Garage Smart. If we send replacement parts for your Garage Smart
Product, we may use new or reconditioned parts. If we choose to replace your Garage
Smart Product, we may replace it with a new or reconditioned one of the same or similar
design.
Who Makes This Warranty?
Garage Smart
Who Is Covered?
This warranty extends only to the original purchaser of the product. This warranty is
intended for natural persons only and does not extend to any corporation, limited liability
company, or commercial entity.
What Is Covered?
Any defect in material and workmanship from personal, normal household use in
accordance with the Owner’s Manual.
Warranty Does Not Cover: This warranty does not cover installation commercial use,
defects resulting from accidents, damage while in transit to our service location or
damage resulting from altercations misuses or abuse, lack of proper maintenance,
unauthorized repair or modifications of the product, affixing of any attachment not
provided with the product, staples through wiring, pinched or broken wires, broken cables
power outages, use of extension cords, missing or damaged parts or discounted
clearance, final sale or taped cartons, fire, flood, acts of God, or failure to follow the
Owner’s Manual. This warranty is the only one we will give on your Garage Smart Product.
There are no other express warranties.
Where and How to Obtain Warranty Service
You can obtain warranty service from Garage Smart at the address indicated below. It is
your responsibility to deliver or ship the defective product to us at your date of purchase
and a description of the claimed defect, prior to the expiration of the warranty period. To
obtain information regarding this warranty, you may contact us by mail, email, or phone.
Garage Smart
3000 Sierra Vista Way
Provo, UT 84606
Exceptions and Exclusions

4
This warranty does not include damage or defects resulting from misuse, accident, failure
to maintain, or any other causes following your purchased of the product. Use of the Lifter
system with any other system or components (including affixing non Garage Smart
attachments or accessories) voids this warranty. Failure to follow the owner’s manual in
installation or use of the Lifter system voids the warranty. Unauthorized repair or
modification voids the warranty.
The Lifter system is intended for personal, indoor, home use. Garage Smart does not
warrant its lift system for commercial use, and any such use voids the warranty.
TO THE GREATEST EXTENT PERMITTED BY LAW, THIS WARRANTY IS IN LIEU OF AND
EXCLUDES ALL OTHER WARRANTIES NOT EXPRESSLY SET FORTH HEREIN, WHETHER
EXPRESS OR IMPLIED, INCLUDING BUT NOT LIMITED TO ANY WARRANTIES OF
MERCHANT ABILITY AND FINESS FOR A PARTICULAR PURPOSE. Limitation of Liability:
THE SOLE REMEDIES AFFORDED UNDER THIS WARRANTYARE REPAIR,
REPLACEMENT, OR, IF REPAIR OR REPLACEMENT IS NOT COMMERCIALLY
PRACTICABLE OR CANNOT BE TIMELY MADE, A REFUND OF THE PURCHASE PRICE. IN
NO EVENT SHALL THE LIABILITY OF GARAGE SMART RELATED TO ANY PRODUCT
EXCEED THE PURCHASE PRICE OF THE PRODUCT. YOUR USE OF GARAGE SMART
PRODUCTS IS AT YOUR SOLE RISK. GARAGE SMART SHALL NOT BE LIABLE UNDER
ANY CIRCUMSTANCES FOR CONSEQUENTIAL, INDIRECT, SPECIAL, OR INCIDENTAL 42
DAMAGES ARISING FROM OR IN CONNECTION WITH THE USE OF ANY GARAGE
SMART PRODUCT. (SOME STATES DO NOT ALLOW THE EXCLUSION OR LIMITATION
OF INCIDENTAL OR CONSEQUENTIAL DAMAGES, SO THE ABOVE LIMITATION OR
EXCLUSION MAY NOT APPLY TO YOU.)
Other Legal Rights
This warranty gives you specific legal rights and you may also have other rights which
vary from state to state.

5
Safety Information
SAFETY INFORMATION
Read and follow all safety, installation, and operation instructions.
Do not operate the Universal XL HD Lifter while hands or other body parts
are near the system.
Do not stand under the Universal XL HD Lifter or items lifted by the system.
Do not use the Universal XL HD Lifter to lift people or animals.
Do not use the Universal XL HD Lifter to lift or lower items when people or
animals are under the system.
Always balance the load before attempting to lift it.
Total lifting capacity for the Universal XL HD Lifter—including the weight of
the adjustable lifting frame—is 200 pounds.
If your MyLifter cable is tangled, damaged, or bent, stop using your MyLifter unit
immediately.
WARNING
DO NOT install Garage Smart products in any other manner than specified in the
instructions. To avoid risk of electric shock and other potential injury, DO NOT open
the product casing. This product is for indoor use only. Failure to follow these
safety instructions could result in property damage, serious personal injury, or
death.

6
FCC Statement
This device complies with Part 15 of the FCC Rules. Operation is subject to the following
two conditions:
1. This device may not cause harmful interference, and
2. This device must accept any interference received, including interference that may
cause undesired operation.
Warning: Changes or modifications not expressly approved by the party responsible for
compliance could void the user’s authority to operate the equipment.
NOTE: This equipment has been tested and found to comply with the limits for a Class B
digital device, pursuant to Part 15 of the FCC Rules. These limits are designed to provide
reasonable protection against harmful interference in a residential installation. This
equipment generates uses and can radiate radio frequency energy and, if not installed and
used in accordance with the instructions, may cause harmful interference to radio
communications. However, there is no guarantee that interference will not occur in a
particular installation. If this equipment does cause harmful interference to radio or
television reception, which can be determined by turning the equipment off and on, the
user is encouraged to try to correct the interference by one or more of the following
measures:
Reorient or relocate the receiving antenna.
Increase the separation between the equipment and receiver.
Connect the equipment into an outlet on a circuit different from that to which the
receiver is connected.
Consult the dealer or an experienced radio/TV technician for help.
RF WARNING STATEMENT: The device has been evaluated to meet general RF exposure
requirement. The device can be used in portable exposure condition without restriction.

7
About the Universal XL HD Lifter
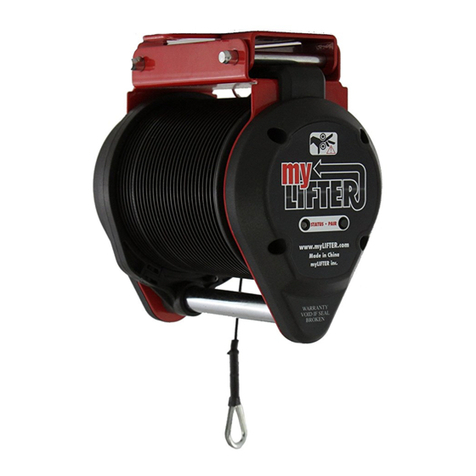
The Universal XL HD Lifter kit is designed to let you adjust the pulley width to
accommodate large, heavy items such as rooftop tents, canoes, and cargo carriers. Using
two MyLifter units working in tandem, the Universal XL HD Lifter lets you easily lift objects
weighing under 200 pounds that can be balanced with two strap points.
Using a Bluetooth® connection, you can easily lift and lower your objects using your
Android™ or iOS Device—giving you a smarter storage solution for your items.
Parts Identifier
Before you begin, check the contents of your package against the parts identifier below. If
you are missing any of these parts, do not attempt to install the product and contact
GarageSmart for a replacement.

8
Installation Overview
The Universal XL HD (heavy duty) kit can lift a total of 200 pounds, which includes the
weight of the adjustable frame pieces. Before you lift an item, make sure that its weight,
combined with the weight of the frame pieces, does not exceed 200 pounds.
Installing the Universal XL HD Lifter Kit
To install the Universal XL Lifter, you will need the following tools:
Ladder
Stud finder
Pencil
Tape measure
Drill
½ inch socket or box wrench
Phillips screwdriver
Safety glasses

9
Part 1: Determine where to install the Universal XL HD kit
To begin you want to make sure that the object you want to lift is not too big for the
space where you want to lift it.
1. Place the item on the garage floor in the area where you want it to be lifted and
stored.
2. Make sure there is enough space between the item and the walls so that it won’t
bump into walls or shelves as it is lifted.
3. Slide Frame Piece A into Frame Piece B to make one adjustable, Universal XL HD
frame.
4. Insert the Quick Release pins through the holes in the frame to secure it in place.
You can easily remove these pins to adjust the width of the frame to suit your
needs.
5. While the item is on the floor, take the Adjustable Lifting Straps and loop them
around or through the item at each end.

10
6. Take the D Rings from the adjustable straps and attach one to the hooks at both
ends of the Universal XL HD frame so each strap supports one side of the item.
7. Tighten the straps and lift up the frame so the straps are taut.
8. Measure the distance from the two closest walls to the back of the frame and to the
front of the frame.
9. Use these same measurements to mark your starting points on the garage ceiling.
The starting points will be used later as a guide for installing the Smart Track and
the MyLifter units on the garage ceiling.

11
Part 2: Install the Smart Track Pieces
The orientation of the Universal XL HD Frame and the item you want to lift, in relation to
the direction your joists run, determine how you will need to install the Smart Track.
If your joists run parallel to the item and the frame, you can connect the two pieces of
track and install it along one joist, or you can mount the two track pieces separately
across parallel joists as shown below:
If the joists run perpendicular to the frame and the item to be lifted, you can connect the
two pieces of track and install it across several parallel joists, or you can mount the two
track pieces separately along two different joists as shown below:
WARNING
DO NOT install the Smart Track in any manner other than what is specified in this
user guide. The Smart Track is designed to be secured to flat garage ceilings. DO
NOT attempt to mount the Smart Track to walls or angled ceilings. Failure to follow
these instructions could result in property damage, serious injury, or death.

12
1. Use a stud finder to find the joist that is nearest to the starting point that aligns with
the back of the Universal XL HD Frame.
2. After you have found the nearest joist, use the stud finder and a pencil to find and
mark the center of it.
a. Mark the left edge of the joist.
b. Mark the right edge of the joist.
c. Draw an X to mark the center of the joist.
This is called the stud center method, which ensures that you will drill into the
strongest part of the joist, making your lifter kit much more secure. Make sure that
the center mark you make is approximately the same distance from the wall as your
starting point mark.
3. Using the included 6mm drill bit, drill a vertical pilot hole at least three inches into
the center of the joist using the mark you made as a guide.
4. (Conditional) If you are extending the track pieces to make one long Smart Track,
use the included Track Connector, Allen wrench, and screws to connect your two
Smart Track sections.

13
5. Hold the Smart Track in place over the pilot hole you drilled and screw in one of the
included lag screws and washers. Do not screw it in all the way so you can still move
the other end of the track.
6. Use the stud center method to find the center of the joist where you will secure the
other end of the Smart Track, and mark where you will need to drill next.
7. Move the other end of the Smart Track over the mark you made and drill a pilot hole
at least three inches into the center of the joist.
8. Use a wrench to screw in a lag screw and washer into the pilot hole you just drilled.
Be sure to tighten both lag screws so the Smart Track is flush and secure against
the ceiling.
9. Drill two more pilot holes and screw in the remaining lag screws and washers so
that you have two lag screws in each section of the Smart Track.
NOTICE
Whenever possible, use two lags screws in each section of Smart Track to
ensure a secure installation. If the Smart Track is installed across more than one
joist, use one lag screw in every joist.
NOTICE
If you are installing each section of Smart Track separately, follow the directions
above for each section.
WARNING
Failure to mount the Smart Track and the Universal XL HD Lifter to secure
ceiling joists or rafters could result in property damage, serious personal injury,
or death.

14
Part 3: Installing the MyLifter units
CAUTION
It is very important that you place both lifters so that the cable is as vertical as
possible when the item is lifted. Excessively angled or crossed cables could result in
damage to the MyLifter motors and to your property.
1. Align the holes on the MyLifter bracket with the holes on the Smart Track with the
cable approximately lined up with the starting point that is aligned with the back of
your Universal XL HD Frame.
2. Insert the included spring pins all the way through the holes in the MyLifter bracket
and the Smart Track.

15
3. Hook one of the carabiners into the next available hole on the same side of the track
where the cable comes off the lifter, and where the DC cable plug comes out of the
lifter.
4. Install the second lifter by aligning the holes on the MyLifter bracket with the holes
on the Smart Track with the cable approximately lined up with the starting point
that is aligned with the front of your Universal XL HD Frame.
5. Insert the included spring pins all the way through the holes in the MyLifter bracket
and the Smart Track.
6. Hook the other carabiner into the next available hole on the same side of the track
where the cable comes off the lifter, and where the DC cable plug comes out of the
lifter.
7. Plug in one end of each DC Power Cable into the Garage Smart Power Adapter
units.
8. Install the power adapters anywhere on the Smart Track. The universal mount
attached to the bottom of the power adapters lets you easily slide and snap them
into place on the track.
9. Plug the other end of the DC Power Cables into the MyLifter units.
10. Plug the three pronged cables from the power adapters into the nearest outlet.
NOTICE
You can “daisy-chain” the power adapters by plugging the three pronged cable
from one adapter into a second adapter. Then, plug the three pronged power
cable from the second adapter into the nearest outlet.

16
11. Secure and organize the cables.
a. Stow excess power cables in the empty spaces on the Smart Track.
b. Snap the Track Covers onto the Smart Track to secure the stowed cables in
place.
12. Use the Cable Management Clips to organize the power cord that is plugged into
the nearest outlet.
a. Peel off the adhesive backing from a cable management clip and stick it
where you want.
b. Secure the cable management clip with a screw, place the cable in the clip,
and securely close the clip.

17
Using the MyLifter App
The MyLifter app is paired with your MyLifter unit using a Bluetooth connection. Be sure
to enable your mobile device’s Bluetooth capabilities before attempting to pair with your
lifter.
Part 1: Pair your MyLifter units with the app
1. Download the MyLifter app from the App Store or Google Play.
2. Open the app and tap Add Devices in the bottom right corner to open the
Available Lifters screen.
This screen displays a list of all lifters within range of your Bluetooth
communications. If you do not see any available lifters, make sure you have plugged
in the power cable to the nearest outlet.
On the MyLifter units, you should see a slow blinking yellow Status light.
3. Firmly press the Pair button next to the Status light on both lifters.
When the Status light blinks green, the lifters are paired with your app.
On the Available Lifters screen, your newly paired lifters are displayed with their
MAC (media access control) addresses as their default names.

18
Part 2: Rename the MyLifter units
1. Tap in the upper left-hand corner to go to the Home screen.
2. On the Home screen, tap Edit in the upper right-hand corner of the screen.
The button name changes from Edit to Exit and the app enters Edit Mode. In Edit
Mode you can rename the lifters or delete them if you need to.
3. Tap the pencil icon to rename the lifters.
4. Type a name for the lifter and then tap OK.
5. Tap Exit in the upper right-hand corner to close the Edit Mode.

19
Part 3: Group the MyLifter units
1. On the app Home page, tap Create Group in the lower left corner of the screen.
You will see an option to create a Flex Group or a Locked Group.
2. Tap Locked Group to open the Select Devices screen.
3. On the Select Devices screen, select the two Universal XL HD lifters you just paired.
4. In the Name The Group text box, type a name for this locked group.
5. Tap Create Group at the bottom of the screen and then tap Got It when the Please
Confirm dialog opens.
The Device Control screen opens. The following graphic gives you an overview of
the Device Control screen interface with brief descriptions of its features and
functionality.

20
6. At the bottom of the Device Control screen, you will see the names of the lifters
you added to this group. Tap each lifter in turn and adjust the cable length until
each cable is the same distance from the floor.
7. Tap Set Group Level.
NOTICE
You may need to make additional cable adjustments once the item is lifted to be
sure your item is level. To do this, tap the Help button and select Level Group.
Then tap on each lifter and adjust the cables as needed.
Table of contents
Other Garage Smart Lifting System manuals
Garage Smart
Garage Smart MY LIFTER BASIC LIFTER User manual

Garage Smart
Garage Smart Hard Top Lifter Operating instructions
Garage Smart
Garage Smart myLIFTER Operating instructions

Garage Smart
Garage Smart Hard Top Lifter User manual

Garage Smart
Garage Smart Multi-Bike Lifter User manual
Garage Smart
Garage Smart UNIVERSAL LIFTER User manual