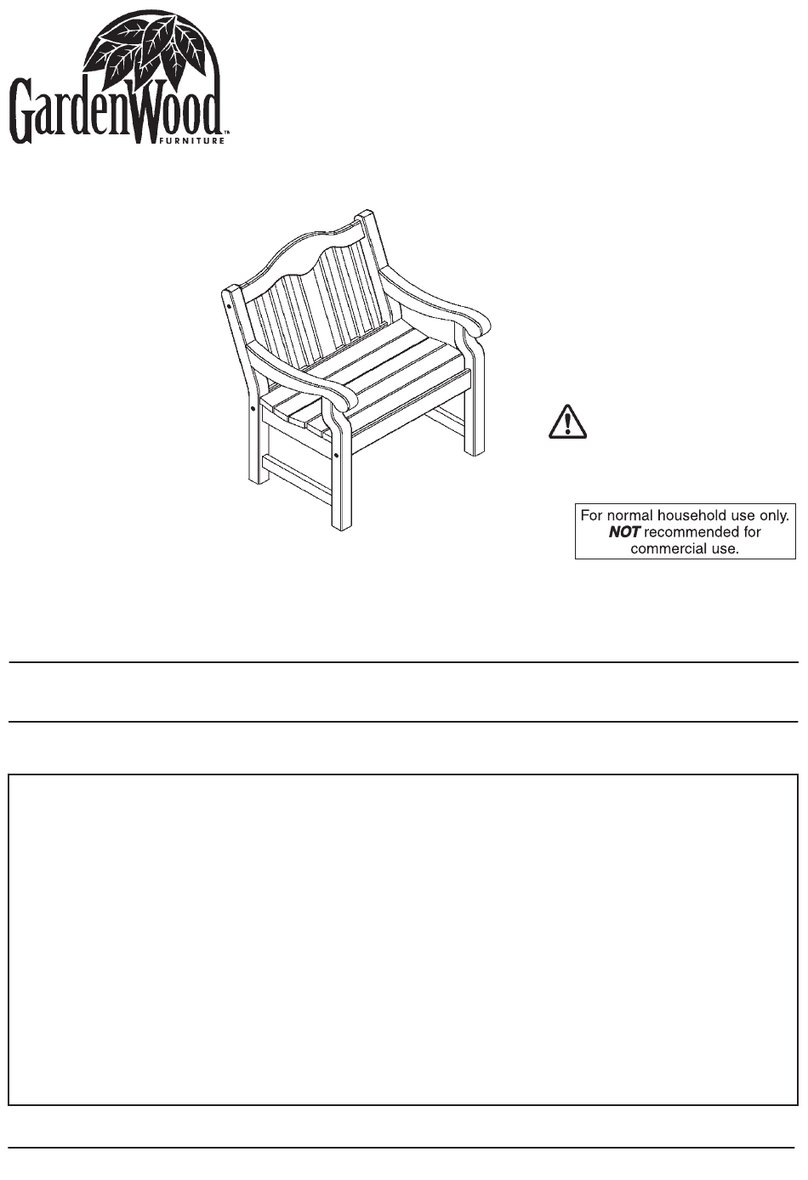
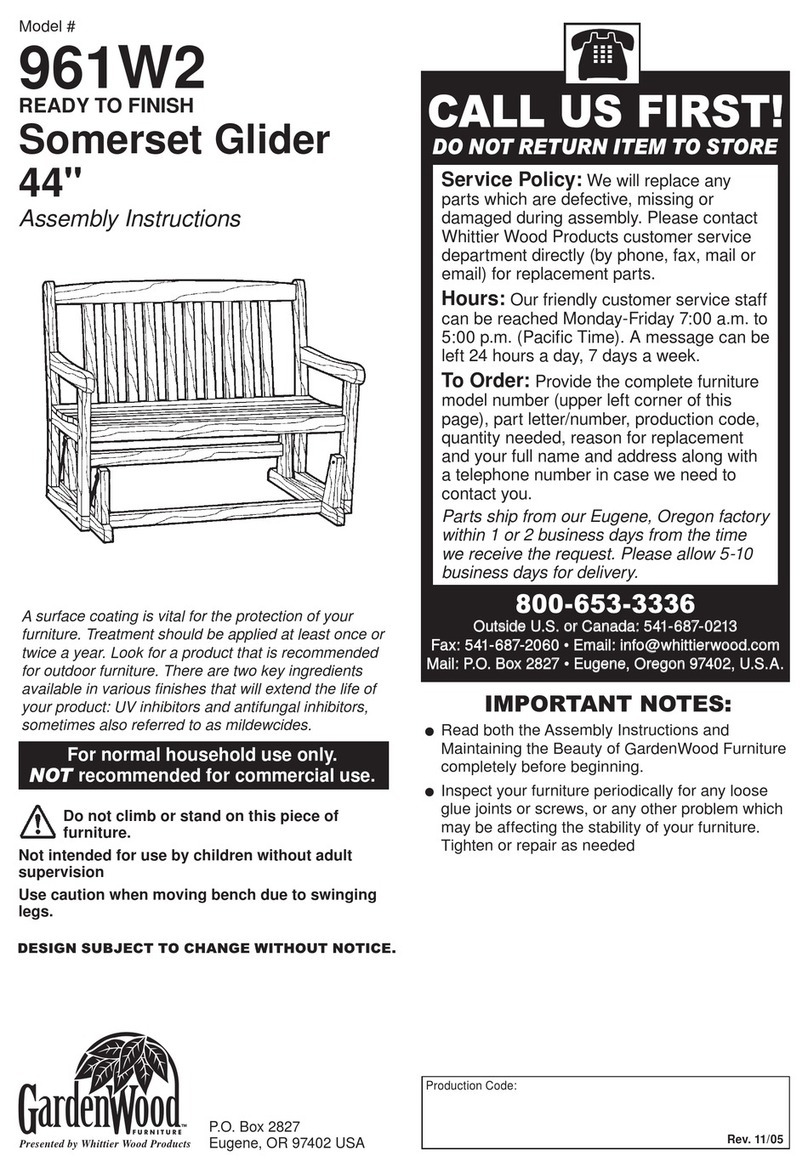
Garden Wood Furniture Chelsea 85992KFRS1 User manual

BEFORE BEGINNING ASSEMBLY, check that the quantities of
the parts received match those on the parts list.
SERVICE POLICY:
Please contact Whittier Wood Products customer service department directly for
replacement parts.
We will replace any parts which are defective, missing or damaged during assembly.
If you live in the U.S. or Canada, you can reach us toll free at: 800-653-3336.
All other customers can reach us by calling 541-687-0213, faxing 541-687-2060
or writing to P.O. Box 2827, Eugene, OR-USA 97402.
Customer service personnel can be reached Monday-Friday, 7:00 A.M. to 5:00 P.M. Pacific time.
A message can be left for customer service 24 hours a day, seven days a week.
When contacting us, please provide the furniture model number, part letter,
quantity needed, reason for replacement and your full name and address
along with a telephone number in case we need to contact you.
Your parts will be sent from our Eugene,Oregon factory within two working days from the time
we receive the request. Please allow 5-10 days for delivery.
GardenWood Furniture is presented by:
WHITTIER WOOD PRODUCTS • P.O. BOX 2827 • EUGENE, OREGON 97402 • (541) 687-0213
INSPECT YOUR FURNITURE PERIODICALLY FOR ANY LOOSE GLUE JOINTS OR SCREWS, OR ANY OTHER PROBLEM
WHICH MAY BE AFFECTING THE STABILITY OF YOUR FURNITURE. TIGHTEN OR REPAIR AS NEEDED.
DESIGN SUBJECT TO CHANGE WITHOUT NOTICE. Rev. 12/04
TOOLS REQUIRED:
Phillips Screwdriver, Slotted Screwdriver, Mallet or Padded Hammer, Outdoor Wood Glue
Presented by Whittier Wood Products
Do not climb, or stand on
this piece of furniture.
This product is finished with a penetrating oil, which contains UV and anti-fungal inhibitors.
To maintain the appearance of your furniture, we recommend you apply a penetrating oil or
other suitable product recommended for outdoor use once or twice a year.
85992KFRS1
NATURAL CLEAR FINISH
Chelsea
Bench

85992KFRS1 – Page 2
85992KFRS1 Chelsea Bench – Parts List
C – 10x40mm
Wood Dowel – Qty. 6
A – 6x70mm Barrel
Bolt – Qty. 6
B – Barrel Nut – Qty. 6
F – Hex Wrench – Qty. 1
E – 4x40mm Phillips
Screw – Qty. 11
D – 8x30mm
Wood Dowel – Qty. 2
Qty.
1 Left Leg Assembly . . . 1
2 Right Leg Assembly . 1
3 Back . . . . . . . . . . . . . . 1
4 Front Apron . . . . . . . . 1
5 Seat . . . . . . . . . . . . . . 1
6 Seat Brace . . . . . . . . . 1

FIG. 2
x6
A
x6
B
x1
F
E
x11
x6
C
x2
D
2) Slip the Seat (5) down between the legs onto the seat brace. Attach to the leg assemblies
with Screws (E) through the two predrilled holes in each end of seat into the frame as shown
in FIGURE 2.
Insert a Screw (E) through each of the holes in the bottom of the center Seat Brace (6)
into the slats.
1) Glue three 10x40mm Wood Dowels (C) into the upper holes in the Left Leg Assembly (1) and
one 8x30mm Wood Dowel (D) in each end of Seat Brace (6) as shown in FIGURE 1. Attach
the Back (3), with the dowel hole in lower rail to the front, to the leg assembly with two dowels
and two Barrel Bolts (A) and Barrel Nuts (B). Tighten bolts with the Hex Wrench (F).
Attach the Seat Brace (6), with the curved edge up, to the Back with the dowel and Screw (E).
Attach the Front Apron (4) to the left leg assembly and Seat Brace (6) over the dowels and
fasten in place with Barrel Bolt (A) and Barrel Nut (B) and Screws (E).
Glue three 10x40mm Wood Dowels (C) into the upper holes in the Right Leg Assembly (2) as
shown in FIGURE 1. Attach the leg assembly to the front apron and back as before.
85992KFRS1 – Page 3
85992KFRS1 Chelsea Bench
ASSEMBLY INSTRUCTIONS

Herramientas Necesarias:
Destornillador Phillips, Destornillador Comun, Cola Impermeable Para Madera
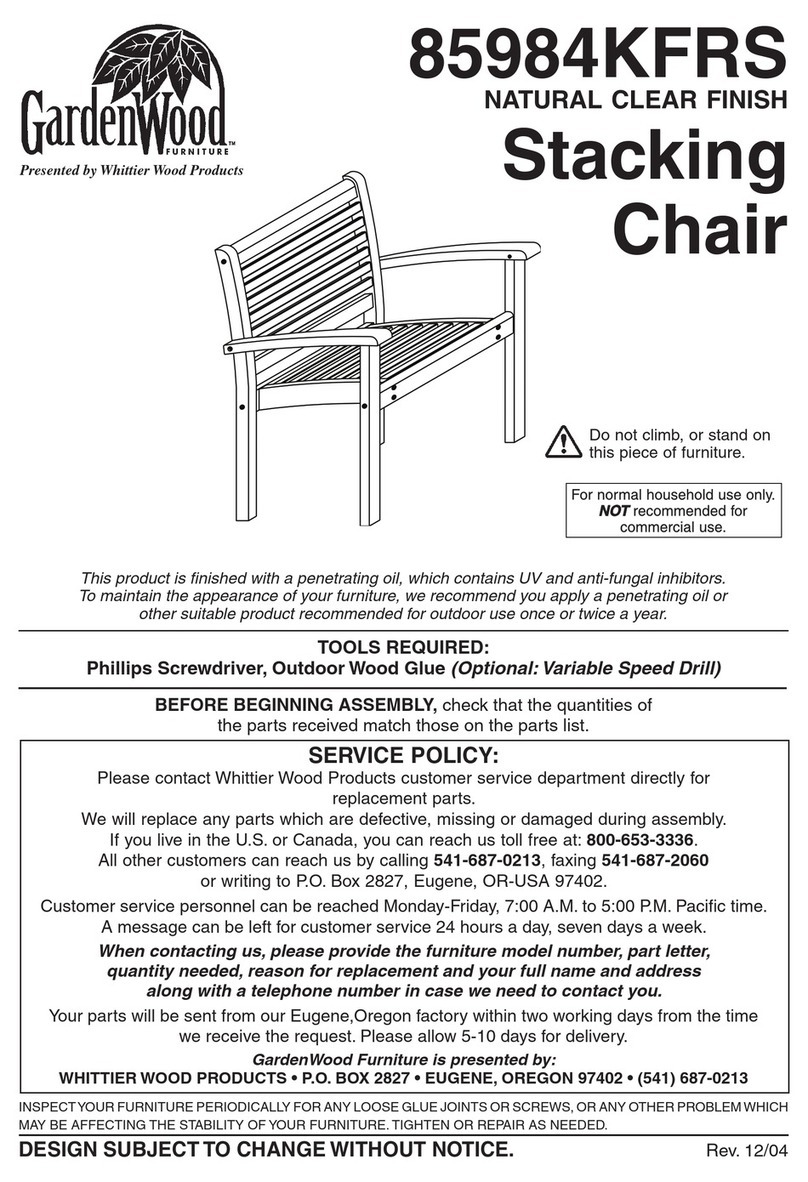
Rev. 12/04
Presentada por Whittier Wood Products
NORMAS DE SERVICIO:
Reemplazaremos toda pieza que durante el ensamble se encuentre defectuosa, faltante o dañada.
Para obtener piezas de repuesto por favor comuníquese directamente con el
departamento de servicio al cliente de Whittier Wood Products.
Si vive en Estados Unidos o Canadá, puede comunicarse con nosotros
llamando gratuitamente al 800-653-3336.
Los clientes que vivan en otros paises pueden comunicarse con nosotros llamando al 541-687-0213,
mediante Fax al 541-687-2060 o escribiéndonos a P.O. Box 2827, Eugene, OR, USA 97402.
El personal de servicio al cliente está disponible de Lunes a Viernes, de 7:00 am a 5:00 pm hora estándar del Pacífico
.
Puede dejar un mensaje para el personal de servicio al cliente las 24 horas del día, los siete días de la semana.
Cuando se comunique con nosotros, por favor proporcione el número de modelo del mueble, la letra
de la pieza, la cantidad que necesita, la razón del reemplazo y su nombre y dirección completos,
además de su número de teléfono por si necesitamos comunicarnos con usted.
Presentada por
WHITTIER WOOD PRODUCTS • P.O. BOX 2827 • EUGENE, OREGON 97402 • (541) 687-0213
ISE SU MOBILIARIO EN FORMA PERIÓDICA PARA DETECTAR UNIONES DESPEGADAS, TORNILLOS FLOJOS O CUALQUIER OTRO PROBLEMA
QUE PUDIERA AFECTAR LA ESTABILIDAD DEL MISMO. APRIETE LOS TORNILLOS O REPARE LAS PIEZAS SEGÚN CORRESPONDA.
ESTE DISEÑO ESTÁ SUJETO A CAMBIOS SIN PREVIO AVISO
1. Pegue tres Taquetes de Madera 10x40mm (C) en
cada orificio del Ensamble de las Patas Izquierdas
(1) y un Taquete de madera 8x30mm (D) en Soporte
del asiento (6) tal como se muestra en la FIGURA 1.
Sujete el Respaldo (3) al ensamble de patas izquierdas
con dos taquetes, dos Pernos Pasantes (A) y dos
Tuercas Cilíndricas (B). Apriete los tornillos con la
Llave Hexagonal (F).
Sujete el Faldón Delantero (4) al ensamble de patas
izquierdas sobre los taquetes y apriete en lugar con los
Pernos Pasantes (A) y las Tuercas Cilíndricas (B).
Pegue tres Taquetes de Madera (C) en los orificios
del Ensamble de las Patas Derechas (2), tal como se
muestra en la FIGURA 1. Sujete el ensamble de patas
al faldón delantero y al respaldo tal como lo hizo
anteriormente.
2. Por arriba, deslice el Asiento (5) entre los brazos de
la silla hasta los soportes del asiento. Sujete el asiento
a los ensambles de las patas con Tornillo Phillips (E)
a través de los orificios que se encuentran en cada
borde del asiento y dentro de la estructura, tal como se
muestra en la FIGURA 2.
Inserte un Tornillo Phillips (E) a través de cada
orificio en la parte inferior del soporte central del
asiento y dentro de los largueros.
INSTRUCCIONES PARA ARMAR
1 Ensamble de las patas
izquierdas . . . . . . . . . . . . . . .1
2 Ensamble de las patas
derechas . . . . . . . . . . . . . . . .1
3 Respaldo . . . . . . . . . . . . . . .1
4 Faldón delantero . . . . . . . . .1
5 Asiento . . . . . . . . . . . . . . . . .1
6 Soporte del asiento . . . . . . . .1
A Perno pasante (6x70) . . . . . .6
B Tuerca cilíndrica . . . . . . . . .6
C Taquete de madera
(10x40mm) . . . . . . . . . . . . .6
D Taquete de madera
(8x30mm) . . . . . . . . . . . . . .2
E Tornillo Phillips
(4x40mm) . . . . . . . . . . . . .11
F Llave hexagonal . . . . . . . . . .1
LISTA DE PIEZAS
Antes de comenzar a armar, verifique que haya recibido todas las piezas que se listan en la lista de piezas que se
presenta a continuación. Cant.Cant.Cant.
85992KFRS1
ACABADO TRANSPARENTE NATURAL
Banca Chelsea
Este producto tiene un acabado con un aceite penetrante que contiene inhibidores antifúngicos y de
rayos UV. Para mantener la apariencia de sus muebles, recomendamos que aplique una o dos veces al año un aceite
penetrante u otro producto adecuado recomendado para uso en exteriores.
SÓLO PARA USO DOMÉSTICO.
NO SE RECOMIENDA PARA USO COMERCIAL.
No se suba ni se pare
sobre este mueble.
OUTILS NÉCESSAIRES :
Tournevis Cruciforme, Tournevis a Fente, Colle Impermeable a Bois.
Présenté par Whittier Wood Products
Nomenclature des Pièces
Avant de commencer, vérifier si les quantités de pièces reçues correspondent aux quantités indiquées ci-dessous.
Qté
1 Assemblage du pied gauche . . 1
2 Assemblage du pied droit . . . . 1
3 Dossier . . . . . . . . . . . . . . . . . . 1
4 Tablier avant . . . . . . . . . . . . . 1
5 Siège . . . . . . . . . . . . . . . . . . . . 1
6 Traverse de siège . . . . . . . . . . 1
A Boulon cylindrique (6x70mm) 6
B Manchon taraudé . . . . . . . . . . 6
C Goujon en bois (10x40mm) . . 6
D Goujon en bois (8x30mm) . . . 2
E Vis (4x40mm) . . . . . . . . . . . . 11
F Clé hexagonale . . . . . . . . . . . . 1
INSTRUCTIONS DE MONTAGE
Rev. 12/04
POLITIQUE DE SERVICE :
Nous remplacerons toutes pièces défectueuses, manquantes ou endommagées pendant le montage.
Veuillez contacter directement le service clientèle de Whittier Wood Products pour obtenir des
pièces de rechange. Si vous vivez aux Etats-Unis ou au Canada, vous pouvez nous
appeler gratuitement au 800-653-3336. Tous les autres clients peuvent nous
joindre en appelant le 541-687-0213, en envoyant une télécopie au 541-687-2060
ou en écrivant à P.O. Box 2827, Eugene, OR 97402, U.S.A.
Le personnel du service clientèle est disponible du Lundi au Vendredi, de 7 h à 17 heures, heure
du Pacifique. Vous pouvez laisser un message 24 heures sur 24, sept jours sur sept.
Lorsque vous nous contactez, veuillez fournir le numéro de modèle du meuble, la lettre de la pièce,
la quantité dont vous avez besoin, la raison du remplacement, votre nom et adresse complets, ainsi
que votre numéro de téléphone au cas où nous aurions besoin de vous contacter.
Présenté par
WHITTIER WOOD PRODUCTS • P.O. BOX 2827 • EUGENE, OREGON 97402 • (541) 687-0213
INSPECTEZ RÉGULIÈREMENT VOTRE MEUBLE, POUR VOIR SI LES PIÈCES SE DÉCOLLENT OU SI LES VIS SE DESSERRENT OU SI VOUS
REMARQUEZ TOUT AUTRE PROBLÈME RISQUANT D’AFFECTER LA STABILITÉ DU MEUBLE. RESSERREZ OU RÉPAREZ AU BESOIN.
LE MODÈLE EST SUJET À CHANGEMENTS SANS PRÉAVIS.
1. Coller les trois goujons en bois (C) dans chacun
des trous de l’assemblage de pieds gauches (1) et
un Goujon (D) dans
Traverse de Siège (6)
comme
indiqué sur la FIGURE 1. Attacher le dossier (3) à
l’assemblage de pieds avec deux goujons et deux
boulons cylindriques (A) et les
manchons taraudés (B)
.
Visser les boulons à l’aide de la clé hexagonale (F).
Attacher le tablier avant (4) à l’assemblage de pieds
par-dessus les goujons et fixer en place avec les
boulons cylindriques (A) et les
manchons taraudés (B).
Coller les trois goujons en bois (C) dans les trous de
l’assemblage de pieds droits (2) comme indiqué sur la
FIGURE 1. Attacher l’assemblage de pieds au tablier
avant et au dossier comme auparavant.
2. Glisser le siège (5) entre les pieds sur les traverses
du siège. L’attacher aux assemblages de pieds avec
les vis (E) par les deux trous perforés dans chaque
extrémité du siège et dans le cadre comme indiqué sur
la FIGURE 2.
Introduisez une vis (E) dans chaque trou ménagé dans
le fond du renfort central du siège, puis dans les lattes.
Qté
Qté
85992KFRS1
FINI TRANSPARENT NATUREL
Banc Chelsea
Pour usage ménager normal seulement.
N’est pas recommandé pour usage commercial.
Ne pas monter ni se mettre debout
sur cet article d’ameublement.
Ce produit est fini avec une huile pénétrante qui contient des agents d’inhibition d’UV et des agents
anti-fongiques. Pour conserver l’aspect de vos meubles, nous vous recommandons d’y appliquer une ou deux fois par
an une huile pénétrante ou un autre produit approprié à l’utilisation à l’extérieur.

Presented by Whittier Wood Products
In order to maintain the appearance and life of this GardenWood FurnitureTM product, please follow these
care instructions.
The appearance of wood will deteriorate when left outside. A surface coating is vital in protecting it from
premature darkening, or splitting, when exposed to weather. The finish should be regularly maintained to
ensure that the wood is protected from moisture and the furniture continues to look its best.
Maintenance:
Maintain the appearance of your furniture with regular coatings, once or twice a year, of a penetrating oil
or other suitable coatings. Products containing antifungal and UV inhibitors can provide added protection.
During application, particular care should be given to ends of the wood parts and any joints.
Your GardenWood FurnitureTM should be protected from severe weather and stored under cover during
winter.
Untreated furniture will turn color and develop cracks. Light sanding can restore the original color after
which a surface coating can be applied.
The hardware is anodized steel. It is rust resistant and will not stain the wood. Inspect hardware occasionally
and tighten when necessary.
Cuidado de sus muebles GardenWood Furniture™
Con el fin de mantener la apariencia y vida de este producto GardenWood Furniture™, por favor siga estas
instrucciones para el cuidado.
La apariencia de la madera se deteriorará si la deja en exteriores. Es vital aplicar un revestimiento para proteger
la superficie contra oscurecimiento y rajaduras, cuando se exponga a las inclemencias del clima. El acabado se
debe aplicar a intervalos regulares para asegurar que la madera esté protegida contra la humedad y que el mueble
continúe con su mejor apariencia.
Mantenimiento:
Mantenga la apariencia de sus muebles aplicando revestimientos regulares, una o dos veces al año, utilizando un
aceite penetrante u otro revestimiento adecuado. Durante la aplicación, debe tener especial cuidado con los bordes
de las piezas de madera y las uniones.
Debe proteger sus muebles GardenWood Furniture™ contra climas extremosos y guardarlos bajo cubierta durante
el invierno.
Los muebles sin acabado cambiarán de color y presentarán rajaduras. Un leve lijado puede restablecer el color
original antes de aplicar un revestimiento de superficie.
Los pernos y tuercas son de acero anodizado. Son resistentes a la corrosión y no manchan la madera. Inspeccione
los pernos y tuercas de vez en cuando y apriete cuando sea necesario.
Entretien de GardenWood Furniture™
Pour conserver à ce produit son bel aspect nouveau, veuillez suivre les instructions d’entretien ci-dessous.
L’aspect du bois se détériore lorsqu’il est laissé dehors. Il est crucial d’appliquer dessus une couche de finition pour
l’empêcher de noircir prématurément ou de se fissurer lorsqu’il est exposé aux intempéries. Entretenez régulièrement
la finition pour assurer que le bois est protégé de l’humidité et que le meuble conserve son plus bel aspect.
Entretien :
Conservez le bel aspect de vos meubles en les enduisant régulièrement, une ou deux fois par an, d’une huile pénétrante
ou d’autres enduits appropriés. Prêtez une attention particulière aux extrémités du bois et aux raccords.
Protégez votre Garden Wood Furniture™ des intempéries et rangez-le sous une bâche pendant l’hiver.
Les meubles non traités changent de couleur et présentent des fissures. Un léger ponçage peut rétablir la couleur
d’origine ; ensuite, vous pouvez appliquer une légère couche de surface.
Les pièces métalliques sont en acier anodisé antirouille qui ne tache pas le bois. Inspectez-les de temps à autre et
serrez-les si nécessaire.
Rev. 9/02
Table of contents
Other Garden Wood Furniture Outdoor Furnishing manuals

Garden Wood Furniture
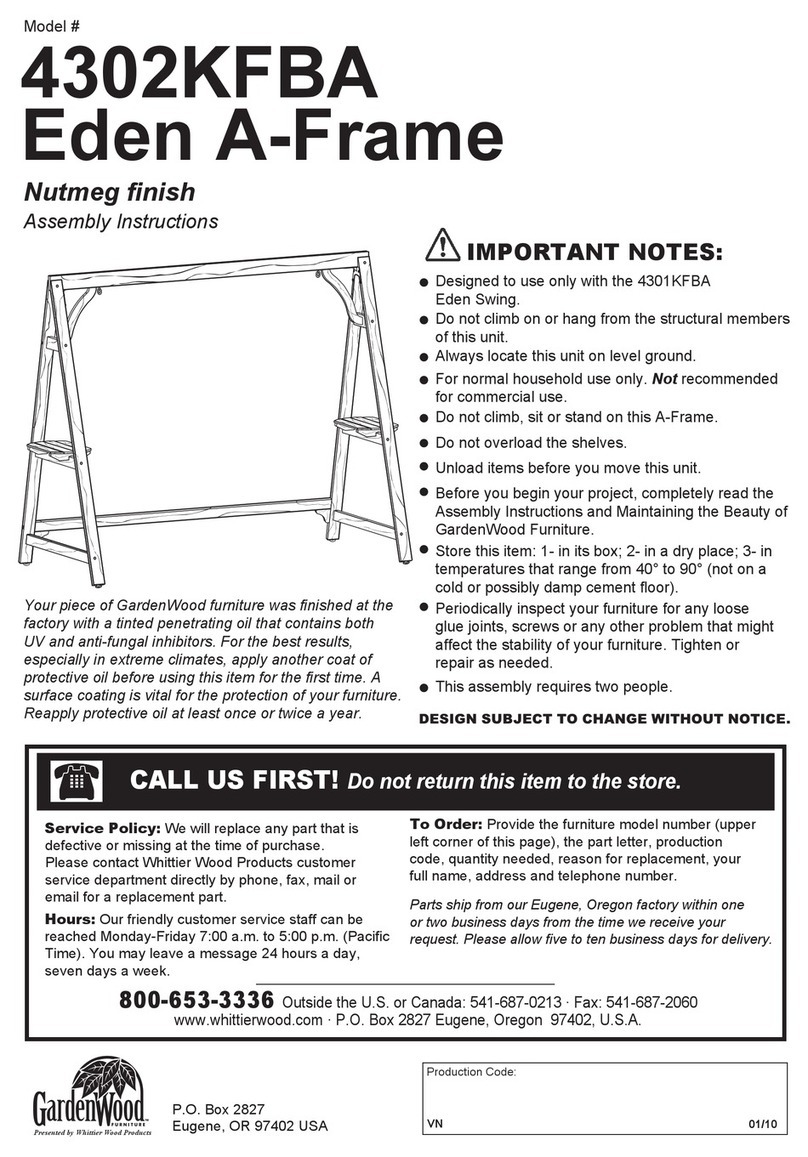
Garden Wood Furniture Eden A-Frame 4302KFBA User manual

Garden Wood Furniture
Garden Wood Furniture Somerset 961W2 User manual

Garden Wood Furniture
Garden Wood Furniture 85984KFRS User manual

Garden Wood Furniture
Garden Wood Furniture Somerset Glider 44 961KFSIc User manual

Garden Wood Furniture
Garden Wood Furniture 85991KFRS1 User manual
Popular Outdoor Furnishing manuals by other brands

Oxford Garden
Oxford Garden ESSEX EX96 Assembly instructions

Crosley
Crosley CO7270 Assembly instructions

sweeek.
sweeek. MANCORA MTRLXKDX2 manual

YOTRIO
YOTRIO FTS70681E Assembly instruction

Outsunny
Outsunny 84A-134 Assembly & instruction manual

Factoryfurniture
Factoryfurniture TREE planter Operation & maintenance manual