Gardenline GLLS 3000/3 User manual

ELECTRIC LEAF BLOWER
VAC
User Manual
ID: #05007
m
y
h
a
n
s
e
c
o
n
t
r
o
l
.
c
o
m
M
A
N
U
A
L
D
E
V
E
L
O
P
E
D
I
N
G
E
R
M
A
N
Y
User-friendly
Manual
Original instructions
GLLS 3000/3

QR codes take you where you want to go
quickly and easily
Whether you require product information, spare parts or accessories,
details on warranties or aftersales services, or if you want to watch a
product demonstration video, our QR codes will take you there in no
time at all.
What is a QR code?
A QR code (QR = Quick Response) is a type of matrix that can be read
with a smartphone camera and that contains a link to a website or
contact details, for example.
Advantage: You do not need to manually enter a website address or
contact details.
How it works
To scan the QR code, all you need is a smartphone with QR code reader
software and an internet connection.
This type of software can be downloaded for free from your app store.
Try it out now
Just scan the QR code with your smartphone and find out
more about the ALDI product you have purchased.
Your ALDI Service Portal
All details mentioned above can also be found in the
ALDI Service Portal at www.aldi.co.uk.
Depending on your tariff plan you may be charged for the connection.

Dok./Rev.-Nr. 195250_20170424
Overview ................................................................................4
Use...........................................................................................5
Package contents/device parts.............................................6
General information............................................................... 7
Reading and storing the user manual ..................................... 7
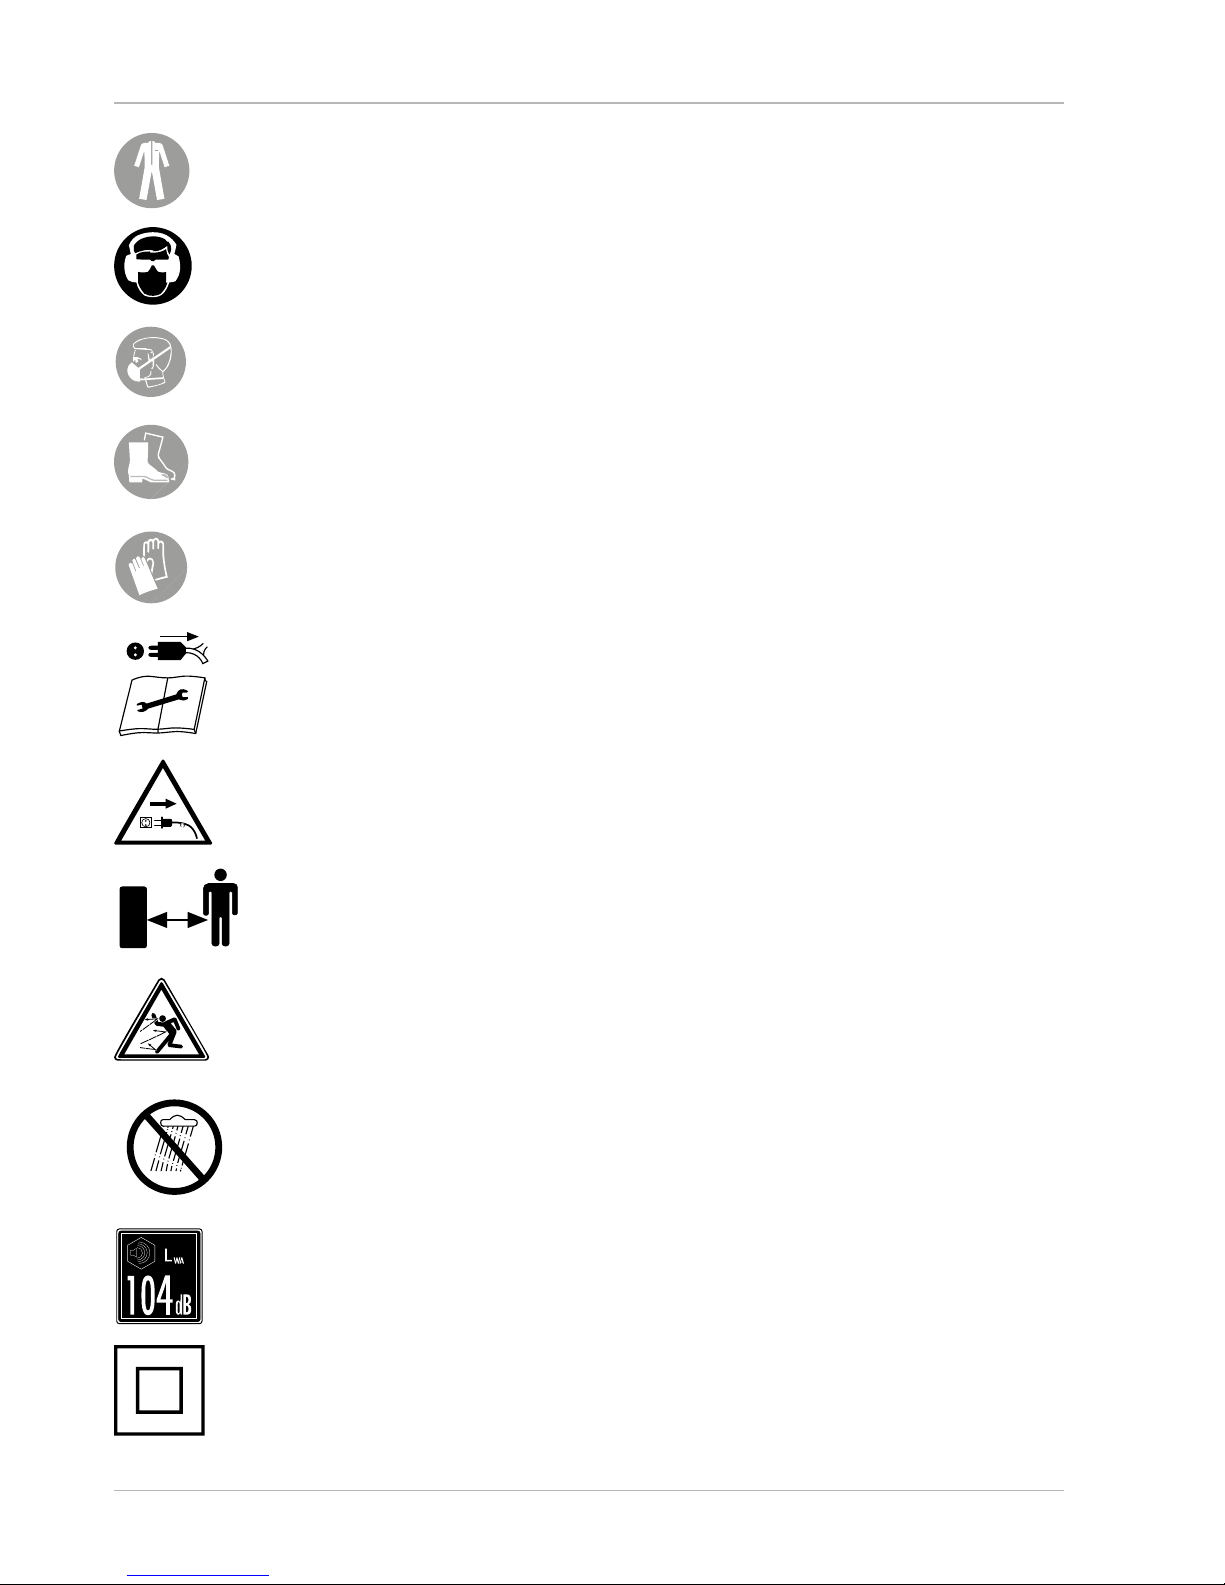
Explanation of symbols .............................................................. 7
Safety ......................................................................................9
Proper use.....................................................................................9
General power tool safety instructions.................................. 10
Additional safety instructions for handheld electric
leaf blowers with blower function...........................................12
Supplementary safety instructions .........................................16
First use..................................................................................17
Checking the leaf blower and package contents..................17
Assembling the leaf blower ......................................................17
Mounting the cover ................................................................... 18
Mounting the front handle....................................................... 18
Mounting the tube..................................................................... 18
Mounting the wheels .................................................................19
Mounting the collector bag.......................................................19
Using the carrying strap............................................................19
Operation..............................................................................20
Preparation.................................................................................20
Activating/deactivating the leaf blower.................................21
Using the leaf blower in vacuum mode ................................. 22
Using the leaf blower in blower mode ................................... 23
Emptying the collector bag...................................................... 23
Removing blockages................................................................. 23
Cleaning................................................................................ 24
Maintenance and repair....................................................... 25
Storage ................................................................................. 26
Transport .............................................................................. 26
Troubleshooting................................................................... 27
Technical data ......................................................................28
Spare parts and accessories ................................................28
Noise/vibration information ............................................... 29
Disposal................................................................................. 31
Disposing of the packaging ......................................................31
Disposing of the leaf blower .....................................................31
Declaration of conformity.................................................... 32
Contents

DC
4
MAX
A
B
1
2
3
4
5
6
7
8
9
10
11
12
13
14 15

JI
HG
FE
5
18
16
19
20
17

6
Package contents/device parts
1Rear handle
2Speed control
3Strain relief
4Connecting piece
5Collector bag
6Fixing clamp
7Wheel holder (with wheels)
8Front tube
9Rear tube
10 Mode switch
11 Carrying strap (with clasp)
12 Front handle
13 On/Off switch
14 (Long) screw, 2×
15 (Short) screw, 2×
16 Locking screw (cover)
17 Cover
18 Locking screw (front handle)
19 Port
20 Button

General information
7
General information
Reading and storing the user manual
This user manual accompanies this electric leaf blower vac GLLS 3000/3
(referred to below only as the “leaf blower”). It contains important
information about safety, usage and care.
Read this user manual carefully before using the leaf blower.
Pay particular attention to the safety instructions and warnings. Failure to follow the
instructions in this user manual may result in severe injury or damage to the leaf blower.
Comply with applicable local or national regulations concerning the use of this
product. Keep this user manual in a safe place for future reference. If you pass the
leaf blower on to third parties, please be absolutely sure to include this user manual.
Explanation of symbols
The following symbols and signal words are used in this user manual, on the leaf
blower or on the packaging.
WARNING!
Indicates a hazardous situation that, if not
avoided, could result in death or serious injury.
CAUTION!
Indicates a hazardous situation that, if not
avoided, could result in minor or moderate injury.
NOTICE!
Warns of possible damage to property.
This symbol provides you with useful supplementary information on
assembly or use.
Declaration of conformity (see “Declaration of conformity” section):
Products marked with this symbol meet all applicable Community
regulations for the European Economic Area.
Caution/Warning
Read the user manual.

General information
8
Wear suitable, tight fitting clothing.
Wear protective goggles.
Wear ear protection.
Wear a dust mask.
Wear suitable secure footwear.
Wear suitable protective gloves.
Pull the mains plug before cleaning, maintenance, assembly, storage
and transport.
Pull the mains plug if the mains cord is damaged or tangled. Do not
touch the mains cord until you have disconnected it from the mains.
Keep other persons and animals out of the danger area while the leaf
blower is operating.
Discharge of cuttings.
Protect the leaf blower from rain and moisture.
Guaranteed sound power level in dB.
The leaf blower corresponds to protection class II.
This means that the leaf blower has reinforced or double insulation.

Safety
9
Vacuum mode
Blower mode
Certified safety: Products marked with this symbol meet the
requirements of the German Product Safety Act (ProdSG).
Safety
Proper use
The leaf blower is only designed for private users in connection with hobby and
DIY projects for the following purposes:
• In vacuum mode for sucking up dry foliage or other garden waste such as cuttings.
• In blower mode for blowing foliage or other garden waste such as cuttings
together or for removing them from hard-to-reach areas.
Any other applications are expressly prohibited and are deemed improper use.
Neither the manufacturer nor the retailer can accept any responsibility for injury,
loss or damage caused by misuse of this product of any kind. Examples of misuse are
given in the following non-exhaustive list:
• using the leaf blower for other than the intended purposes;
• failure to observe the safety instructions and warnings as well as the assembly,
operating, maintenance and cleaning instructions contained in this user manual;
• failure to comply with any regulations relating to accident prevention,
occupational medicine or safety, which specifically and/or generally apply to the
use of this leaf blower;
• use of accessories and spare parts not intended for the leaf blower;
• changes to the leaf blower;
• repairs to the leaf blower performed by parties other than the manufacturer or a
qualified professional;
• commercial or industrial use of the leaf blower as well as in connection with the trades;
• operation or maintenance of the leaf blower by persons not familiar with how to
handle the leaf blower and/or who are not aware of the related risks.

Safety
10
General power tool safety instructions
WARNING Read all safety instructions and instructions.
Failure to follow the safety instructions and instructions may result in an
electric shock, fire and/or severe injury.
Save all warnings and instructions for future reference.
The term “power tool” used in the safety instructions refers to mains-operated
power tools (corded) and battery-powered power tools (cordless).
Work area safety
a) Keep your work area clean and well lit.
Cluttered or dark areas
invite accidents.
b) Do not operate power tools in explosive atmospheres, such as in
the presence of flammable liquids, gases or dust.
Power tools create sparks which may ignite the dust or fumes.
c) Keep children and bystanders away while operating a power tool.
Distractions can cause you to lose control.
Electrical safety
a) Power tool plugs must match the outlet. Never modify the plug in
any way. Do not use any adapter plugs with earthed (grounded)
power tools.
Unmodified plugs and matching outlets will reduce risk
of electric shock.
b) Avoid body contact with earthed or grounded surfaces, such as
pipes, radiators, ranges and refrigerators.
There is an increased
risk of electric shock if your body is earthed or grounded.
c) Do not expose power tools to rain or wet conditions.
Water
entering a power tool will increase the risk of electric shock.
d) Do not abuse the cord. Never use the cord for carrying, pulling
or unplugging the power tool. Keep the cord away from heat,
oil, sharp edges or moving parts.
Damaged or entangled cords
increase the risk of electric shock.
e) When operating a power tool outdoors, use an extension cord
suitable for outdoor use.
Use of a cord suitable for outdoor use
reduces the risk of electric shock.

Safety
11
f) If operating a power tool in a damp location is unavoidable, use
a residual current device (RCD) protected supply.
Use of an RCD
reduces the risk of electric shock.
Personal safety
a) Stay alert, watch what you are doing and use common sense
when operating a power tool. Do not use a power tool while you
are tired or under the influence of drugs, alcohol or medication.
A moment of inattention while operating power tools may result in
serious personal injury.
b) Use personal protective equipment. Always wear eye protection.
Protective equipment such as dust mask, non-skid safety shoes, hard
hat, or ear protection used for appropriate conditions will reduce
personal injuries.
c) Prevent unintentional starting. Ensure the switch is in the
off-position before connecting to power source and/or battery
pack, picking up or carrying the tool.
Carrying power tools with
your finger on the switch or energising power tools that have the
switch on invites accidents.
d) Remove any adjusting key or wrench before turning the power
tool on.
A wrench or a key left attached to a rotating part of the
power tool may result in personal injury.
e) Do not overreach. Keep proper footing and balance at all
times.
This enables better control of the power tool in unexpected
situations.
f) Dress properly. Do not wear loose clothing or jewellery. Keep
your hair, clothing and gloves away from moving parts.
Loose clothes, jewellery or long hair can be caught in moving parts.
g) If devices are provided for the connection of dust extraction and
collection facilities, ensure these are connected and properly
used.
Use of dust collection can reduce dust-related hazards.
Power tool use and care
a) Do not force the power tool. Use the correct power tool for your
application.
The correct power tool will do the job better and safer
at the rate for which it was designed.

Safety
12
b) Do not use the power tool if the switch does not turn it on and
off.
Any power tool that cannot be controlled with the switch is
dangerous and must be repaired.
c) Disconnect the plug from the power source and/or the battery
pack from the power tool before making any adjustments,
changing accessories, or storing power tools.
Such preventive
safety measures reduce the risk of starting the power tool
accidentally.
d) Store idle power tools out of the reach of children. Do not allow
persons unfamiliar with the power tool or these instructions to
operate the power tool.
Power tools are dangerous in the hands of
untrained users.
e) Maintain power tools. Check for misalignment or binding of
moving parts, breakage of parts and any other condition that
may affect the power tool’s operation.
If damaged, have the
power tool repaired before use. Many accidents are caused by poorly
maintained power tools.
f) Keep cutting tools sharp and clean.
Properly maintained cutting
tools with sharp cutting edges are less likely to bind and are easier to
control.
g) Use the power tool, accessories and fitted tools etc. in accordance
with these instructions, taking into account the working
conditions and the work to be performed.
Use of the power tool for
operations different from those intended could result in a hazardous
situation.
Service
a) Have your power tool serviced by a qualified repair person using
only identical replacement parts.
This will ensure that the safety of
the power tool is maintained.
Additional safety instructions for handheld electric leaf
blowers with blower function
Briefing
a) Carefully read through the instructions. Familiarise yourself with the
control elements and proper use of the device.

Safety
13
b) Never allow children or persons not familiar with these instructions to
use the device. Local regulations may restrict the permissible age of
the operator.
c) Please keep in mind that the operator or user is responsible for
accidents or dangers affecting other persons or their property.
Preparation
a) Use ear protection and protective goggles. Wear them during the
whole operating time of the device.
b) Always wear secure footwear and long trousers when operating
the device. Do not operate the device with bare feet or with open
sandals. Avoid wearing loose clothing or clothing with dangling
strings or ties.
c) Do not wear any loose clothing or jewellery that could be drawn into
the suction intake. Keep long hair away from the suction intakes.
d) Operate the device in a recommended position and only on a solid,
level surface.
e) Do not operate the device on a cobbled or gravel surface where
discharged material could inflict injury.
f) Always perform a visual check before use to ensure that the shredder,
the bolts of the shredder and other fasteners are secure, that the
housing is not damaged and that the protective equipment and
shields are all in place. If any components are worn or damaged,
replace the complete set to maintain balance. Replace any damaged
or illegible labels.
g) Before use, check the voltage supply and the extension cord for signs
of damage or ageing. If a cord is damaged during use, the mains
connection line must be immediately disconnected from the mains
(e.g. disconnecting the extension cord from the mains). Do not touch
the cord as long as it has not yet been disconnected from the
mains as this could result in contact with live parts. Do not use the
device if the cord is damaged or worn.
h) Keep the extension cord away from moving parts to prevent damage
to the cord.
i) Never use the device if there are people, especially children, or
animals nearby.

Safety
14
Operation
a) Before you start the device, make sure that the feeder is empty.
b) Keep your face and your body away from the intake.
c) Ensure that your hands, other body parts or clothing are not in the
feeder, the discharge duct or near moving parts.
d) Make sure that you maintain your balance and that you assume a
stable stance, especially when working on slopes. Do not overreach.
When feeding material into the device, never stand on a higher level
than the level on which the device is set up.
e) Walk, do not run.
f) When operating the device, stay out of the discharge zone.
g) Be extremely careful when feeding material into the device to ensure
that no pieces of metal, rocks, bottles, cans or other foreign objects
are fed into it.
h) Immediately switch off the power source and wait until the device
has come to a full stop if the shredder comes into contact with a
foreign object or if the device starts to vibrate excessively.
Disconnect the device from the mains and follow the steps below
before restarting and operating the device:
• check for damage;
• replace or repair any damaged parts;
• check for loose parts and tighten them.
i) Ensure that processed material does not accumulate in the discharge
zone as this will impair the proper discharge of material and result in
material being drawn back into the device via the intake.
j) If the device is plugged, switch the power source off and disconnect it
from the mains before you remove the debris.
k) Never operate the device if the protective equipment or shields are
defective or if the safety fixtures, such as collector bag, are not in
place or attached.
l) Keep the power source free of debris and the accumulation of other
materials to prevent damage to it or a possible fire.
m) Do not transport the device whilst the power source is running.

Safety
15
n) Stop the device and pull the plug out of the socket. Make sure that all
moving parts have come to a full stop
• whenever you leave the device unattended,
• before removing a blockage or rectifying obstructed ducts,
• before inspecting, cleaning or performing any other work on
the device.
o) Do not tip the device whilst the power source is running.
Maintenance and storage
a) If the device is stopped for maintenance, inspection, storage or in
order to change accessories, switch the power supply off, disconnect
the device from the mains and make sure that all moving parts
have come to a full stop. Let the device cool off before inspecting it,
performing settings, etc. Maintain the device with care and keep it
clean.
b) Store the device in a dry place out of the reach of children.
c) Always let the device cool off before storing it.
d) When performing maintenance on the shredder, please keep in
mind that although the power source has been switched off by the
locking function of the protective equipment, the shredder can still
be moved.
e) Replace worn or damaged parts for reasons of safety. Only use
original spare parts and accessories.
f) Never attempt to bypass the locking function of the protective
equipment.
g) Switch the device off before attaching or removing the bag.
Recommendation
a) The device should be operated with a residual current protective
device (RCD) with a maximum release current of no more than 30mA.
b) Do not operate the device in poor weather conditions, especially if
there is a risk of lightning.

Safety
16
Supplementary safety instructions
WARNING!
Danger for children and persons with impaired physical, sensory or mental
capacities (e.g. partially disabled persons, older persons with reduced
physical and mental capacities) or lack of experience and knowledge
(e.g. older children).
− Children, persons with impaired physical, sensory or mental abilities or
who lack experience and knowledge or persons who are not familiar with
the instructions are never permitted to use the device.
− Local regulations may prescribe an age limit for the operator.
− The device must never be operated if people, particularly children, or pets
are nearby.
a) Follow the instructions for assembly and maintenance in this user
manual.
b) If the mains connection line of this device is damaged, it must be
replaced by the manufacturer, its after sales support or a similarly
qualified person in order to prevent risks.
Residual risks
Even if you use this power tool in compliance with applicable regulations, residual
risks cannot be ruled out. The following risks associated with the construction and
design of this power tool may occur:
a) lung injury if a suitable dust mask is not worn;
b) hearing loss if suitable ear protection is not worn;
c) injury to health attributed to hand-arm vibration emissions if the
device is used over a prolonged period of time or is not guided and
maintained properly.
WARNING!
Health hazard for persons with pacemakers!
The leaf blower generates a weak electromagnetic field during operation.
Potential interference with a pacemaker can therefore not be ruled out.

First use
17
− Before the start-up of the leaf blower, ask the manufacturer of the
pacemaker or a physician in order to prevent any malfunctioning and
related health risks.
First use
Checking the leaf blower and package contents
WARNING!
Danger of suffocation!
Children could suffocate on plastic wrappers or if they swallow small parts.
− Do not allow children to play with the plastic bags, wrappers and small
parts. The leaf blower and the packaging are not a children’s toy.
1. Lift the leaf blower out of the packaging with both hands.
2. Place the leaf blower on a level, stable surface, such as a workbench.
3. Check whether the leaf blower or the individual parts exhibit damage. If this is the
case, do not use the leaf blower. Contact the manufacturer at the service address
specified on the warranty card.
4. Check to make sure that the delivery is complete (see Fig. A).
Assembling the leaf blower
WARNING!
Risk of injury!
A leaf blower that is not fully assembled may result in severe injury.
− Follow the user manual step-by-step.
− Assemble the leaf blower completely before operating it.
− Do not connect the mains plug with the mains connection line until you
have completely assembled the leaf blower.

First use
18
Mounting the cover
WARNING!
Risk of injury!
Operating the leaf blower without a cover can result in injury.
− Never use the leaf blower without a cover.
1. Hook the bottom side of the cover 17 into the small side opening in the motor unit.
2. Use the locking screw 16 to secure the cover on the motor unit.
Mounting the front handle
CAUTION!
Risk of injury!
If the front handle has not been properly fixed in place, this may result in injury.
− Make sure that the gear tooth system has properly locked in place.
− Make sure that the locking screw has been tightened.
1. Loosen and remove the locking screw 18 from the front handle 12 .
2. Attach the front handle to the holder (see Fig. E).
3. Insert the pin for the locking screw through the opening of the front handle
(see Fig. F) so that the head of the pin fits into the recess.
4. Place the washer on the pin of the locking screw.
5. Turn the star grip gently onto the pin of the locking screw.
6. Adjust the front handle to the desired position.
7. Screw the locking screw tight by turning it clockwise.
Mounting the tube
1. Take the front tube 8out of the rear tube 9.
2. Insert the rear tube into the front tube until it audibly locks into place.
3. Use a (long) screw 14 to screw the two tubes together (see Fig. B).
4. Insert the rear tube into the motor unit until it audibly locks into place.
5. Screw the two parts together using a (short) screw 15 at the top and
a (long) screw 14 at the bottom (see Fig. C).

First use
19
Mounting the wheels
Mount the wheels if you use the leaf blower in vacuum mode. Remove the wheels by
reversing the steps if you use the leaf blower in blower mode.
1. Push the wheel holder with the wheels 7approx. 10cm onto the front tube 8.
2. Use a (short) screw 15 to screw the wheel holder with wheels in place
(see Fig. D).
Mounting the collector bag
CAUTION!
Risk of injury!
If the collector bag is not secured when operating in vacuum mode, projected
parts could result in injury.
− Only use the leaf blower in vacuum mode with a properly attached
collector bag.
− Make sure that the collector bag is not damaged.
1. Insert the port 19 with the larger opening facing up into the opening on the
bottom of the motor unit so that it audibly locks in place (see Fig. G).
2. Secure the connecting piece 4of the collector bag 5over the port on the
motor unit until it audibly locks into place (see Fig. H).
3. Secure the fixing clamp 6on the hook (see Fig. I).
Push the button 20 and pull the connecting piece of the collector bag
off of the motor unit to remove the collector bag.
Using the carrying strap
When using the leaf blower, always use the carrying strap so that you can work
without fatiguing. Undo the clasp to be able to quickly open the carrying strap in the
event of an accident.

Operation
20
Operation
Preparation
Preparing the extension cord
You will need an extension cord for outdoor operation (max. 50m, 2.5mm2cross-section).
1. Lay out the extension cord in loops so that you can drag it along when working.
2. Lay the extension cord so that it does not pose a tripping hazard and nothing can
fall on it.
3. Check whether the extension cord is not damaged. Do not in any case use a
damaged extension cord.
Connecting the mains cord
1. Make sure that the On/Off switch 13 is in the Off position (o).
2. Make a loop with the extension cord and run it through the opening of the
strain relief 3.
3. Run the loop over the hook of the strain relief.
4. Slowly pull the loop against the strain relief to tighten it. If the cable is not taut, it
may become loose and slip out when working.
5. Insert the mains plug of the leaf blower in the mains jack of the extension cord.
6. Insert the mains plug of the extension cord in a properly installed socket.
Picking up the leaf blower
1. Pick up the leaf blower. Hold the front handle 12 with one hand and the
rear handle 1with the other hand.
2. Put on the carrying strap 11 so that it runs over your left shoulder and crosses
your chest and back.
3. Check the length setting and adjust if necessary.
Adjusting the front handle
The front handle 12 can be set to 5 positions.
1. Loosen the locking screw 18 by turning it anticlockwise and move the front
handle to the desired position.
2. Screw the locking screw tight by turning it clockwise. Make sure that the gear
tooth system of the holder and the front handle have correctly locked into place.
Table of contents
Other Gardenline Blower manuals

Gardenline
Gardenline PBV26CC User manual

Gardenline
Gardenline 36357 User manual

Gardenline
Gardenline GLLS 3002 UK User manual

Gardenline
Gardenline 52754 User manual

Gardenline
Gardenline GLBV-2500 User manual

Gardenline
Gardenline 52754 User manual

Gardenline
Gardenline 60099 User manual

Gardenline
Gardenline GLBV 2501 User manual