GARNI 439 User manual

INSTRUCTION MANUAL FOR WEATHER STATION
MODEL Line
Line

SYMBOLS
This symbol is followed by an important notice, this symbol is followed by a note
For safe use, always follow the instructions in this documentation
PACKAGE CONTENTS
Main unit (receiver)
Wireless sensor GARNI 030H
AC adaptor for the main unit
Manual
DESCRIPTION
- inverse color display
- measurement of outdoor and indoor relative humidity (%)
- measurement of indoor and outdoor temperature (°C, or °F)
- possibility to connect up to 3 wireless sensors for measurement of temperature and relative humidity at
different spots
- frost indication
- 5 icons of indoor thermal comfort
- value of the outdoor dew point and the heat index
- weather forecast icons based on monitoring of changes in barometric pressure
- memory for maximum and minimum readings of temperature and rel. humidity
- time and date controlled by DCF-77 radio signal with manual setting option
- 12- or 24-hour time display format
- 2 alarms with the option of wake-up every day or Monday to Friday
- snooze function with time adjustable from 5 to 60 minutes
- permanent display backlight option, 3 brightness levels and option to turn backlight off
- projection of time and indoor and outdoor temperature, alternating every 5 seconds
- option to turn off the projection
- the wireless sensor can be suspended or stand
- the wireless sensor is included in the delivery
- main unit powered by the AC adaptor, backup battery
Main unit
Front view
1) Time
2) Date
3) Day name abbreviation
4) The weather forecast icon
5) Projection
6) Outdoor temperature
7) Outdoor relative humidity
8) Indoor relative humidity
9) Indoor temperature
2

Rear and side view
10) Indoor temperature sensor
11) Alarm 1 activation / deactivation switch
12) Alarm 2 activation / deactivation switch
13) Projection activation / deactivation switch
14) Backup battery compartment
15) AC adaptor socket
Top view
16) Button
17) ALARM button
18) Button
19) SNOOZE/LIGHT button
20) Button
21) Button
22) Button
Wireless sensor
3

4
1) Temperature
2) Relative humidity
3) LED
4) °C/°F button
5) Broadcast button TX
6) Channel switch
7) Battery compartment cover
COMMISSIONING
Main unit
The main unit is powered by an AC adaptor. The battery only serves as a backup power supply for keeping
the main unit settings. Use only the delivered AC adaptor.
Backup battery installation
1) Remove the battery compartment cover on the rear side of the main unit by turning it to the left.
2) Insert 1 pc of a CR2032 battery (button), observe the correct polarity.
3) Close the battery compartment by turning the cover to the right.
Connecting the AC adaptor
1) Connect the power adaptor plug into the socket on the side of the main unit.
2) Connect the other side of the AC adaptor to a mains socket.
After the power supply is connected, the display shows all segments for 3 seconds and a beep sounds.
Then, the wireless sensor signal reception icon flashes on the display at the outdoor values
(OUTDOOR REMOTE) channel number for 3 minutes.
Wireless sensor GARNI 030H
1) Remove the battery compartment cover on the rear side of the wireless sensor.
2) Set the required channel using the switch in the battery compartment.
3) Insert 2 pcs AA (mini) batteries – observe the correct polarity.
4) Push the TX button. The temperature readings from the wireless sensor are displayed on the main unit
display.
5) Close the battery compartment.
Once the connection of the main unit to the wireless sensor is established, place the main unit and the
wireless sensor in the desired location within the range of the wireless sensor signal
Using multiple wireless sensors
The main unit allows to connect up to 3 wireless sensors which can be placed at different spots. Each
wireless sensor must be assigned its own channel number (1, 2 and 3).
1) Place the main unit and the wireless sensor next to each other.
2) Remove the battery compartment cover on the side of the wireless sensor.
3) Assign a number to each wireless sensor using the switch so that the numbers are unique.
4) Insert 2 pcs AA (mini) batteries, observe the correct polarity. Then push the TX button. The display
of the main unit will display the temperature reading measured by the wireless sensor on the respective
channel
5) To display the readings from a given wireless sensor, select the desired channel on the main unit
using button .
To automatically change the channel in ascending order, press button repeatedly until a small
arrow wheel appears next to the channel number . The main unit will alternate between displaying
the readings from all wireless sensors.
The reception of the wireless sensor signal can be also started manually by pushing button and
holding it for 3 seconds.

5
Placement of the weather station
Main unit
Select the location of the main unit away from direct sunlight. Test the connection to the wireless sensor
before final installation. If there is a problem with the signal reception, select another location. You may also
put the main unit on a flat surface. Placement near TVs, monitors, computers, etc. may negatively affect the
reception of the DCF-77 signal and the wireless sensor signal.
Wireless sensor
Place the wireless sensor away from direct sunlight not to compromise the measurement. Placement
outdoors, at the northern wall is recommended. Obstacles such as walls, concrete, metal structures and
large objects reduce the signal range. Position the wireless sensor vertically for optimum signal
transmission. Maximum open space signal range is 60 meters.
The signal range may be affected by obstacles (walls, trees) and other electrical devices (TVs, monitors,
etc.).
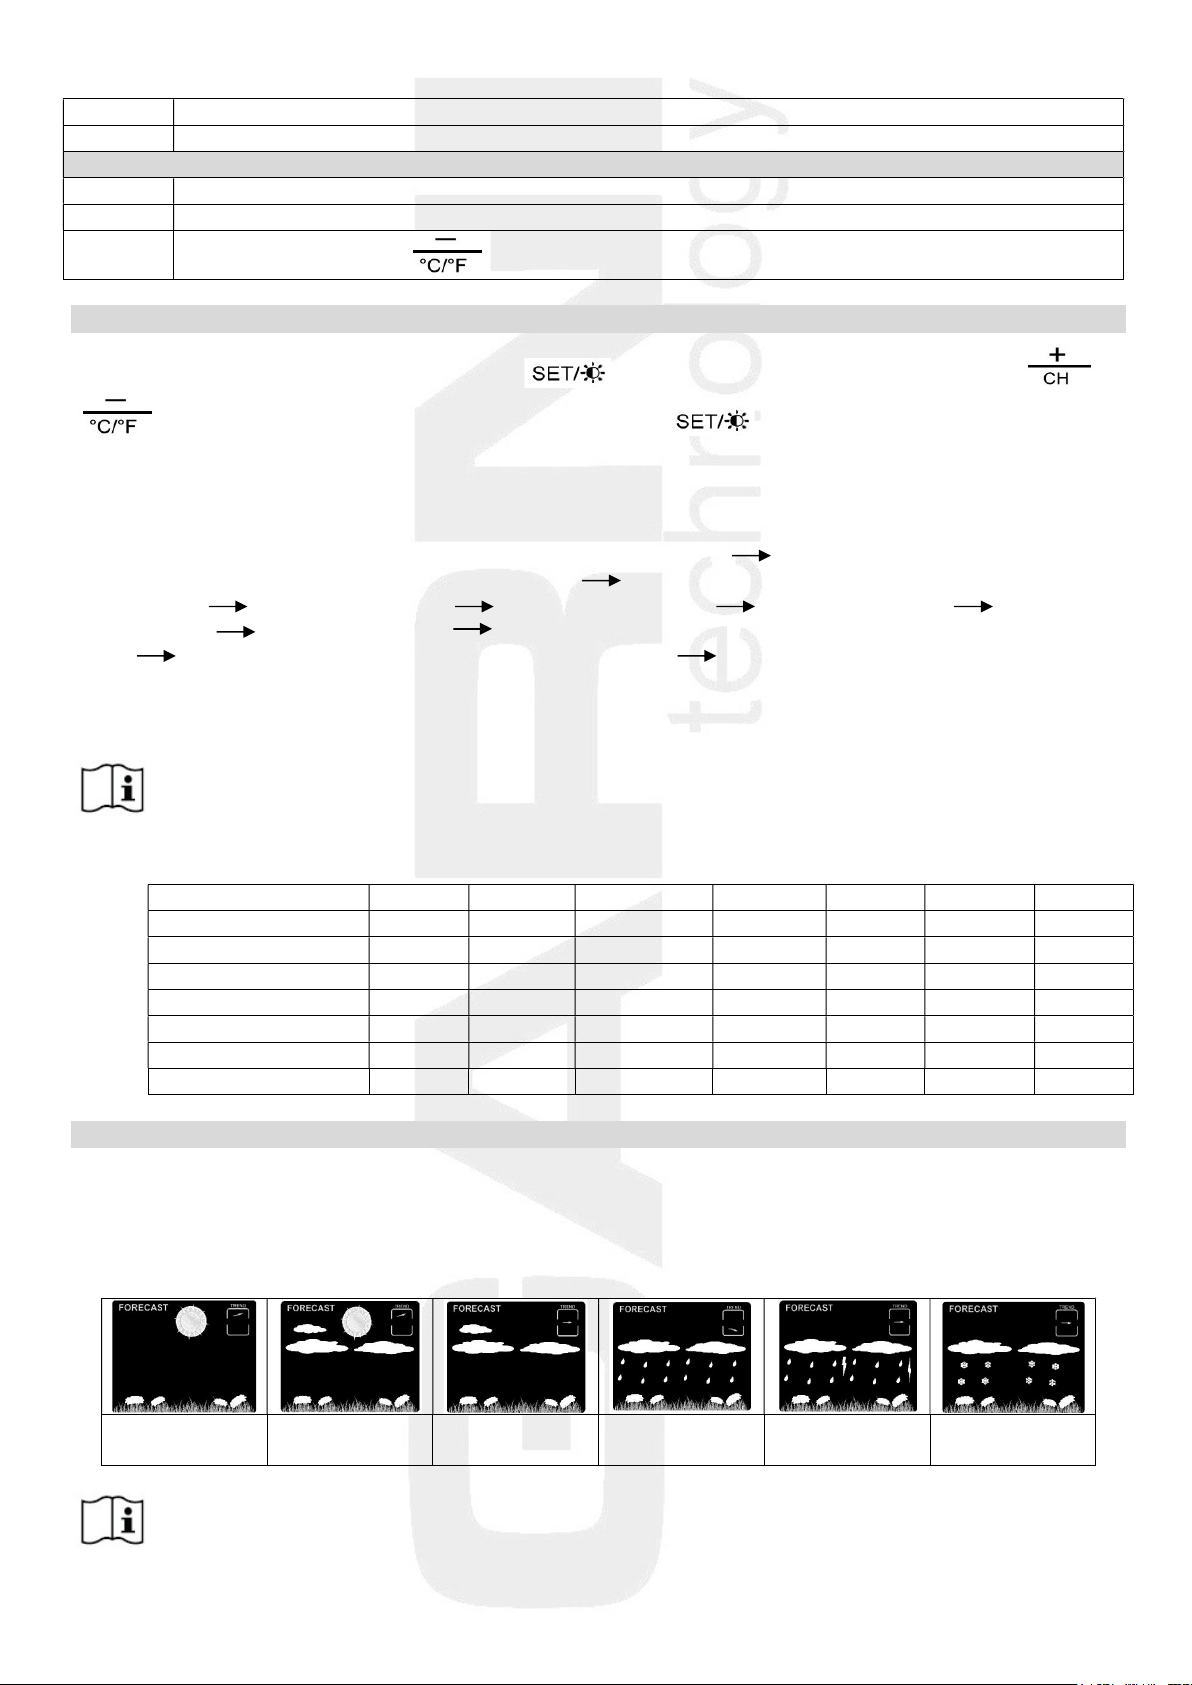
Time controlled by the DCF-77 radio signal
The weather station is equipped with the DCF-77 time/date control signal receiver, the signal is
broadcasted by a transmitter from Frankfurt am Main, Germany, with a range of about 1500 km. When
outside this range, the time and date can be adjusted manually. The time and date are adjusted every day.
When the AC adaptor connector is connected to the main unit, the display lights up, all display segments
are briefly displayed, and a beep sounds and the wireless sensor signal reception commences.
After the connection with the wireless sensor has been established, the reception of the DCF-77 is
commenced, indicated by flashing icon . This process may take several minutes. The display will be off
during the reception of the DCF-77 signal and the functionality of the main unit will be limited. Only the
and SNOOZE/LIGHT buttons will function. To terminate the DCF-77 signal reception, press the
button and hold for 3 seconds.
When the signal is received successfully, the display shows the current time, date and signal reception icon.
The icon shows the signal reception strength, the more bars the better the signal. The weather station
will automatically receive the DCF-77 signal for time adjustment every day at 1:00, 2:00 and 3:00. If the
reception is unsuccessful, it will be attempted again in another hour, five times in total. The received time is
compared with the time on the main unit and adjusted if necessary. For better signal reception, place the
main unit near a window.
If the DCF-77 signal is not received (icon is not displayed), reception will be interrupted, and it will be re-
attempted in an hour until the DCF-77 signal is received successfully.
Note:
The received DCF-77 time adjustment signal strength may be affected by the geographical location or the
premises where the weather station is located.
For better reception, the main unit should be placed on a flat non-metallic surface, near a window on the
upper floor of your house away from electrical appliances such as a TV, computer, etc.
Manual reception of the DCF-77 signal
Press and hold button until the icon is displayed and the manual search for the DCF-77
commences. If the reception is unsuccessful, the icon disappears, and the time is not adjusted
automatically. After successful signal reception, the time and date will be adjusted even if they were
manually set before.
No data on display
Reception of the DCF
-
77 signal not successful
1. Check that the DCF-77 is available at your location.
2.
Start se
a
r
ching for the signal manually.

6
3. Wait until the main unit automatically restarts the search.
4.
Set time and date manually.
Wireless sensor signal reception not successful
1.
Check that the batteries in the wireless sensor are inserted correctly.
2. Check that the wireless sensor is within the signal range.
3.
Press and hold button
to start signal search manually.
Manual setting of time and date, setup of the main unit
To enter the setting mode, press and hold the button for 3 seconds. For setting, use the or
buttons. Confirm the setting by a single push of the button, this will move to the next
setting.
Setting order:
Activation (ON) / deactivation (OFF) of the DCF-77 signal reception setting of time zone from -1 to +2
hours (for the Czech and Slovak Republic leave 00) setting time display format 12 or 24 hours
(12Hr / 24Hr) setting current hour setting current minute setting current year setting
current month setting current day setting the date display order day-month (D-M), or month-day
(M-D) setting the language of the day name abbreviation setting the default weather forecast icon
according to the current weather
The setting mode is terminated by the last confirmation.
Note: If no button is pressed for 30 seconds, the setting mode will be terminated.
Day name abbreviations
Monday
Tuesday
Wednesday
Thursday
Friday
Saturday
Sunday
GER
-
German
MON
DI
E
MIT
DON
FRE
SAM
SON
ENG - English MON TUE WED THU FRI SAT SUN
FRE
-
French
LUN
MAR
MER
JEU
VEN
SAM
DIM
ITA - Italian LUN MAR MER GIO VEN SAB DOM
SPA
-
Spanish
LUN
MAR
MIE
JUE
VIE
SAB
DOM
DUT - Dutch MAA DIN WOE DON VRI ZAT ZON
DAN
-
Danish
MAN
TIR
ONS
TOR
FRE
LOR
SON
Weather forecast
The forecast is based on the change in barometric pressure, generally speaking when the barometric
pressure rises, the weather improves and vice versa. The forecast accuracy is 75% and is valid for the next
12 to 24 hours for the area within a radius of 30 to 50 km.
The weather forecast uses six icons – sunny, somewhat cloudy, cloudy, precipitation, heavy rain and snow.
Sunny Somewhat
cloudy
Cloudy Precipitation Heavy rain Snow
Note: the snow icon replaces the precipitation or heavy rain icons if the outdoor temperature from
the channel 1 sensor is below -4°C. If the channel 1 is not used, it is the temperature from

7
channel 2 sensor, if channel 2 is not used, then it is the temperature from the channel 3
sensor.
Weather trend arrows
The weather station updates the weather trend arrows according to the barometric pressure reading
Barometric pressure increased
Barometric pressure unchanged
B
a
ro
metric pressure decreased
E.g.: the weather forecast indicates rain, the barometric pressure drops abruptly and quickly, therefore the
probability of heavy rain is higher.
Arrows of temperature / relative humidity trends
The main unit displays the trend icons of the measured quantities based on the temperature and relative
humidity readings. If there is no arrow displayed, there is no change.
Temperature / relative humidity
increases
Temperature / relative humidity
decrea
ses
INDOOR THERMAL COMFORT ICONS
The thermal comfort is the feeling a person perceives in a given environment. The thermal comfort
condition in the given environment is shown on the basis of the readings of temperature and relative
humidity using 5 icons.
Icon
Temperature / Humidity
Temperature: very pleasant
Humidity: very pleasant
Temperature: pleasant
Humidity: pleasant
Temperature: higher or lower temperature than pleasant
Humidity: higher or lower humidity than pleasant
Temperature: unpleasant cold or hot
Humidity: unpleasant dry or wet
Temperature: too cold or hot
Humidity: too dry or wet
CHANGING THE TEMPERATURE UNITS
To change the temperature units to Centigrade °C or Fahrenheit °F press button .
DISPLAYING MAX. AND MIN. READINGS, OUTDOOR HEAT INDEX / DEW POINT
Press button repeatedly to display the maximum and minimum temperature and relative humidity
readings, outdoor dew point and outdoor heat index separately for each channel in case more wireless
sensors are in use. Select the required channel with the button.

8
Press and hold the button for 2 seconds to erase the recording of all maximum and minimum
readings. The memory is also automatically erased at 00:00 every day.
FROST INDICATION
As soon as the outdoor temperature is between -1°C and +3°C, the icon will flash
SETTING WAKE-UP TIME AND SNOOZE FUNCTION
1) Press the ALARM repeatedly to display the alarm 1 (AL 1) or alarm 2 (AL 2) wake-up time.
2) Press again the ALARM button for 3 seconds until the wake-up hour of alarm 1 (AL 1) starts to flash.
3) Press button or to set the required wake-up hour.
4) Press the ALARM button, the set wake-up minute flashes on the display.
5) Press button or to set the required wake-up minute.
6) Press the ALARM button, the text M-F starts to flash.
7) Press the or button to set the wake-up from Monday to Friday (M-F), or on Saturday
and Sunday (S-S), or on every day (M-F and S-S flash together).
8) Press the ALARM button. The digits „05 Zz“ start to flash.
9) Use buttons and to set the required snooze time from 5 to 60 minutes, or OFF
(deactivated). Hold the button for faster change of the values.
10) Press the ALARM button. Repeat the same procedure for alarm 2 (AL 2)
After each setting always press the ALARM button
Activating and deactivating the alarm clock
To activate or deactivate alarm 1 slide the ALARM 1 ON/OFF switch on the rear side to the ON position
(activated) or OFF (deactivated). Alarm 1 is activated if the icon is displayed.
To activate or deactivate alarm 2 slide the ALARM 2 ON/OFF switch on the rear side to the ON position
(activated) or OFF (deactivated). Alarm 2 is activated if the icon is displayed.
The wake-up alarm will be repeated after 24 hours at the set time.
Snooze function
To deactivate the current snooze function, push any button except SNOOZE/LIGHT.
To activate the SNOOZE function, push the SNOOZE/LIGHT button while the alarm is active, icons ,
or will flash and the alarm will be postponed for the set time, and then reactivated. This process
may be repeated.
If no button is pressed, the alarm with deactivate automatically after 2 minutes. The wake-up alarm will be
repeated after 24 hours at the set time.
PROJECTION
The weather station has a projection of time, and every 5 seconds alternating projection of the indoor (IN)
and outdoor (OUT) temperatures from the currently displayed channel. The ideal distance of the projection
surface is 1 to 3 meters in an unlit room. The projector tube can be tilted by 90° back and 90° forward.
The projection can be activated (ON) or deactivated (OUT) using the Projection switch on the rear of the
main unit.

9
To rotate the projected image by 180°, push the button once. To decrease or increase projection
brightness press and hold the for 3 seconds.
Projection is off while receiving the DCF-77 signal for time and date adjustment.
DISPLAY BACKLIGHT
The main unit is powered by an AC adaptor, the battery serves only as a backup. The display can be backlit
permanently of turned off. Press the button repeatedly to select the backlight in 3 brightness levels
or turn off the display backlight.
Empty battery icons
Empty battery icon on the main unit display:
- in the indoor quantities area – the main unit batteries are empty
- in the outdoor quantities area – batteries of the wireless sensor are empty
TROUBLESHOOTING
problem / situation solution
DCF-77 signal not received relocate the main unit; start the manual signal search;
set the time and date manually
instead of temperature and humidity readings temperature readings are outside the measurable range
the display shows: H.HH or LL.L
the weather station is not working correctly reset the factory settings of the main unit by removing
the batteries and disconnecting the AC adaptor for
30 seconds
intermittent connection between reduce the distance between the main unit
the main unit and the wireless sensor and the wireless sensor or relocate them
between the main unit and the wireless sensor relocate the main unit and the wireless sensor so that
there are metal structures, frames etc. there are minimum obstacles between them which
reduce the signal range
the main unit or the wireless sensor are relocate the main unit and the wireless sensor further
located close to other electrical devices away from other electrical devices to prevent signal
interference
the current time on the main unit a wrong time zone was probably selected
differs by one or two hours
the temperature reading from place the sensor away from direct sunlight and
the wireless sensor is too high heating
SAFETY PRECAUTIONS
• Do not expose the device to excessive force, shocks, dust, temperature and humidity
• Do not cover the ventilation holes with any objects like newspapers, curtains, etc.
• Never immerse the device in water. If you spill liquid on it, dry it immediately with a soft, lint-free cloth

10
• Do not clean the device with abrasive or corrosive substances
• Do not handle the internal components of the device, as this will void your warranty
• Use only fresh batteries. Never mix fresh and old batteries
• Do not recharge the batteries. Place the station and its parts outside the reach of children
• Do not throw old batteries to unsorted municipal waste, but use the designated areas
• Dispose of this product in accordance with applicable regulations
• Use only accessories specified by the manufacturer
• Do not interfere with the internal circuits of the device, as this may void the warranty
• The technical specifications are subject to change without notice
TECHNICAL PARAMETERS
Main unit
Power supply: AC adaptor 230-240 V, 50Hz, 50 mA / 5V, 150 mA
1 pc backup battery 3 V CR2032 (button)
Temperature measurement range: -9,9°C to +50°C
Accuracy of measurement: +/- 1°C
Resolution: 0.1°C
Rel. humidity measurement range: 20% to 95%
Accuracy of measurement: +/- 5%
Resolution: 1%
Dimensions: 167 x 99 x 38 mm
Wireless sensor GARNI 030H
Power supply: 2 pcs of 1.5 V AA batteries (mini)
Outdoor temperature measurement range: -40°C to +70°C
Accuracy of measurement: +/- 1°C
Resolution: 0.1°C
Rel. humidity measurement range: 20% to 95%
Accuracy of measurement: +/- 5%
Resolution: 1%
Data transmission frequency: 433.92 MHz
Number of channels: 3
Maximum RF power: 10 dBm (10 mW)
Wireless sensor signal range: up to 60 m (in open space)
Measurement interval: about 69 s
Dimensions: 49 x 95 x 32 mm
GARNI technology a.s. hereby declares that the type of the radio equipment - weather station type GARNI 439
Line conforms to the Directive 2014/53/EU. The full EU Declaration of Conformity is available on the following
website: www.garni-meteo.cz
The manual was prepared for GARNI technology a.s. by Roman Gajda.
Reproduction of this manual or its parts is prohibited without the author's consent
Version 03G20
Table of contents
Other GARNI Weather Station manuals