– 8 –
zPress key to end the call.
On hook dialling
zDial the telephone number (delete any incorrect entries by
pressing “C/ ” key).
zPress key to carry out the conversation.
zPress key to end the call.
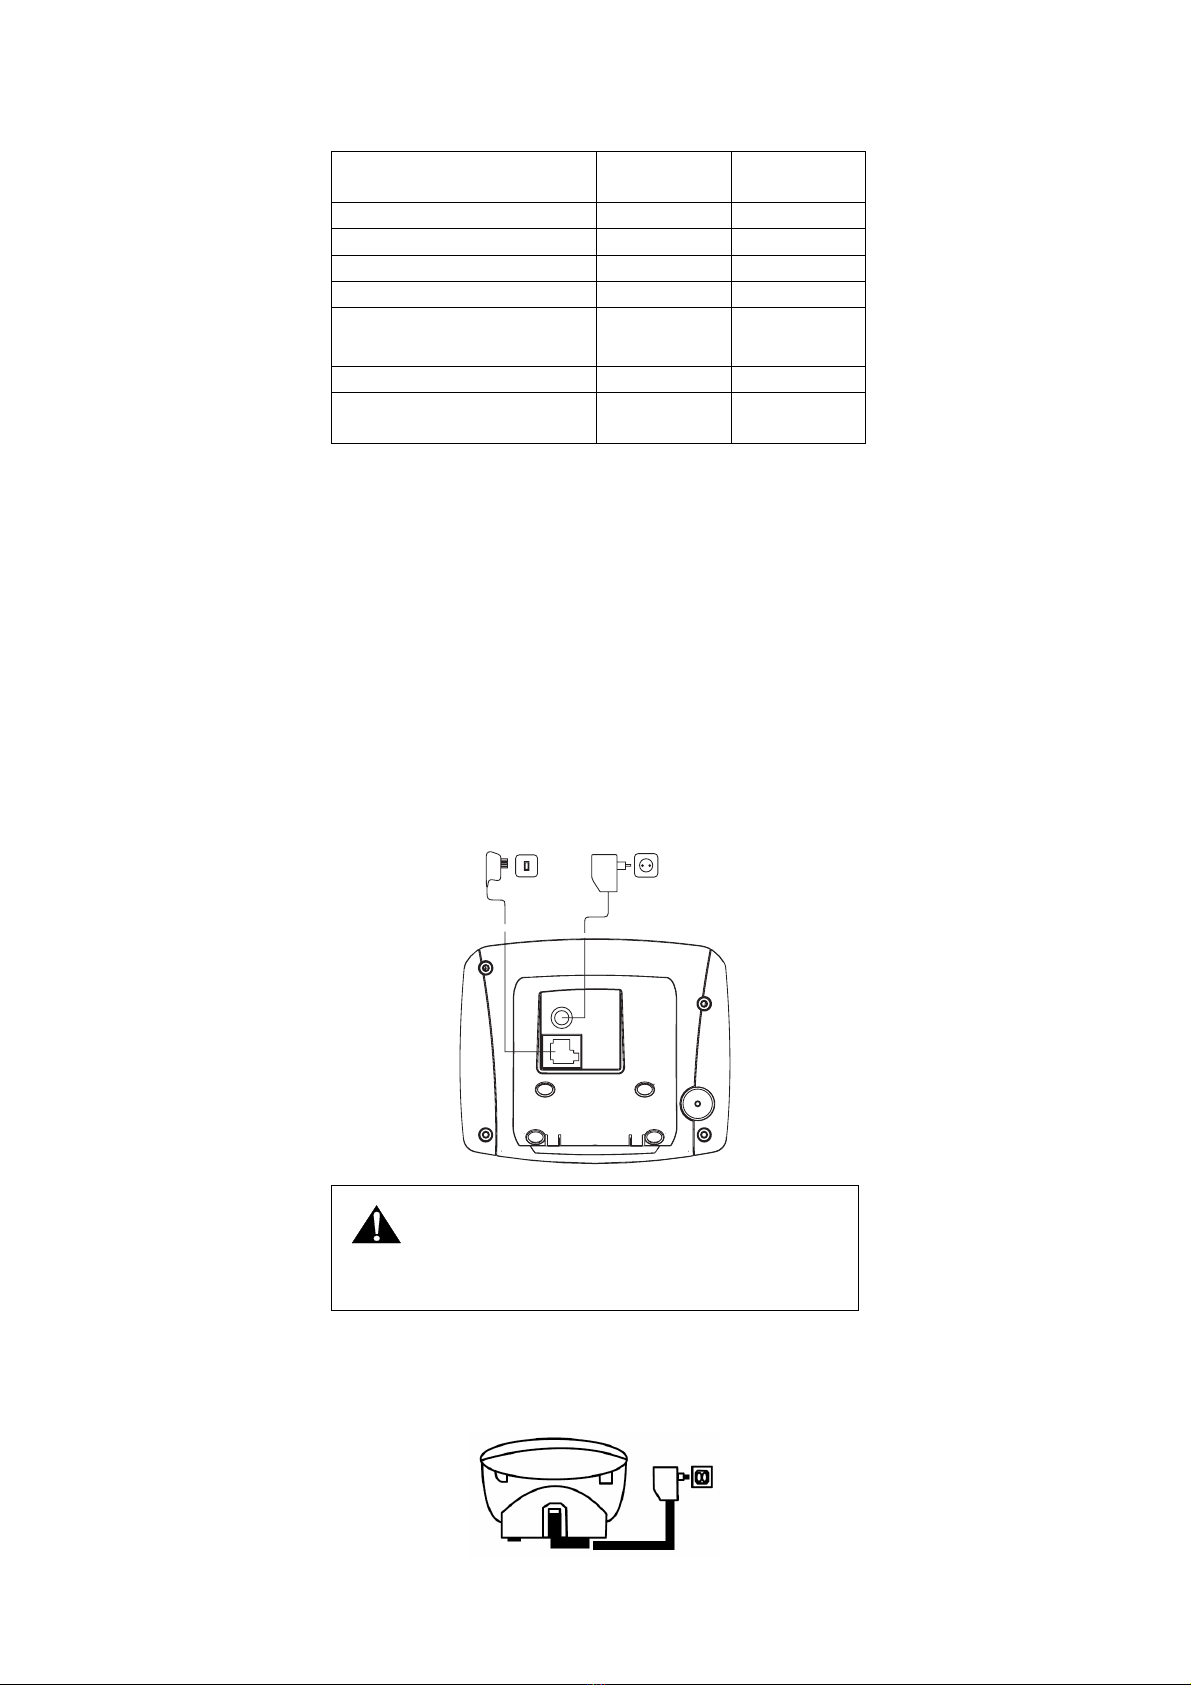
VMWI/ LED
The VMWI LED in the handset will flash when there are new voice
message calls received. Icon
turns on and the LCD display
‘MESSAGE’ in the call log memory.
This service need subscription to local operator and it supports the
FSK CLI system only.
Taking Cal ls
When an external call is received, all registered handsets and the base
station ring. ‘EXT’ flashes in the handset display and, if subscribed,
the telephone number of the caller appears (network depended). If the
caller has been stored in your phone book, the name appears. The
incoming call VMWI LED on the base station flashes. In the case of
an internal call or pressing the paging key on the base station, ‘INT’
flashes in the handset display.
Handset is in the base station
zTake the handset from the base station; a connection is
automatically established (when the AUTO ANS function is
active). Otherwise, press key to carry out the conversation.
zPress key to end the call.
Handset is not in the base station
zPress key to make a call.
zPress key to end the call.
Redialling
The phone stores the last five numbers dialled in the redial memory
zPress key; the last call number dialled is displayed. Press
or key to search the required number in the redial
memory list.
zPress key to carry out the conversation.
zPress key to end the call.
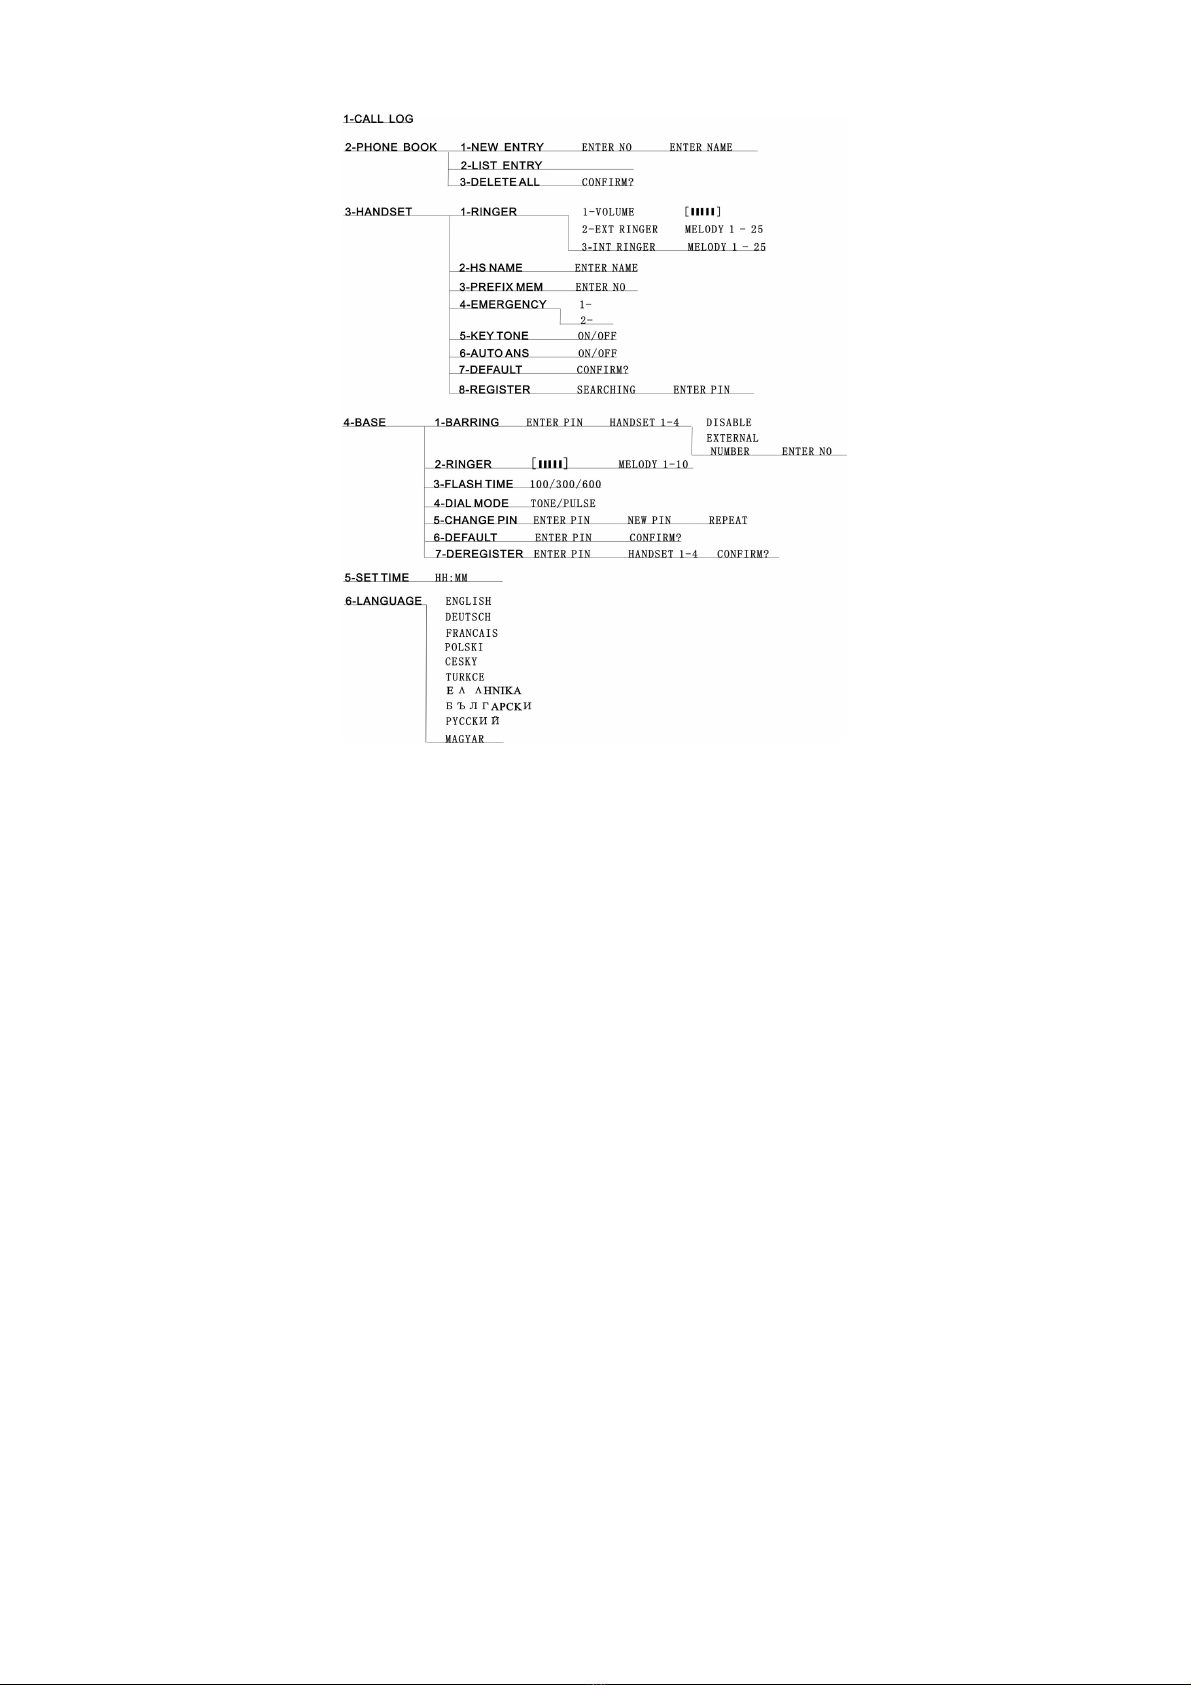
Dialling from the Phone Book
zPress key, the first entry in the phone book appears. (Or
‘EMPTY’ if no entry)
zPress or key to select the required subscriber from the
phone book. Alternatively, enter the first letter of the name
required.
zPress key. The number is dialled. Carry out the
conversation.
Note: How to store entries in the phone book is explained in the
Chapter “Phone Book”.
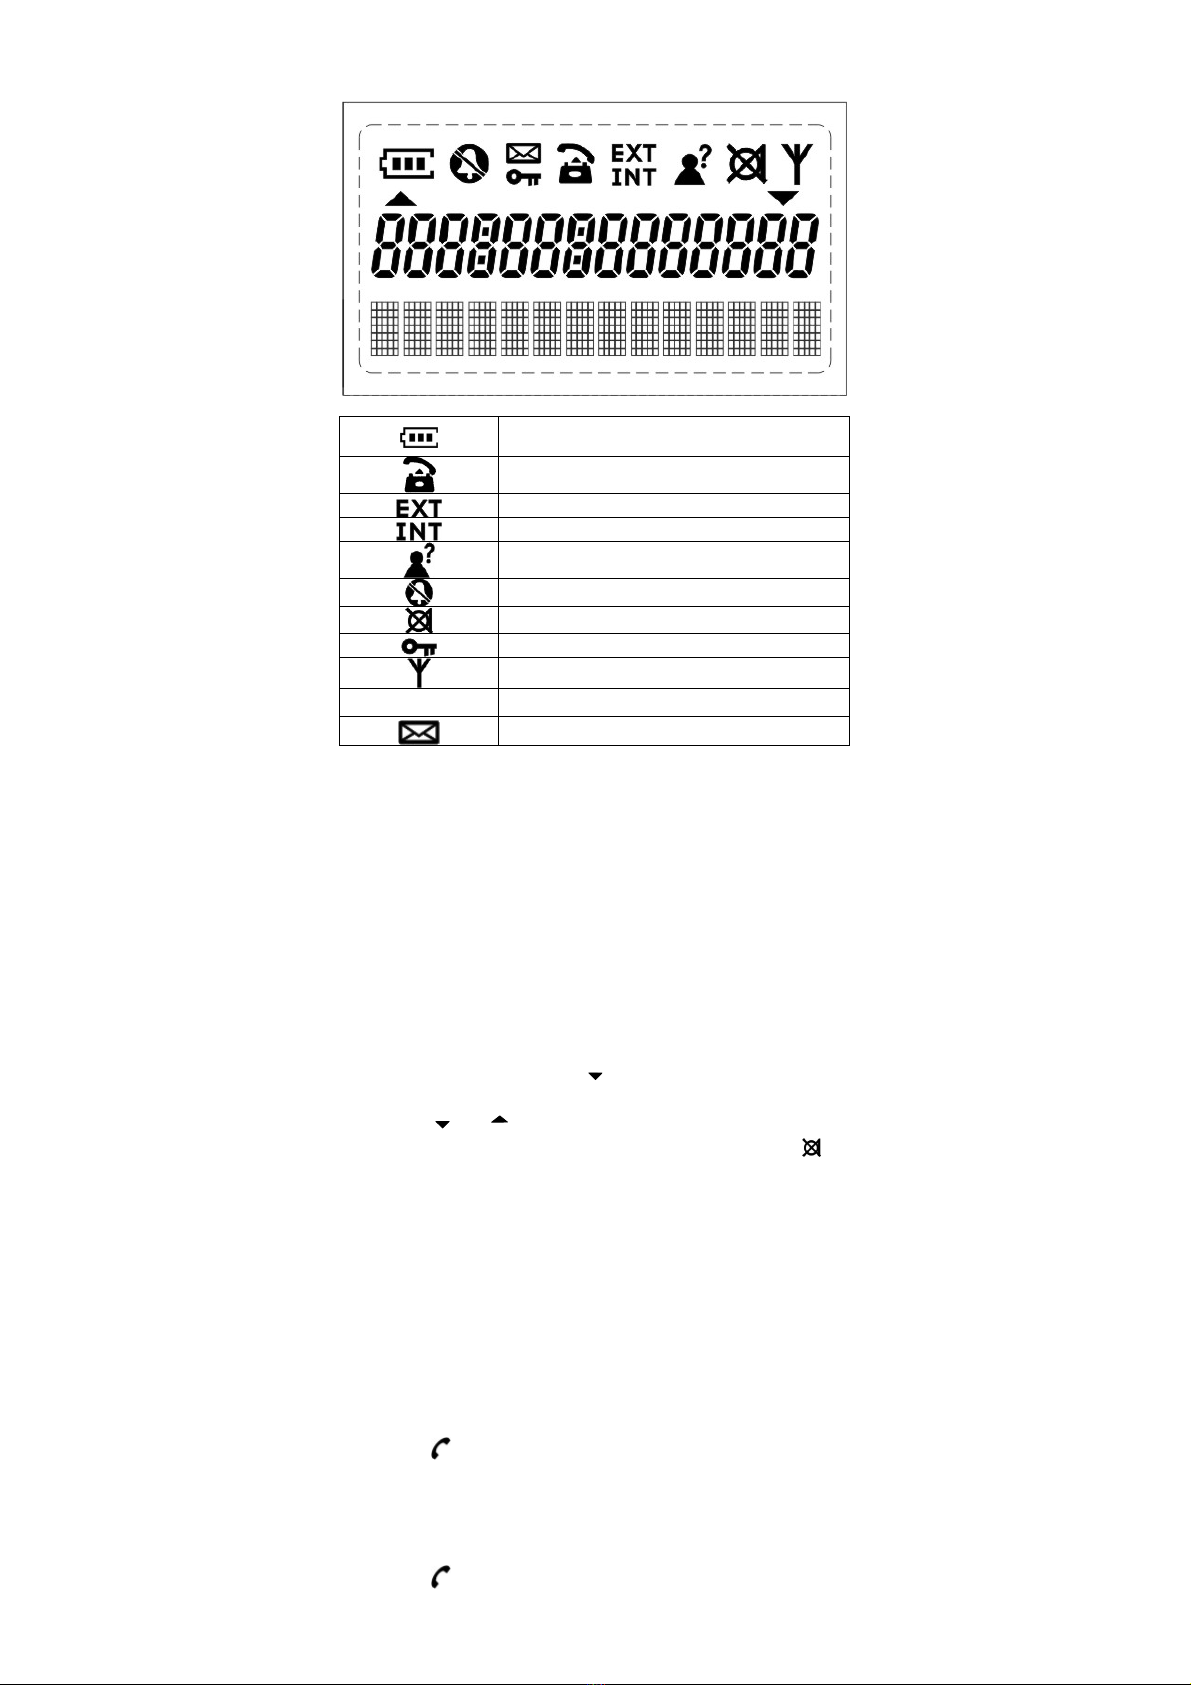
Call Log Operations
IMPORTANT: To use the CALL LOG function, you must subscribe
to your network operator’s Caller Line Identification (CLI) service.
Browse, Call Back, Delete, Save
If calls have been received in your absence, these are stored in the
CALL LOG memory when your telephone service has enabled this
function. The number of calls appears in the display. Incoming calls
are also indicated in the display for 9 seconds during a call
(synchronize with ring tone).
zPress key as often as necessary until CALL LOG menu
appears and then press “INT/OK” key. Alternatively, press and
hold “
*
” key 2 seconds.
zBrowse: Press or key to browse through the CALL
LOG memory.
Or
zCall Back: Press key to call back.
Or