Caring for the dishwasher.
To clean the control panel, use a lightly dampened cloth, then dry thoroughly. To clean the exterior, use a good
appliance polish wax. Never use sharp objects, scouring pads or harsh cleaners on any part of the dishwasher.
Cleaning the Door Panel
Before cleaning the front panel, make
sure you know what type of panel you
have. Refer to the last two letters of your
model number. You can locate your model
number on the left-hand tub wall just
inside the door. If your model number ends
with BB or WW, then you have a Painted
Door panel. If your model number ends
with SS, then you have a Stainless Steel
Door panel.
Follow the instructions below for cleaning
the door panel for your specific model.
Painted Door Panel (model numbers
ending in BB–black or WW–white)
Use a clean, soft, lightly dampened cloth,
then dry thoroughly. You may also use a
good appliance wax or polish.
Stainless Steel Door Panel (model
numbers ending in SS)
The stainless steel panels can be cleaned
with Stainless Steel Magic or a similar
product using a clean, soft cloth. Do not
use appliance wax, polish, bleach or
products containing chlorine on Stainless
Steel doors.
You can order Stainless Steel Magic
through GE Parts by calling
800.661.1616.
Do not wipe the dishwasher with a soiled
dish cloth or wet towel. These may leave
a residue. Do not use scouring pads or
powdered cleaners because these products
can scratch the finish.
Cleaning the Exterior
Cleaning the Control Panel
To clean the control panel, use a lightly
dampened cloth; then dry thoroughly. Do
not use sharp objects, scouring pads or
harsh cleaners on the control panel.
Stainless Steel Interior Tub and
Inner Door
The stainless steel used to make the
dishwasher tub and inner door provides
the highest reliability available in a GE
dishwasher. If the dishwasher tub or inner
door is ever scrached or dented during
during normal use, they will not rust or
corrode. These surface blemishes will not
affect their function or durability.
The dishwasher will flush away all normal food soils. However, objects (fruit pits, bones, etc.) may collect in
openings and should be removed occasionally to avoid clogging the drain system.
CAUTION
Personal injury hazard. Before cleaning the interior, wait at least 20 minutes after a cycle for the heating
element to cool down. Failure to do so could result in burn injuries.
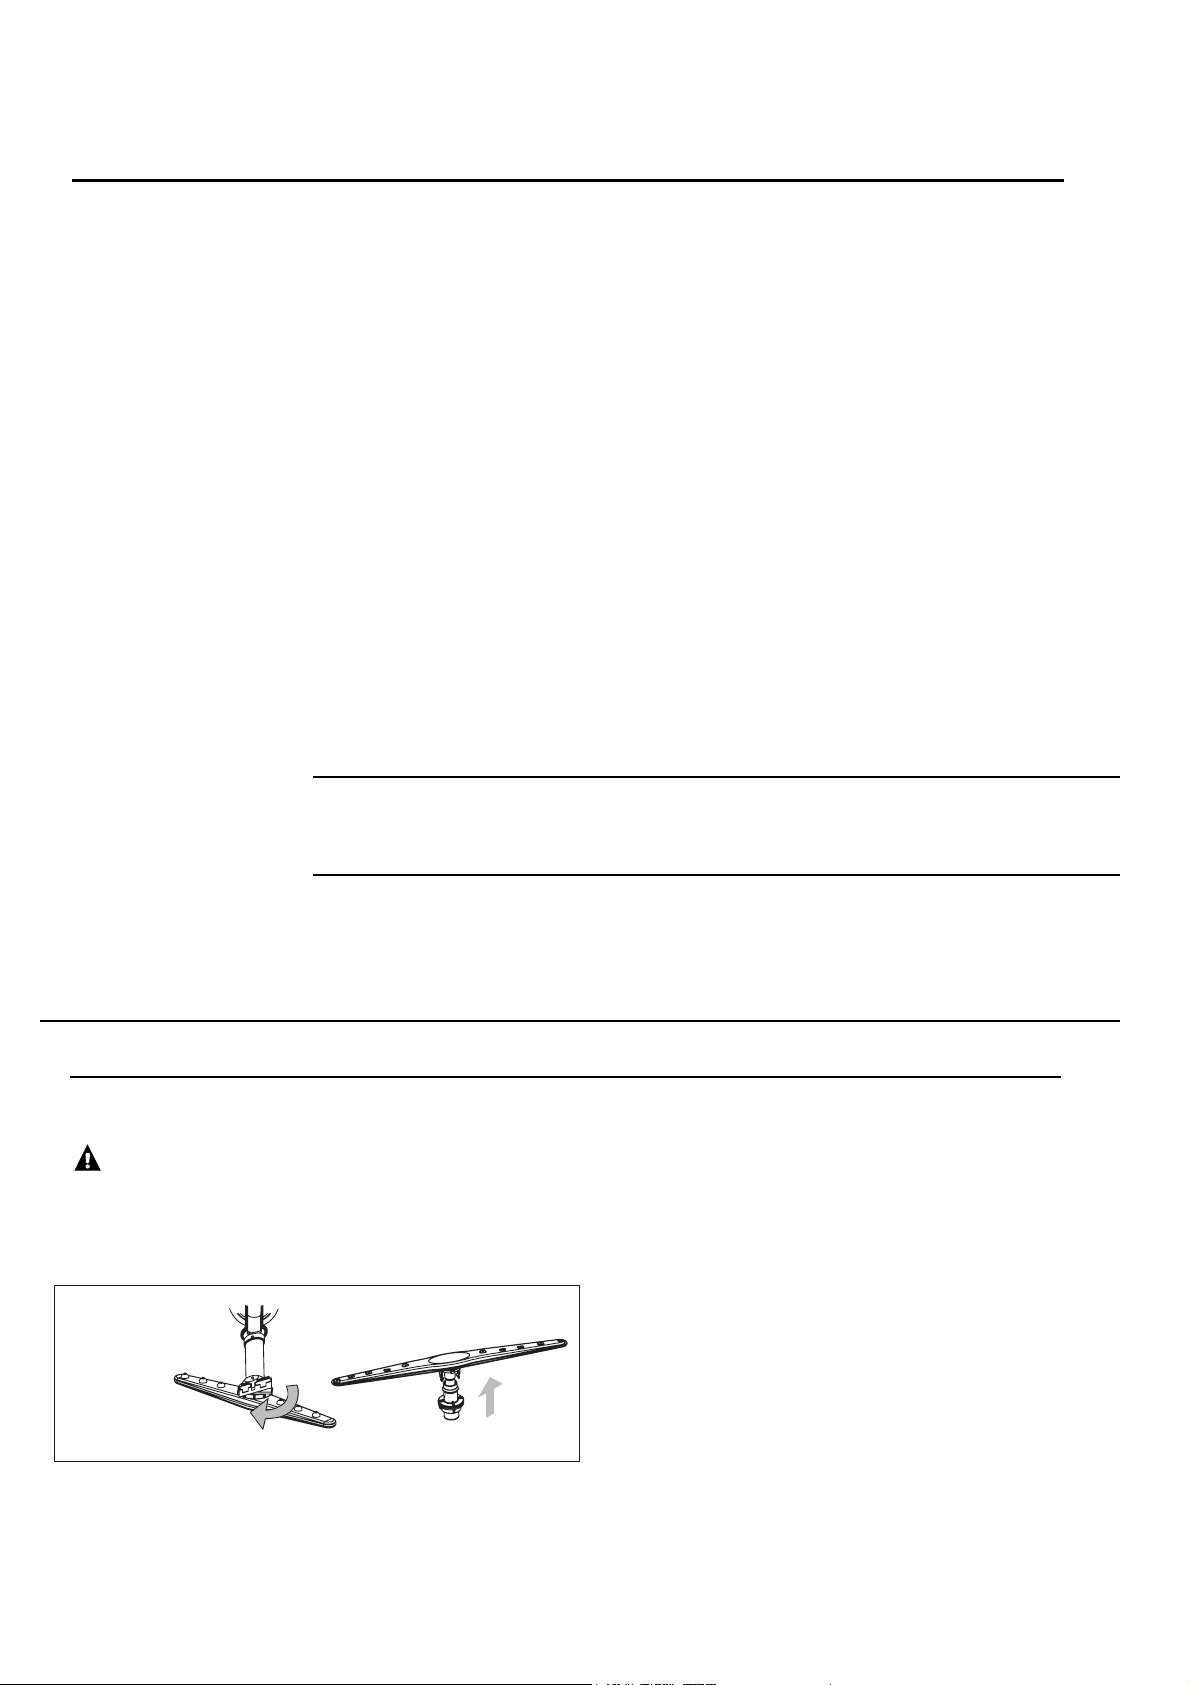
Cleaning the Spray Arms
Because hard water chemicals will clog the
spray arm jets and bearings, it is necessary
to clean the spray arms regularly. Wash the
arms in soapy, warm water and use
a soft brush to clean the jets. Replace them
after rinsing thoroughly.
To remove the upper or middle spray arm
, unscrew the nut clockwise.
To remove the lower spray arm, pull upward.
Cleaning the Spray Arms and the Filters
UNSCREW
PULL OUT
Upper or Middle
Arm
Lower
Arm
GEAppliances.ca
10