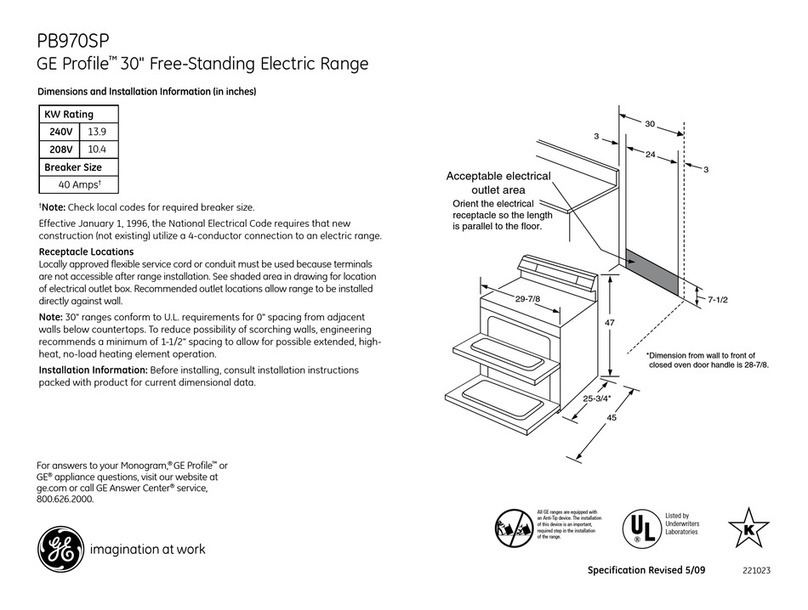
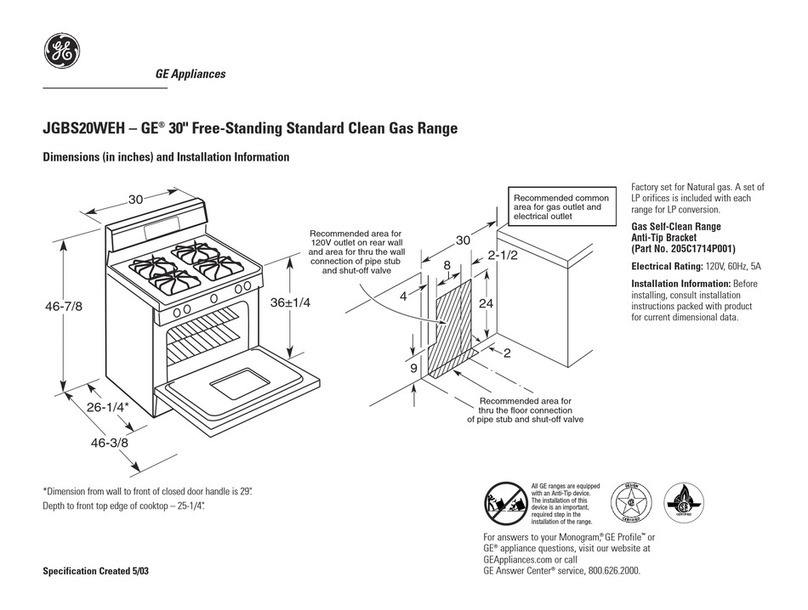
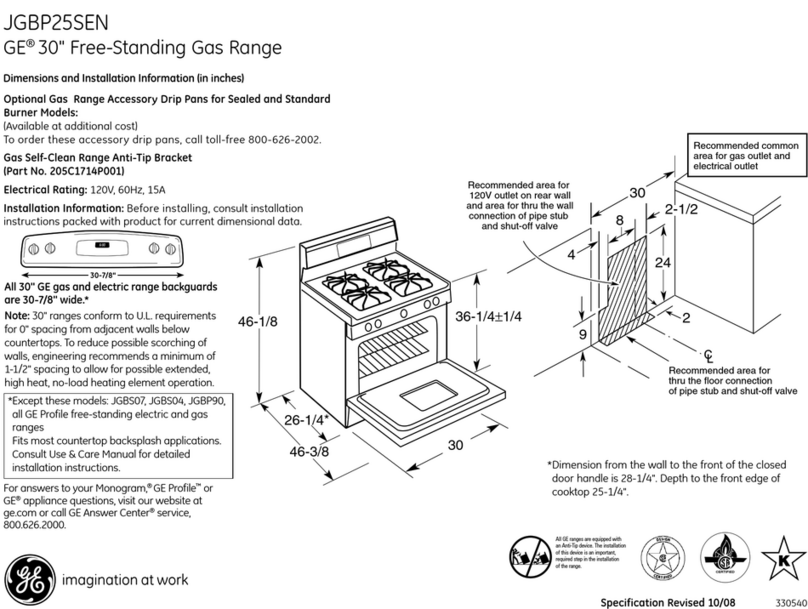
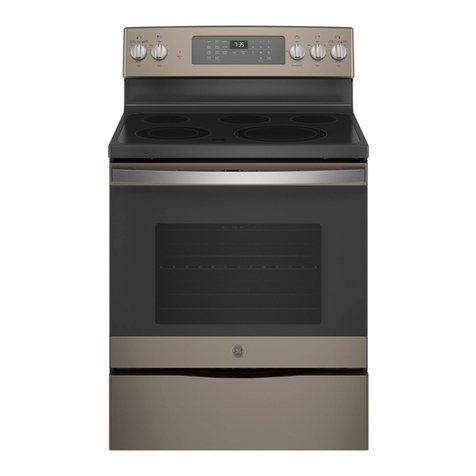
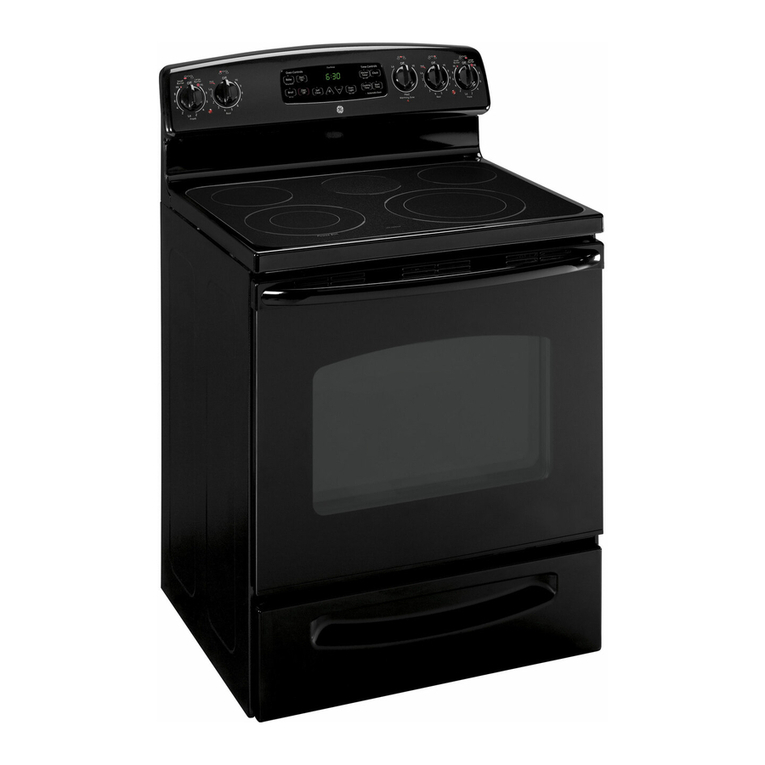
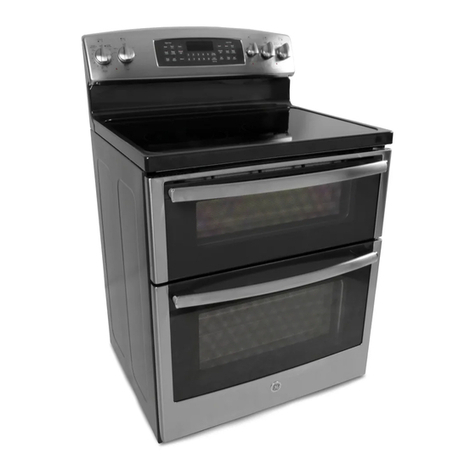
GE PB920TPWW - Profile 30" Electric Ran How to use

GE Appliances
General Electric Company
Louisville, Kentucky 40225
31-9193
Profile 30-in.
Free Standing
Range
PB920TPWW
Technical Service Guide
NOVEMBER 2009
GE Consumer & Industrial
HR: MIN
TRUETEMP
12345
67890
UPPER OVEN
GRIDDLE CONTROL
WARMING ZONE
TIME OF DAY
START
MELT
BURNER
SIZE
BURNER
SIZE
LOWER OVEN
CLEAR
OFF
TIME OF DAY
ON
OFF
SELECT
ON
OFF
MELT
ON
OFF
ON
OFF
ON
OFF
ON
OFF
1/2
1/2
1/2
1/2
HR: MIN
TRUETEMP
12345
67890
UPPER OVEN
GRIDDLE CONTROL
WARMING ZONE
START
MELT
BURNER
SIZE
BURNER
SIZE
LOWER OVEN
CLEAR
OFF
ON
OFF
SELECT
ON
OFF
MELT
ON
OFF
ON
OFF
ON
OFF
ON
OFF
1/2
1/2
1/2
1/2
SELF
CLEAN
PROBE
SLOW
COOK
BROIL
HI/LO
BAKE
CONVECTION
COOK
WARM
CLOCK
WARMING
DRAWER
ON/OFF TIMER
ON
TIMER
OFF
WARMI NG
DRAWER
SETTING
CONTROL
LOCKOUT
HOLD 3 SEC.
O
VEN
TIME SETTINGS
DELAY
START
OVEN
LIGHT
COOK
TIME
TIMEOF DAY

– 2 –
IMPORTANT SAFETY NOTICE
The information in this service guide is intended for use by
individuals possessing adequate backgrounds of electrical,
electronic, and mechanical experience. Any attempt to repair a
major appliance may result in personal injury and property
damage. The manufacturer or seller cannot be responsible for the
interpretation of this information, nor can it assume any liability in
connection with its use.
WARNING
To avoid personal injury, disconnect power before servicing
this product. If electrical power is required for diagnosis or test
purposes, disconnect the power immediately after performing the
necessary checks.
RECONNECT ALL GROUNDING DEVICES
If grounding wires, screws, straps, clips, nuts, or washers used to
complete a path to ground are removed for service, they must be
returned to their original position and properly fastened.
GE Consumer & Industrial
Technical Service Guide
Copyright © 2009
All rights reserved. This service guide may not be reproduced in whole or in part
in any form without written permission from the General Electric Company.

– 3 –
Table of Contents
Capacitive Touch Glass .................................................................................................................................................20
Component Locator Views...........................................................................................................................................12
Control Features................................................................................................................................................................ 6
Control Panel .....................................................................................................................................................................19
Control Panel Assembly.................................................................................................................................................19
Convection Fan Troubleshooting..............................................................................................................................23
Cooktop Burner Controls............................................................................................................................................... 8
Diagnostics and Service Information......................................................................................................................21
Electrical Installation.......................................................................................................................................................11
ERC Failure Codes.............................................................................................................................................................21
Griddle Burner Control.................................................................................................................................................... 9
Hidden Bake Element......................................................................................................................................................18
Installation...........................................................................................................................................................................10
Introduction......................................................................................................................................................................... 4
Key Panel Test....................................................................................................................................................................23
LIN Test..................................................................................................................................................................................23
Main Logic Board .............................................................................................................................................................20
Nomenclature.................................................................................................................................................................... 5
Oven Components ..........................................................................................................................................................17
Oven Ohmmeter Test......................................................................................................................................................24
Rear Cover Removal .......................................................................................................................................................17
Relay Boards Connector Locator Views.................................................................................................................15
Relay Board Voltages......................................................................................................................................................24
RPSM Aux Board ...............................................................................................................................................................18
RPSM Main Board ............................................................................................................................................................17
Sales/Demo Mode............................................................................................................................................................10
Schematics and Wiring Diagrams............................................................................................................................25
Using the Warming Zone.............................................................................................................................................. 9
Warranty..............................................................................................................................................................................27
Note: This service guide covers the new features and upgrades to this range.
For complete physical disassembly, reference publication 31-9187.
– 4 –
Introduction
GE 30-in. free-standing electric range is available with the following:
PreciseAir• TM Convection System - This system delivers even air and heat circulation for superior baking
and roasting results
Convection Cook - A reversing fan surrounded by• a third circulates hot air for great results on every
rack
NextStep Controls - Knob-free controls illuminate• to lead through the control setting process
TrueTemp• TM griddle system - Griddle can be set
to heat from 200˚- 400˚F for a variety of cooking
options
12-in./9-in./6-in. Tri-Ring Element - Provides three• cooking areas in one for the ultimate in cooking
versatility
Warming Drawer - The convenient drawer keeps• foods warm and ready to serve
Super-Large 5.3 Cu. Ft. Oven Capacity - Provides• an impressively large oven interior to cook more
dishes and large meats at once
Hidden Bake Oven Interior - Conceals the lower• oven bake element to eliminate hard-to-reach
areas that collect food and spills for easy cleaning
5-in./8-in. Power Boil Element - The powerful element supplies the intense heat needed for faster boiling,• sauteing, and stir frying
Self-Clean Oven - Conveniently cleans the oven cavity without the need for scrubbing•
Model PB920DPBB - Black on black•
Model PB920TPWW - White on white•

– 5 –
The nomenclature plate is located on the
front left, behind the oven door.
The mini-manual is placed in an envelope
located inside the control panel.
Brand
P = Profile
P B 9 2 0 T P W W
Nomenclature
Model Number
Feature Pack
Designates features–the higher
the number, the more features
Product Color
WW = White
BB = Black
SS - Stainless Steel
Model Year Designator
Model/Door Color
T = True White Glass
Configuration
B = 30-in. Range
Nomenclature
The letter designating
the year repeats every
12 years.
Example:
T - 1974
T - 1986
T - 1998
Serial Number
The first two numbers of the serial number
identify the month and year of manufacture.
Example: AS123456S = January, 2009
A- JAN 2009 - S
D - FEB 2008 - R
F - MAR 2007 - M
G - APR 2006 - L
H - MAY 2005 - H
L - JUN 2004 - G
M - JUL 2003 - F
R - AUG 2002 - D
S - SEP 2001 - A
T - OCT 2000 - Z
V - NOV 1999 - V
Z - DEC 1998 - T

– 6 –
Control Features
Throughout this manual, features and appearance may vary from your model. See the control panel below that
matches your model.
BROIL HI/LO Pad
Touch the BROIL HI/LO pad once for HI Broil.
To change to LO Broil, touch the BROIL HI/LO pad again.
Touch the START pad.
When broiling is finished, touch the CLEAR/OFF pad.
BAKE Pad
Touch the BAKE pad.
Touch the number pads to set the desired oven temperature.
Touch the START pad.
When baking is finished, touch the CLEAR/OFF pad.
CONVECTION COOK Pad
Touch the CONVECTION COOK, CONVECTION BAKE, or
CONVECTION ROAST pad.
Touch the number pads to set the desired oven temperature.
Touch the START pad.
When cooking is finished, touch the CLEAR/OFF pad.
PIZZA Pad
Touch the PIZZA pad.
Touch the number pads to select 1 for frozen or 2 for fresh
pizza.
Touch the number pads to set the baking temperature.
Touch the START pad.
Baking time is determined by package directions.
Place pizza on top rack position of upper oven. When using a
metal tray, use the lower rack position.
PROOF Pad
Touch to raise yeast-leavened products.
See the How to Set the Oven for Proofing section.
WARM Pad
Touch to keep cooked foods warm.
See the How to Set the Upper Oven for Warming section.
SLOW COOK Pad
Touch for long hours of unattended cooking.
See the How to Set the Lower Oven for Slow Cook section.
PROBE Pad
Touch when using the probe to cook food.
See the Using the Probe section.
SELF CLEAN Pad
Touch to self-clean the oven.
See the Using the Self-Cleaning Upper and Lower Ovens
section.
CLEAR/OFF Pad
Touch to cancel ALL oven operations except the clock and
timer.
(Continued next page)

– 7 –
START Pad
Must be touched to start any cooking or cleaning function.
OVEN LIGHT Pad
Touch to turn the oven lights on or off.
TIMER ON/OFF Pad(s)/KITCHEN TIMER Pad
Touch to set the kitchen timer.
See the Using the Kitchen Timer section.
COOK TIME/COOKING TIME Pad
Touch this pad and then touch the number pads to set the
amount of time you want your food to cook. The oven will
shut off when the cooking time has run out.
DELAY START Pad
Use along with the COOK TIME or SELF CLEAN pads to set
the oven to start and stop automatically at a time you set.
CLOCK Pad
NOTE: When setting times, you are setting hours and minutes
only. The lowest time you can set is one minute.
Touch the CLOCK pad.
Touch the number pads.
Touch the START pad.
The clock must be set to the correct time of day for the
automatic oven timing functions to work properly. The time of
day cannot be changed during a timed baking or self-cleaning
cycle.
If your oven was set for a timed oven operation and a
power outage occurred, the clock and all programmed
functions must be reset. The time of day will flash in the
display when there has been a power outage.
CONTROL LOCKOUT Pad
Your control will allow you to lock out the touch pads and the
cooktop so they cannot be activated when touched.
To lock the controls and cooktop:
Touch and hold the CONTROL LOCKOUT pad for 3 seconds.
The oven display will show “on Loc on.”
To unlock the controls:
Touch and hold the CONTROL LOCKOUT pad for 3 seconds.
The CONTROL LOCKOUT mode affects all touch pads.
No touch pads will work when this feature is activated.
WARMING DRAWER
The warming drawer will keep hot, cooked foods at serving
temperature. Always start with hot food.
Touch the WARMING DRAWER pad. “WARMER ON” and “1”
are lit on the display and “Set” begins to blink. On the number
pads, touch 1for Low, 2for Medium or 3for High. The display
“1” changes corresponding to the number pad selected. The
warming drawer starts automatically after you touch 1, 2or 3.
“WARMER ON” and the number remain lit. “Set” stops blinking.
On some models, press START.
On some models – toggle between settings by touching the
WARMING DRAWER pad.
To cancel, touch the WARMING DRAWER pad.
NOTE: Touching the CLEAR/OFF pad does not turn off the
warming drawer.
WARMING ZONE
Touch to keep hot, cooked food warm. See the Using the
Warming Zone section.

– 8 –
To use a multi-ring burner:
Touch the1. ON/OFF pad for the surface unit.
Use the2. (+)/(–) pad to set the desired power setting.
Touch the3. BURNER SIZE pad as needed to select the desired burner size. The light next to the BURNER
SIZE pad indicates which size the surface unit is on.
To turn the surface unit off, touch the4. ON/OFF pad again.
Cooktop Burner Controls
To use a single surface unit:
Touch the1. ON/OFF pad.
Touch the2. (+)/(–) pad to choose the desired power setting.
To turn a single surface unit off, touch the3. ON/OFF pad again.
To use the Melt feature, touch the ON/OFF pad; then touch the MELT pad. The element will automatically set
to a predetermined setting and Lwill be displayed.

– 9 –
Using the Warming Zone
To use the warming zone:
Touch the warming zone1. ON/OFF pad.
To select the desired control setting, touch the2. SELECT pad once for LO, twice for MED or three times for
HI.
To turn off the warming zone, touch the warming zone3. ON/OFF pad.
Griddle Burner Control
To use the cooktop griddle control:
Touch the1. ON/OFF pad to activate the griddle (--- will appear in the display).
Use the2. (+)/(–) pad to choose the desired power setting. The default is 375. The griddle offers nine power
levels. Power levels range from 200 to 400 in 25 increments. Once the desired setting has been chosen,
PrE will be displayed until the desired temperature has been reached.
To turn the griddle unit off, touch the3. ON/OFF pad again.
W
ARMING
Z
ONE
S
ELECT
O
N
O
FF
:
GRIDDLE CONTROL
ON
OFF
:
:
:

– 10 –
Installation
Sales/Demo Mode
The demo kit model number is PB920 Demo Kit - Electric Ranges with Backlit Touchkeys. The cord is available
as Pub 3-A029. There is no change to the cord; the only difference is how the cord is attached to this model
range.
The following features are disabled in Demo Mode:
Oven heating elements•
Surface burners•
Convection fan•
Door latch motors•
Caution: This kit must be installed by qualified personnel only.
To install the demo kit:
Disconnect the ground strap from the range body (the strap must not contact the range structure or the1. ground wire).
Connect the green wire to the range body using the grounding screw.2.
Connect the single black wire with ribs or the gray stripe wire to the left terminal of the junction block.3.
Connect the larger of the two smooth black wires to the right terminal of the junction block and the4. smaller of the two smooth black wires to the center terminal.
The cord is to be plugged into a 120V, 60 Hz polarized and grounded outlet.5.
To remove the demo kit:
Reverse the above process, ensuring that the ground strap is reconnected to the range body using the
grounding screw.
JUNCTION BLOCK
GROUND
STRAP
(MUST NOT
TOUCH RANGE
BODY)
GREEN WIRE
BLACK WITH RIBS OR
GRAY STRIPE WIRE
BLACK WIRE
Note: The black wire with ribs or gray
stripe is neutral

– 11 –
bAd LinE
Electrical Installation
A "bAd LinE" will be displayed to signal a terminal block cord miswire. This error will also appear if 120
VAC is not present between MJ21-5 and MJ20-3. It will also appear if there is less than 200 VAC between
MJ20-1 and MJ20-3. MJ20 and MJ21 are both located on the RPSM main board. (See Schematics and Wiring
Diagrams.)

– 12 –
Component Locator Views
(Continued next page)
Control - Front View
Control Panel
Ovens - Front View
Hidden Bake Element
Convection Fan and Element
Broil Element
Meat Probe Outlet
Oven Temperature Sensor
Halogen Lamp

– 13 – (Continued next page)
Main Top
Shown in service position
Control Boards
Main Logic Board
Part of Capacitive
Touch Glass
Part of Capacitive
Touch Glass
Tri-Ring Element
Warming Zone Element
Hot Surface Indicator Light Assembly
Right Rear Element
Left Front Element
Left Rear Element
Dual 5 & 8 Inch
240 Volt
1100 Watts
2400 Watts
"Power Boil"
12-Inch Tri-Ring
240 Volt
3000 Watts
6" - 1050 Watts
9" - 900 Watts
12" - 1050 Watts
8 Inch
240 Volt
2000 Watts
Warming
240 Volt
120 Watts
6 Inch
240 Volt
1500 Watts

– 14 –
Rear View
RPSM Main
Board
Convection Fan Motor
Convection Fan Capacitor
RPSM Aux
Board
Terminal Block
Convection Element
Main Logic Board Capacitive Touch Assembly
Capacitive Touch Assembly
Broil Element

– 15 –
Relay Boards Connector Locator Views
RPSM Main Board
J7 - Lock Motor, Oven Light, Convection Fan
J10 - Cabinet Ground
J11 - Neutral
J14 - L1 to MK5, MK8 & MK13
J16 - Lock Switches
J17 - Communications
J20 - L1 & L2
J21 - Neutral in.
K1 - Convection Fan Direction
K3 - Broil, Bake & Convection Elements
K4 - Oven Light
K5 - Warming Drawer Element
K7 - Bake & Convection Elements
K8 - Convection Fan
K10 - Convection Element
K11 - Not Used
K13 - Lock Motor
K14 - Double Line Break Oven
J7
J10
J20
K13
K8
K11
K5
K4
K1
K3
K7
K10
K14
J14
J21
J16
J17
Relay Jumper Wire
Relay Jumper Wire
J11
(Continued next page)

– 16 –
RPSM Aux Board
J2 - L1 to AK2
J3 - RF Inner Element
J5 - LR Element
J6 - L1 to AK6
J7 - RF center, RF outer, RR, CR, LF inner & LF
outer elements
J14 - AK5, AK8, AK11 & AK13
J17 - Communications
K1 - LF Inner Element
K2 - RF Inner Element
K4 - LF Outer Element
K5 - CR Element
K6 - LR Element
K8 - RF Center Element
K10 - Double Line Break Cooktop
K11 - RR Element
K13 - RF Outer Element
K14 - Double Line Break Cooktop
(Continued next page)
J14
J17
J7
J2
J3
J5
J6
K10
K14
K4
K1
K5
K8
K11
K13
K2
K6

– 17 –
Oven Components
Rear Cover Removal
To remove the rear cover:
Disconnect power to the range.1.
Pull the range out from its installation.2.
Remove nine 1/4-in hex-head screws that3. attach the panel to the range.
RPSM Main Board
To remove the RPSM main board:
Remove the rear cover. (See1. Rear Cover Removal.)
Note: In the following step, do not remove the relay
jumper wires (orange wires) from the control board.
Mark and disconnect the control board wiring2. and wire harnesses.
Remove the four 1/4-in. hex-head screws that3. attach the board to the oven.
Jumper Wire
Jumper Wire
Screw
Screw Screw
Screw

– 18 –
RPSM Aux Board
To remove the RPSM Aux board:
Remove the rear cover. (See1. Rear Cover Removal.)
Mark and disconnect the control board wiring2. and wire harnesses.
Remove the four 1/4-in. hex-head screws that3. attach the board to the oven.
Screw
Screw
Screw
Screw
Hidden Bake Element
Before disassembling the range to access the
hidden bake element, check the resistance of
the element by disconnecting the plug and
checking between the orange and yellow wires.
The resistance reading of a good element is
approximately 21.7Ω.
If the hidden bake element does need to be
changed, the procedure is the same as for the
previous version of the oven.
21.7Ω
Ω
COM V/Ω

– 19 –
Control Panel Assembly
Control Panel
The controls for the oven system consist of a key
panel touch film on glass assembly and a main logic
board with its model select resistor plug located in
the control panel.
The controls for the cooktop elements consist of
two burner touch boards connected to and working
through the main logic board.
The main logic board is connected via the LIN serial
wire to the Relay Power Supply Board (RPSM Main)
located on the back of the range, along with a
second relay board (RPSM Aux).
There is also an RTD oven sensor and motor door
lock assembly with position switches.
Cooktop elements are controlled by relays found
exclusively on the RPSM Aux Board. (See Wiring
Diagram.)
No relay boards or line voltages are brought to the
control panel.
To remove the control panel:
Pull the range out approximately 6 inches from1. the wall.
Remove the six 1/4-in. hex-head screws that2. hold the top of the rear panel to the range.
Remove the ground screw.3.
Rear View
6. Grasp the control panel and pull the bottom out,
then lift the panel off the top 2 screws.
7. Place the control panel in the service position.
Service Position
Ground Screw
5. Using a stubby or offset Phillips-head
screwdriver, remove the 2 inverted screws that
attach the bottom of the control panel to the
range.
4. Place a protective cover on the main top of the
oven.

– 20 –
2. Remove the main logic board. (See Main Logic
Board.)
3. Remove four 1/4-in. hex-head screws that
attach the glass to the frame.
4. Lift the glass from the frame.
Capacitive Touch Glass
A capacitive touch switch consists of two conductive
layers on opposite sides of an insulating material,
such as glass.
The 2 conductive layers create a capacitance that
decreases when a layer is touched by a human
finger.
Interface circuitry is used on a touch switch to
convert the capacitance change into a usable
switching action to drive logic systems or to switch
analog signals.
To remove the capacitive touch glass:
Place the control panel in the service position.1. (See Control Panel.)
Main Logic Board
The main logic board is located inside the control
panel. The left- and right-side ribbon connectors
are replaceable components. The middle ribbon
connector is part of the capacitive touch glass.
To remove the main logic board:
Place the control panel in the service position.1. (See Control Panel.)
Mark and disconnect the 2 wire harnesses,2. mode/select plug and 3 ribbon connectors.
Remove the two 1/4-in. hex-head screws that
attach the board to the metal frame.
Note: Make sure to transfer the model select plug to
the new board before applying power.
Disconnect Disconnect
Disconnect
Table of contents
Other GE Range manuals
Popular Range manuals by other brands

Maytag
Maytag PER3725ACW user guide

Atwood
Atwood RA Installation, operation and maintenance instructions

Hotpoint
Hotpoint RGB518PCDCT Dimension Guide

Electrolux
Electrolux EW3LGF65GS - 30" Liquid Propane Gas Range Specifications

Whirlpool
Whirlpool 9763001 manual

Frigidaire
Frigidaire FEF316B Factory parts catalog