ge.com
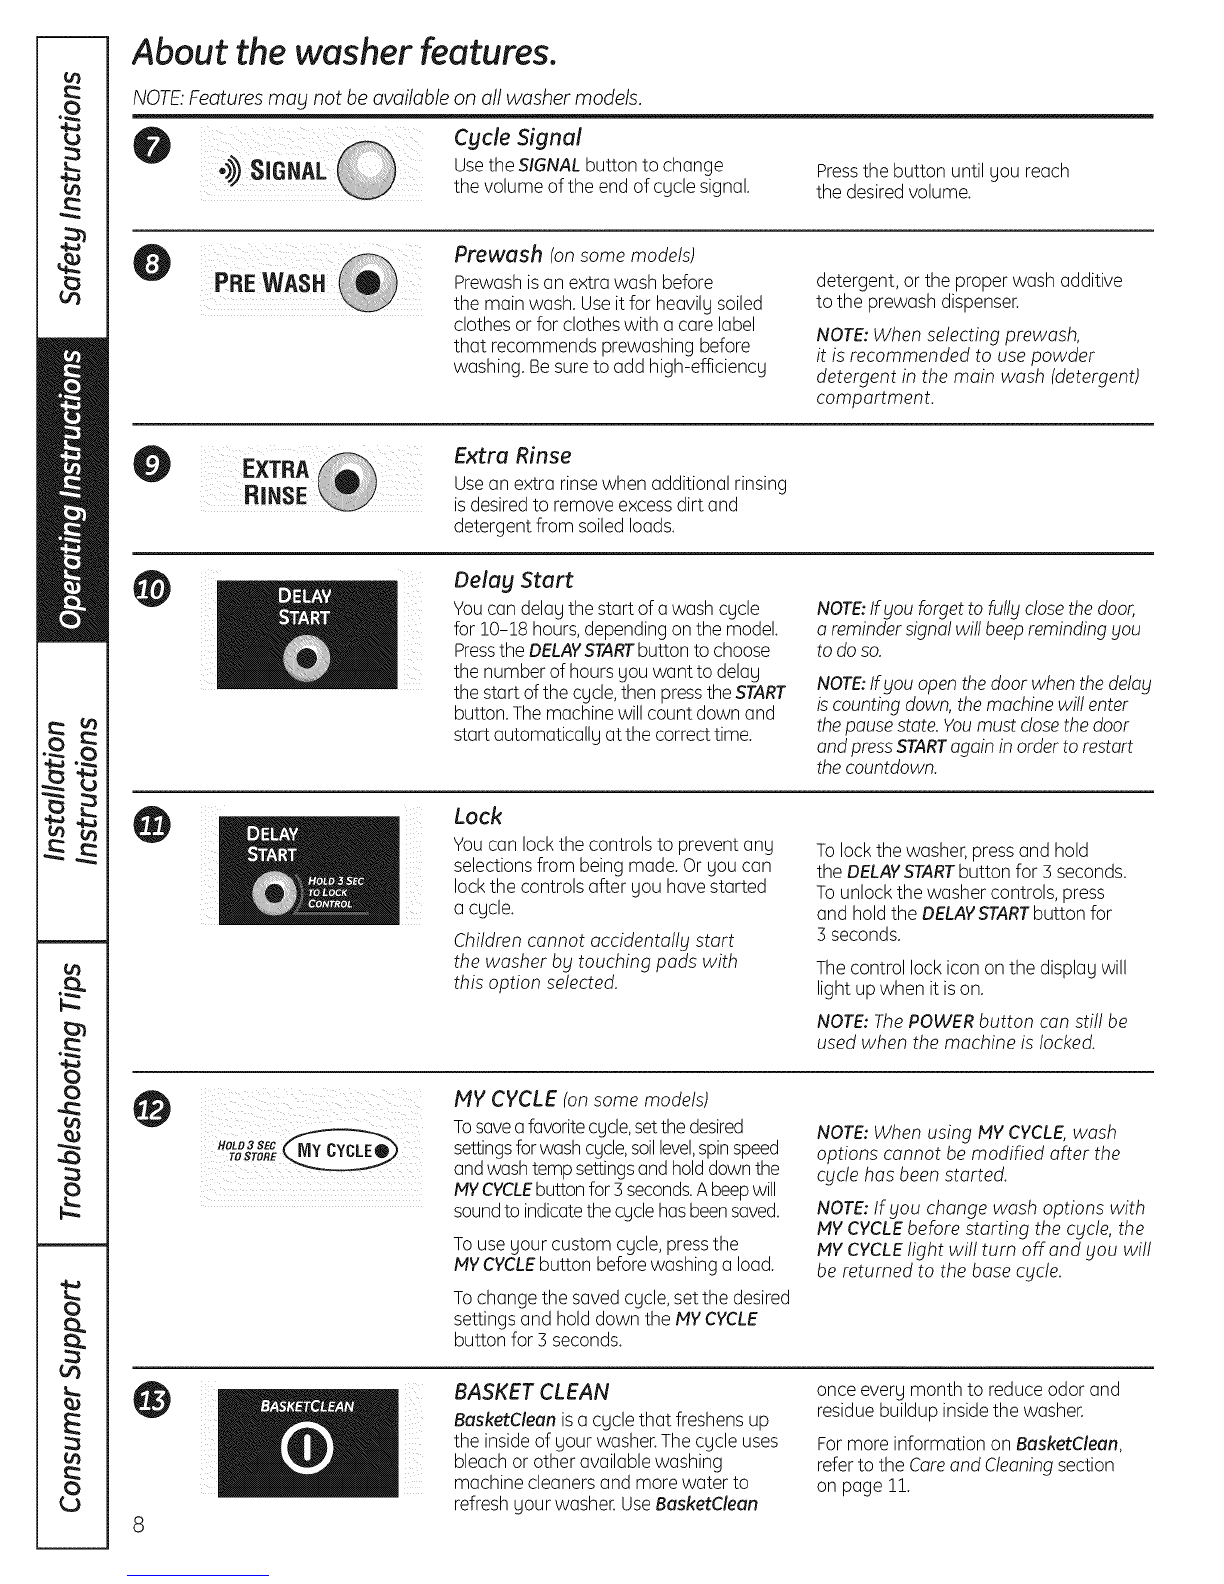
The Dispenser Drawer
Slowlyopenthe dispenserdrawer by pulling
it out until it stops.
After addinglaundryproducts,slowlyclose
the dispenserdrawer.Closingthedrawertoo
quicklycouldresultin earlbtdispensingofthe
bleach,fabric softeneror detergent.
Youmagseewater in thebleachand Fabric
softenercompartmentsat theendof the cbtcle.
Thisis a resultoftheflushing/siphoningaction
and ispart of thenormaloperationof the
washer.
ThePrewashCompartmentIonsomemodels)
m Onlyusethe PrewashCompartmentif you
are selectingthe Prewashcyclefor heavily
soiledclothes.Addmeasureddetergentor
prewashadditiveto the back left prewash
compartment ofthe dispenserdrawer.
[] Detergentor prewashadditiveisflushed
from the dispenserin the prewashcycle
(ifselected).
NOTE,Liquiddetergentwill drain intothe
washerdrum asit isadded.
[] Detergentusagemay needto beadjusted
for water temperature,water hardness,size
and soillevelof the load.Avoidusingtoo
much detergent in yourwasher asit can
leadto oversudsingand detergent residue
being left on theclothes.
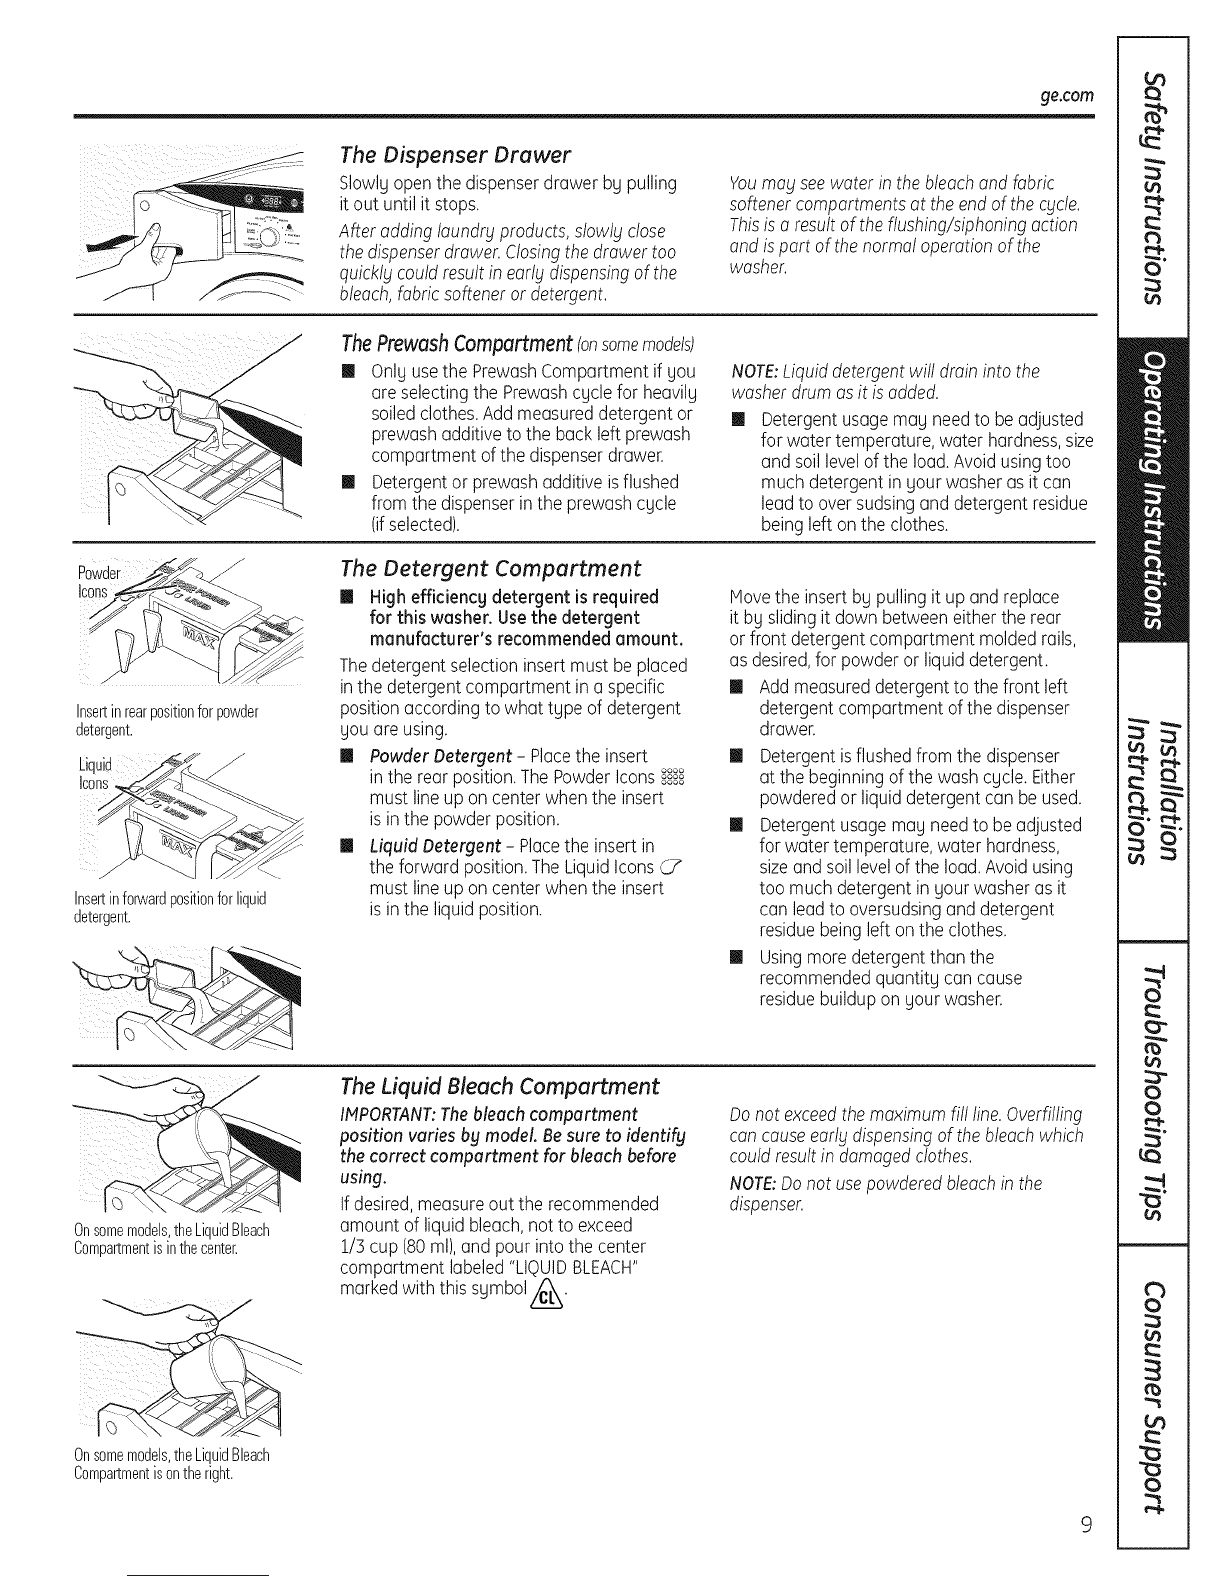
Insertinrearpositionforpowder
detergent.
Liquid
Icons
Insertinforwardpositionforliquid
detergent.
The Detergent Compartment
[] Highefficiency detergent is required
for this washer. Usethe detergent
manufacturer's recommendedamount.
Thedetergent selectioninsert mustbe placed
inthe detergentcompartment in a specific
positionaccordingto what type of detergent
youare using.
[] PowderDetergent- Placethe insert oooo
inthe rear position.ThePowderIconsoooo....
mustline up on centerwhenthe insert
isinthe powderposition.
[] Liquid Detergent- Placethe insertin
the forward position.TheLiquidIcons
mustline up on centerwhenthe insert
isinthe liquid position.
Hovethe insert by pullingit up and replace
it by slidingit down betweeneitherthe rear
or front detergentcompartment moldedrails,
asdesired,for powderor liquiddetergent.
[] Addmeasureddetergentto the front left
detergent compartmentof the dispenser
drawer.
[] Detergentisflushedfrom thedispenser
at the beginningofthe wash cycle. Either
powderedor liquiddetergent can beused.
[] Detergentusagemay needto beadjusted
for water temperature,water hardness,
sizeand soillevelofthe load.Avoidusing
too much detergentin yourwasheras it
can leadto oversudsingand detergent
residuebeing left on the clothes.
[] Usingmoredetergentthan the
recommendedquantity can cause
residuebuildup on your washer.
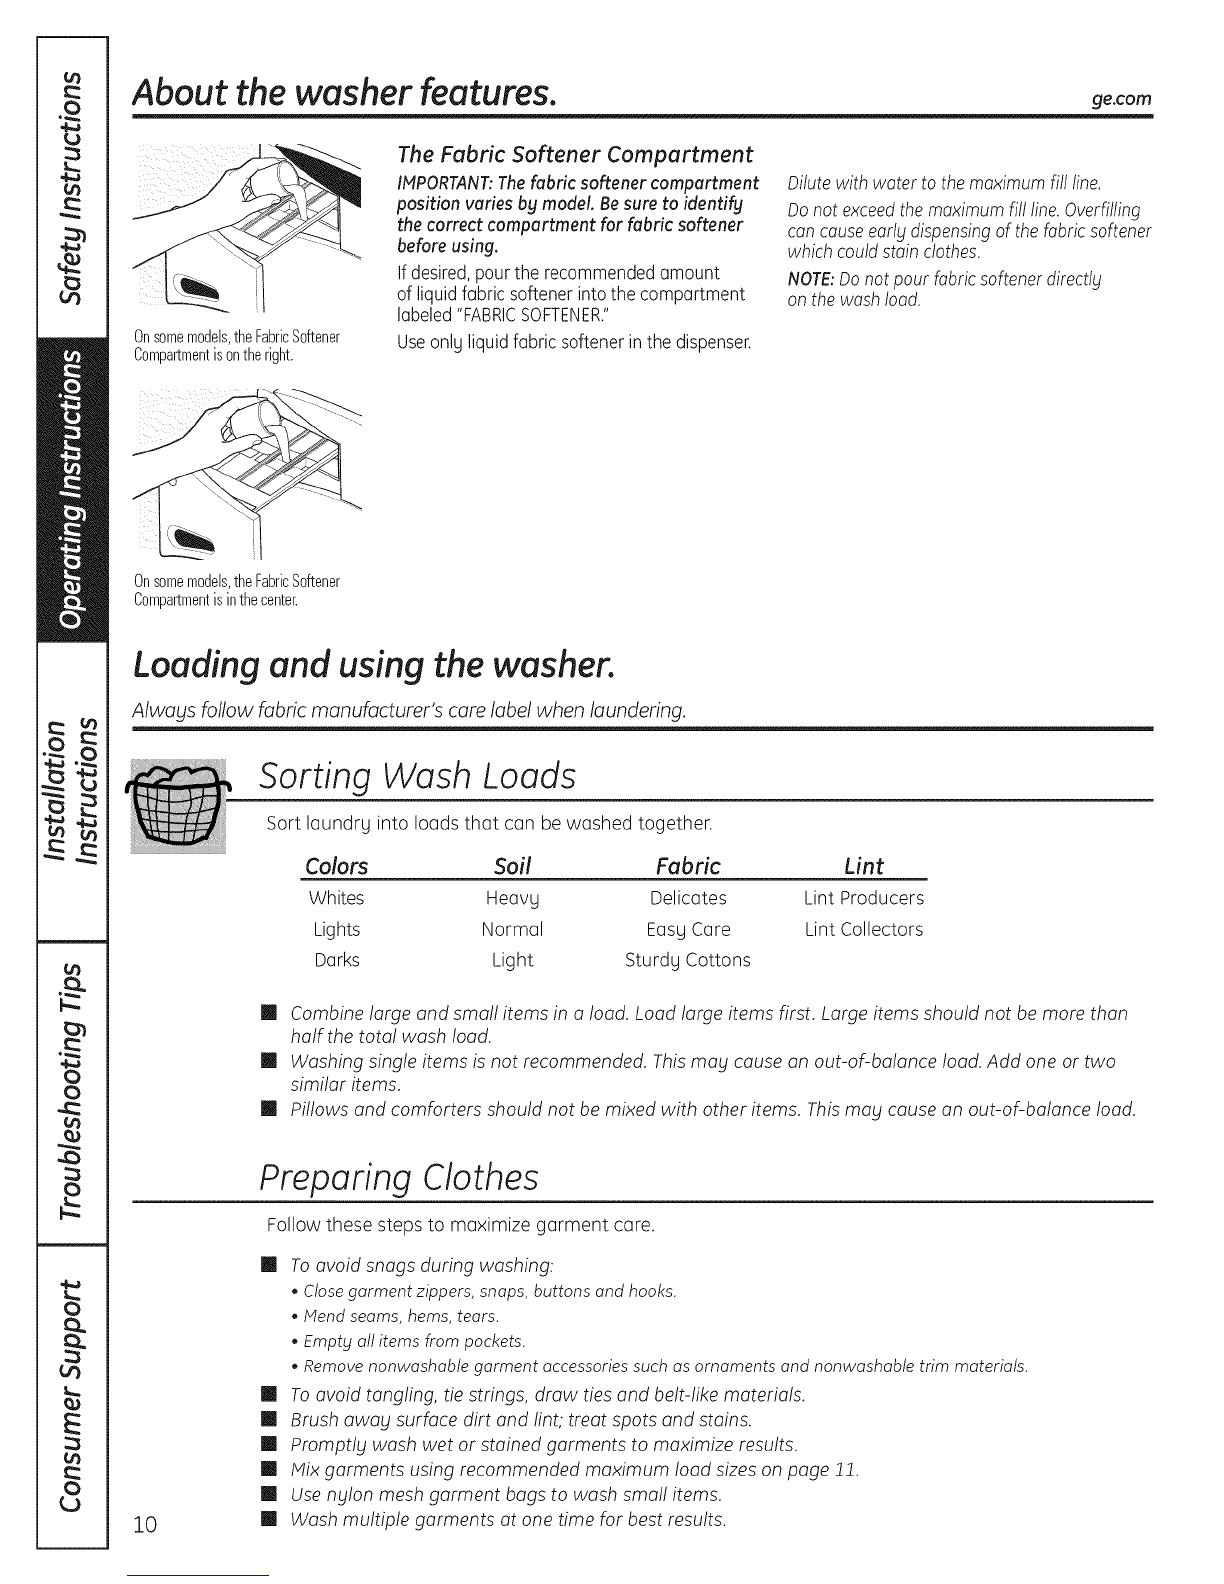
Onsomemodels,theLiquidBleach
Compartmentisinthecenter.
Onsomemodels,theLiquidBleach
Compartmentisontheright.
The Liquid Bleach Compartment
IMPORTANT:The bleach compartment
position varies bg model. Be sure to identify
the correct compartment for bleach before
using.
Ifdesired, measure out the recommended
amount of liquidbleach, not to exceed
1/5 cup (80ml),and pour intothe center
compartment labeled"LIQUIDBLEACH"
markedwith this symbol/_.
Donot exceedthemaximum fill line.Overfilling
cancauseearlbtdispensingof thebleachwhich
couldresultin damagedclothes.
NOTE:Donotusepowderedbleachin the
dispenser.