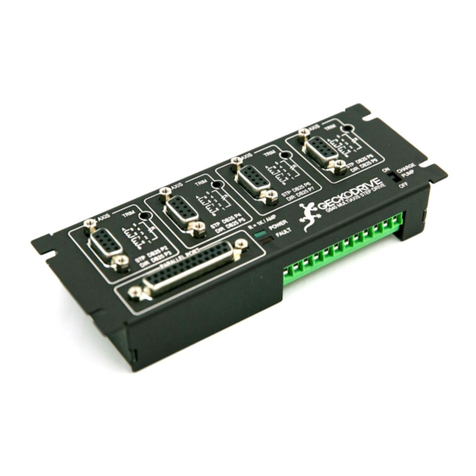
Thank you for choosing to purchase the G540 4-Axis Drive System. If you are dissatisfied with it for any reason at all within 90
days of its purchase date, you may return it for a full refund provided it is cosmetically unmarred and undamaged electrically in
any way. Geckodrive Inc. fully warranties the G540 against workmanship defects for 3 years after its purchase date.
PLEASE READ FIRST BEFORE USING THE G540
Before beginning, be sure to have a suitable step motor, a DC power supply suitable for the motor and a current set resistor.
The motor’s rated phase current must be between 0 Amps and 3.5 Amps. Using a motor with a higher current rating will cause a
proportional loss in torque, meaning a 5A motor will get 3.5/5 (70%) of its maximum torque. The power supply voltage must be
determined by the inductance equation listed later or be between 4 times and 20 times the motor’s rated voltage. The current
set resistor may be a 1/4 Watt, 5% part. Finally have a STEP and DIRECTION pulse source available.
STEP 1: CONNECT POWER
Connect your power supply positive to TERMINAL 11 and negative to TERMINAL 12. The power supply voltage is determined by
multiplying the square root of the motor’s inductance by 32, as in the example below for a 2mH rated motor:
32 * (√2) = 45VDC
Be sure that your power supply is turned OFF when connecting or disconnecting it from the G540. Failure to do so may result in
physical damage to the connectors.
CAUTION! Never put a switch on the DC side of the power supply! This will damage, if not destroy, your drive due to a current
inrush when the switch is first thrown.
CAUTION! Power supply voltage in excess of 50 VDC will damage the G540.
Turn the power supply on and make sure that a red LED comes on. Once you have verified that the drive lights up turn your
power supply off before continuing.
STEP 2: INSERT E-STOP OR JUMPER
The G540 is designed to fault unless there is a normally closed switch (functionally identical to a jumper wire) between
TERMINAL 10 and TERMINAL 12 on the 12-PIN TERMINAL BLOCK. Without TERMINAL 10 shorted to ground the G540 will
remain disengaged to the motors and will not respond to commands. The red LED will be illuminated if there is no jumper
connecting these two terminals.
STEP 3: DISABLE CHARGE PUMP
The G540 has a switch allowing you to disable the charge pump feature, which makes it possible to verify the G540 works
without having to have your DB25 cable plugged in. The switch is located near the 12-PIN TERMINAL STRIP on the top of the
drive. Flip the switch to DISABLE and apply power to the G540; you should have a green LED lit indicating that setup is
successful thus far.
STEP 4: CONNECT MOTORS
Wire your motors to the included DB9 solder cup and secure the backshell connectors. If your motors are rated below 3.5A you
must use a current set resistor across PIN 1 and PIN 5. The resistor is calculated by taking the current in amps and multiplying
by 1000. If your motor is rated at 2.8A per phase you will have to use a 2.8K 5% 1/4W resistor. If your motor is rated at 3.5A or
above you can safely not use a current set resistor; however, your G540 will not go into current standby mode which will result
in increased motor heating.
At this point you should have holding torque on the motors and a green LED lit. If you do not then the motor is wired incorrectly
or is damaged.
