34
5.Press START / STOP again to continuous counting down. ”:” and ” ”
flash again.
6.When the timer reaches ”0:00” (00 seconds), the clock will vibrates /
sounds / flashes with LED and it starts to count up to show the overrun
time. Press START / STOP once to stop the timer alarm.
7.Press START / STOP again, the display shows last count down set
time and flashes. Repeat Step 2-5 to set and use countdown timer.
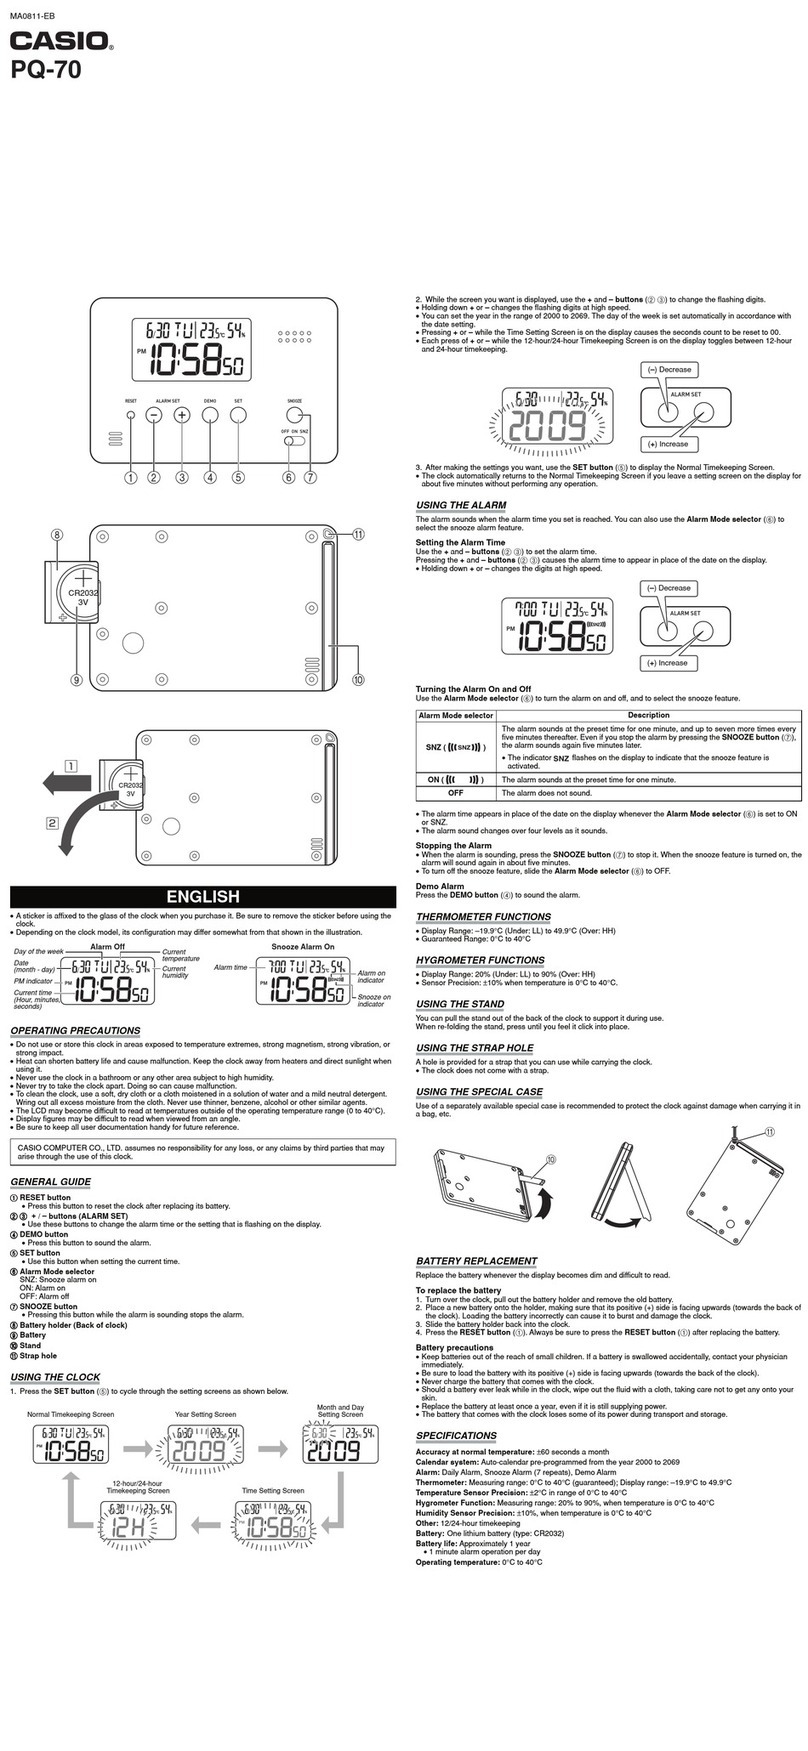
Remark: When timer is active and counting down or up, press the SET /
TIMER can return to the time display. The timer icon will flash on
the normal time display.
Press SET / TIMER once to enter timer mode.
Press or to set countdown time
Press START / STOP once to count down
Press START / STOP to pause count down
When countdown timer reaches 0:00 (0 seconds),
the clock vibrates / sounds / flashes and starts to
count up to show the elapsed time. Press START /
STOP once to stop the timer alarm.
TO USE COUNT-UPTIMER (MAX. 23HR 59MIN.)
1.At normal time display, press SET / TIMER once, display changes to
timer mode and flashes. Press and hold START / STOP to reset timer
value to” 0:00”.
2.Press START / STOP once to start count up timer. ”:” and ” ” flash.
3.During counting, press START / STOP once to pause counting up and
whole display flashes. Press and hold START / STOP to stop or reset
the counting up timer.
4.Press START / STOP once again to continue counting up.
When timer value is reset to 0:00 (Press and hold
START / STOP), press START / STOP once to
start count-up.
Remark: When timer is active and counting down or up, press the SET /
TIMER can return to the time display. The timer icon will flash on
the normal time display.
TEST MODE
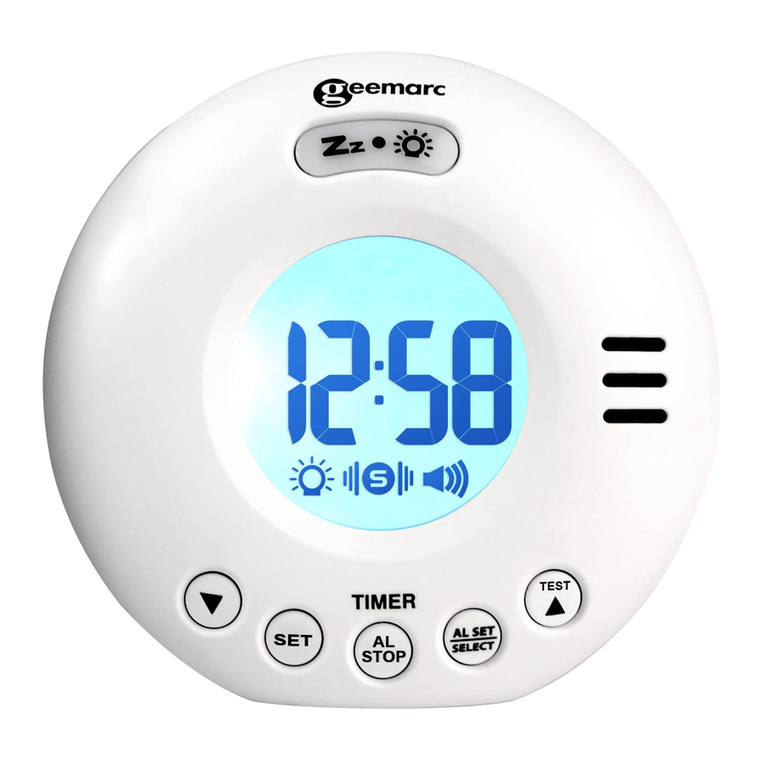
Press and hold / TEST button, strobe light flashing, shaker vibrating
and buzzer sounding for 5 seconds and then stops.
LOW BATTERYALERT
When the battery level becomes low, an low battery icon will
apear on the upper middle of the LCD. Repalce batteries with new
alkaline batteries.
Remark: frequent use of the vibration alarm will quickly shorten the
battery life.
TROUBLE SHOOTING
If your clock displays irrelevant time or does not function properly, which
may be caused by electro-static discharge or other interference, open
the battery cover, take out the batteries and reinstall them by observing
the correct +/- polarity. Your clock will be reset to default settings and
you need to set it again.
Low battery level will decrease the vibration and the alarm sound. Once
this happens, replace batteries with new ones.
CARE OFYOUR PRODUCT
1.Place your clock on a stable surface, away from sources of direct
sunlight or excessive heat or moisture.
2.Protect your furniture when placing your units on a natural wood
and lacquered finish by using a cloth or protective material between
it and the furniture.
3.Clean your unit with a soft cloth moistened only with mild soap and
water. Stronger agents such as Benzene, thinner or similar materials
can damage the surface of the unit. Make sure the unit is unplugged
before cleaning.
4.If the unit is not to be used for a prolonged period, such as a month
or longer, remove the batteries to prevent possible corrosion.
Should the battery compartment become corroded or dirty, clean
the compartment thoroughly and replace the batteries.
SPECIFICATIONS
larm duration :1 minute
Snooze duration
djustable :5 to 60 minutes
Default settings
Time format 24 hou
Time 0:00
Alarm 6:00
Shaker alarm level Hi
Snooze duration 05 (5 minutes)
Count-up / countdown time 23 hours 59 minutes
udible alarm : up to 80 dB at 1m
GUARANTEE
From the moment your Geemarc product is purchased, Geemarc
guarantee it for the period of two years. During this time, all repairs or
replacements (at our discretion) are free of charge. Should you
experience a problem then contact our help line or visit our website at
www.geemarc.com.
The guarantee does not cover accidents, negligence or breakages to any
parts. The product must not be tampered with or taken apart by anyone
who is not an authorized Geemarc representative.
The Geemarc guarantee in no way limits your legal rights.
IMPORTANT : YOUR RECEIPT IS PART OF YOUR GUARANTEE
AND MUST BE RETAINED AND PRODUCED IN THE EVENT OF A
WARRANTY CLAIM.
Please note: The guarantee applies to the United Kingdom only.
DECLARATIONS:
CE Directives
Geemarc Telecom SAhereby declares that this product is in compliance
with the essential requirements and other relevant provisions of the
Radio and Telecommunications Terminal Equipment Directive. The CE
declaration of conformity may be consulted at www.geemarc.com
Recycling Directives
The WEEE (Waste Electrical and Electronic Equipment) has been put in
place for the products at the end of their useful life are recycled in the
bestway.
When this product is finished with, please do not put it in your domestic
waste bin. Please use one of the following disposal options:
- Remove the batteries and deposit them in an appropriate WEEE skip.
Deposit the product in an appropriate WEEE skip.
- Or, hand the old product to the retailer. If you purchase a new one, they
should accept it.
Thus if you respect these instructions you ensure human health and
environmental protection.
For product support and help visit our website at
www.geemarc.com
telephone 01707 387602
or fax 01707 832529
QUGWake&Shake_Voyager_En_A4_V1.1
