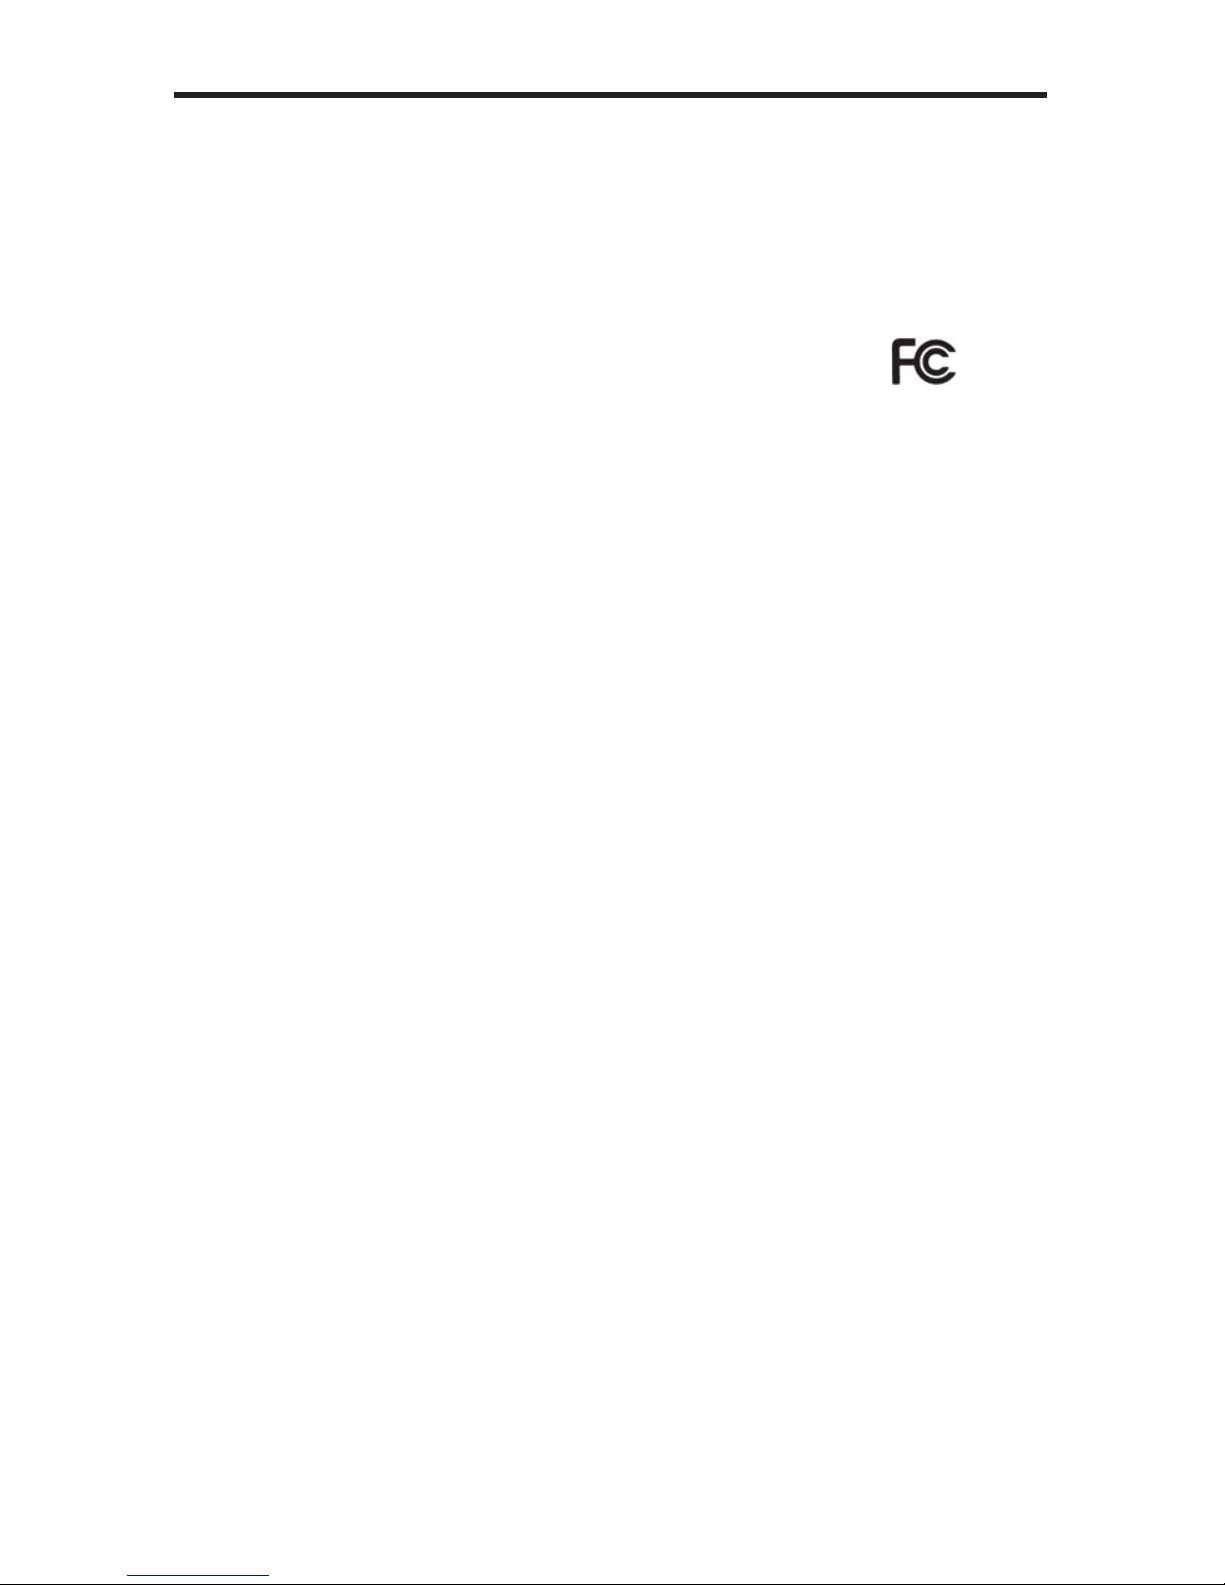
1 Reset Button (clears settings)
This button is used to reset the unit to default factory settings. To use the reset
button, insert a sharp object, push firmly then let go.Afull reset operation takes
approximately 5 seconds.
2 CFG (Configuration Buttons)
These two push buttons are reserved for factory use only.
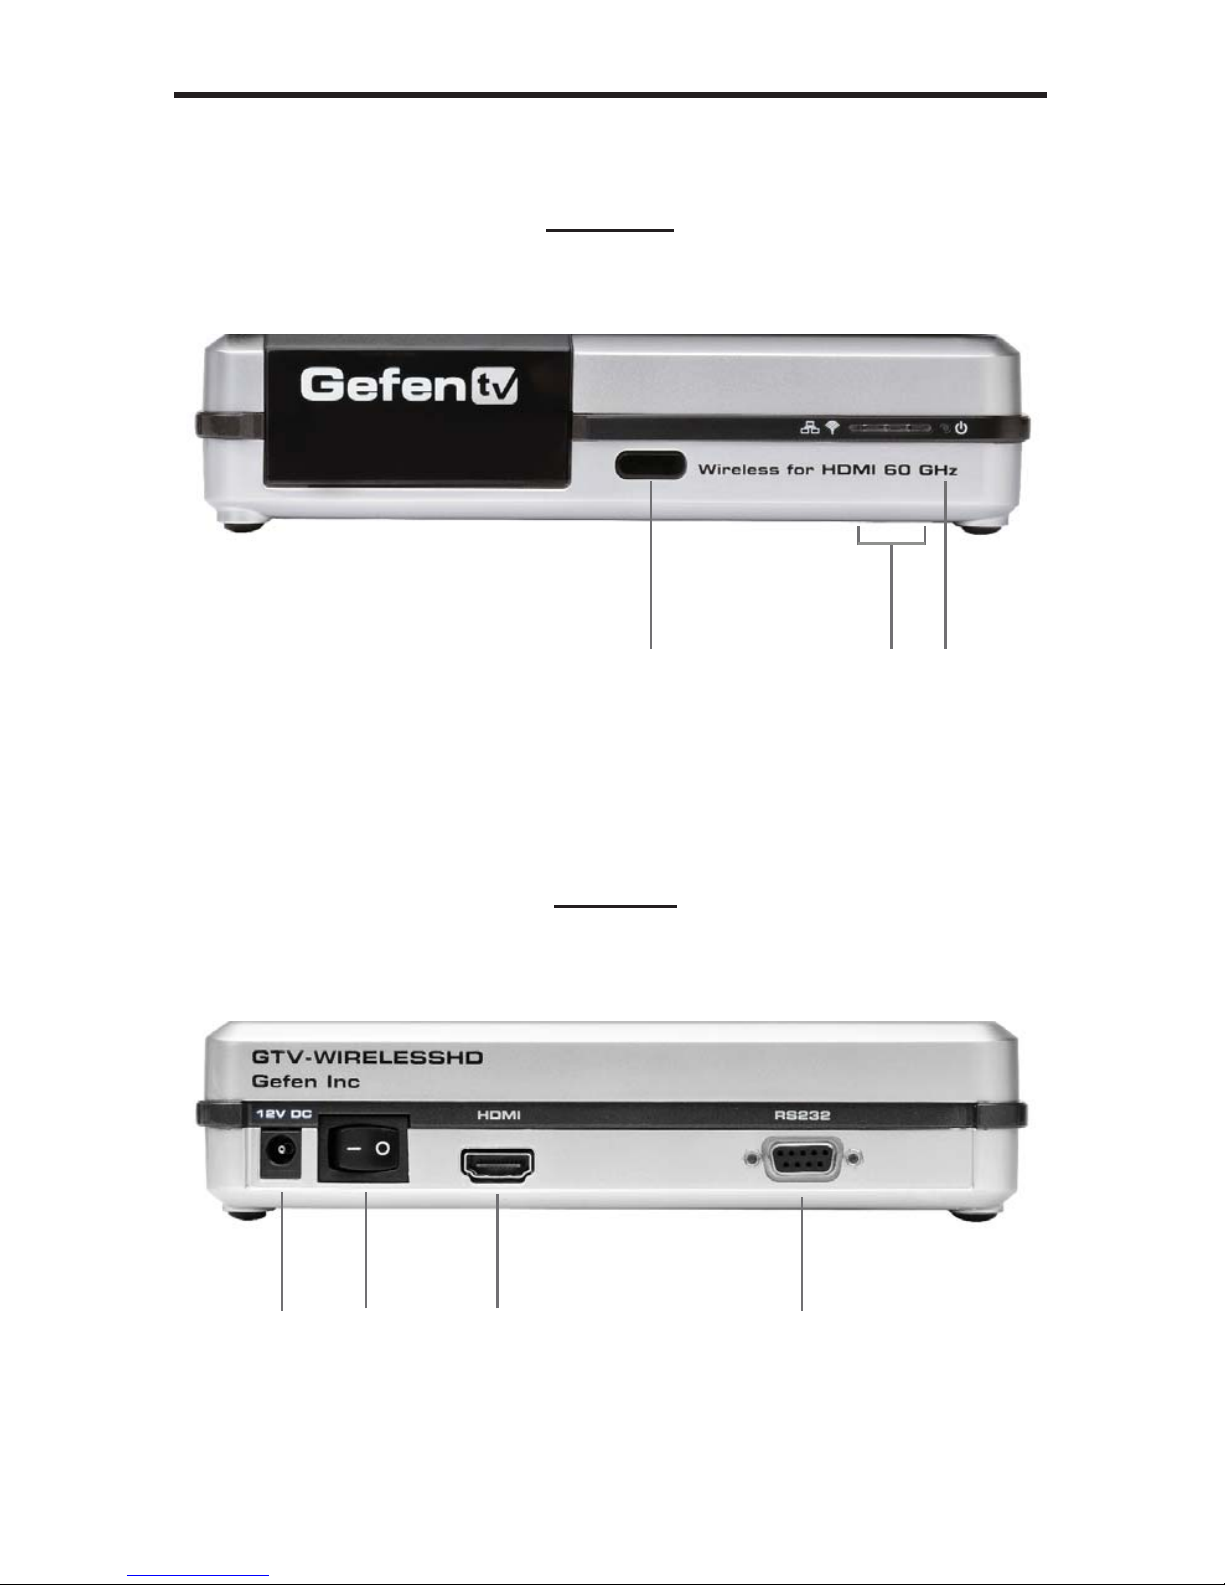
1. Connect the HDMI source device to the Wireless HD 60 GHz Sender input
using the supplied HDMI input cable. Use a DVI to HDMI cable/adapter
when using a DVI source device.
2. Connect the HDMI-compliant display to the Receiver’s HDMI output port
using a user- supplied HDMI cable. Use a HDMI to DVI cable/adapter when
using a DVI-compliant display.
3. Sender and Receiver should be oriented in a visually unobstructed, line-of-
sight path without objects between them, at the same height as each other,
preferably in a wide open indoor area with tall ceilings.
4. Connect the included 5V power supplies to the Wireless HD 60 GHz Sender
and Receiver units. Power on the display device (monitor or projector).
5. Switch on the Receiver and Sender units. Automatic pairing (linkup) will
begin. The units will search for each other, and four (4) LED indicators on the
front right hand panel of the units will indicate operational status as follows
(Please see diagram on the bottom of page 6, opposite):
LINK: OFF (connection failed, try again), ON (connection good),
BLINKING (waiting for link completion)
WEAK: OFF (no signal), ON (wireless signal is weak)
STRONG: OFF (weak signal), ON (wireless signal is strong)
POWER: OFF (power off), ON (unit ON), BLINKING (unit sleeping)
*If 4 LEDs blink at once despite multiple power ON/OFF attempts, do not
continue operation. Please call Gefen Technical Support at 1-800-545-6900.
If a pairing operation does not commence and/or the WEAK LED stays
on, the units must be relocated for better signal reception. To retry pairing,
relocate them and reapply power.
CONNECTING THE SENDER AND RECEIVER
SENDER/RECEIVER PANEL LAYOUT, CONT’D
7