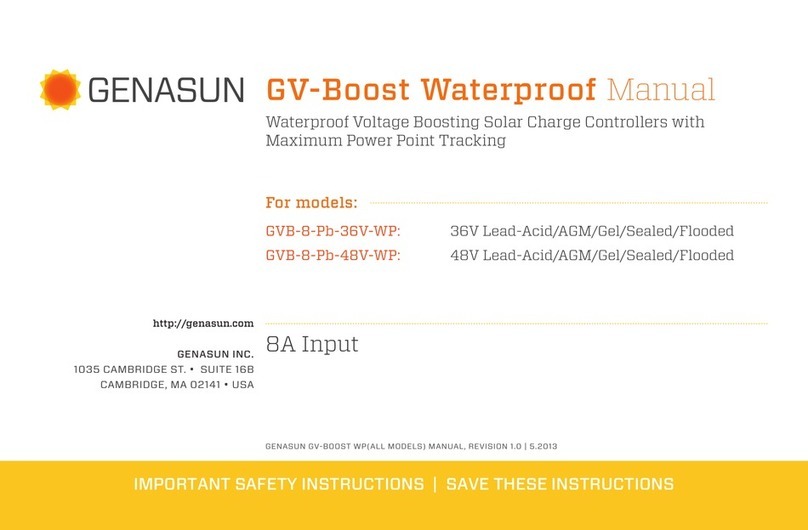
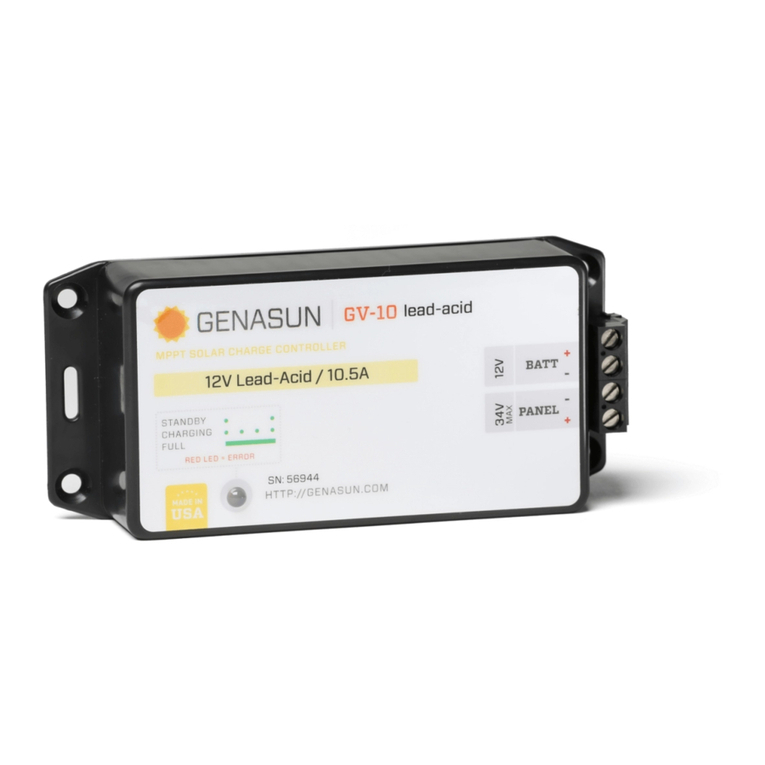
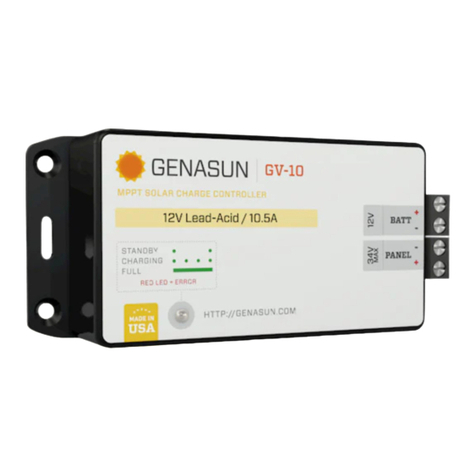
Genasun GV-4 Assembly instructions

GENASUN GV-4(ALL MODELS) MANUAL, REVISION 1.0 | 11.2012
GV-4-Pb-12V: 12V Lead-Acid/AGM/Gel/Sealed/Flooded
GV-4 Manual
For models:
Solar Charge Controller with Maximum Power Point Tracking
IMPORTANT SAFETY INSTRUCTIONS | SAVE THESE INSTRUCTIONS
4A / 50W
http://genasun.com
GENASUN INC.
1035 Cambridge st. • suite 16b
Cambridge, ma 02141 • usa

This manual contains important instructions for the GV-4-Pb-12V solar charge controller that shall be followed during
installation and maintenance.
The GV-4 is intended for charging 12V Lead-Acid, AGM, Gel, Sealed, and Flooded batteries. Consult your battery charging
specifications to ensure that the GV-4 is compatible with your chosen batteries.
The GV-4 does not include a fuse. Overcurrent protection suitable for the application must be provided by the user.
CAUTION: INTERNAL TEMPERATURE COMPENSATION. RISK OF FIRE, USE WITHIN 0.3 m (1 ft) of BATTERIES. Lead-acid batteries
can create explosive gases. Short circuits can draw thousands of amps from a battery. Carefully read and follow all instructions
supplied with the battery. Use only 12V lead-acid batteries with the GV-4-Pb-12V.
DO NOT SHORT CIRCUIT the solar array when plugged into the controller. DO NOT MEASURE SHORT CIRCUIT CURRENT of the
array while connected to the controller. This will DESTROY the controller, and such damage will not be covered under warranty.
Use only 12-30 AWG copper conductors suitable for a minimum of 60 degrees C. If operation at high power or at high ambient
temperatures is expected, wire with a higher temperature rating may be necessary.
Grounding is not necessary for operation and is at the user's discretion. If the GV-4 is to be used with a solar array electrically
connected to earth ground, please note the following: WARNING: THIS UNIT IS NOT PROVIDED WITH A GFDI DEVICE. Consult
Article 690 of the National Electrical Code (or the standards in force at the installation location) to determine whether a GFDI is
necessary for your installation.
Safety Instructions: Recommended terminal block tightening torque: 3-5 in-lbs, 0.35-0.55 Nm.
Inspection & Maintenance
No user-serviceable parts inside.
Inspect the controller at least once per year to ensure proper performance.
• Check for animal or insect damage.
• Inspect for corrosion / water damage.
• Inspect the security of all connections.
• Ensure the solar array does not exceed the maximum input voltage.
• Repair and clean as necessary.

BATTERY
PANEL
GV-4
Installation & System Connections:
MOUNTING
Mount the controller near your battery securely using the holes provided on the enclosure’s
flanges or with a means appropriate to the application.
• Mount near battery.
• The GV-4 can be mounted in any orientation.
• Do not expose to water.
• Do not mount in direct sunlight or near a source of heat.
• Allow adequate airflow around the controller to achieve maximum output capability.
• For outdoor use, the controller must be housed in an enclosure providing protection
at least equivalent to NEMA Type 3.
r
e
CONNECTING THE SOLAR PANEL
Connect the solar panel to the +PANEL and –PANEL terminals.
• In most applications, the panel should be connected only to the GV-4.
• Never connect the panel negative to the battery negative, as your batteries
may be damaged. In the GV-4, the positive side of the battery is connected
internally to the positive side of the solar panel.
• Do not use blocking diodes for single-panel installations. The GV-4 prevents
reverse-current flow.
• If multiple panels are being used in parallel, blocking diodes are recommended
in series with each panel, unless the panel manufacturer recommends
otherwise.
• Solar panel voltage rises in cold weather. Check that the solar panel open
circuit voltage (Voc) will remain below the maximum input voltage of the GV-4
at the coldest possible expected temperature.
• Connections should be made according to Article 690 of the National
Electrical Code (NFPA 70) or the standards in force at the installation location.
• Electrical connections may be made in any order; however the sequence
below is recommended.
CONNECTING THE BATTERY
Connect the battery to the +BATT and –BATT terminals.
• A small spark while connecting the battery is ok.
• Any loads should be connected directly to the battery. The GV-4 does not
provide protection against over-discharge.
t
Note: Make sure to inspect the controller at least once
per year to ensure proper performance. Please see the
Inspection & Maintenance section in this guide.
The GV-4 has a
MULTICOLOR LED.
Learn about this indicator
on the following page.

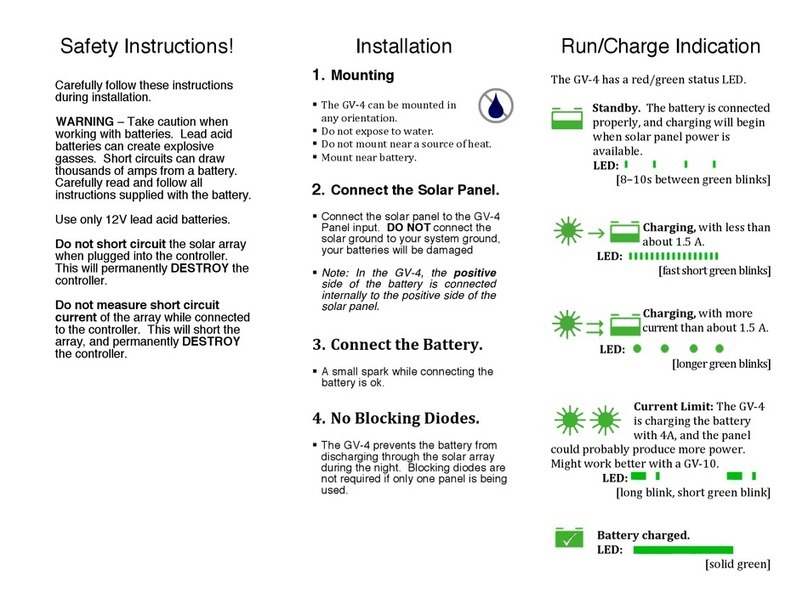
LED RUN/CHARGE INDICATION
Standby: The battery is connected properly and ready to charge
when solar panel power is available.
8-10 SEC. BETWEEN GREEN BLINKS
Charging (low current, less than 0.15A):
4-5 SEC. BETWEEN GREEN BLINKS
Charging (between 0.15A - 1.5A):
FAST GREEN BLINKS
Charging (high current, more than 1.5A):
LONGER GREEN BLINKS
Charging (current limit): charging at current limit.
The GV-4 is overloaded and limiting charging current.
LONG, THEN SHORT GREEN BLINKS
Battery Charged: The battery is in the absorption
or float charging stage.
SOLID GREEN LED
LED ERROR INDICATION
Overheat: The controller’s internal temperature is too high.
SETS OF 2 RED BLINKS.
Overload: This could be caused by changing the solar
panel connections while the controller is operating.
SETS OF 3 RED BLINKS.
Battery voltage too low: The controller cannot begin
charging due to low battery voltage. If the nominal battery
voltage is correct (12V), charge the battery by some other
means before use.
SETS OF 4 RED BLINKS
Battery voltage too high: If the nominal battery voltage is
correct (12V), check the functioning of other chargers that
may be connected to the system.
SETS OF 5 RED BLINKS.
Panel voltage too high: Only 12V nominal solar panels may
be used with this controller.
SETS OF 6 RED BLINKS.
Internal Error: Contact your dealer for assistance.
2 LONG BLINKS, FOLLOWED BY ANY NUMBER
OF SHORT BLINKS.
The GV-4 has a MULTICOLOR LED
Status Indication:
This page is intentionally left blank.

Copyright © 2012 Genasun. All rights reserved. Changes are periodically made to the information herein which
will be incorporated in revised editions of this publication. Genasun may make changes or improvements to
the product(s) described in this publication at any time and without notice.
Maximum Recommended Panel Power: 50W
Rated Battery (Output) Current: 4A
Nominal Battery Voltage: 12V
Max Panel Voltage (Voc): 27V
Recommended Max Voc at STC: 22V
Minimum Battery Voltage for Operation: 7.2V
Input Voltage Range: 0-27V
Recommended Maximum Input Short
Circuit Current (for Solar Use): 4A
Maximum Input Current *: 7A
Charge Profile: Multi-Stage with Temperature
Compensation
Absorption Voltage: 14.2V
Absorption Time: 2 Hours
Float Voltage: 13.8V
Charging Output Voltage Range: 7.2-18V
Battery Temperature Compensation: -28mV/°C
Operating Temperature: -40°C – 85°C
Maximum Full Power Ambient: 50°C
Electrical Efficiency: 96% - 99.85% typical
Tracking Efficiency: 99% typical
MPPT Tracking Speed: 15Hz
Operating Consumption: 0.125mA (125uA)
Night Consumption: 0.9mA (90uA)
Marine Grade: Yes
Connection: 4-position terminal block for
12-30AWG wire
Weight: 2.8 oz., 80 g
Dimensions: 4.3 x 2.2 x 0.9", 11 x 5.6 x 2.5 cm
Warranty: 5 years
*Maximum current that the controller could draw from an unlimited source.
Specifications: GV-4-Pb-12V
This manual suits for next models
1
Table of contents
Other Genasun Controllers manuals

Genasun
Genasun GV-10-Pb-12V User manual

Genasun
Genasun GVB-8-Pb-36V-WP User manual

Genasun
Genasun GV-4 User manual

Genasun
Genasun GVB-8 User manual

Genasun
Genasun GV-5 Training manual

Genasun
Genasun GV-5 User manual

Genasun
Genasun GV-5 Training manual

Genasun
Genasun GVB-8-WP Series User manual

Genasun
Genasun GV-10 User manual

Genasun
Genasun GV-10 User manual