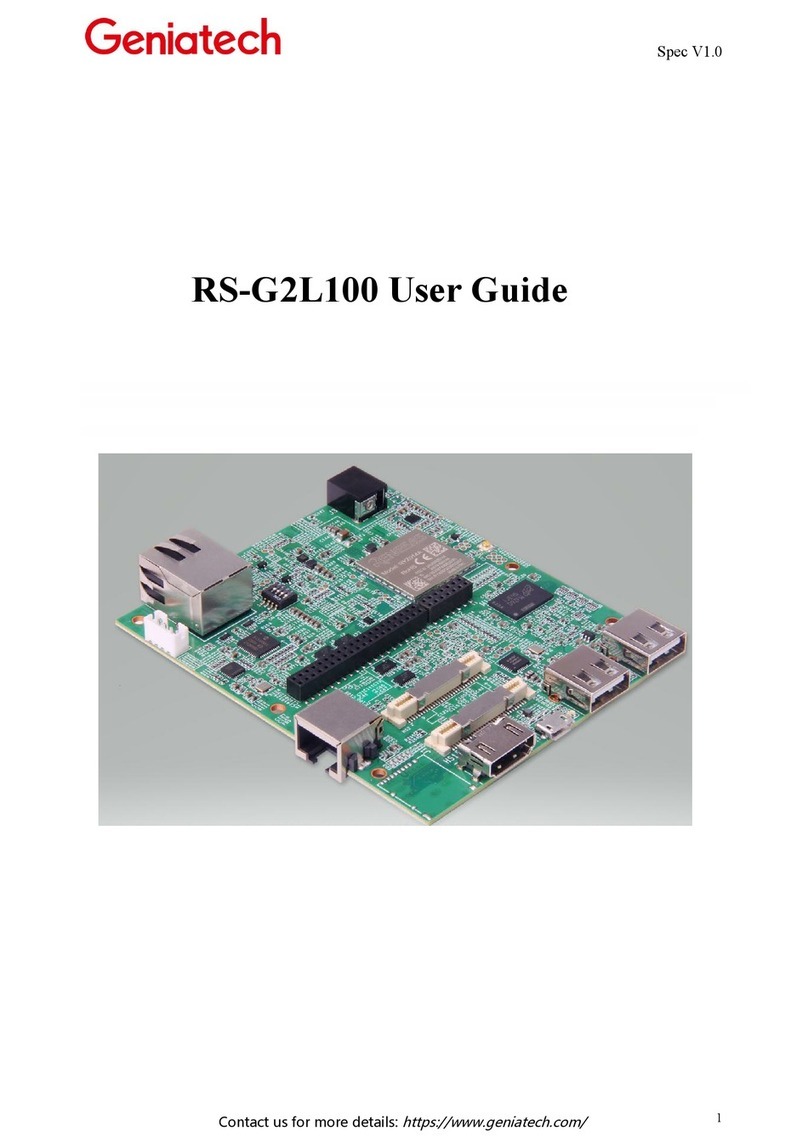
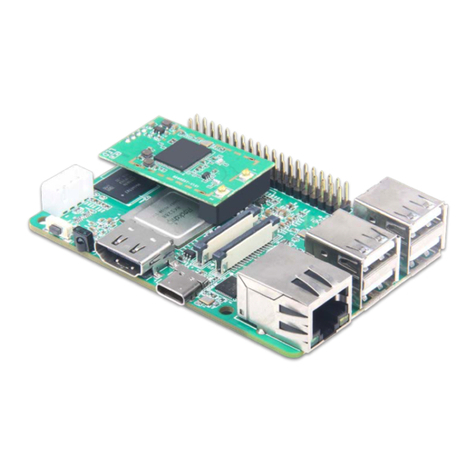
Geniatech XPI-3568 User manual

Room 02-04, 10/F, Block A, Building 8, Shenzhen International Innovation Valley, Dashi Road,
Nanshan District, Shenzhen, Guangdong, China
Emai: support@geniatech.com Tel: (+ 86) 755 86028588 2
CONTENT
1. XPI3568 Operating System.............................................................................................................................................4
2. Linux System Installation................................................................................................................................................4
2.1 Burning tool preparation.......................................................................................................................................4
2.2 Driver Installation..................................................................................................................................................5
2.3 Upgrade Firmware ................................................................................................................................................5
3. System Function.............................................................................................................................................................7
3.1 System Access .......................................................................................................................................................7
3.2 Hardware Interface ...............................................................................................................................................9
3.3 Wired Ethernet....................................................................................................................................................10
3.4 TF Card ..................................................................................................................................................................10
3.5 WiFi .......................................................................................................................................................................11
3.6 Bluetooth ..............................................................................................................................................................12
3.7 USB........................................................................................................................................................................13
3.8 IR ...........................................................................................................................................................................13
3.9 RTC ........................................................................................................................................................................13
3.10 Camera................................................................................................................................................................14
3.11 MIPI Screen .........................................................................................................................................................14
3.12 HDMI...................................................................................................................................................................15

Room 02-04, 10/F, Block A, Building 8, Shenzhen International Innovation Valley, Dashi Road,
Nanshan District, Shenzhen, Guangdong, China
Emai: support@geniatech.com Tel: (+ 86) 755 86028588 4
1. XPI3568 Operating System
XPI3568 currently supports Linux Debian 10 system and Android 11 system, this article
mainly introduces the instructions for Debian 10 system.
2.Linux System Installation
2.1 Burning tool preparation
USB burner cable*1, type-c power supply*1
Windos PC*1

Room 02-04, 10/F, Block A, Building 8, Shenzhen International Innovation Valley, Dashi Road,
Nanshan District, Shenzhen, Guangdong, China
Emai: support@geniatech.com Tel: (+ 86) 755 86028588 5
2.2 Driver Installation
Download and install DriverAssitant_v5.0
Link:https://mega.nz/folder/Be900Q7a
Key:qm2Rb9kCM44KKD9HwgFMYQ
Double-click to open DriverAssitant_v5.0, then double-click DriverInstall.exe and
click "Driver Install", click OK after success.
2.3 Upgrade Firmware
Download and unzip the firmware, double click to open
RKDevTool_Release>RKDevTool.exe
Click upgrade firmware, then click firmware, select rockdev->update.img to upload

Room 02-04, 10/F, Block A, Building 8, Shenzhen International Innovation Valley, Dashi Road,
Nanshan District, Shenzhen, Guangdong, China
Emai: support@geniatech.com Tel: (+ 86) 755 86028588 6
Plug the USB cable into one of the blue USB burner ports on the bottom of the dual-
layer USB port, and the other end into the PC。
Press and hold the burn button and turn on the power until the burn tool displays "A
LOADER device is recognized", click Upgrade

Room 02-04, 10/F, Block A, Building 8, Shenzhen International Innovation Valley, Dashi Road,
Nanshan District, Shenzhen, Guangdong, China
Emai: support@geniatech.com Tel: (+ 86) 755 86028588 7
3. System Function
3.1 System Access
3.1.1 Serial port access:
Prepare a serial cable*1, connect it to the debug port, and connect the other end to
the PC. open Device Manager->Port,
Check the recognized port number. Then open the serial debugging software and
select COM port with baud rate 1500000
3.1.2 Graphical interface access
Connect the XPI3568 to the monitor w i t h the HDMI cable, enter the desktop, click
on the bottom left corner -> System Tools - > LXTerminal to open the terminal software,
enter sudo su to log in

Room 02-04, 10/F, Block A, Building 8, Shenzhen International Innovation Valley, Dashi Road,
Nanshan District, Shenzhen, Guangdong, China
Emai: support@geniatech.com Tel: (+ 86) 755 86028588 8
3.1.3 SSH remote connection:
Connect t h e PC to the XPI3568 on the same LAN, get the IP address and use SSH to
connect through the serial port tool(SecureCRT/TeraTerm)
Protocol: SSH2
Username:linaro
Password: linaro

Room 02-04, 10/F, Block A, Building 8, Shenzhen International Innovation Valley, Dashi Road,
Nanshan District, Shenzhen, Guangdong, China
Emai: support@geniatech.com Tel: (+ 86) 755 86028588 9
3.2 Hardware Interface
No.
Name
Description
1
RK3568J SOC
*1
2
LPDDR4
*1
3
USB Connector
*1(It can be used for Wi-Fi/BT port)
4
40 Pin GPIO header
*1
5
MIPI CSI Connector
*1
6
MIPI DSI Connector
*1
7
USB double layer connector
*1(The upper interface of J1 supports OTG
function, the bottom interface of J1 supports
USB 3.0 function)
8
USB2.0 double layer connector
*1
9
RJ45
*1(10/100/1000Mbps)
10
DC IN
*1(5V/3A USB Type-C)
11
SW1
*1(Power on key)
12
HDMI Connector
*1(up to 4KP60)
13
IR
*1
14
SW2
*1(Recovery Key)
15
A55 Core debug console
*1
16
eMMC Flash
*1
17
Micro SD card Slot
*1

Room 02-04, 10/F, Block A, Building 8, Shenzhen International Innovation Valley, Dashi Road,
Nanshan District, Shenzhen, Guangdong, China
Emai: support@geniatech.com Tel: (+ 86) 755 86028588 10
3.3 Wired Ethernet
Connect the network cable and execute the command ifconfig to see if the IP
address is obtained
3.4 TF Card
Insert the TF card and execute the command to see if it is mounted
fdisk -l //View partitions
df -h //View mounts

Room 02-04, 10/F, Block A, Building 8, Shenzhen International Innovation Valley, Dashi Road,
Nanshan District, Shenzhen, Guangdong, China
Emai: support@geniatech.com Tel: (+ 86) 755 86028588 11
3.5 WiFi
Connected to the WiFi module and then the antenna
Click on the network in the bottom right corner of the desktop, click on "More
networks" and select WiFi and enter the password to connect

Room 02-04, 10/F, Block A, Building 8, Shenzhen International Innovation Valley, Dashi Road,
Nanshan District, Shenzhen, Guangdong, China
Emai: support@geniatech.com Tel: (+ 86) 755 86028588 12
Type ifconfig to check the IP, open the browser normal that function OK
3.6 Bluetooth
Same steps as WiFi to connect two antennas
Click on the Bluetooth icon in the bottom right corner and select "Devices"
Click "search" to search, pair and connect Bluetooth devices

Room 02-04, 10/F, Block A, Building 8, Shenzhen International Innovation Valley, Dashi Road,
Nanshan District, Shenzhen, Guangdong, China
Emai: support@geniatech.com Tel: (+ 86) 755 86028588 13
3.7 USB
Connect any USB device (mouse, keyboard, U disk, etc.), can be used normally that
means the function OK
3.8 IR
Open the folder, use the infrared remote control to select the file up, down, left
and right, can be normally selected that function OK
3.9 RTC
Disconnect from the network and execute the following command
date -s “2023-2-14 23:58:00” //Set the time, you can set other times
hwclock -w //write hardware time
hwclock -r //read hardware time

Room 02-04, 10/F, Block A, Building 8, Shenzhen International Innovation Valley, Dashi Road,
Nanshan District, Shenzhen, Guangdong, China
Emai: support@geniatech.com Tel: (+ 86) 755 86028588 14
date //Read the system time
Wait for about 1 minute and then power off, then power on after 1 minute, enter
hwclock -r and date to see if the time advances normally and the function is OK
3.10 Camera
Access to camera
Click the bottom left corner of the desktop, select Sound&Video->cheese, there is a
camera screen that functions properly
3.11 MIPI Screen
After connecting to the MIPI screen and powering up, the backlight will light up and
display the desktop, which can be used by touch

Room 02-04, 10/F, Block A, Building 8, Shenzhen International Innovation Valley, Dashi Road,
Nanshan District, Shenzhen, Guangdong, China
Emai: support@geniatech.com Tel: (+ 86) 755 86028588 15
3.12 HDMI
Connect the HDMI cable and the other end to the monitor. Power on, the resolution is
normal, and the interface can be displayed correctly, that is, the function is normal.
Table of contents
Other Geniatech Computer Hardware manuals
Popular Computer Hardware manuals by other brands

HP
HP Smart Array B140i user guide

Daktronics
Daktronics VIP-5000 Series Operation manual

Alpine
Alpine PXA-H700 owner's manual

Renesas
Renesas Converter Board R0E5212BACFK00 user manual

Whelen Engineering Company
Whelen Engineering Company WeCan CANEM16 installation guide

Advantech
Advantech PCE-5B12-07 Startup manual