Geokon 8800 User manual

©2020, GEOKON. All rights reserved.
Document Revision: S | Release date: 3/4/20
Model 8800 Series
GeoNet Wireless
Data Acquistion Network
Instruction Manual


WARRANTY STATEMENT
GEOKON warrants its products to be free of defects in materials and workmanship,
under normal use and service for a period of 13 months from date of purchase. If the
unit should malfunction, it must be returned to the factory for evaluation, freight
prepaid. Upon examination by GEOKON, if the unit is found to be defective, it will be
repaired or replaced at no charge. However, the WARRANTY IS VOID if the unit shows
evidence of having been tampered with or shows evidence of being damaged as a
result of excessive corrosion or current, heat, moisture or vibration, improper specifi-
cation, misapplication, misuse or other operating conditions outside of GEOKON's
control. Components that wear or are damaged by misuse are not warranted. This
includes fuses and batteries.
GEOKON manufactures scientific instruments whose misuse is potentially dangerous.
The instruments are intended to be installed and used only by qualified personnel.
There are no warranties except as stated herein. There are no other warranties,
expressed or implied, including but not limited to the implied warranties of merchant-
ability and of fitness for a particular purpose. GEOKON is not responsible for any
damages or losses caused to other equipment, whether direct, indirect, incidental,
special or consequential which the purchaser may experience as a result of the instal-
lation or use of the product. The buyer's sole remedy for any breach of this agreement
by GEOKON or any breach of any warranty by GEOKON shall not exceed the purchase
price paid by the purchaser to GEOKON for the unit or units, or equipment directly
affected by such breach. Under no circumstances will GEOKON reimburse the
claimant for loss incurred in removing and/or reinstalling equipment.
Every precaution for accuracy has been taken in the preparation of manuals and/or
software, however, GEOKON neither assumes responsibility for any omissions or
errors that may appear nor assumes liability for any damages or losses that result
from the use of the products in accordance with the information contained in the
manual or software.
No part of this instruction manual may be reproduced, by any means, without the written consent of GEOKON. The
information contained herein is believed to be accurate and reliable. However, GEOKON assumes no responsibility
for errors, omissions or misinterpretation. The information herein is subject to change without notification.
The GEOKON® wordmark and logo are registered trademarks with the United States Patent and Trademark Office.


I
TABLE OF CONTENTS
1. INTRODUCTION............................................................................................................................................1
1.1 NETWORK SUPERVISOR..............................................................................................................1
1.2 SINGLE CHANNEL NODE..............................................................................................................2
1.3 ADDRESSABLE NODE .....................................................................................................................2
1.4 FOUR CHANNEL NODE...................................................................................................................3
1.5 EIGHT CHANNEL NODE .................................................................................................................3
1.6 ACCESSORIES ........................................................................................................................................3
1.7 GEONET MODEL IDENTIFICATION ......................................................................................4
1.8 NETWORKS...............................................................................................................................................4
2. NETWORK INSTALLATION.............................................................................................................7
2.1 SETTING UP THE NETWORK ....................................................................................................7
2.1.1 CONFIGURE THE CHANNEL .........................................................................................................7
2.1.2 MOUNT THE DEVICE .......................................................................................................................8
2.1.3 INSTALL THE ANTENNA ................................................................................................................8
2.1.4 INSTALL THE BATTERIES ..............................................................................................................8
2.1.5 CONNECT THE SENSOR(S) ...........................................................................................................9
2.1.6 SEAL THE ENCLOSURE ..................................................................................................................9
2.2 DEPLOYMENT MODE ................................................................................................................... 10
2.2.1 ADDING NODES............................................................................................................................. 10
2.3 STATUS BUTTON FUNCTIONALITY................................................................................ 11
3. GEONET ADDRESSABLE SENSOR NODES.............................................................. 12
3.1 SENSOR WIRING ............................................................................................................................. 12
4. GEONET MULTI-CHANNEL NODES .................................................................................. 13
4.1 INSTALLATION .................................................................................................................................. 14
4.1.1 MOUNTING THE MULTI-CHANNEL NODE ......................................................................... 14
4.1.2 LIGHTNING PROTECTION.......................................................................................................... 14
4.2 CONNECTING SENSORS .......................................................................................................... 14
4.2.1 CABLE GLAND MODELS (–CBL).............................................................................................. 14
4.2.2 DETERMINING CORRECT WIRING......................................................................................... 15
4.3 CONNECTING TO THE NETWORK.................................................................................... 15
5. MAINTENANCE......................................................................................................................................... 16
5.1 PREVENTING WATER FROM ENTERING THE ENCLOSURES.................. 16
5.2 BATTERY LIFE..................................................................................................................................... 16

II
5.3 REPLACING BATTERIES ............................................................................................................ 16
6. MODEL 8800-2-4B ADD-ON MODULE........................................................................... 18
6.1 INTRODUCTION................................................................................................................................. 18
6.2 INSTALLATION................................................................................................................................... 18
6.3 IP ADDRESS CONFIGURATION........................................................................................... 18
7. SENSEMETRICS MANAGEMENT PLATFORM ..................................................... 21
7.1 CHANNEL CONFIGURATION.................................................................................................. 21
7.2 STATUS BUTTON............................................................................................................................. 21
APPENDIX A. SPECIFICATIONS................................................................................................... 23
A.1 DEVICE SPECIFICATIONS........................................................................................................ 23
A.2 RADIO SPECIFICATIONS.......................................................................................................... 23
APPENDIX B. MODELS ........................................................................................................................... 24
B.1 SUPERVISOR ....................................................................................................................................... 24
B.2 SINGLE CHANNEL NODE.......................................................................................................... 24
B.3 ADDRESSABLE SENSOR NODES...................................................................................... 24
B.4 MULTI-CHANNEL NODE ............................................................................................................ 24
B.5 COMPATIBILITY................................................................................................................................25
APPENDIX C. CONNECTOR PINOUTS .................................................................................. 26
C.1 TRANSDUCER CABLE CONNECTIONS......................................................................... 26
C.1.1 CABLE GLAND (8800-NA-XXX-CBL) ...................................................................................... 26
C.1.2 10-PIN BULKHEAD (8800-NA-XXX-10P) .............................................................................. 26
C.2 COMMUNICATION CONNECTIONS ................................................................................ 26
C.2.1 RS-232 (8800-NA-SUP-232)....................................................................................................... 26
C.2.2 USB (8800-NA-SUP-USB) ........................................................................................................... 26
APPENDIX D. THERMISTOR TEMPERATURE DERIVATION....................... 27
D.1 3KΩ THERMISTOR RESISTANCE...................................................................................... 27
D.2 10KΩ THERMISTOR RESISTANCE .................................................................................. 28
APPENDIX E. TROUBLESHOOTING.......................................................................................... 29
APPENDIX F. FIRMWARE UPDATE.......................................................................................... 31
F.1 PROCEDURE.......................................................................................................................................... 31
F.2 TROUBLESHOOTING ..................................................................................................................... 35
F.3 CHANGE SUMMARY FOR FIRMWARE VERSIONS ............................................ 35
APPENDIX G. DEVICE MOUNTING CONSIDERATIONS................................... 36
APPENDIX H. CERTIFICATIONS................................................................................................... 38

III
FIGURES
FIGURE 1: NETWORK SUPERVISOR (-SUP-232) .............................................................1
FIGURE 2: NETWORK SUPERVISOR (-SUP-USB) ............................................................2
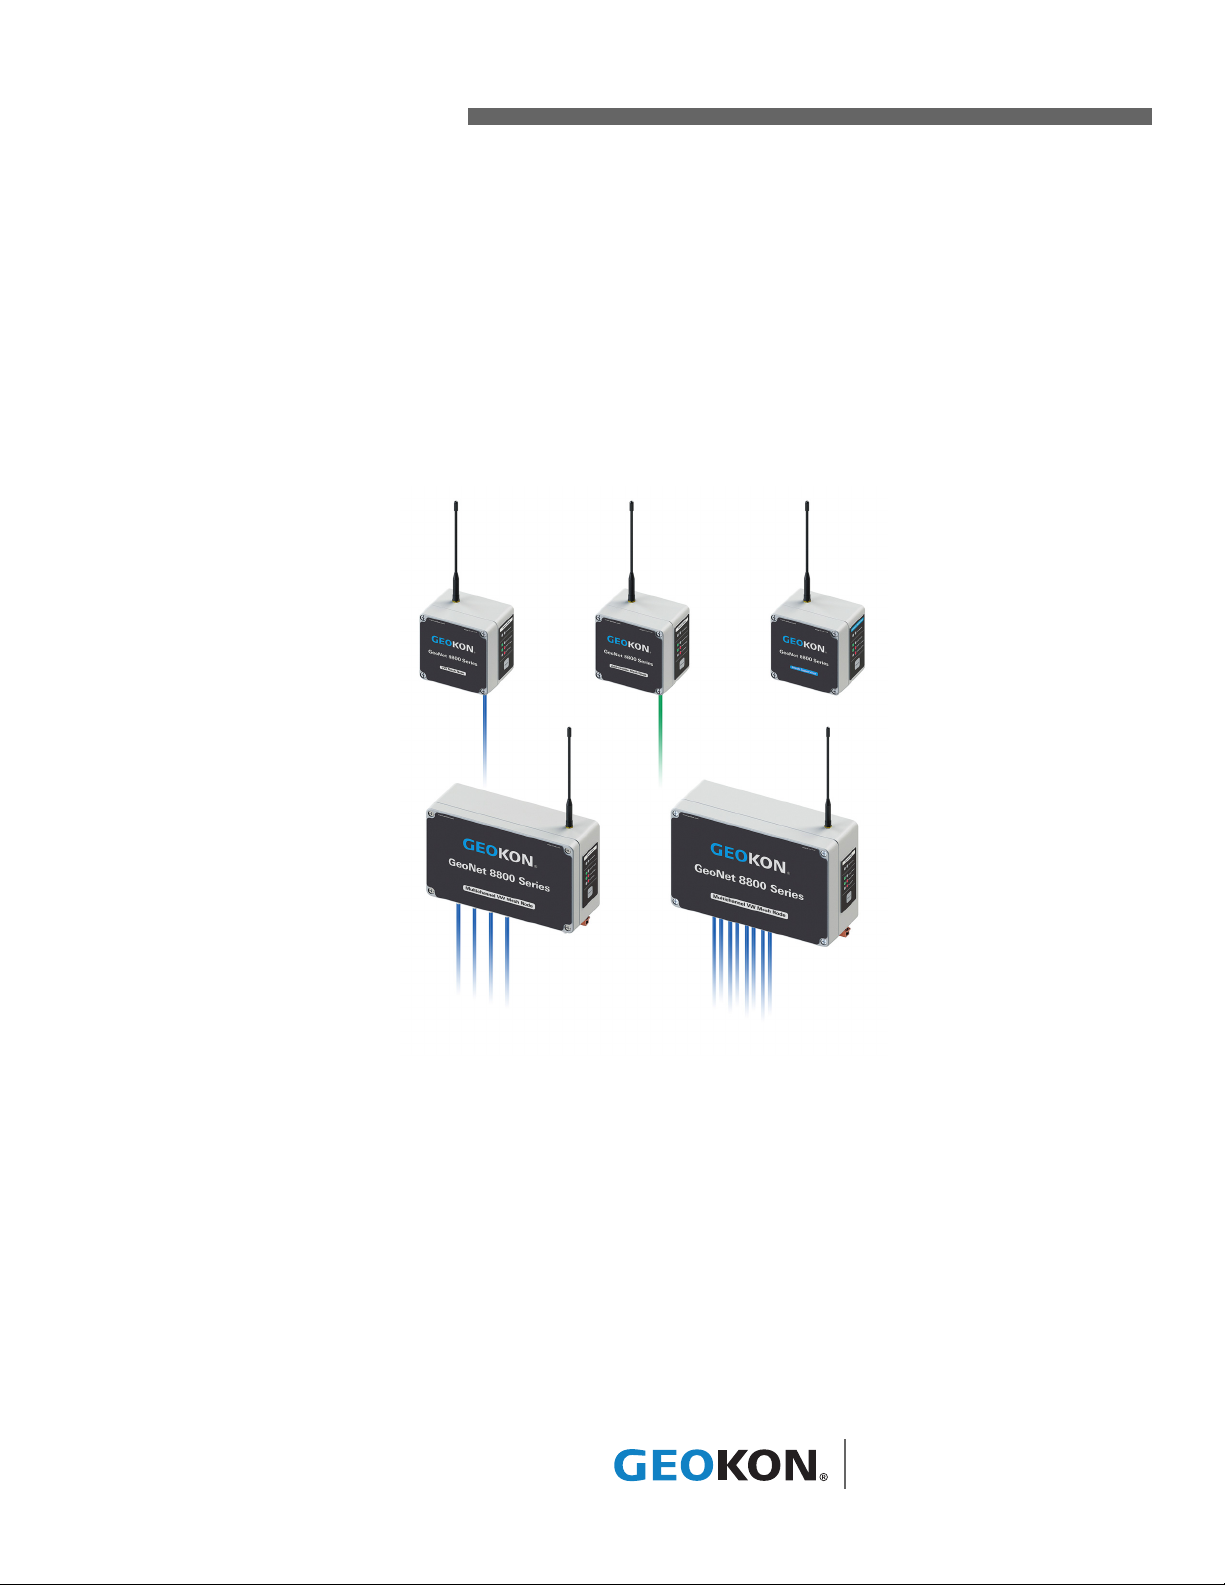
FIGURE 3: SINGLE CHANNEL NODE (-01C-10P) ............................................................2
FIGURE 4: SINGLE CHANNEL NODE (-01C-CBL) ............................................................2
FIGURE 5: ADDRESSABLE NODE (-ADR) ........................................................................3
FIGURE 6: FOUR CHANNEL NODE (-04C) .......................................................................3
FIGURE 7: EIGHT CHANNEL NODE (-08C) ......................................................................3
FIGURE 8: CLUSTER TREE NETWORK TOPOLOGY .........................................................4
FIGURE 9: WORKING AROUND OBSTRUCTIONS ...........................................................5
FIGURE 10: FRESNEL ZONE .............................................................................................6
FIGURE 11: CHANNEL SELECT SWITCHES .....................................................................7
FIGURE 12: RESET BUTTON .............................................................................................8
FIGURE 13: BATTERY SELECT SWITCH ...........................................................................8
FIGURE 14: BATTERY DETAIL ...........................................................................................9
FIGURE 15: TERMINAL CONNECTIONS ..........................................................................9
FIGURE 16: INSTALLATION ORDER ...............................................................................11
FIGURE 17: NODE CONNECTED TO 6150F ADDRESSABLE STRING ..........................12
FIGURE 18: TERMINAL CONNECTIONS ........................................................................12
FIGURE 19: MULTI-CHANNEL NODE ............................................................................13
FIGURE 20: MULTI-CHANNEL NODE CONNECTORS ...................................................13
FIGURE 21: MULTI-CHANNEL NODE INTERIOR ...........................................................14
FIGURE 22: NPORT CONFIGURATION ...........................................................................19
FIGURE 23: UPDATE FIELDS ..........................................................................................19
FIGURE 24: IP ADDRESS WITH :4001 SUFFIX ..............................................................20
FIGURE 25: SAMPLE NETWORK CONFIGURATION .....................................................21
FIGURE 26: BATTERY SELECTOR SWITCH IN OFF POSITION .....................................31
FIGURE 27: CABLE CONNECTION .................................................................................31
FIGURE 28: RS-232 CONNECTOR DETAIL .....................................................................32
FIGURE 29: UPDATE CABLE DETAIL .............................................................................32
FIGURE 30: CHANNEL SELECTOR SWITCH ..................................................................32
FIGURE 31: RUN GEONETUPDATEUTILITY.EXE ............................................................33
FIGURE 32: CHOSE EXTRACT ALL .................................................................................33
FIGURE 33: SELECT DESTINATION, THEN CLICK EXTRACT ........................................33
FIGURE 34: OPEN THE GEONET UPDATE UTILITY .......................................................33
FIGURE 35: CLICK SELECT FILE .....................................................................................34
FIGURE 36: DOUBLE-CLICK ON FIRMWARE TEXT FILE ..............................................34
FIGURE 37: SELECT COM PORT .....................................................................................34
FIGURE 38: UPDATE PROGRESS ...................................................................................34

V
TABLES
TABLE 1: GEONET MODEL IDENTIFICATION .................................................................. 4
TABLE 2: NODE WIRING.................................................................................................... 9
TABLE 3: LED INDICATOR MEANING ............................................................................ 11
TABLE 4: ADDRESSABLE SENSOR WIRING.................................................................. 12
TABLE 5: MULTI-CHANNEL NODE SENSOR/LOAD LIMITS ........................................ 13
TABLE 6: STANDARD SINGLE GAUGE WIRING............................................................ 15
TABLE 7: BATTERY LIFE ESTIMATES.............................................................................. 16
TABLE 8: CHANNEL SETTING FOR SENSEMETRICS COMPATIBILITY MODE .......... 21
TABLE 9: DEVICE SPECIFICATIONS................................................................................ 23
TABLE 10: RADIO SPECIFICATIONS............................................................................... 23
TABLE 11: TRANSDUCER CABLE CONNECTIONS (GLAND SEAL)............................. 26
TABLE 12: TRANSDUCER CABLE CONNECTIONS (10-PIN BULKHEAD)................... 26
TABLE 13: COMMUNICATION CONNECTIONS (RS-232)............................................. 26
TABLE 14: COMMUNICATIONS CONNECTIONS (USB) ............................................... 26
TABLE 15: CHANNEL SELECTION .................................................................................. 26
TABLE 16: 3KΩ THERMISTOR RESISTANCE ................................................................. 27
TABLE 17: 10KΩ THERMISTOR RESISTANCE ............................................................... 28
TABLE 18: CHANGE SUMMARY ..................................................................................... 35

MODEL 8800 SERIES GEONET WIRELESS DATA ACQUISITION NETWORK | INTRODUCTION | 1
1. INTRODUCTION
GeoNet is a low-power wireless data acquisition network, designed to efficiently
collect data from many points. GeoNet is especially helpful in geographically-
complex locations where a wired infrastructure would be expensive or even
impossible. The system consists of a network supervisor unit, single- and/or
multi-channel node units, and Agent software. Nodes collect battery and
temperature data, and will read either GEOKON's vibrating wire gauges or
GEOKON's addressable sensors, depending on its configuration For information
regarding the installation and use of Agent software, please see the appropriate
product manual.
FEATURES:
■Supercapacitor eliminates data blackout during battery replacement
■Modular, configurable design
■Aluminum enclosure for enhanced ruggedness and weatherproofing
■900 MHz radio band
■Up to 12 networks per area (using unique channels)
■Up to 2 years of data storage
■Operates with alkaline or lithium batteries.
1.1 NETWORK SUPERVISOR
The network supervisor unit controls the network and collects all data from the
nodes. The supervisor reads battery and temperature data, but it does not
possess sensor-reading functionality. Data stored by the supervisor may be
collected using Agent software or a Modbus client.
1:
FIGURE 1: Network Supervisor with RS-232 Connector (-SUP-232)
CAUTION! To satisfy FCC RF exposure requirements for mobile transmitting devices, a separation distance
of 20 cm or more should be maintained between the antenna of this device and persons during device
operation. To ensure compliance, operations at closer than this distance is not recommended. The antenna
used for this transmitter must not be co-located in conjunction with any other antenna or transmitter.

2| INTRODUCTION | GEOKON
2:
FIGURE 2: Network Supervisor with USB Connector (-SUP-USB)
1.2 SINGLE CHANNEL NODE
A single channel node will read one GEOKON vibrating wire sensor.
3:
FIGURE 3: Single Channel Node with 10-Pin Connector (-01C-10P)
4:
FIGURE 4: Single Channel Node with Cable Gland Connector (-01C-CBL)
1.3 ADDRESSABLE NODE
An addressable node will read any GEOKON RS-485 addressable sensor. Each
addressable node can read up to the following limits on the RS-485 bus:
■16 addressable MEMS sensors
■24 addressable VW sensors
■80 addressable temperature sensors

MODEL 8800 SERIES GEONET WIRELESS DATA ACQUISITION NETWORK | INTRODUCTION | 3
5:
FIGURE 5: Addressable Node (-ADR)
1.4 FOUR CHANNEL NODE
A four channel node will read up to four GEOKON vibrating wire sensors, one 3-
gauge load cell, or one 4-gauge load cell.
6:
FIGURE 6: Four Channel Node (-04C)
1.5 EIGHT CHANNEL NODE
An eight channel node will read up to eight GEOKON vibrating wire sensors, up
to two 3-gauge load cells, up to two 4-gauge load cells, a combination of one 3-
gauge and one 4-gauge load cell, or one 6-gauge load cell.
7:
FIGURE 7: Eight Channel Node (-08C)
1.6 ACCESSORIES
Supervisors and all nodes are shipped with the following accessories:
■One omnidirectional antenna (2.1 dBi). For other antenna options, please
contact GEOKON technical support.

4| INTRODUCTION | GEOKON
■Two D cell alkaline batteries
■Four desiccant packs
Supervisors are shipped with the following additional accessories:
■Set of two screwdrivers, one Phillips head and one flat-head
■One firmware upgrade cable
■One RS-232 or USB communications cable (depending on the model
purchased)
1.7 GEONET MODEL IDENTIFICATION
TABLE 1: GeoNet Model Identification
1.8 NETWORKS
GeoNet uses network technology that is self-configuring and self-healing. If all
nodes are in range of the supervisor, then data from the nodes is sent directly
from the nodes to the supervisor (a star topology).
If direct communication is not possible for some nodes, then other nodes will
automatically relay their data to the supervisor. This effectively creates a cluster
tree topology. The figure below illustrates this concept.
8:
FIGURE 8: Cluster Tree Network Topology
Each transmission from node to supervisor or node to node is considered one
"hop". Examples of hops are shown in figures above and below. Up to four hops
can be made between a node and the supervisor. With the ability to hop comes
the ability for the supervisor to communicate with nodes that have not
Compatibility1: Region Model Type Supervisor PC Connection Node Sensor Connection
8800:900 NA: North America SUP: Supervisor 232:RS-232 Com CBL:Cable Gland
01C: 1 Channel Node USB:USB Com 10P:10 Pin
04C: 4 Channel Node
08C: 8 Channel Node
ADR: Addressable Node
Example: 8800-NA-01C-CBL
S = Supervisor
N = Node (1, 4, 8, ADR)
= Data Path
Cell
Ethernet
USB/RS-232
1 Hop
1 Hop

MODEL 8800 SERIES GEONET WIRELESS DATA ACQUISITION NETWORK | INTRODUCTION | 5
established direct radio communication. The figure below shows how GeoNet
devices can operate around buildings or other barriers using hops.
9:
FIGURE 9: Working Around Obstructions
When using GeoNet, it is important to understand the effect that obstructions
have on radio signals. Obstructions between two antennas can cause reflections
of the transmitted signal. When these reflections arrive at the receiving antenna,
they may be in or out of phase with the signal that took a straight-line path. This
reflected signal may act as constructive or destructive interference with the
received signal. For optimum performance, GEOKON recommends creating as
much vertical space as possible between the straight-line path and obstacles,
including the ground.
The Fresnel zone must be at least 60% obstruction-free to ensure optimal
wireless communication.
The figure below illustrates the Fresnel zone.
1 Hop
Obstruction
1 Hop
1 Hop

6| INTRODUCTION | GEOKON
10:
FIGURE 10: Fresnel Zone
If communication cannot be established when GeoNet is deployed to a site, it
may be necessary to elevate the devices or their antennas, or to move them to a
location where a radio link can be established. This may require extending the
readout cable of the attached sensors, or connecting an antenna cable
extension.
Fresnel Zone
By the ground
By road traffic
Radio Paths
By an obstacle
Building BuildingTree

MODEL 8800 SERIES GEONET WIRELESS DATA ACQUISITION NETWORK | NETWORK INSTALLATION | 7
2. NETWORK INSTALLATION
Review the GeoNet Installation Tutorial available at the GEOKON website, https://
www.geokon.com/tutorial-videos.
Select the mounting location with care. Certain mounting configurations can
hinder or even completely block wireless signal transmission. Refer to
Appendix G for more information.
2.1 SETTING UP THE NETWORK
A network must include the supervisor and at least one node that is within radio
range of the supervisor. The necessary steps include:
1. Configure the channel.
2. Mount the device.
3. Install the antenna.
4. Install the batteries.
5. Connect the sensor(s).
6. Seal the enclosure.
2.1.1 CONFIGURE THE CHANNEL
Channels allow multiple networks to coexist in the same area. All devices are set
to communicate on Channel 1 from the factory; this is all that is required for
operating a single network in a given area. However, if multiple networks are
within radio range of each other, then the networks must be set to different
channels, and devices of each network must be set to their respective channel.
TO SET THE CHANNEL ON A NODE OR SUPERVISOR:
1. Open the device by unscrewing the four captive screws on the front of the
enclosure. Ensure that no dirt, water, or other contaminants are allowed to
enter the enclosure.
2. Set the channel select DIP switch (shown in the figure below) to any of the
twelve valid positions listed in Table 15 in Appendix C.
11:
FIGURE 11: Channel Select Switches

8| NETWORK INSTALLATION | GEOKON
3. Press the Reset button.
12:
FIGURE 12: Reset Button
4. Devices will communicate only with others that have been set to the same
channel. To prevent erratic behavior, there can be only one supervisor on a
particular channel. Supervisors in radio range of each other must operate
using different channel settings.
2.1.2 MOUNT THE DEVICE
The built-in mounting plate is designed to be used with U-Bolts, hose clamps,
screws, bolts, etc. Devices should be mounted vertically, with the antenna
pointing up.
Select the mounting location with care. Certain mounting configurations can
hinder or even completely block wireless signal transmission. See Appendix G.
2.1.3 INSTALL THE ANTENNA
Remove the rubber cap from the antenna mount. Position the antenna on the
mount and then rotate the antenna in a clockwise direction until tightened.
2.1.4 INSTALL THE BATTERIES
When replacing batteries in an existing network, ensure that the network is in
deployment mode prior to removing the batteries. See Section 5.3 for more
information on battery replacement.
INSTALL THE BATTERIES AS FOLLOWS:
1. Open the device by unscrewing the four captive screws on the front of the
enclosure. Ensure that no dirt, water or other contaminants are allowed to
enter the enclosure.
2. Set the three-position battery select switch to the OFF (middle) position (see
the figure below).
13:
FIGURE 13: Battery Select Switch

MODEL 8800 SERIES GEONET WIRELESS DATA ACQUISITION NETWORK | NETWORK INSTALLATION | 9
3. Install the batteries by aligning the positive (+) side of the D cells with the
+
indicator in the battery holder. Push the batteries straight down into the
holder.
14:
FIGURE 14: Battery Detail
4. Move the battery select switch to either the Alkaline or Lithium position
depending on the type of battery being used.
5. An LED will flash on the right side of the box indicating the unit has power.
2.1.5 CONNECT THE SENSOR(S)
To connect a sensor:
1. Open the device by unscrewing the four captive screws on the front of the
enclosure. Ensure that no dirt, water or other contaminants are allowed to
enter the enclosure.
2. Loosen the nut on the cable fitting and remove the white plastic dowel.
3. Slide the transducer cable through the cable gland nut and fitting.
4. Insert each conductor wire into the terminal block by pressing down on the
orange tab, inserting the bare end of the conductor into the terminal block,
and then releasing the tab. Refer to Figure 15 and Table 2 for sensor wiring
information. To prevent the possibility of a short circuit, do not allow bare
leads to touch each other during or after wiring.
TABLE 2: Node Wiring
5. Pull gently on each conductor to ensure it is secure.
6. Tighten the cable gland nut until it firmly grips the outer jacket of the cable.
The cable gland nut must be properly tightened to prevent water entry. Do
not over-tighten, as this might strip the plastic threads.
7. Pull gently on the sensor cable to ensure it is held in place by the cable
gland.
2.1.6 SEAL THE ENCLOSURE
After the batteries have been installed, complete the following with the
supervisor and the node units:
1. Place the supplied desiccant packs inside the enclosure.
Position 2: Color Description
VW+ RED Vibrating Wire +
VW- BLACK Vibrating Wire -
TH+ WHITE Thermistor +
TH- GREEN Thermistor -
SHD BARE Analog Ground (shield)
15:
FIGURE 15: Terminal Connections

10 | NETWORK INSTALLATION | GEOKON
2. Ensure the cover gasket and the mating ridge on the enclosure are clean,
and that the gasket is properly seated inside the groove on the cover. Place
the cover on the unit.
3. Tighten the cover screws a little at a time, working in a diagonal pattern.
Make sure the cover seals tightly and evenly.
4. Mount the device. The built-in mounting plate is designed to be used with
U-Bolts, hose clamps, screws, bolts, etc. Devices should be mounted
vertically, with the antenna pointing up.
2.2 DEPLOYMENT MODE
There are two modes of operation: Deployment mode and Normal mode. The
supervisor and node units all enter Deployment mode upon power up or system
reset. Perform a system reset by either pressing the blue Reset button on the
GeoNet circuit board, or by pressing and holding the Status button on the side
panel for 10 seconds.
For information on the function of the Status button, see Section 2.3.
Deployment mode allows nodes to be added to a network and verified quickly.
When the network is in Deployment mode, the network status will be indicated
by the LEDs on the supervisor every 10 seconds.
In Deployment mode, the supervisor and node units will find each other in less
than three minutes, radio circumstances permitting. Once the network has been
established and the network time has been set, the Supervisor's green LED will
flash simultaneously with the green LEDs on the nodes. If the network time has
not been set, the Supervisor's red LED will blink in unison with the nodes. The
time must then be set using the Agent software.
If the correct lights do not illuminate, or if the network has exited Deployment
mode, press the Status button on the supervisor to restart Deployment mode.
2.2.1 ADDING NODES
While in Deployment mode, nodes may be added by simply turning them on
within radio range. When adding nodes, start with those closest to the
supervisor. Place the supervisor in the center of the distribution of
nodes if possible (see Figure 16 below); doing so will reduce the number of
hops, which will reduce battery consumption.
Move nodes to their installation locations as long as the green LED is flashing.
Pay attention to the LEDs while moving the nodes to ensure the signal isn’t lost.
After 10 minutes, the LEDs on the nodes will stop indicating their status in order
to conserve batteries. Pressing the Status button on a node will reactivate the
LEDs for another 10 minutes.
The default time a network will remain in Deployment mode is one hour. When a
new node joins the network the timer will reset, extending the deployment
period for another hour. If more time is needed while deploying nodes, the
default deployment timeout may be changed using Agent software.
The network will not begin collecting data until the network
time is set. To do this, use the Agent software (or other Modbus
master). The default scan interval for data collection is 10
minutes.
Other manuals for 8800
5
This manual suits for next models
13
Table of contents
Other Geokon Network Hardware manuals
Popular Network Hardware manuals by other brands

3Com
3Com 3C433279A release note

Billion
Billion BiPAC 2071 White paper

Cisco
Cisco 2431 - IAD Router Software configuration guide

oventrop
oventrop Datalog CS-BS-1 Installation and operating instructions for the specialised installer

Advantech
Advantech FWA-6500 Startup manual

Star systems
Star systems Procyon Integrated Reader user manual