of the target zone. "SET LO" is displayed. Set the desired value using the S1 but-
ton.
Set the upper limit by pressing on S2. "SET HI" is displayed. Set the desired value
using the S1 button.
If you have selected automatic mode ("AUTO"), you can now start setting your res-
ting heart rate ("Re Fr"). You can take this in the morning when you get up, before
doing any physical exercise. Set the value using the S1 button. The default value
displayed is 50 beats per minute, but you can set a value starting at 30 beats per
minute. Go to the next setting.
• Set your maximum heart rate ("MAH Fr"). The default value displayed is the result
of a theoretical calculation that takes your age and gender into account. If you wish,
you can modify this value with S1. To know your maximum heart rate precisely, we
recommend that you have your physician perform a stress test on you. Go to the
next setting.
• Set the lower limit of the target zone, expressed in %. "Min In" is displayed. Set
the desired value using S1, then set the upper limit ("Max In") by pressing on S2.
Set the desired value with S1.
After setting the limits of the target zone, press on S2 to activate or deactivate the
out-of-zone audible alarm. Select "ON" or "OFF" by pressing on S1.
Confirm and exit setting mode by pressing on S3.
Using cardio mode
When the watch is searching for the signal emitted by the belt, " ---" flashes on the
top line. When the heart signal is detected, the heart-shaped reception indicator will
flash, and after a few seconds, the heart rate will be displayed. Ignore the first value
displayed. 20 seconds are required for the watch to display a stable, reliable value
(time for calculating and adjusting the data).
If you have already set a target zone for exercise, the watch will display at the level
of the heart symbol:
> Either an arrow pointing upwards to indicate that you are currently exceeding the
target zone,
> Or an arrow pointing downwards to indicate that you have not reached the target
zone.
If you have activated the audible out-of-zone alarm, then an audible beep will alert
you when you are out of the target zone.
Press on S3 to select the desired display mode on the middle line. To start up the
stopwatch, the stopwatch has to be displayed.
Press on S1 to start up the exercise stopwatch. The stopwatch symbol at the bot-
tom of the screen will flash. The functions that calculate the time spent in the zone,
the intensity of exertion, the calories expended and the average and maximum
heart rates are activated.
During or after the workout, you can look up the time elapsed, the intensity of exer-
tion, the time spent in the target zone, the calories expended, the average heart
rate and the maximum heart rate by pressing on S3.
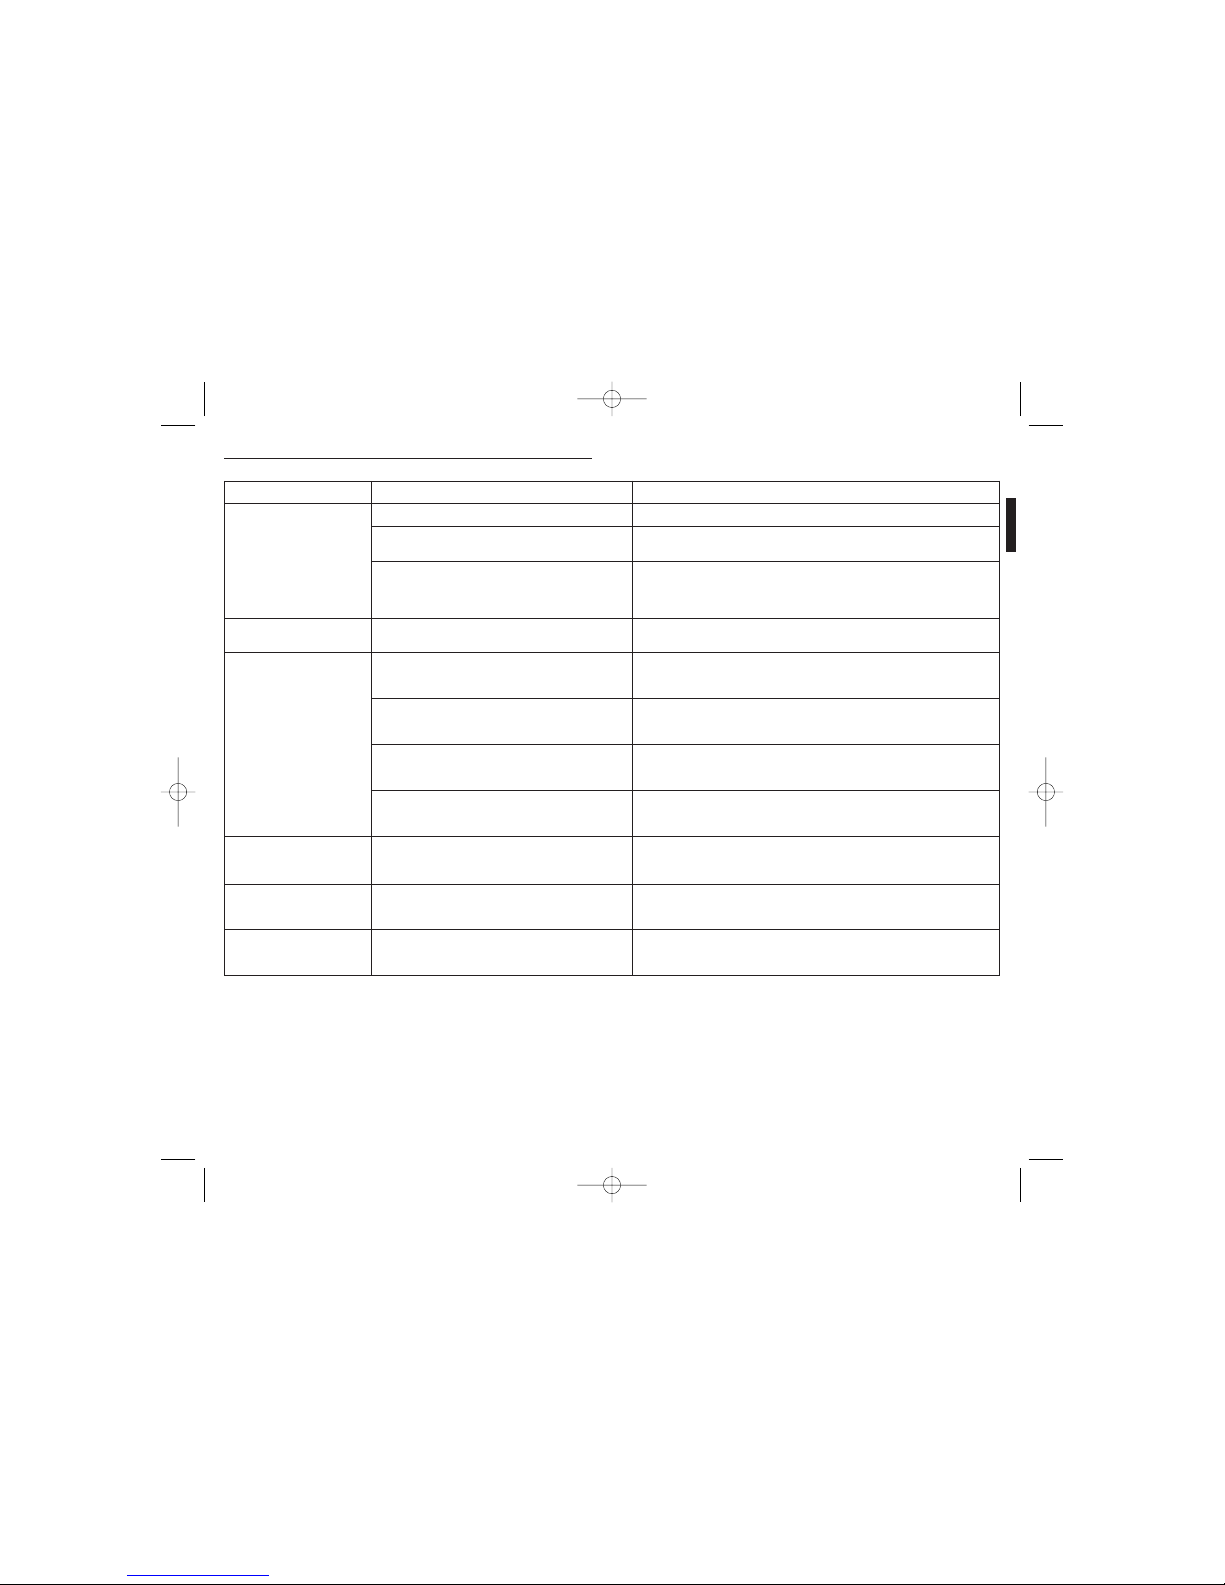
2 – CARDIO Mode (HRM)
Displays the heart rate monitor mode (HRM)
In HRM mode, the top line displays the heart rate in beats per minute (bpm). The
heart symbol is displayed at the bottom of the screen. This flashes when the watch
receives a signal emitted by the chest belt.
The middle line displays 6 different pieces of information:
• The total time elapsed since the beginning of the workout.
• The intensity of exertion in % of your maximum heart rate.
• The time spent in the target zone since the beginning of the workout.
The middle line displays 6 different pieces of information:
• The total time elapsed since the beginning of the workout.
• The intensity of exertion in % of your maximum heart rate.
• The time spent in the target zone since the beginning of the workout.
• Calories expended.
• Average heart rate.
• Maximum heart rate.
Press on S3 to go from one display to another.
The cardio mode of the CW F500 offers two different modes for the target zone:
• manual target zone in which you directly enter the upper and lower limits of beats
per minute (bpm).
• automatic target zone, which calculates the high and low limits depending on the
intensity of the chosen exercise.
Setting cardio mode
Go to HRM mode by pressing the S2 button. To enter the setting mode, press S3
for 3 seconds.
Note:
After each operation, go to the next parameter to be set by pressing on S2.
• Set your gender with the S1 button: "MALE" or "FEMALE". Go to the next setting
by pressing on S2.
• Set your age with the S1 button. Go to the next setting.
• Select the unit of measurement for the weight ("kg" or "lb"). Go to the next setting.
Next, set your weight by pressing on S1. Go to the next setting.
• Select the unit of measurement for the height ("cm" or -"—" for feet). Go to the
next setting.
• Set your height by pressing on S1. Go to the next setting.
• Set your level of activity by pressing on S1: "0" = occasional workouts, "1" = regu-
lar workouts, "2" = intense workouts. This information is utilized as a correction
coefficient to estimate the calories expended. Go to the next setting.
• Select the target zone mode: "AUTO" for automatic calculation of the limits of the
target zone according to the desired intensity of exertion or "MANU" to manually
enter the upper and lower limits of the target zone. Go to the next setting.
If you have selected manual mode (MANU) you can now start setting the lower limit
22 23
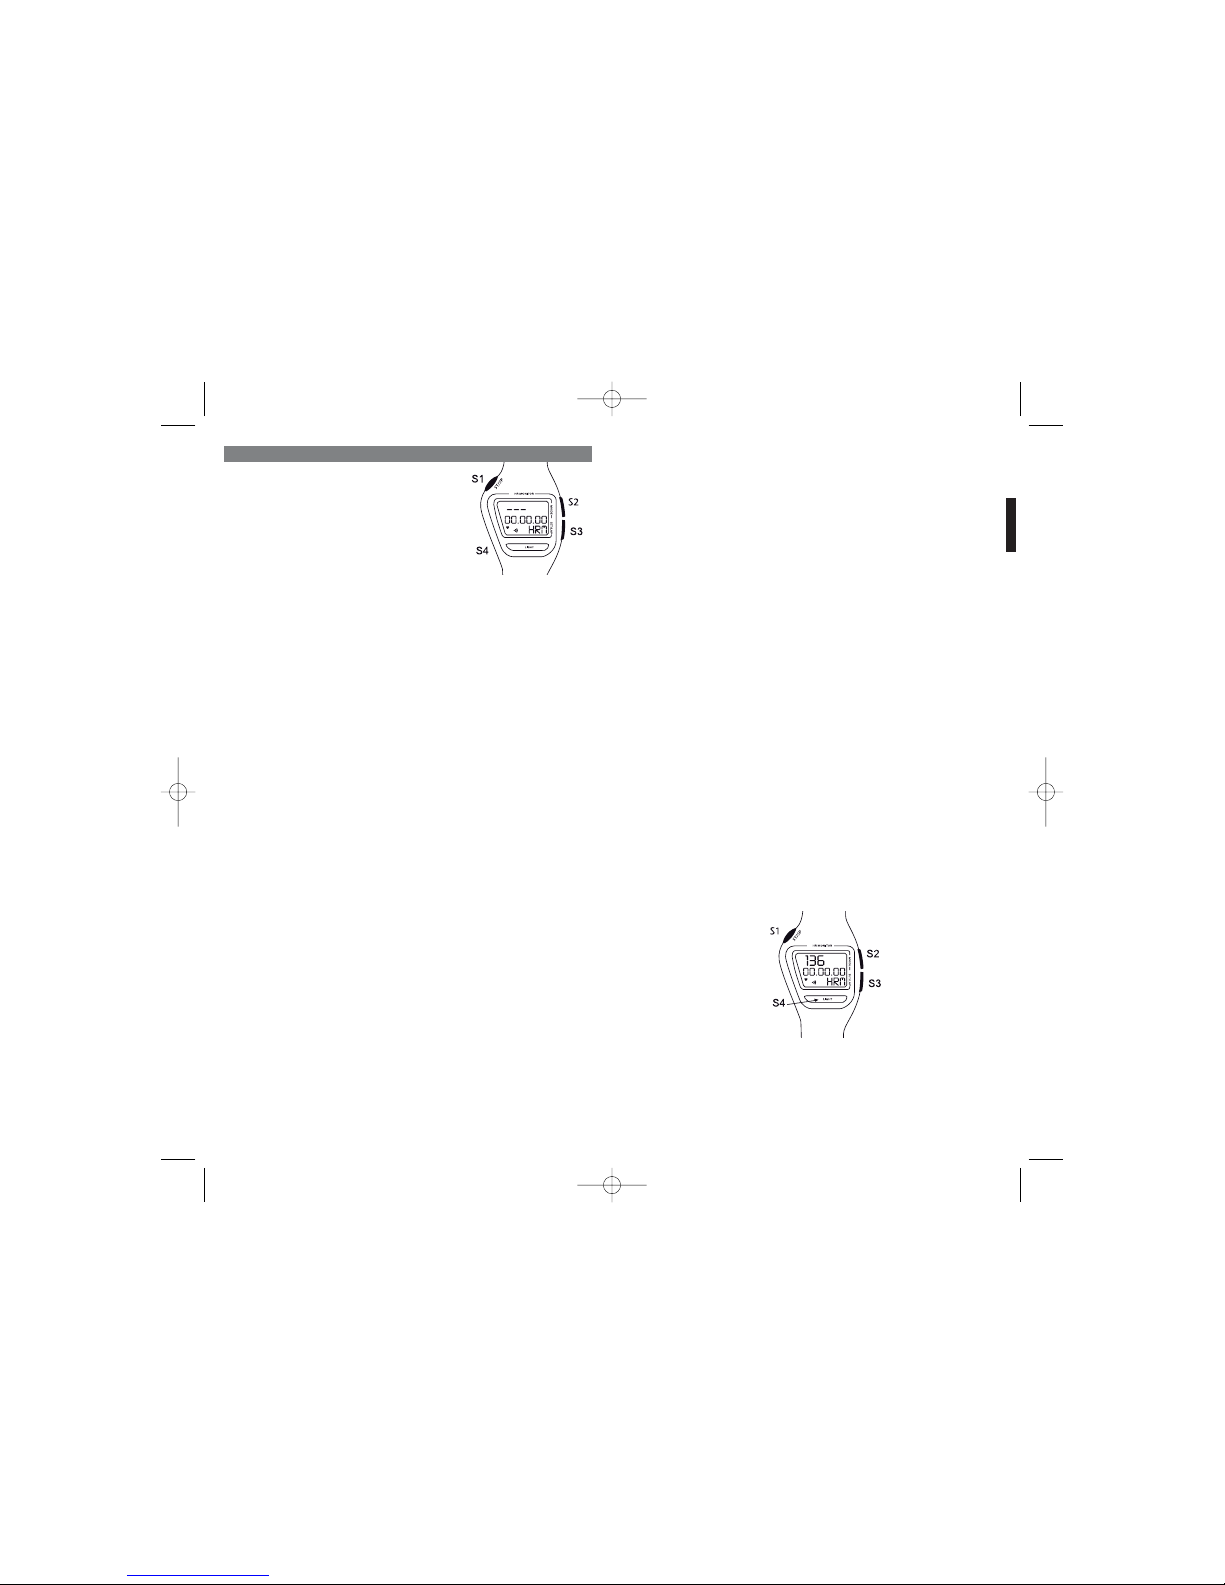
S1 : Start / stop
S2 : mode
S3 : going from one display to another
S4 : electroluminescence
EN