DROPOUT SWAP GUIDE
DROPOUT TYPE 1 :
GIANT Dropout
RE8D
Compatible with standard rear derailleur, thru
axle
Standard type rear derailleur
(For exampleSRAM X.9 or SHIMANO XTR)
Standard type thru axle
O.L.D 150mm.
12mm thru-axle type
DROPOUT TYPE 2:
GIANT Dropout
RE8DA
Compatible with SHIMANO SAINT derailleur,
rear freehub and thru axle.
SHIMANO SAINT rear derailleur
RD-M805-SS/RD-M805-GS/RD-M805-SGS
O.L.D. 150mm
For 12mm thru-axle
SHIMANO SAINT rear axle
FH-M805
150mm O.L.D. with 12mm thru-axle
DROPOUT TYPE 3:
GIANT Dropout
RE8DB
Compatible with Rockshox rear maxle thru
axle
Standard type rear derailleur
(For exampleSRAM X.0 or SHIMANO XTR)
ROCKSHOX Maxle type axle
O.L.D 150mm.
12mm thru-axle type
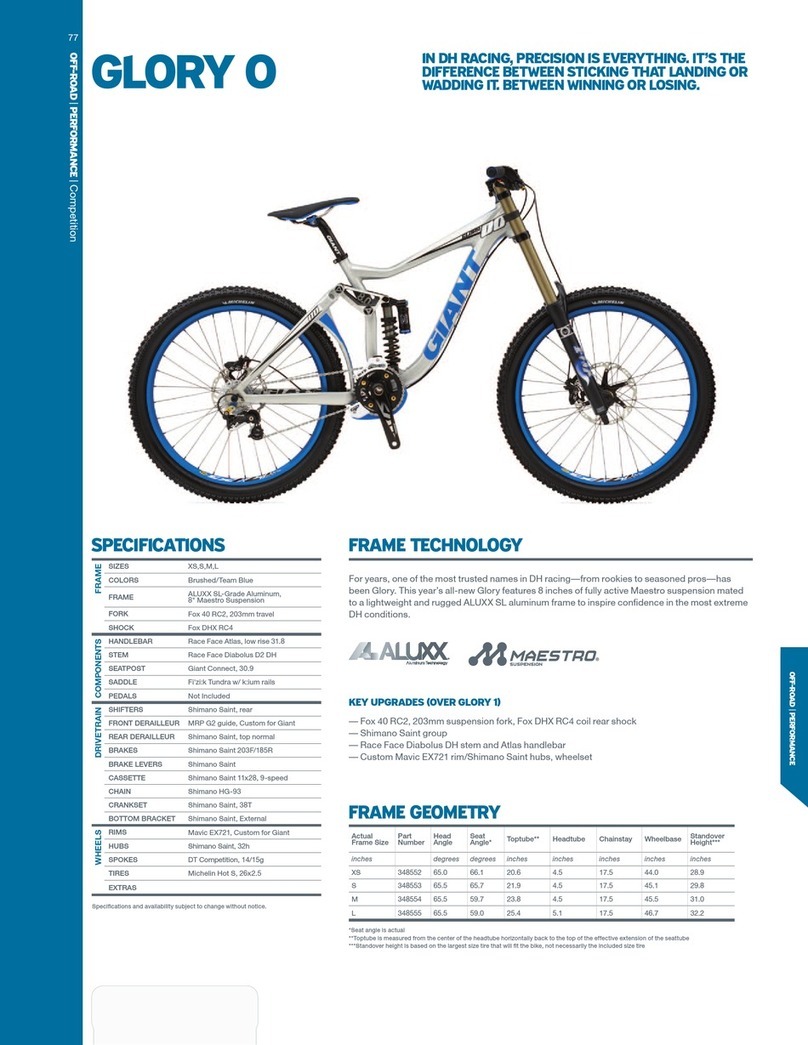
Congratulations on your purchase of a Giant
GLORY. The
GLORY represents the most versatile rear
wheel option available for bicycles. As a result, it does require
special attention. Although Gian
t engineers use the most
durable, highest quality and lowest maintenance materials,
you must pat attention to the following guidelines and use
proper equipment to attain the best results.
Proper assembly of the dropout will ensure th
e best
performance and comfort from your bicycle. This is only an
overview of the assembly and care tasks.
Each GLORY comes with three types of dropouts. The stock
Glory comes stock with the Type 1 standard for a regular
derailleu
r and traditional axle. You can swap this unit out for a
Type 2 system which will allow you use a SHIMANO SAINT
derailleur or Type 3 system which will allow you to use a
ROCKSHOX MAXLE thru axle.
The assembly order of the parts are listed in the followin
g
Tools
5 mm and 6 mm Allen key
19 mm wrench
All spare parts for GIANT dropout are available separately
through GIANT dealers.
WARNING: Fail
ure to follow these instructions will void
your warranty, and may result in hidden damage to the
dropout. Damage to the dropout may cause loss of
structural integrity and possibly result in serious personal
injury or death.
!
Type 1
How to swap the dropout from type 1 to type 2 or type 3
Bolt
Type 2 Type 3
Please refer to the Giant Owner’s Manual or visit our
website at www.giant-bicycle.com for complete warranty
provisions.
Warranty
CAUTION: Do not ride a bicycle with a loose or
improperly fitted dropout/derailleur/thru axle.
!
Assembly instructions
Step 1: Use a 5mm Allen key, remove the rear derailleur
from the dropout.
Step 2: Use a 6mm Allen key and 19mm wrench, remove
the thru axle.
Step 3: Use a 5 mm Allen key, remove the upper dropout
mounting bolt.
Step 4: Install the Type 2 o
r Type 3 dropout and tighten to
the proper torque of 8-10 Nm.
Step 5: To install the derailleur and thru axle, please refer
to the manufacturer’s technical information.
Bolt
