TABLE OF CONTENTS
“Life is happening.
We’ll help you live it...one moment at a time.”
IMPORTANT SAFEGUARDS 3
2IMPORTANT SAFEGUARDS 32 IMPORTANT SAFEGUARDS
Ginnys.com •1.800.544.1590
IMPORTANT SAFEGUARDS
Thank you for purchasing a Ginny’s Brand 3-Cup
Food Processor! I know you’ll love its convenience
and size, with simple knob control to take you
from pulse to high speed in a ash. And, with the
shredding disc and chopping blade, you’re all set
to create crispy green salad, healthy, appealing
dinners and luscious fruit-lled desserts.
Enjoy!
President, Ginny’s
Important Safeguards 3-4
Specications 4
Part Names 5
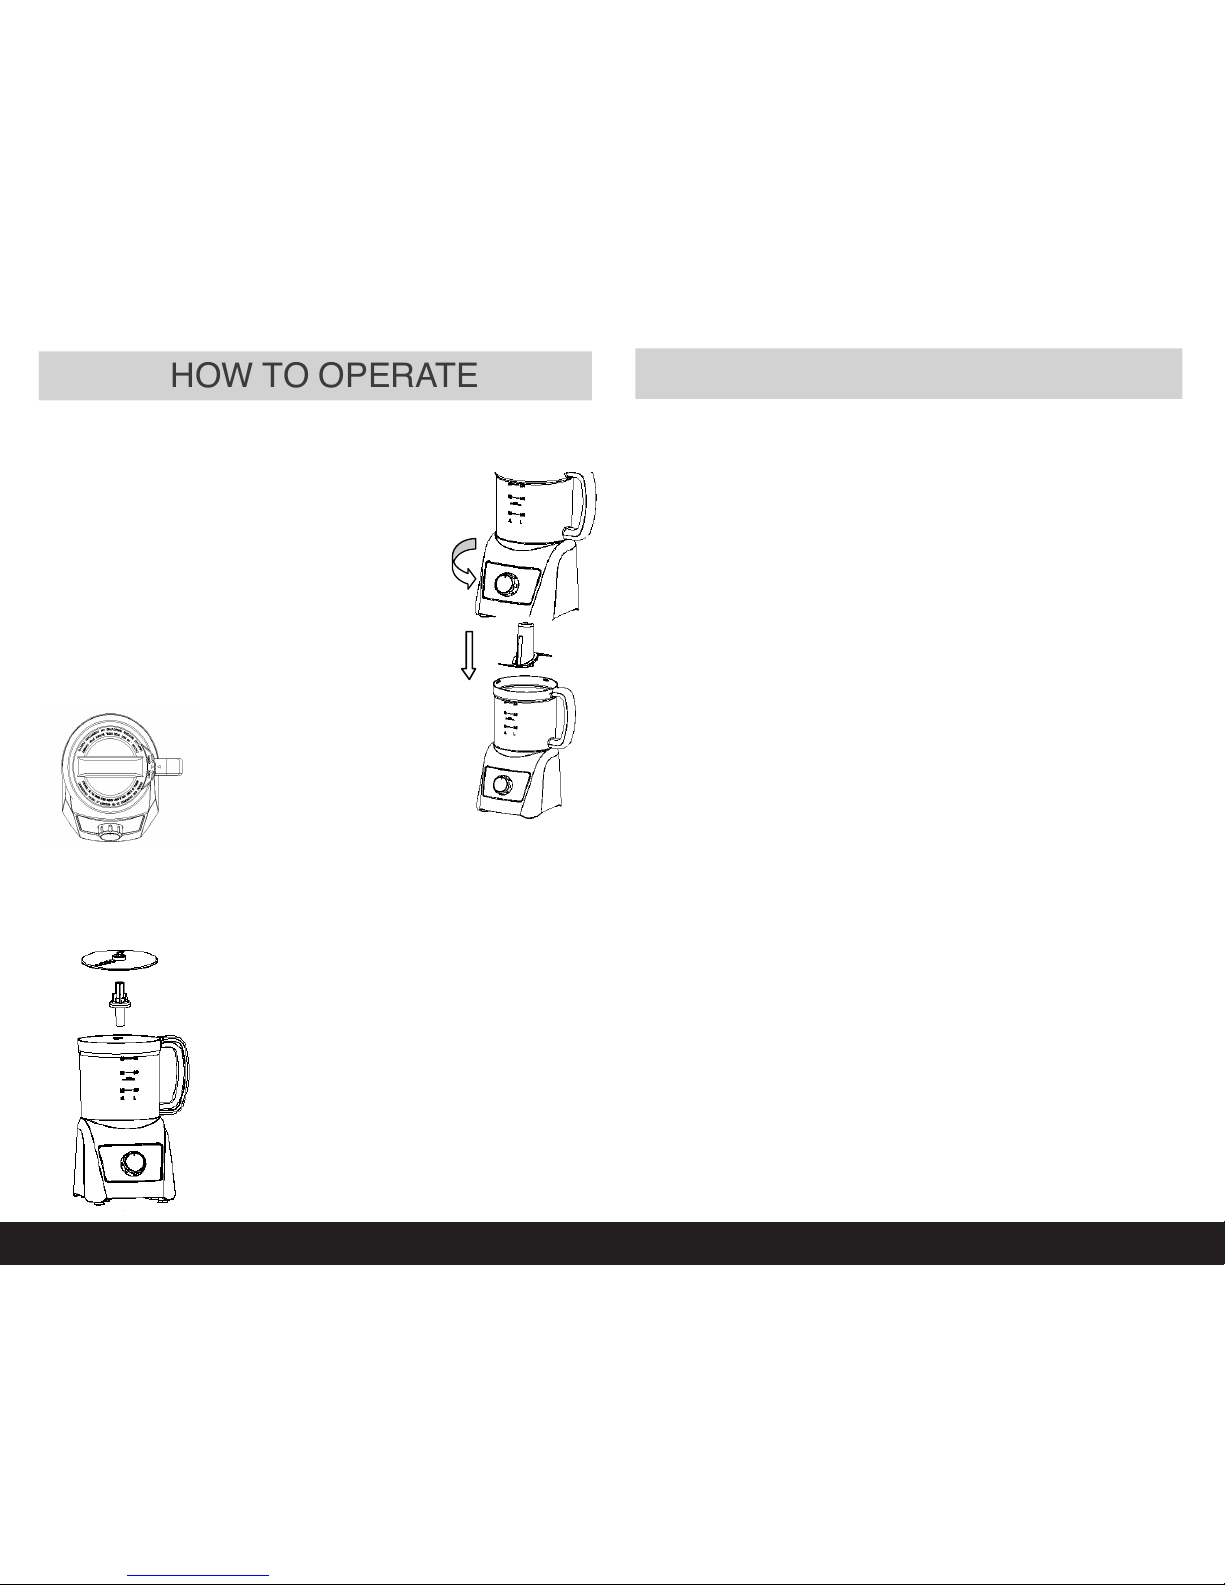
How to Operate 6-7
Cleaning and Care 8
Recipes 9-11
Warranty 12
SAVE THESE INTRUCTIONS
THIS PRODUCT IS FOR HOUSEHOLD USE ONLY
Read carefully and save all these instructions.
When using electrical appliances, basic safety precautions should
always be followed, including the following:
1. To protect against risk of electrical shock, do not put in water or
other liquid.
2. Close supervision is necessary when any appliance is used near
children. Keep out of reach of children or pets.
3. Unplug from outlet when not in use. Also make sure item is
unplugged before cleaning, and before adding or removing parts.
4. Avoid contact with moving parts. Keep hair, hands, ngers,
utensils or any body part from coming into contact with the moving
parts while the product is operating.
5. Do not use outdoors.
6. Do not let cord hang over edge of table or counter.
7. A scraper may be used but only when the appliance is not running.
8. The blade is sharp. Handle carefully.
9. To reduce the risk of injury, never place cutting blade on base
without rst putting bowl properly in place.
10. Always be certain the bowl and cover are securely locked in place
before operating appliance.
11. Do not attempt to disable the cover interlock mechanism.
12. Keep the power cord and product away from heated surfaces.
13. Do not use attachments not recommended by the product
manufacturer.
14. Do not plug or unplug the product into/from the electrical outlet
with a wet hand.
15. To disconnect from an electrical outlet, make sure the power is off
and then pull directly on the plug; do not pull on the power cord.
16. Do not put any stress on the power cord where it connects to the
product, as the power cord could fray and break.
17. Always assemble the product completely before plugging it into
an electrical outlet.
18. Do not operate the product if it has a damaged or cut power cord
or plug, if wires are exposed, if it malfunctions, if it is dropped or
damaged, or if the Motor Housing is dropped in or exposed
to water.